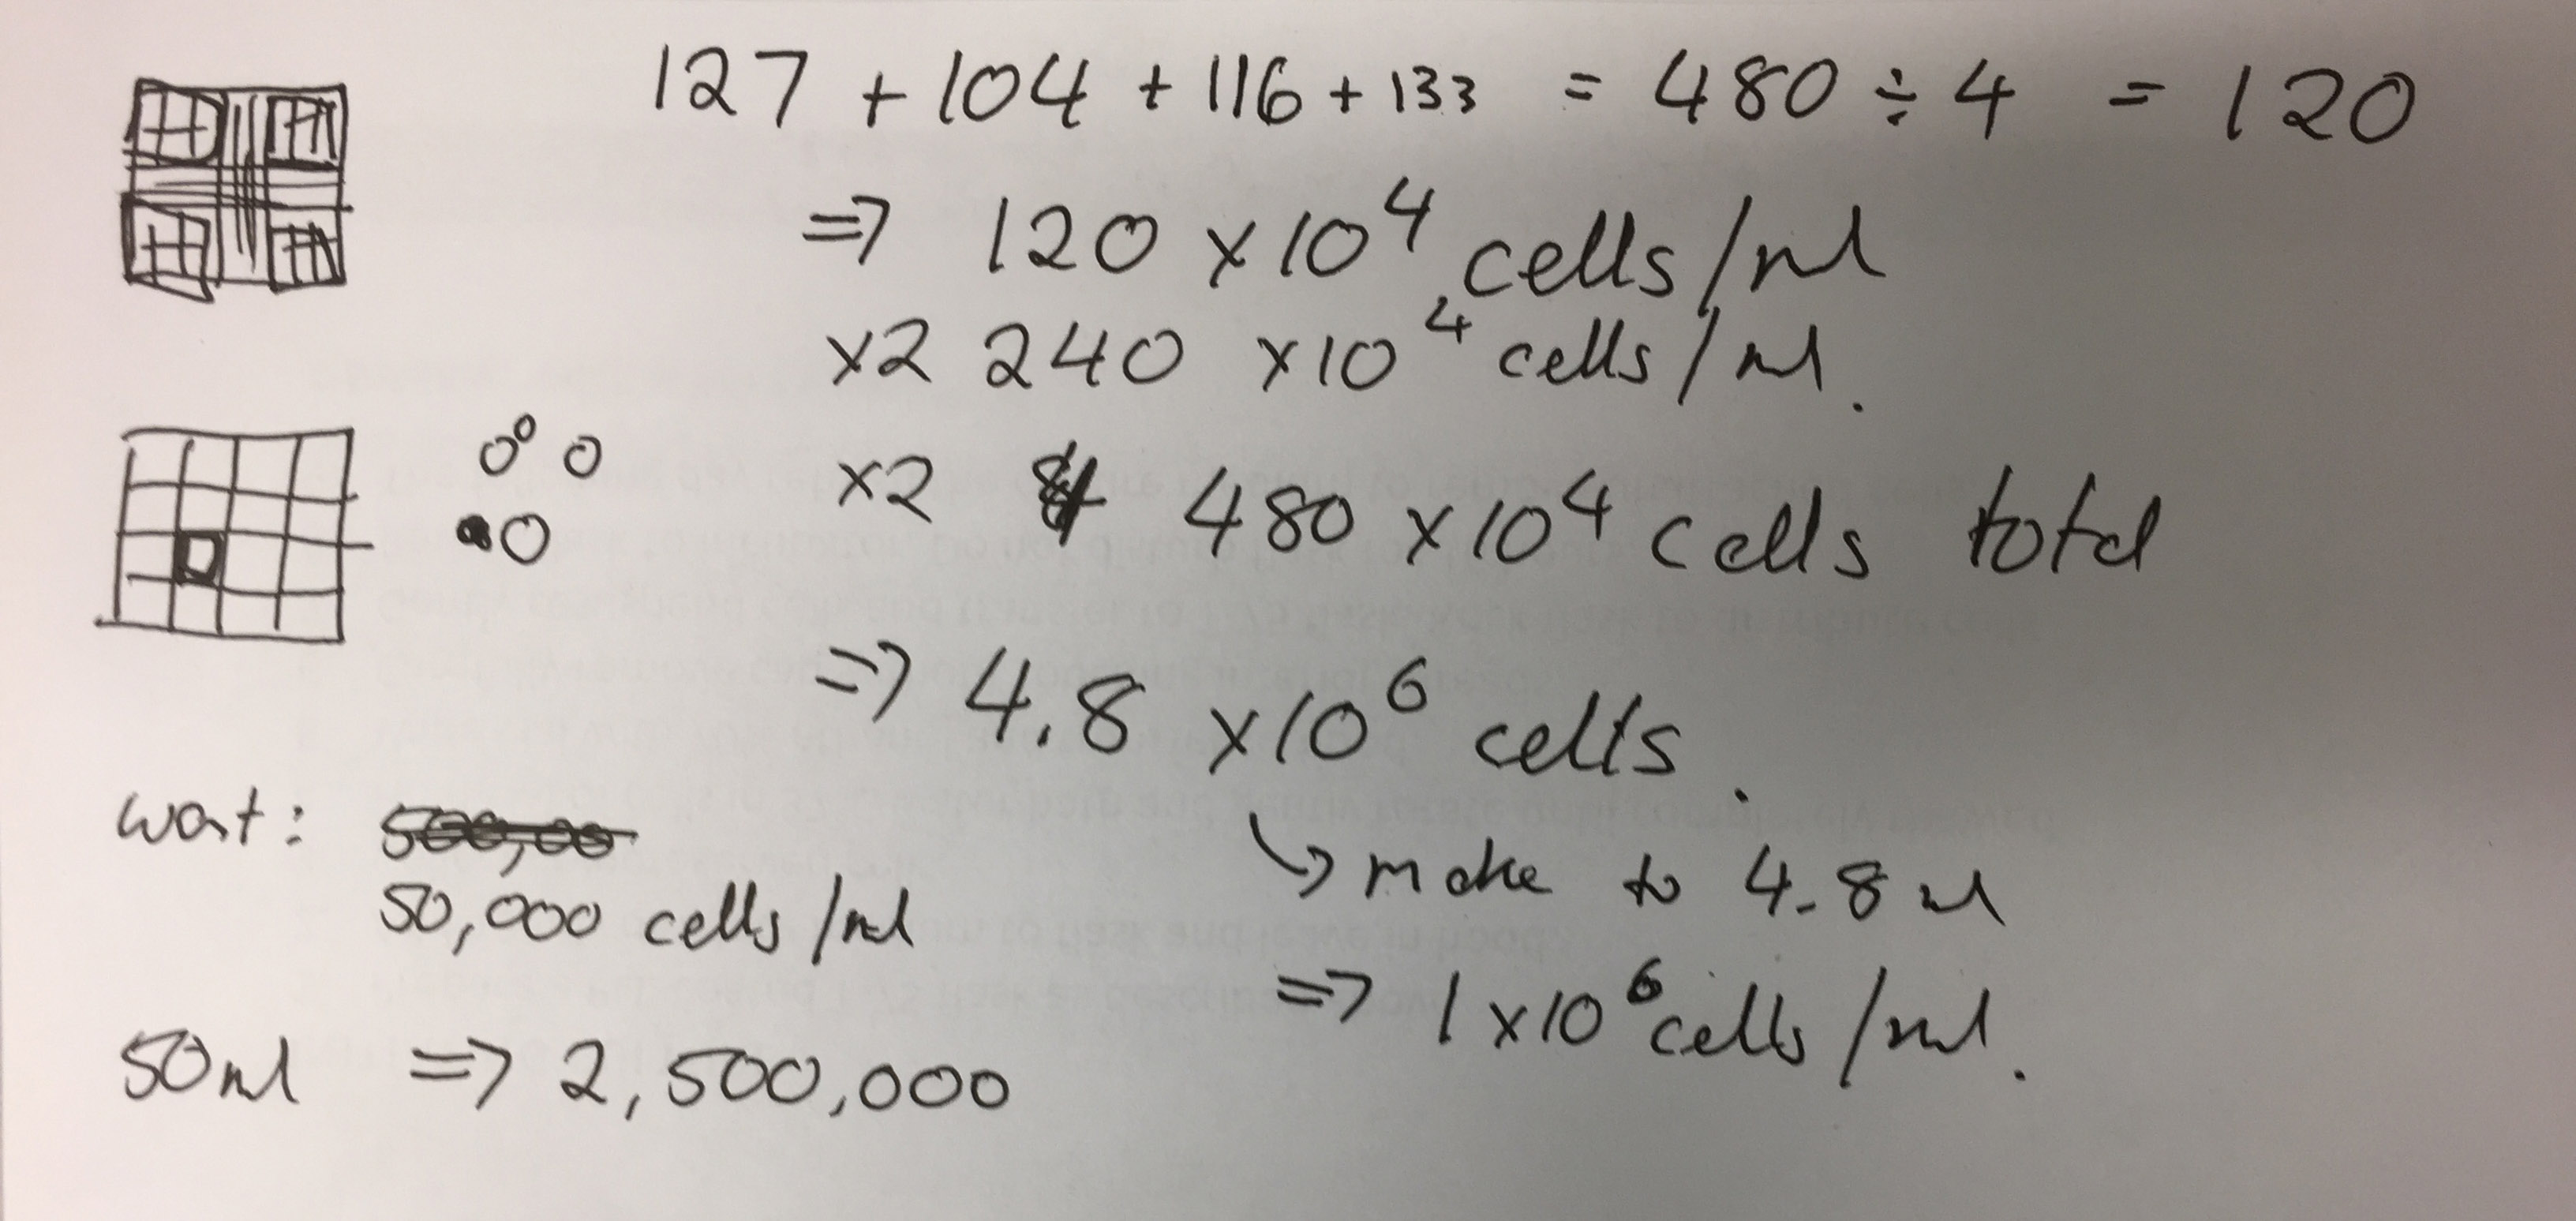
Despite UTAS improving the turn-around time for ethics clearance applications, it will take some time for the new application to be processed. Of course, we do not want to be idle, so the time pending formal approval will be used for project training.
While I have worked with cell and tissue culture previously as part of my PhD study at QUT, it has been over five years since I have actively worked in a lab environment. As such, it is important that I undertake training to ensure I am up to date with protocols and understand the working methods used at the UTAS School of Medicine.
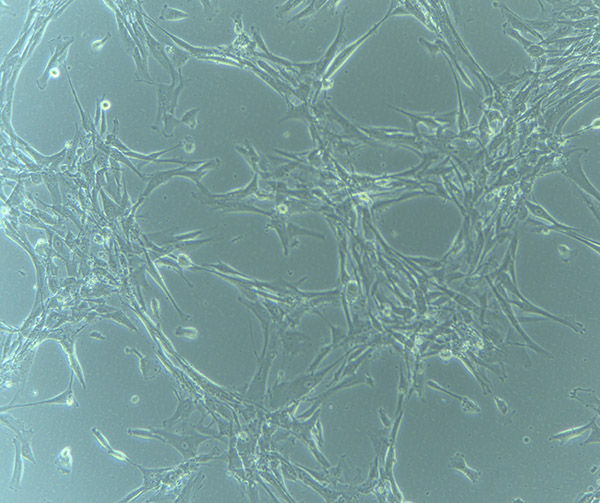
To get up to speed, Brad and Jo-Maree suggested that I start working with HBVP Human Brain Vascular Pericyte cells.
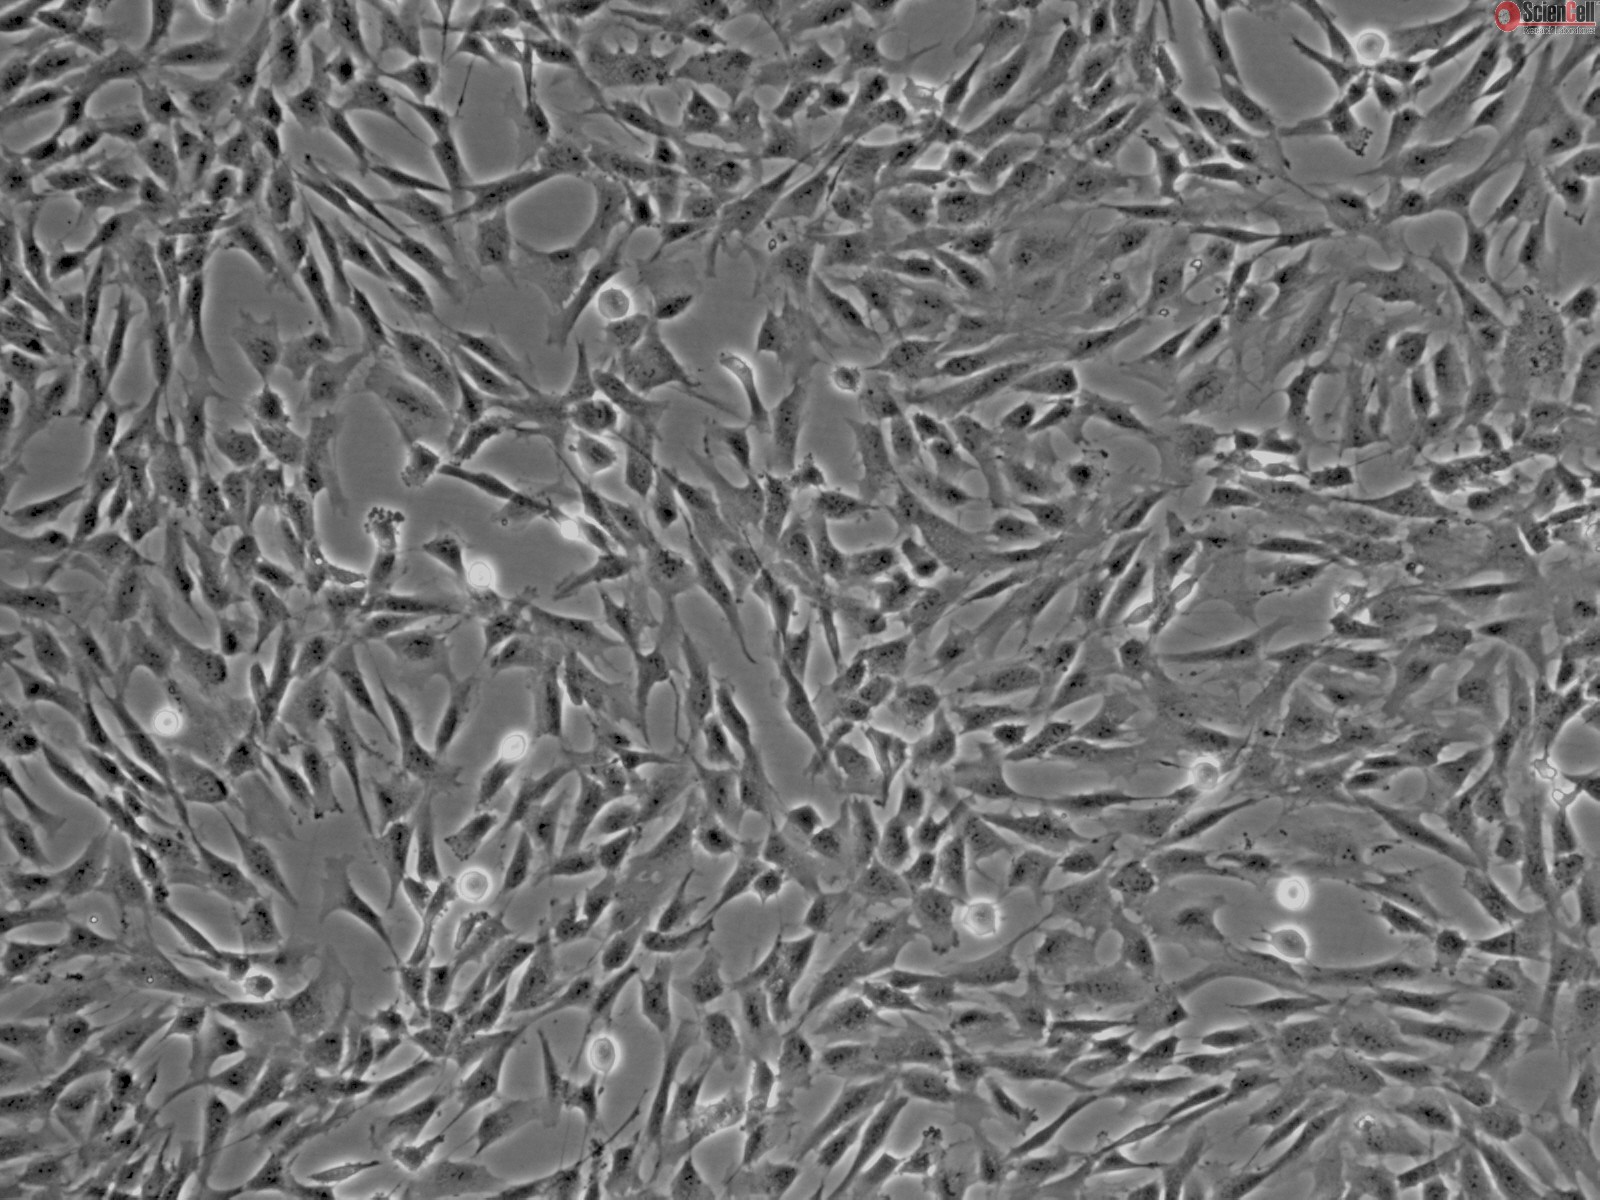
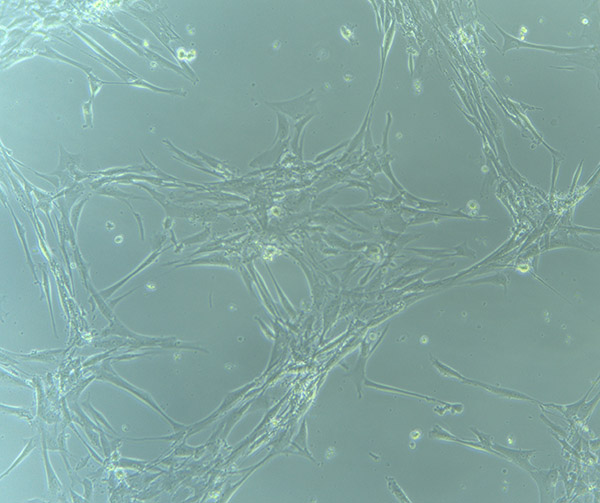
100 x phase contrast microscope image of HBVP cells via ScienCell.
These cells are a commercially available cell line and routinely used by the group for stroke research. The advantage of working with commercially available cell lines is that they have established protocols for optimum culture. As long as the research group is authorised to work with cell lines, they also do not require additional ethical clearance.
Culturing HBVP cells will not only enable me to brush up on cell culture techniques, they will also enable me to explore the behavioural characteristic of a different cell type. Indeed, Brad informed me that HBVP cells grow over microvessels and at later passage numbers, tend to form circular formations in culture.
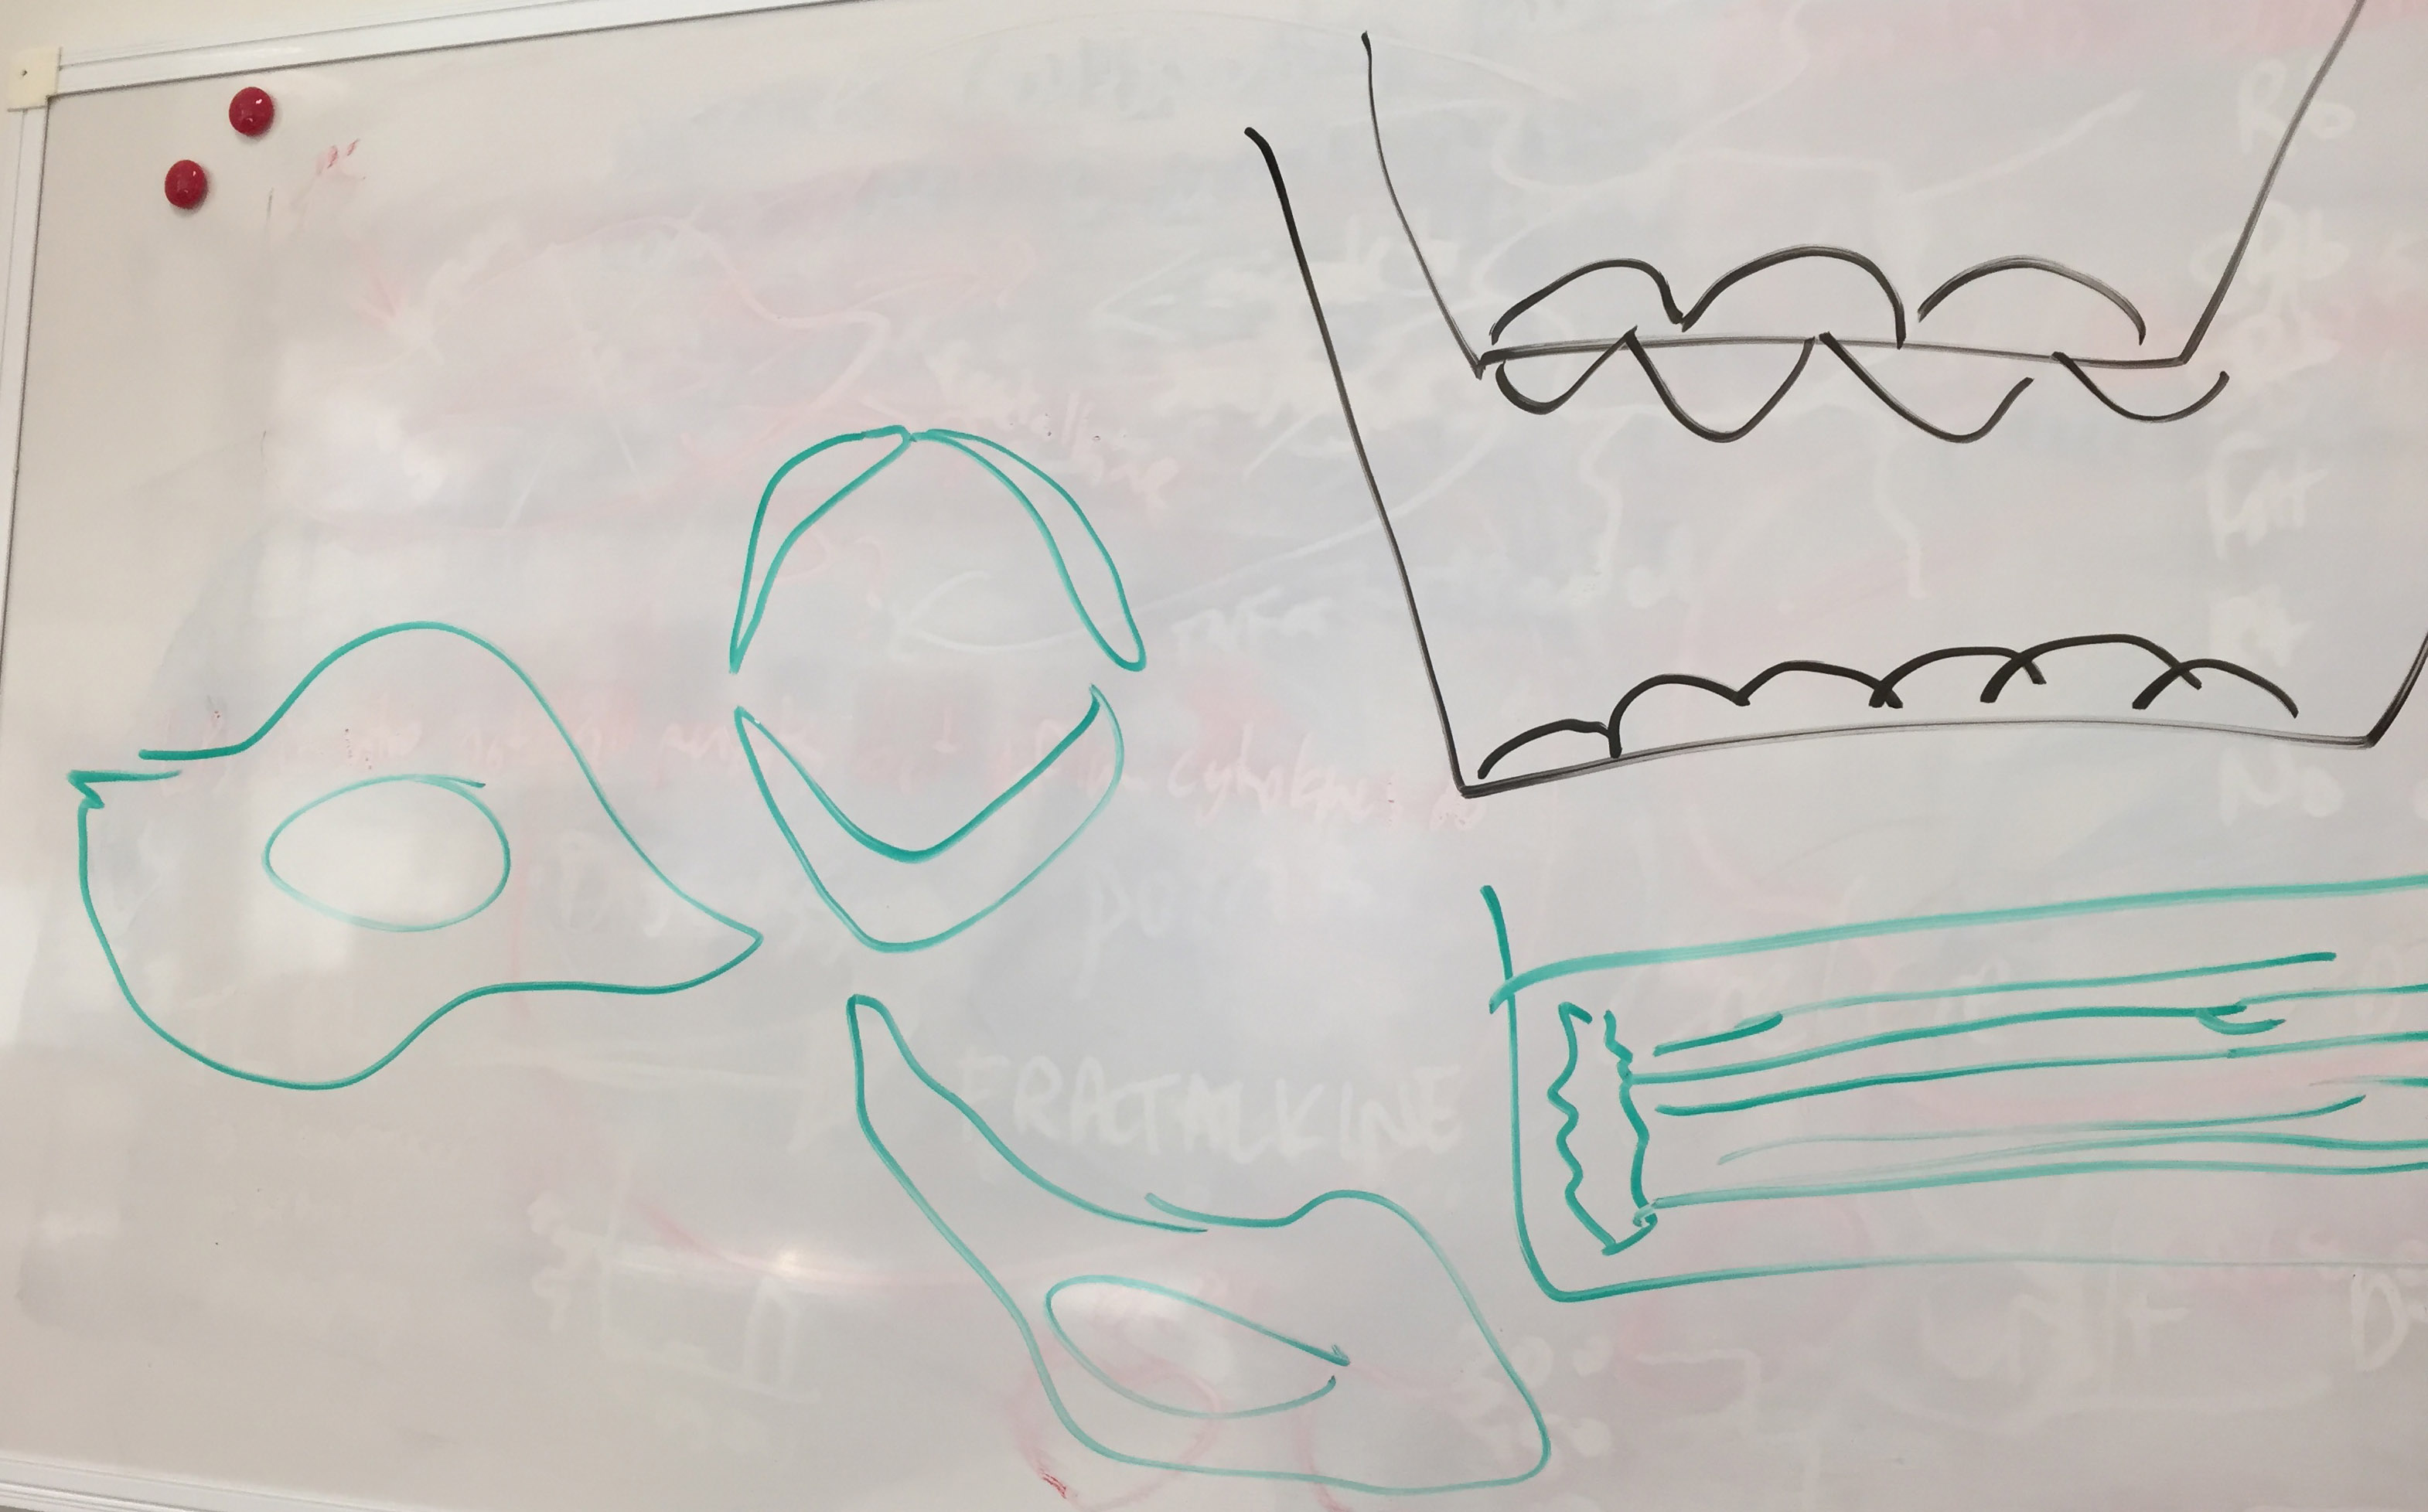
Whiteboard drawing from meeting showing circular cell formation of HBVP cells and set ups for co-culturing cells via chamber inserts and microfluidics.
Brad and his group have been keen to work with 3D vascular scaffolds as part of their research, so the project and training stage provides an opportunity to work with some of Dietmar’s biofabricated tubes from the QUT Centre for Regenerative Medicine. After all, it is always better if training can also be productive!

 Scaffolds arrived via Express Post on 16/09/21
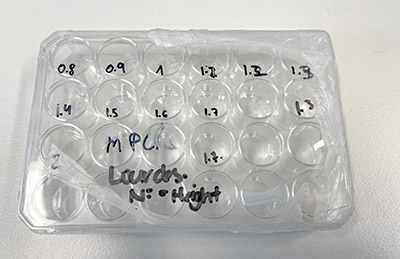 MPCL Scaffolds – tubular structures at varying heights.
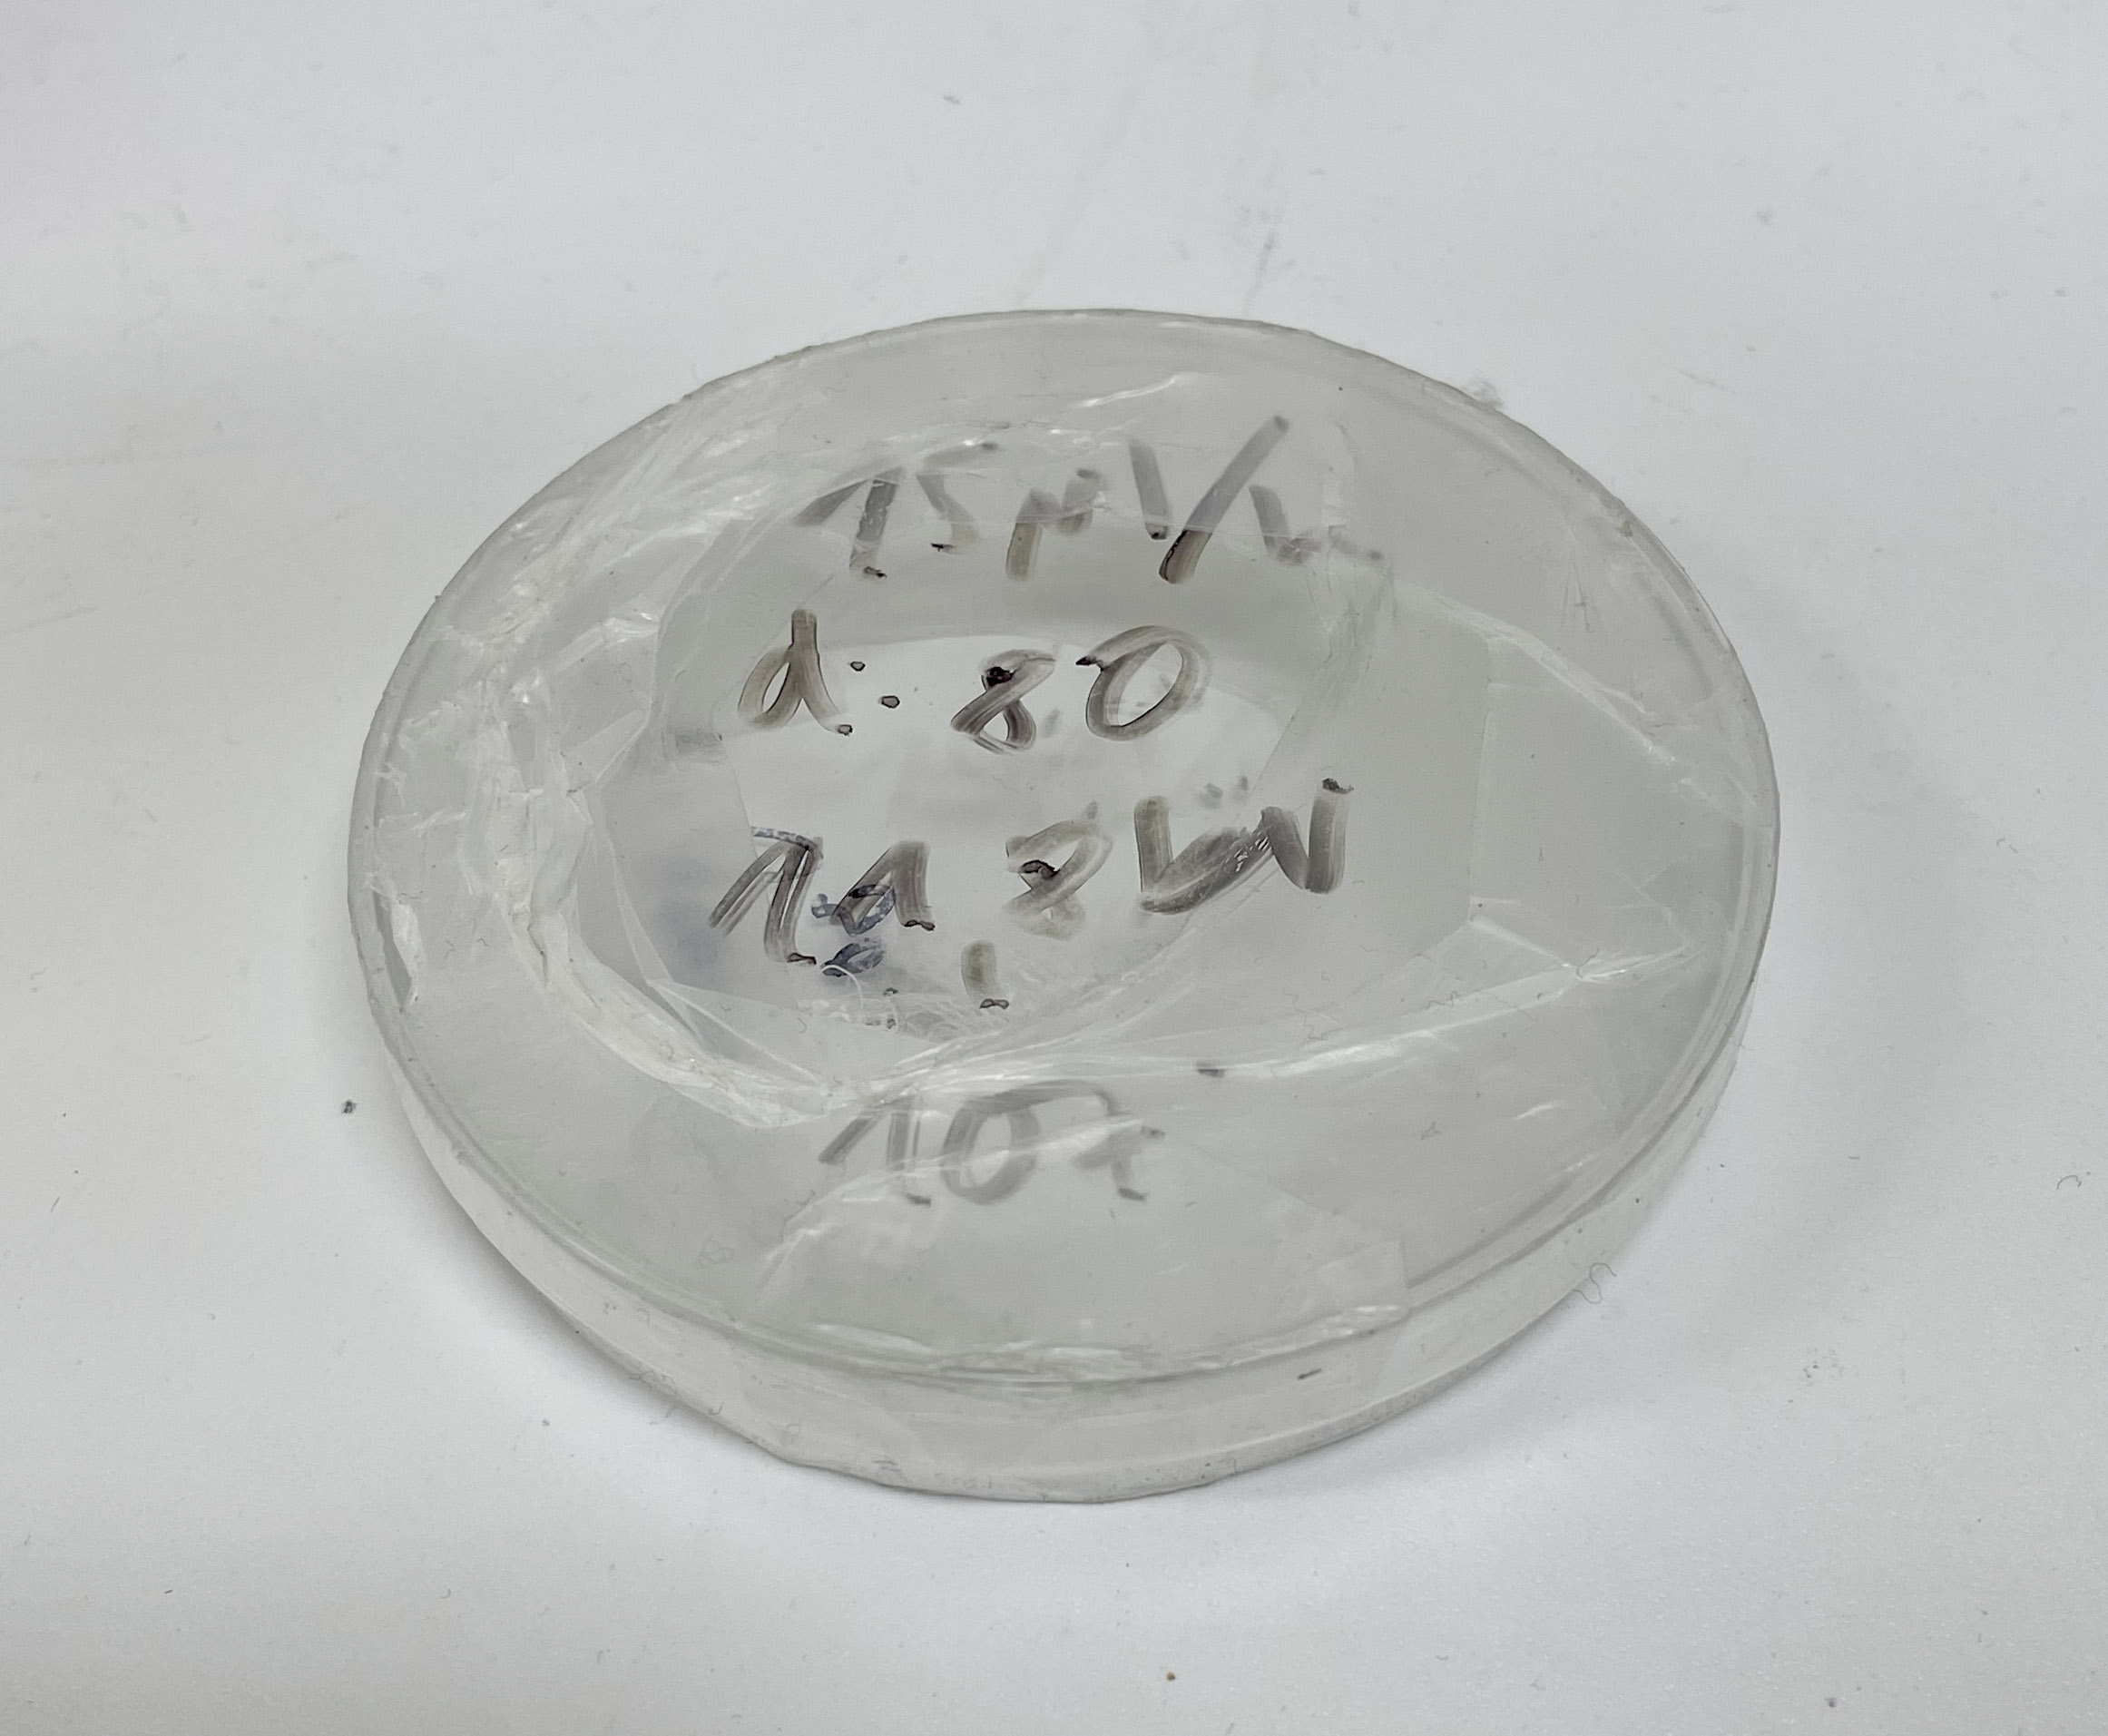 Scaffolds in Petri Dish – flat square structures.
 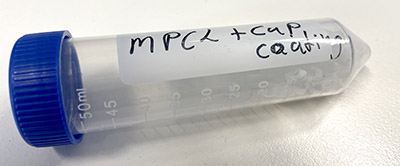 MPCL+CaP coating
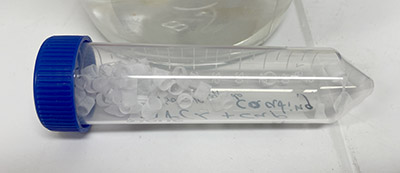 MPCL+CaP coating – tube structures.
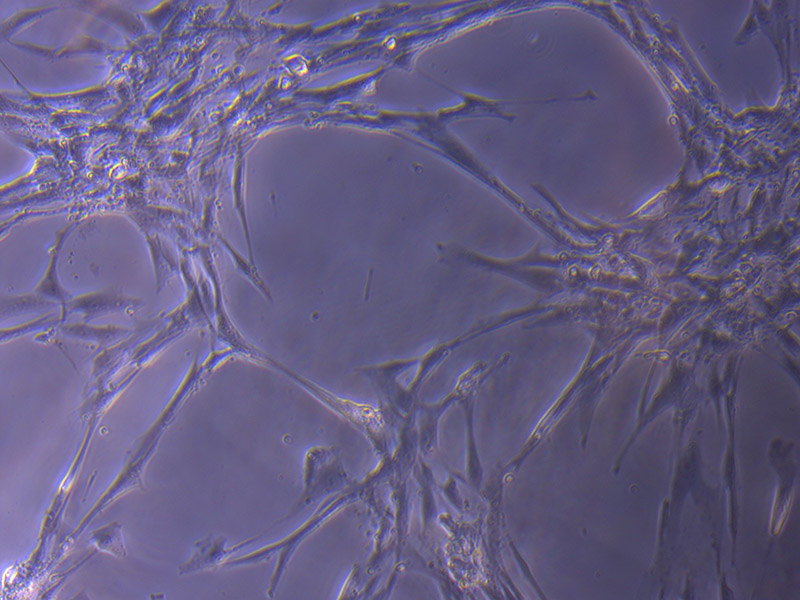
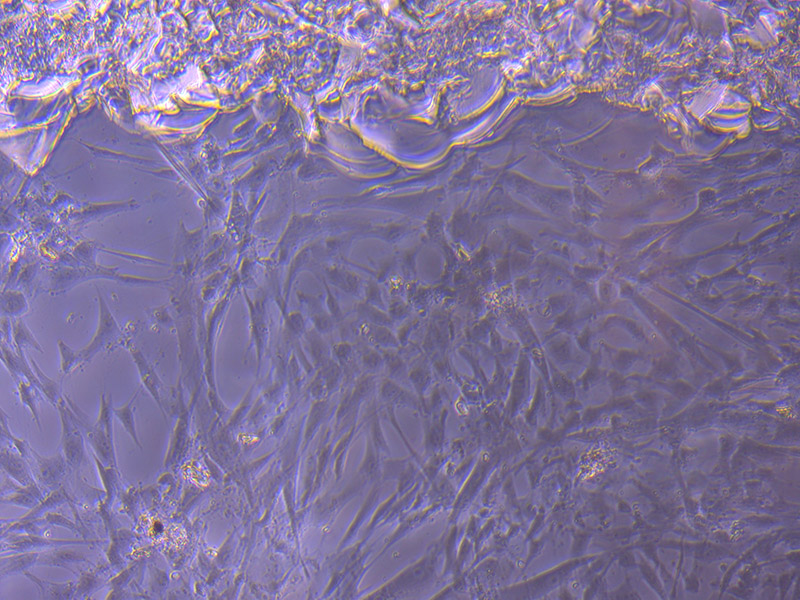
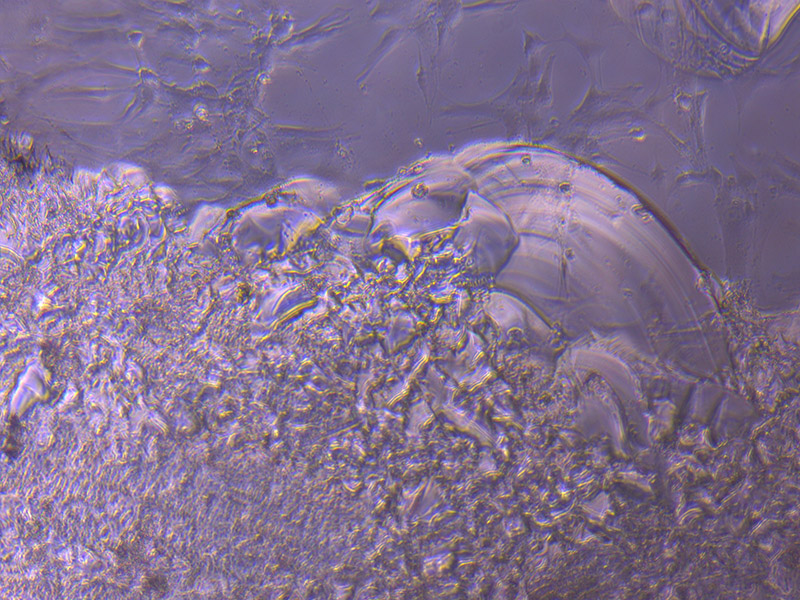
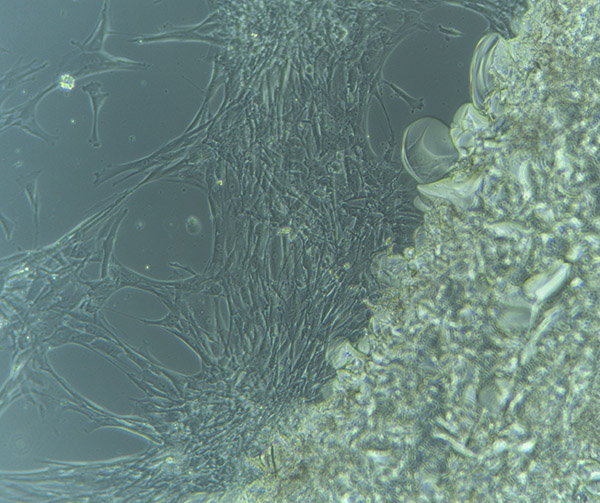
 HBVPs growing in T75 Flask – 13/9/21