Tag Archives: cell lines

It’s official – they’re iPSCs now!

We have good attachment from both plates. This is excellent and Ash indicated that we can now officially stop calling them RPs (reprogrammed cells) and refer to them as iPSCs.

My cells passed by Ash: iPSC 06/05/22

iPSC 06/05/22

iPSC 06/05/22

iPSC 06/05/22

iPSC 06/05/22

iPSC 06/05/22

Svenja’s Plates: iPSC 06/05/22

iPSC 06/05/22

iPSC 06/05/22

iPSC 06/05/22

iPSC 06/05/22

iPSC 06/05/22

As you can see from the images, Ash’s colonies were larger and more uniform. In the future I will need to increase the size of my gridlines and aim for more uniform sizes of cell sections. It’s all part of the learning process. For now, I am just happy that my cells in both plates attached.

My turn passaging cells

It was my turn passaging cells today using the dispase method demonstrated by Ash yesterday.  To gain a bit more experience, I passaged both dishes (Dish #1 and parent plate Dish #2). While the process went well overall, I definitely still need a bit of practice with my needle technique.

Gridding cell colonies with needle
Slightly ‘scratchy’ gridding of cell colonies with the needle on 05/05/22 viewed at .63 X magnification.


First Passage

Today, we need to passage the first, more established plate – Dish #2. The first passage is always a little risky as it takes skill to ensure attachment of the passaged cells will occur. It is also a little more complex, as we have a lower number of colonies due to low number of initial PBMCs (due to my early media wash error).

As such Ash has kindly offered to do the first passage  to ensure viable colonies moving forward. I will passage Dish #1 tomorrow as the colonies need a little more time to grow.

We are using the dispase method to passage the cells as this will enable a careful selection of iPSC-like cells only. This involves incubating the cells with the  dispase protease to gently dissociate the cells from the coated dish surface.  Once the cells are less attached, good iPSC-like cell areas are selected and gridded up into uniformly sized sections using a needle (around 200 – 500 microns in size = 500 – 1000 cells).

Colony with cleaned centre
Colony with cleaned centre ready for selection and passage viewed at 1 X magnification. 
Colony gridded with needle
iPSC-like colony gridded with needle during passage on 04/05/22.
Another iPSC-like colony gridded with needle during passage on 04/05/22.

Once colonies are gridded into sections, they are gently removed with a spatula. The aim is to maintain the cells in sections so that they will be more likely to attach and grow new colonies.

Gently lifting cells with spatula
Gently lifting cell sections with spatula.

Once the desired areas have been lifted with the spatula, the cell clusters are swirled together and collected with a pipette for transfer into a new Petri dish.

Lifted cell clusters
Lifted cell clusters ready for transfer to new Petri dish.
Pipette collection of cell clusters
Pipette collection of cell clusters.

Once transferred, the cell sections are dispersed throughout the plate to avoid clustering of colonies. At this stage, we will hold on to the parent plate until we are sure that the cell sections have attached.

Preparing for first passage

We’ve been inspecting the cells on a daily basis to determine when to passage (split) the cells into a new culture plate. The first passage is a crucial to establish good colonies and will likely need to happen on Wednesday 04/05/22. Prior to passage, Ash cleaned the plates to remove overgrown central areas of the colony and undesirable differentiated (i.e. non iPSC-like) cells.

Unwanted Cells
Example of undesirable non iPSC-like cell colonies viewed at 4 x magnification.
Bad colony
Bad colony with lots of differentiation and no clear iPSC-like edges viewed at 4 X magnification.

The cleaning process involved using a 200μl pipette tip to gently lift/scrape the unwanted cells, followed by a wash and media change to remove the cell debris to ensure that they do not attach to the plate again.

Cell colony with central area removed
Cell colony with central area of overgrown cells removed on 03/04/22 for passage on 04/04/22 viewed at 4 X magnification.


Final Sign Off

We are minor amendments away from final IBC approval to move ahead with iPSC and Cell Immortalisation processes.

I previously compiled a list of possible options based on available kits and associated literature. Brad and Jo-Maree recommended companies with Australian distributors due to delays in International shipping due to COVID. With this in mind, we identified the ThermoFisher
Epi5 Episomal iPSC Reprogramming Kit for reprogramming the fibroid (Tumour Baby) cells into a stem cell like state. The online product listing also has a comprehensive manual which provides clear instruction regarding the required materials and reagents and protocol. Epi5 Protocol

Overview of key steps in the reprogramming process from Epi5 manual.

We can now move forward with ordering the kit and other required/associated elements.

For cell immortalisation Brad also recommended we use a company with an Australian outlet.  Fischer Scientific may be the best option as they have a range of Alstem Immortalization  Products. We have identified the SV40 T Antigen and hTERT Cell Immortalization Kits as the most applicable for our cells.

Both kits have good product documentation and manuals available via the Alstem Bio website.

My preference is to ue the SV40 T Antigen. The protocol looks deceptively simple:

  1. Plate the target cells in one well of 6-well plate at density of 1-2 x 10⁵ cells/well.
  2. The next day, take one vial of the concentrated recombinant lentivirus from -80 °C freezer and thaw it on ice.
  3. Infect the target cells in a 6-well plate with 4-20 μl/well viral supernatant in the presence of 4 μl TransPlus reagent (ALSTEM, cat#V050). Note: TransPlus reagent is a polycation that neutralizes charge interactions to increase binding between the pseudoviral capsid and the cellular membrane.
  4.  The next day, aspirate medium containing viral supernatant and add the appropriate complete growth medium to the cells and incubate at 37 °C.
  5. After 72 hours incubation, subculture the cells into 2 x 100 mm dishes and add the appropriate amount of puromycin for stable cell-line generation.
  6. 10-15 days after selection, pick clones for expansion and screen for positive ones. Note: Since the virus-titer will decrease significantly, we recommend that adding 25% v/v virus protection medium (ALSTEM, cat# VF050) into the thawed supernatant before frozen again for future use.

See: https://www.alstembio.com/web/protocol/SV40_T_Antigen_Cell_Immortalization_Kit_Protocol.pdf 

I hope it works out as simply as this sounds…

Fixed Cells

The HBVP cells in the Petri Dishes were ready for fixing on the 14/09/21. I followed a very basic protocol which involved removing the media and and fixing the cells with 4% Paraformaldehyde (PFA) solution for an hour.

After an hour the PFA was removed (in the fume hood in a special waste container) and 5mL PBS added to keep the cells moist and avoid them drying out. I will  stain them later with H&E stain when Jo-Maree has time to show me through histology.

HBVP Clear Petri Dish Fixed

Fixed HBVP cells in clear Petri dish. Image taken 16/09/21

HBVP Sigil Petri Dish Engraved Fixed

HBVP Sigil Petri Dish Engraved Fixed

Fixed HBVP cells in engraved sigil Petri dish. Image taken 16/09/21

Overall the cells seem quite well preserved. However, the cells in the engraved Petri dish with the sigil for “protection from accidents” had the best outcome….maybe sigils make me more vigilant.

HBVPs growing well

The Poly-L-Lysine coating has worked well to encourage growth of HBVPs on the base surface of the glass Petri dishes.  They look comparable to the T75 Flask cells.

HBVPs growing in Glass Petri Dish
HBVPs growing on base of glass Petri Dish (no engraving) coated with PLL 13/9/21
HBVPs in T75 Flask HBVPs growing in T75 Flask – 13/9/21

Cells are also growing well in the engraved Petri dishes although it is hard to see the cells on the engraved surface.

Engraved Petri Dish
HBVPs growing on base of glass Petri Dish (with engraving) coated with PLL 13/9/21

To better get a sense of where the cells are growing, we will fix them with 4% Paraformaldehyde (PFA) and then stain them with hematoxylin and eosin (H&E). Hematoxylin has blue-purple color and stains cell nuclei.  Eosin is pink and stains proteins more generally.

HBVPs ready and on the go!

I am now well into culturing thanks to Jo-Maree’s expert guidance. I am happy to say that it is all coming back to me and I actually feel pretty confident navigating the labyrinthian lab layout and doing routine cell culture.

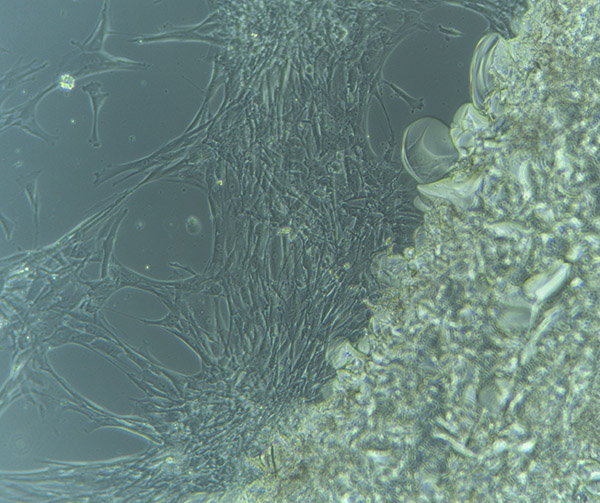
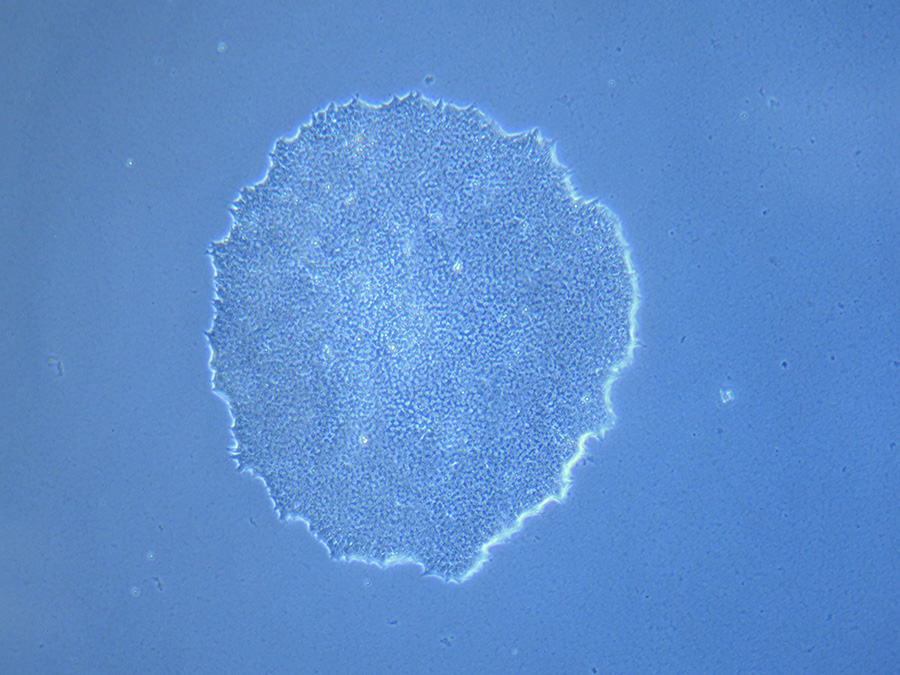
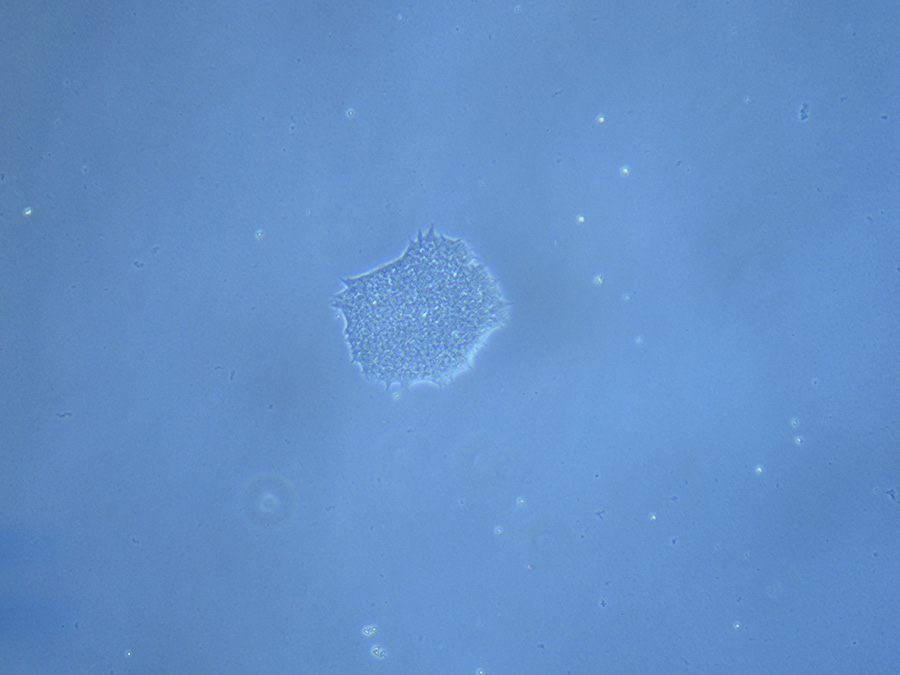
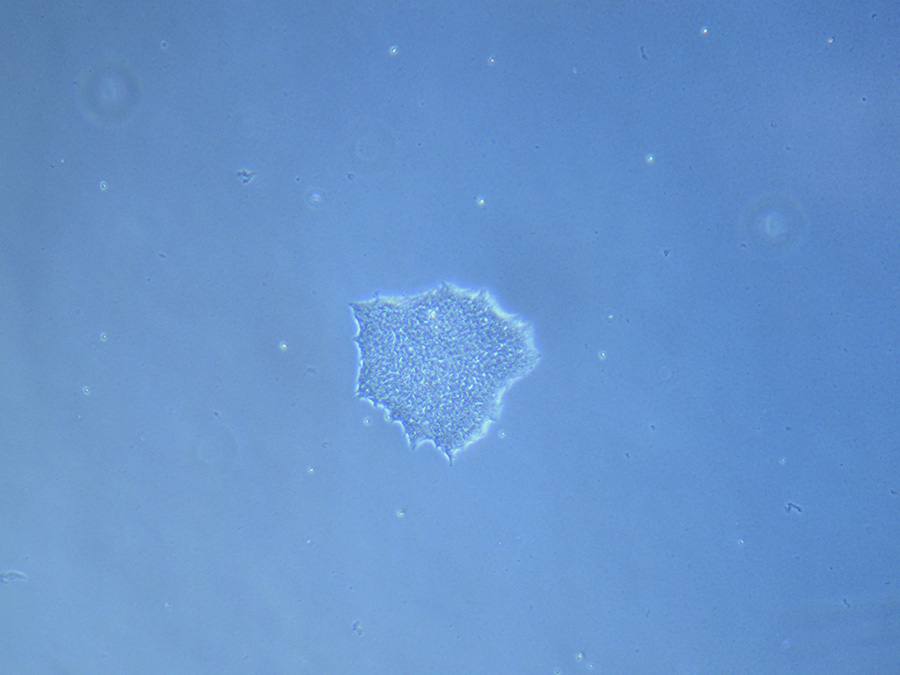
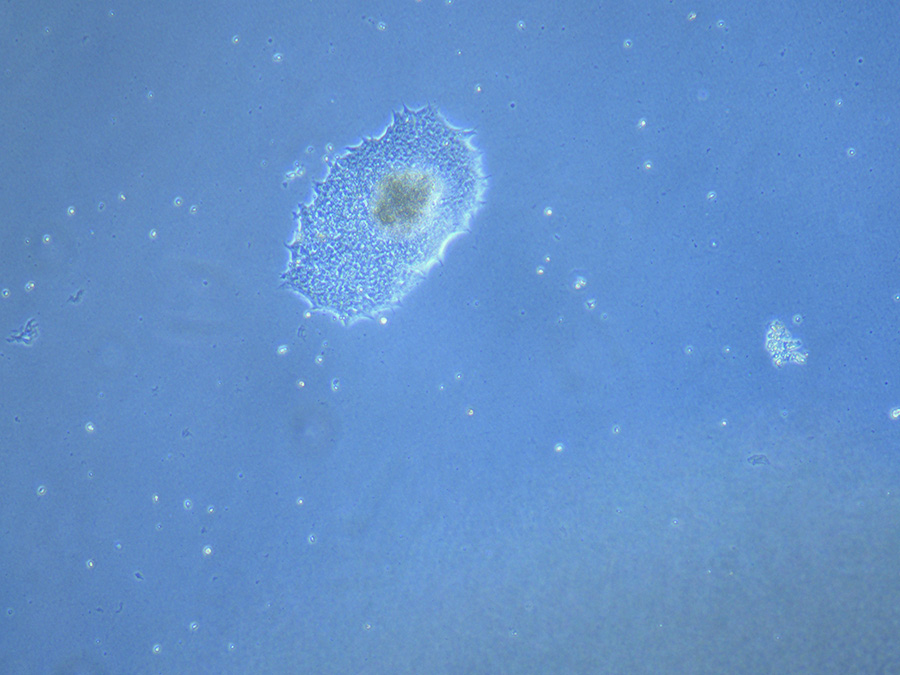
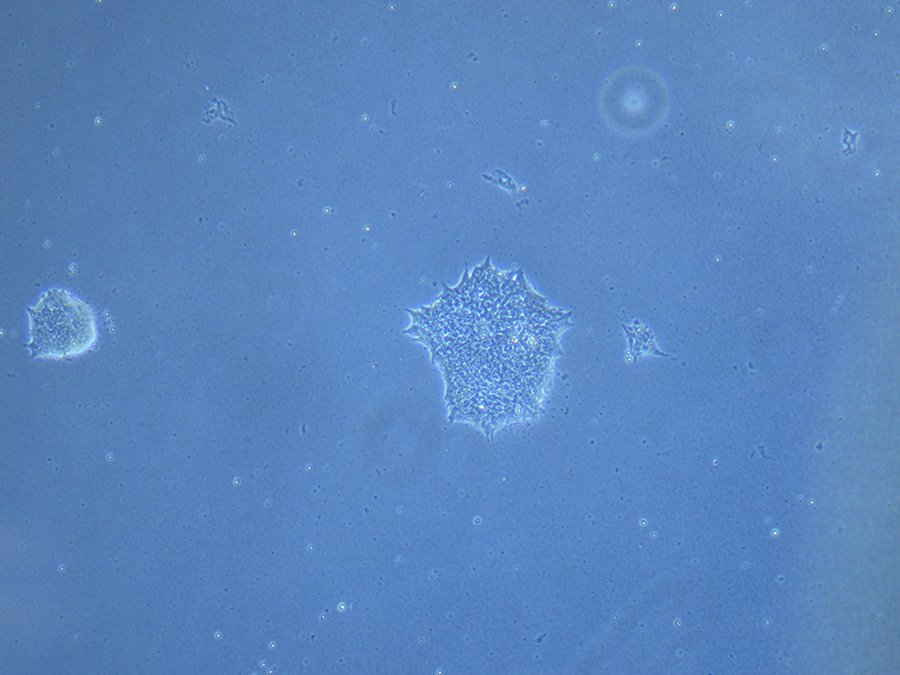
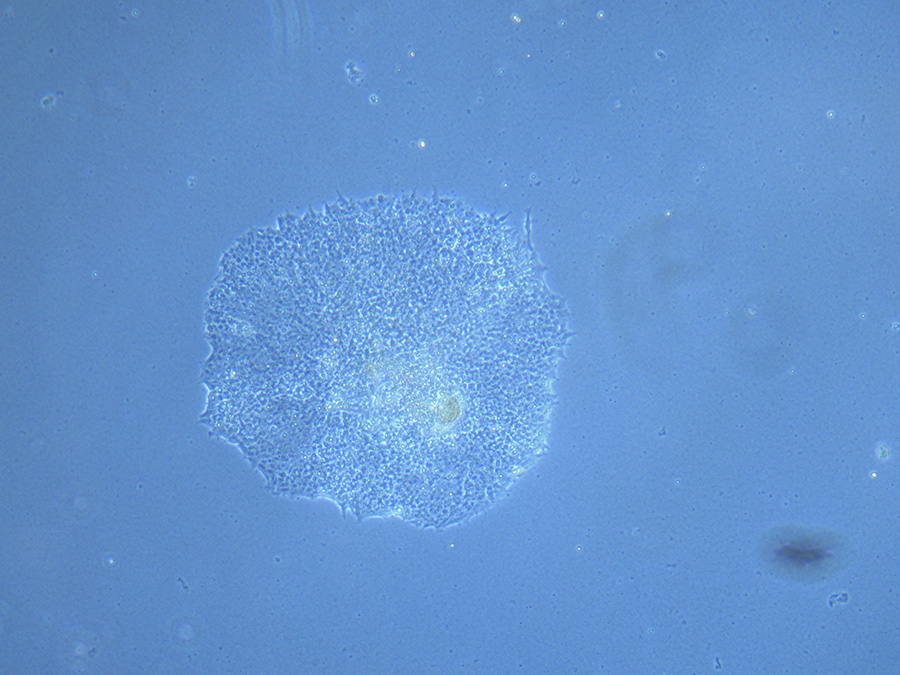
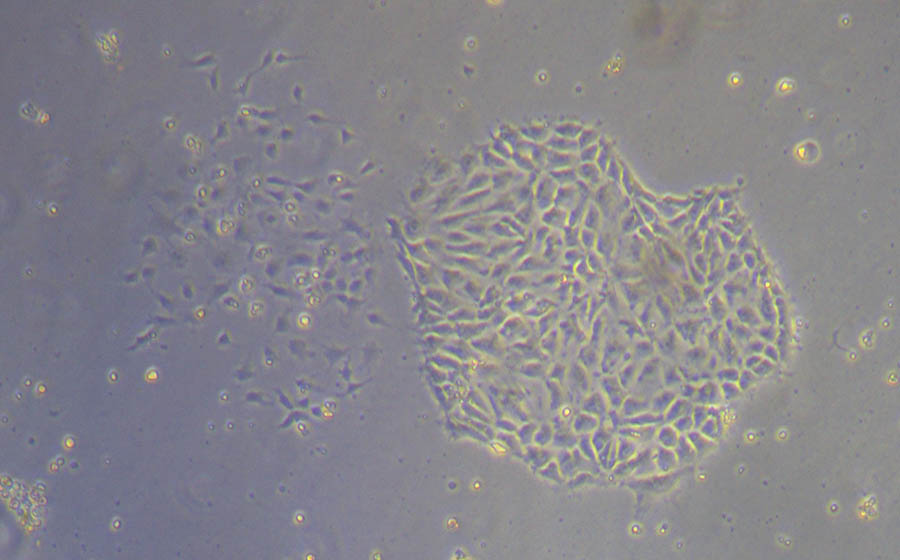
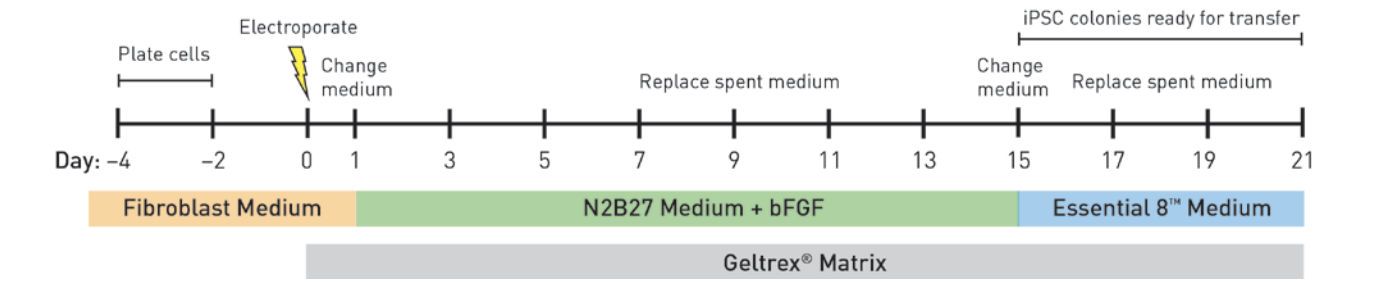
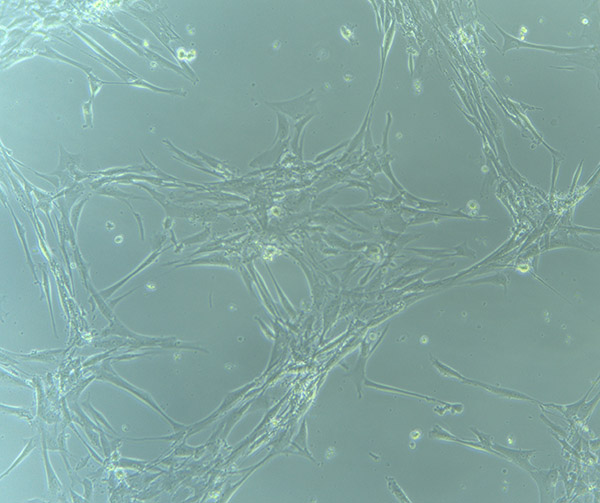
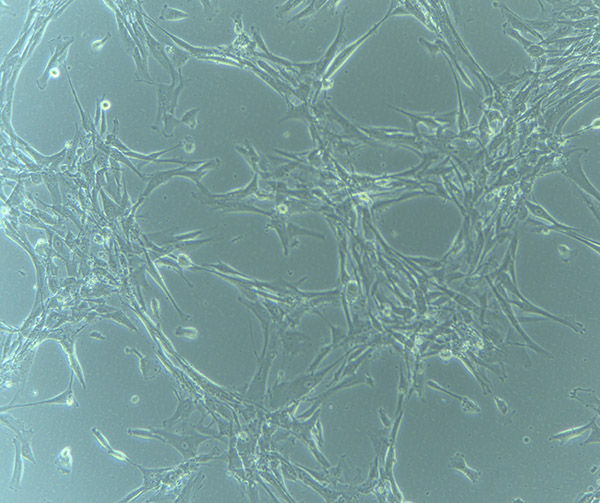
I also have my own stock of HBVPs in the Stem Cell lab. As you can see they are quite spindly and form little ‘star clusters’ as they grow:

HBVP_P5_090921

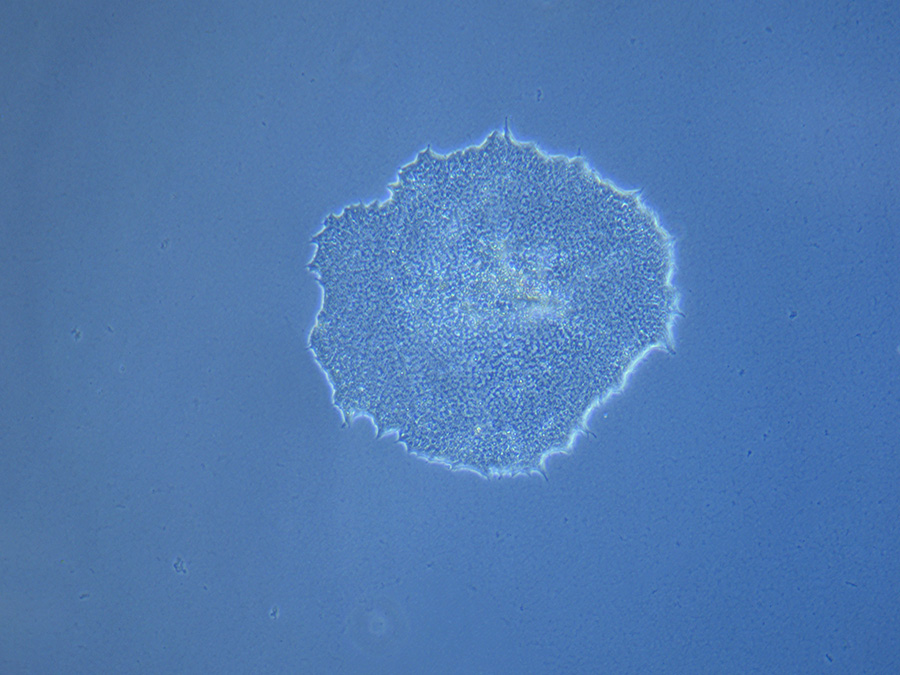
Brightfield Microscope image of HBVP cells (P5 – passage no. 5). These cells were passaged on 9/9/21.

These cells grow in Complete Pericyte Medium (CPM) – Pericyte Medium supplemented with FBS, Antibiotics and Growth Supplements. When keeping a lab journal, it is important to record the Lot no. for all items. This allows researchers to track any variations between batches. It is also vital to record the opening date.

Complete Medium

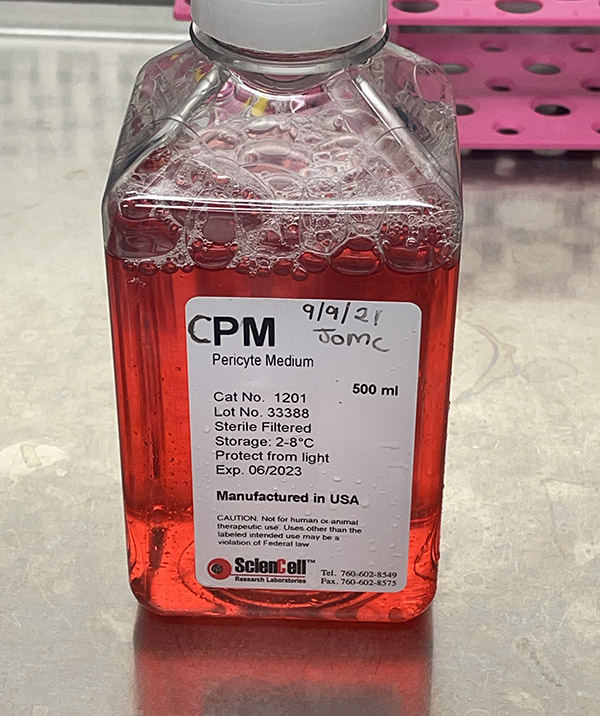
Complete Pericyte Medium – prepared on 9/9/21

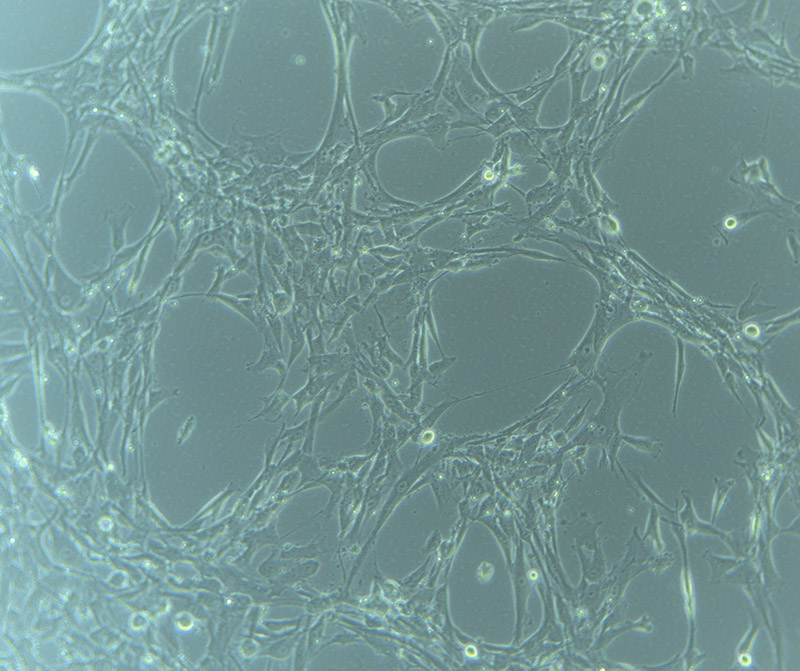
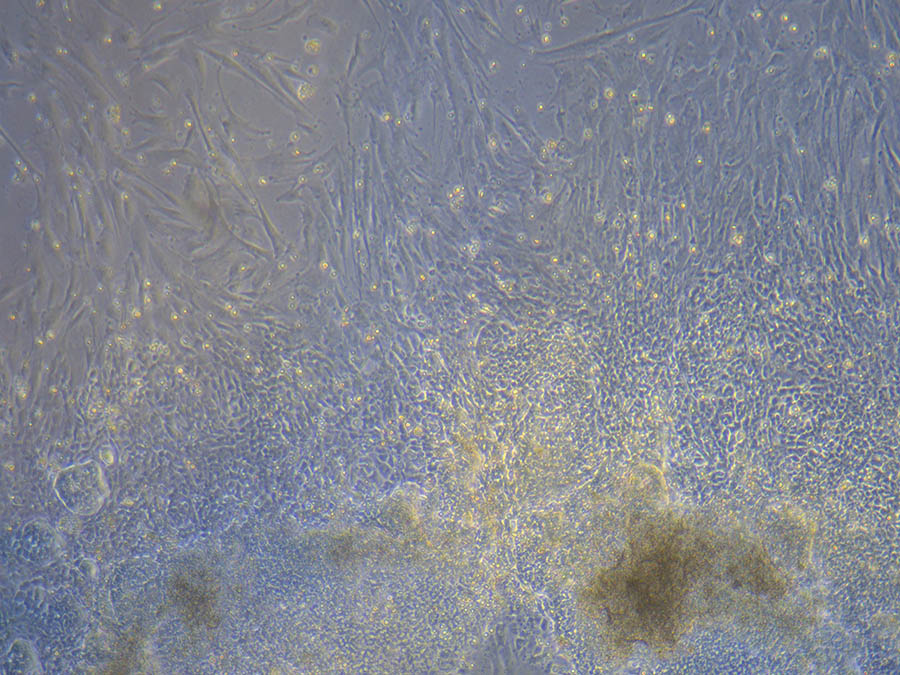
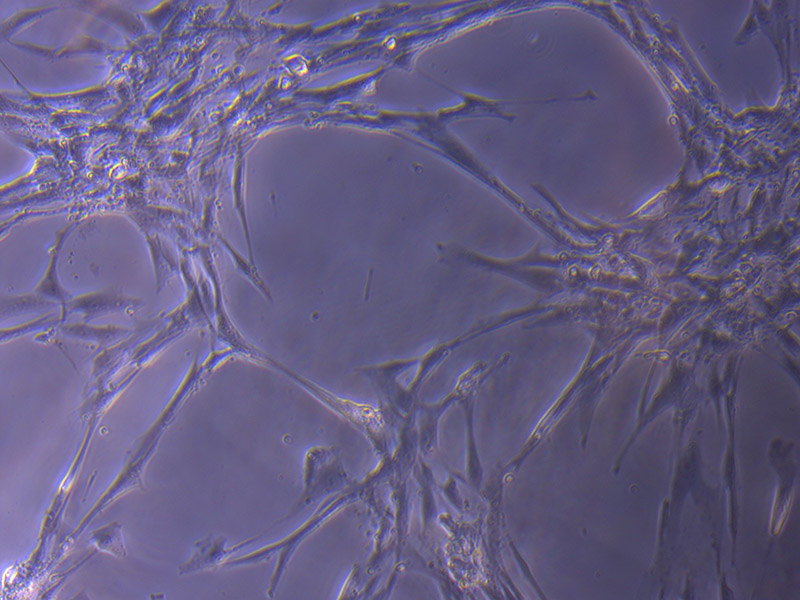
The HBVPs grow in standard T75 Tissue Culture flasks in 15mL of CPM (with cell type, passage number, date of passage and researcher initials listed on the vessel).

HBVP cells

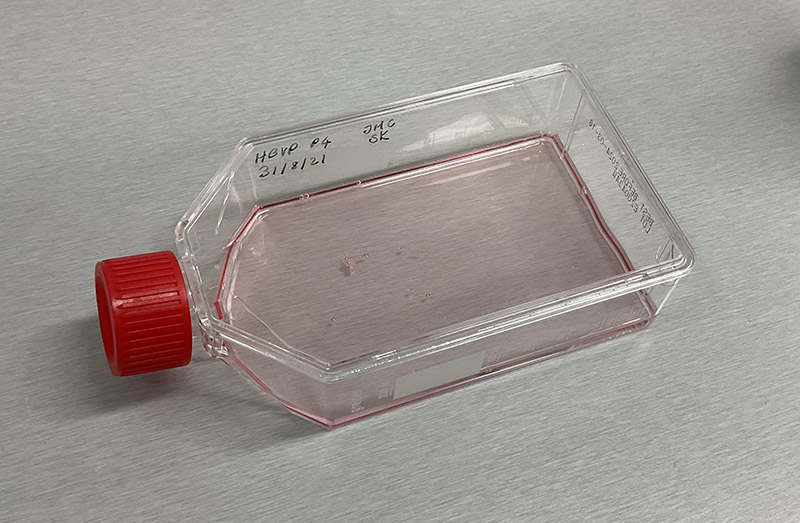
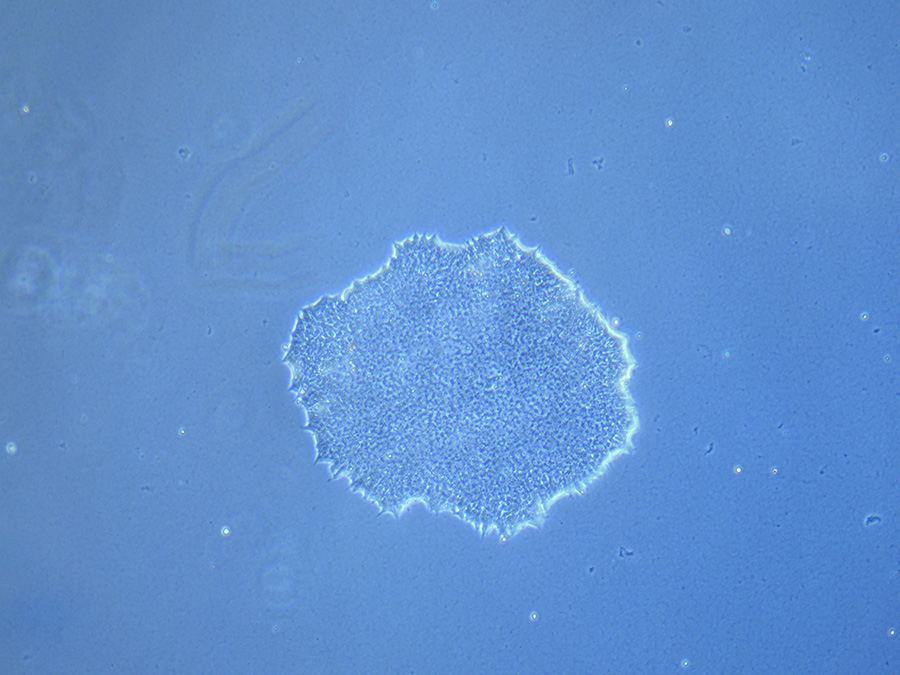
HBVP cells (P4 – passage 4) in T75 Flask. 

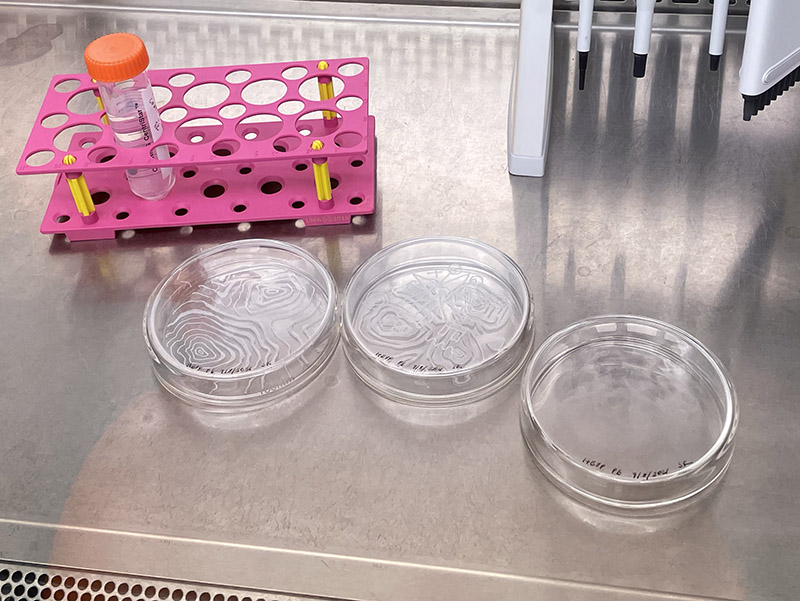
As part of the experimentation process, I prepared  three 90mm glass Petri dishes.

Protection from AccidentsI engraved the base of two dishes with a ripple pattern to see if the engraving would impact on the growth/adherence of the cells. Inspired by the awesome work of Whitefeather Hunter (and my previous collaborative work with sigils), one of these dishes also had an engraved symbol to aid protection from accidents.

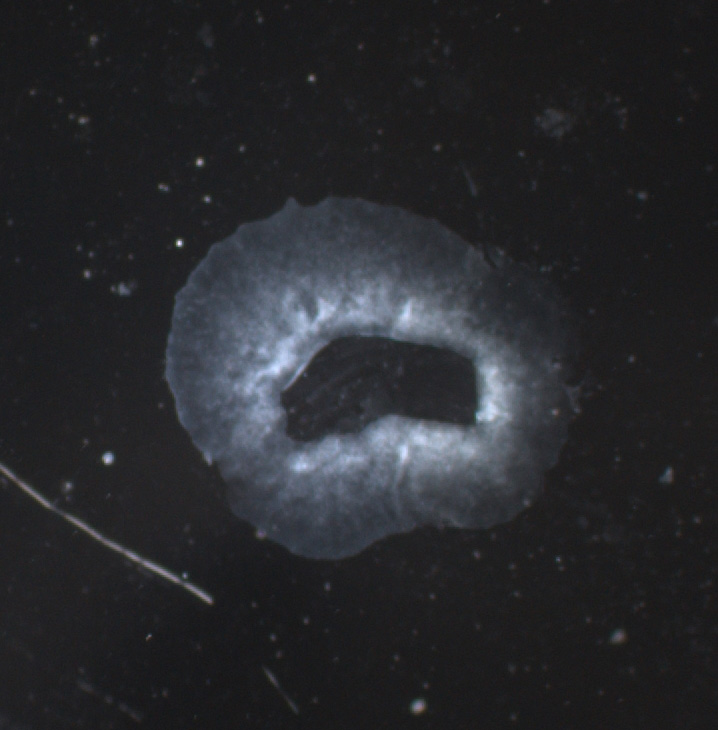
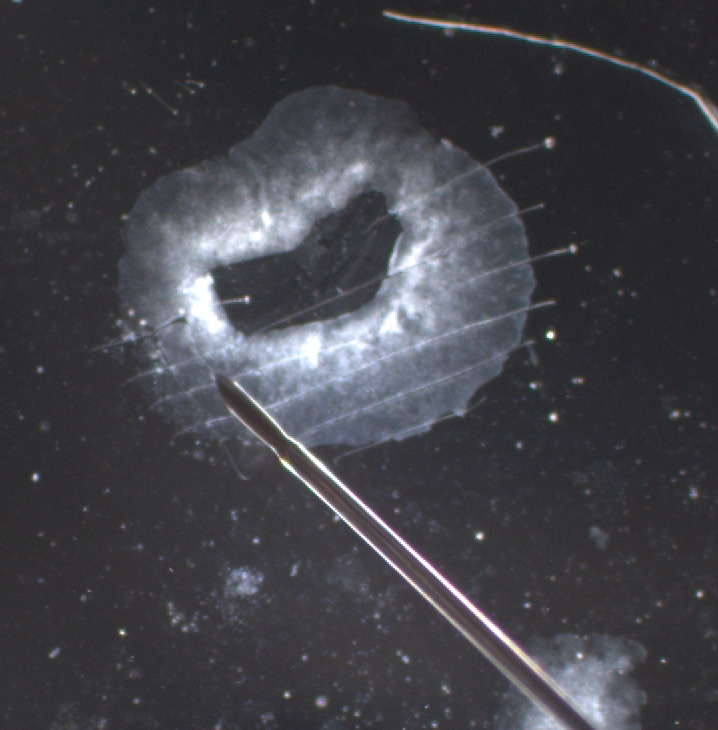
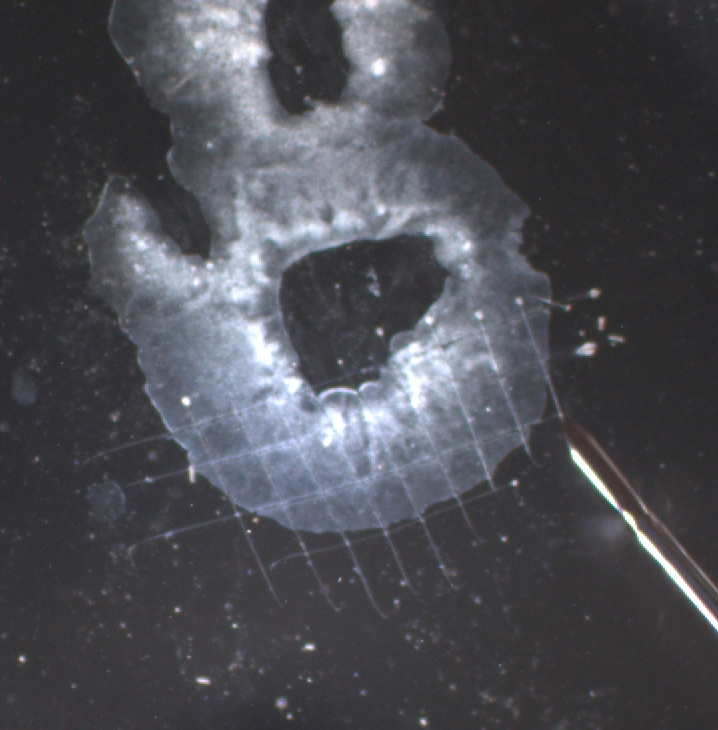
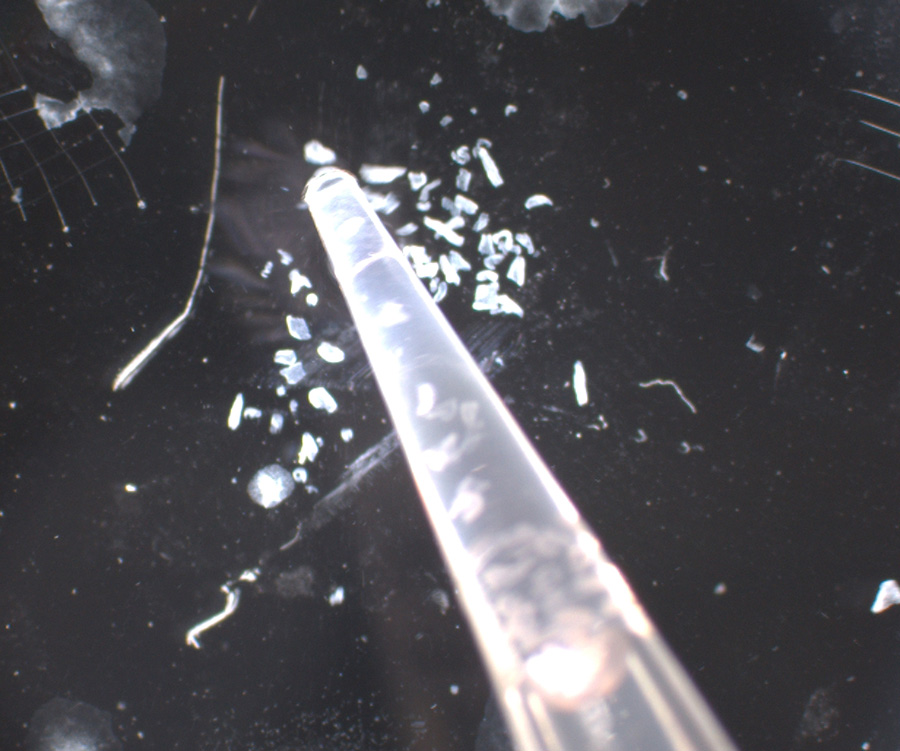
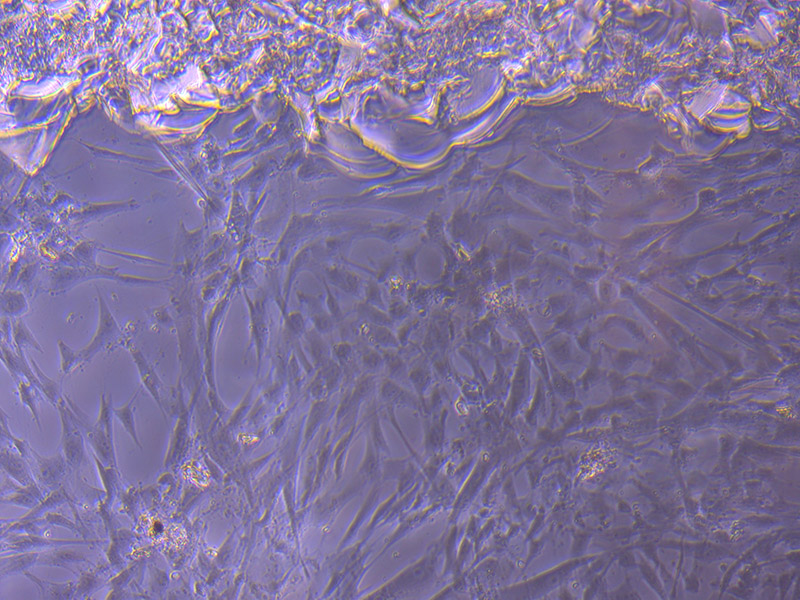
As you can see below, the engraving looks quite rugged and sharp as it was done by hand. I am curious to see if the cells will grow on this area.

Engraved Glass

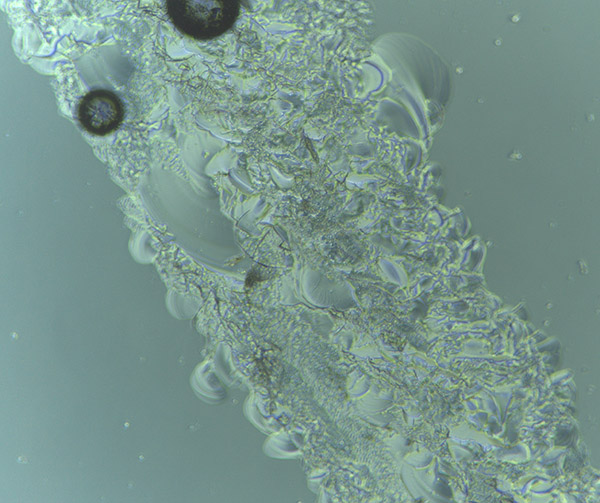
Brightfield microscope image of the engraved glass.

To sterilise the dishes for cell culture, they are placed into paper autoclave bags and sealed with autoclave tape.  They are then placed into an autoclave that steam sterilises the vessels at high temperature. The black lines on the tape indicate that the process was successful and the correct temperature was reached.

Autoclaved Petri Dish

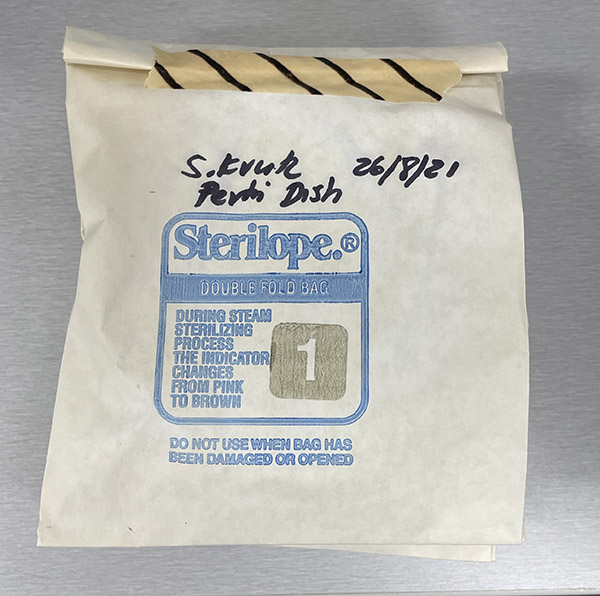
Single Petri dish in autoclave bag – dated 26/8/21

Most cells do not adhere well to untreated plastic or glass surfaces. As such we added a Poly-L-lysine coating to aid cell adherence.

poly-l-lysine

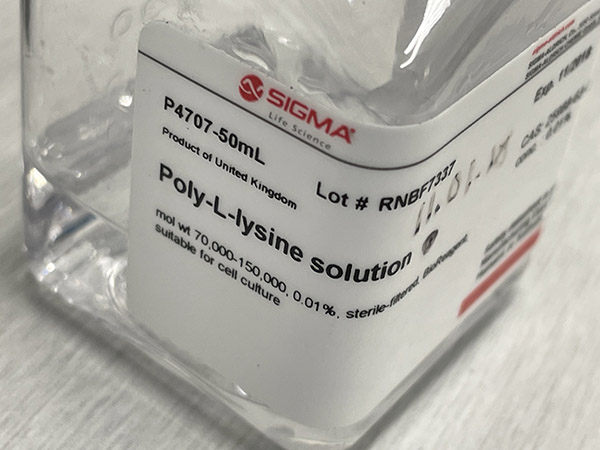
Poly-L-lysine solution.

The Poly-L-lysine solution was diluted with sterile H2O to make up 30mL total (10mL for each Petri Dish).

Coating

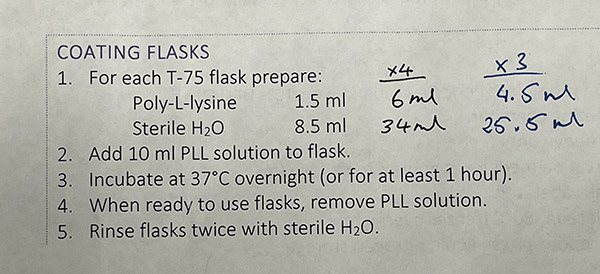
10mL of the Poly-L-lysine solution was added to each dish and then incubated for an hour.

Petri Dishes

After an hour, I removed the Poly-L-lysine solution and washed each dish twice with sterile H2O.  I passaged (split) the HBVPs and added approx 1 million cells (in 1mL media) to each Petri Dish and one T75 Flask (plus 14mL media).
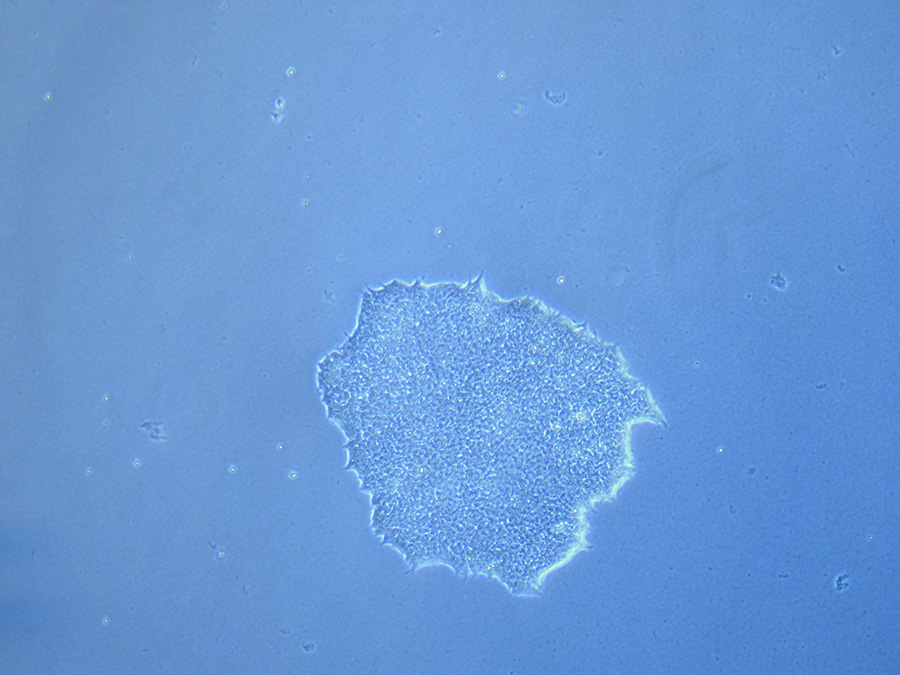
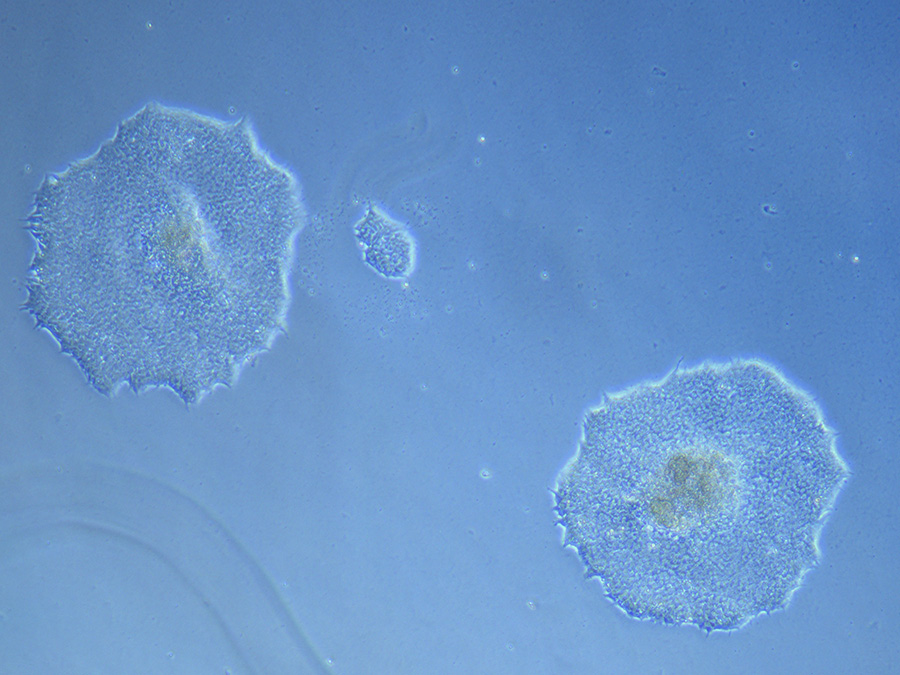
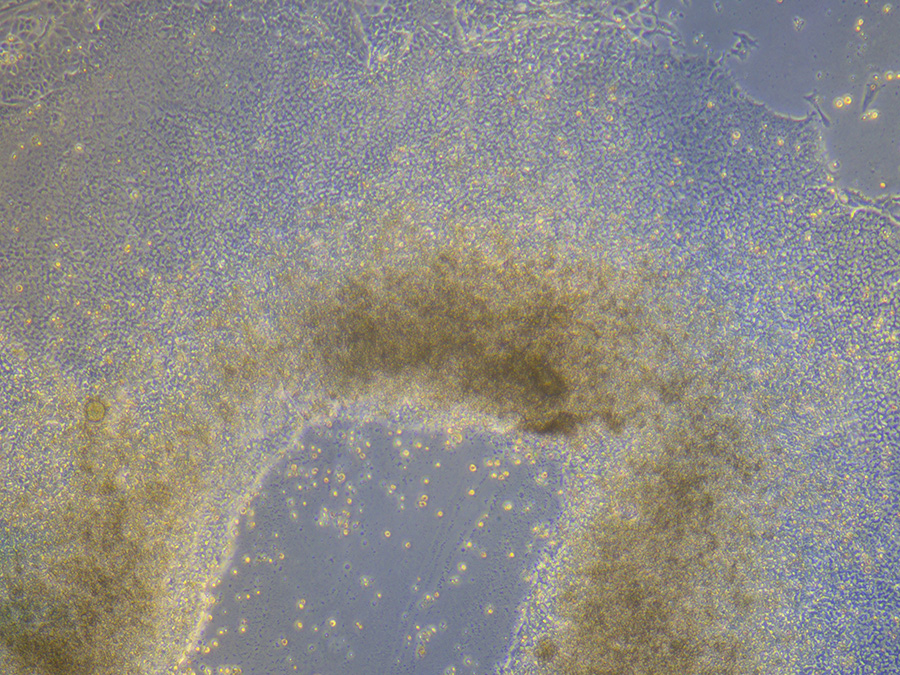
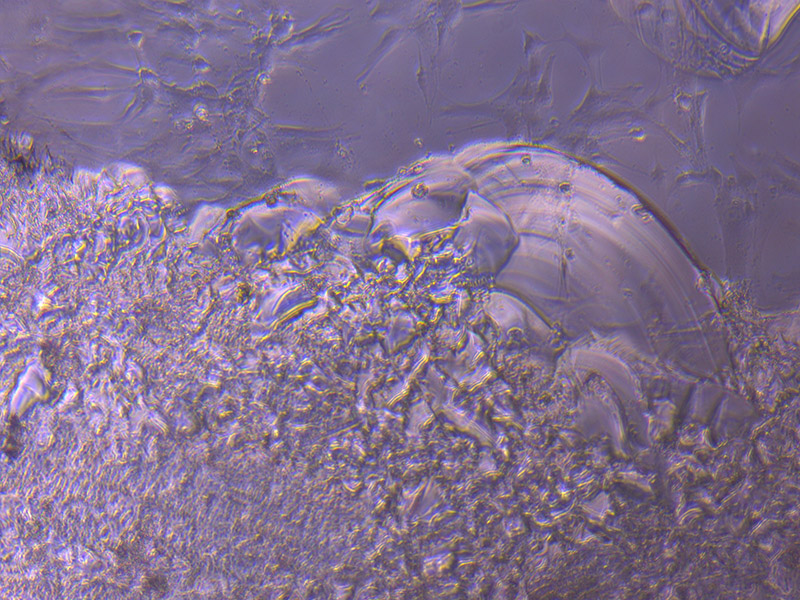
 

Slight delay due to (non-COVID) cold…

I’ve had a little radio silence of late due to a nasty cold. My COVID test was negative but I still needed to quarantine at home until all symptoms were clear to ensure I didn’t pass it on.

Despite being sick, we have made some good project progress. Jo-Maree and I also presented our work and passions for the Handball ABC Radio Hobart segment with Joel Rheinberger.

HandBall: Jo-Maree

You can listen to the interview here: https://www.abc.net.au/radio/hobart/programs/sundays/handball-jo-maree-courtney/13531850 

The interview provides some good background information regarding Jo-Maree’s expertise in neuroscience.

Handball: Svenja Kratz

As part of my interview, it was great to have an opportunity to talk about the ANAT project and some of the project ambitions.

You can listen to the interview here: https://www.abc.net.au/radio/hobart/programs/sundays/handball-svenja-kratz/13538384


Cell Immortalisation Products

In preparation for meeting with Brad and Jo-Maree, I compiled a list of cell immortalisation products. Many of the companies listed are US, so this may impact on availability.

CELL IMMORTALIZATION KITS:

  • ALSTEMBIO: SV40 T Antigen Cell Immortalization Kit 

GENTARGET: SV40 Large T antigen  

GENECOPEIA: Cell Immortalization Reagents 

FISCHER SCIENTIFIC: Alstembio 

CAPITAL BIOSCIENCES: Lentiviruses for Cell immortalisation 

ABM: Cell Immortalisation 

BIOCAT 

CREATIVE BIOARRAY