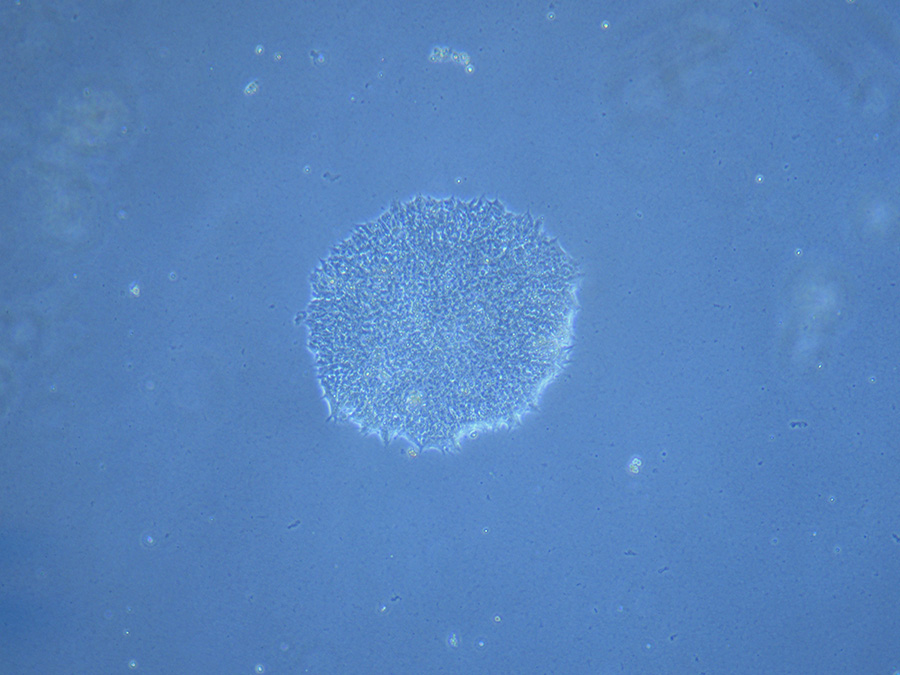
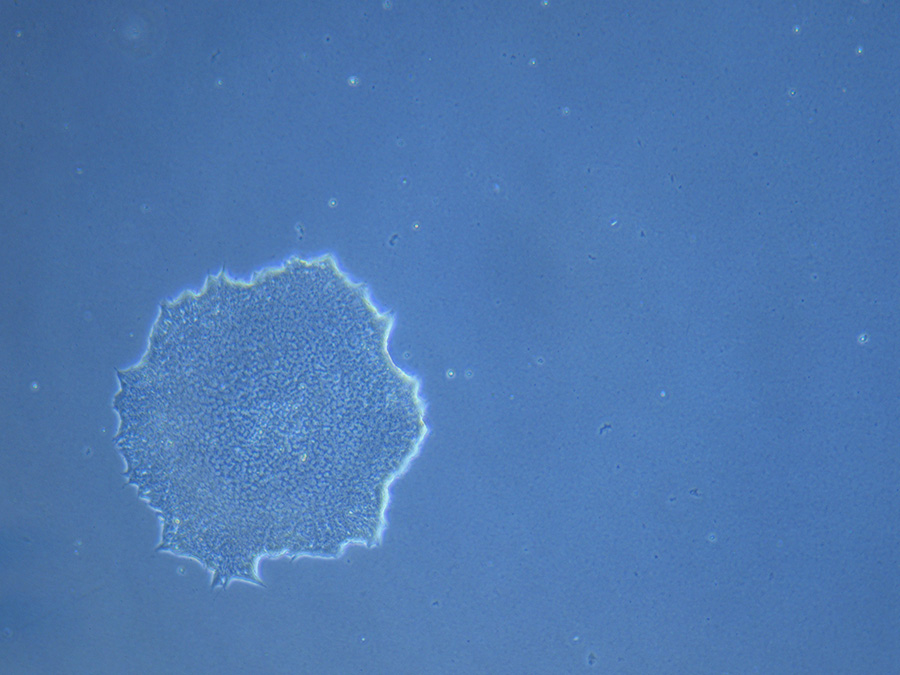
We’ve continued with our standard schedule which takes us to our regular Thursday passage time. I am happy to report that my plates are looking much better than documented previously:
Light microscope image of iPSC colony on 19/05/22Light microscope image of iPSC colony on 19/05/22Microscope image of iPSC colonies ready for passage on 19/05/22
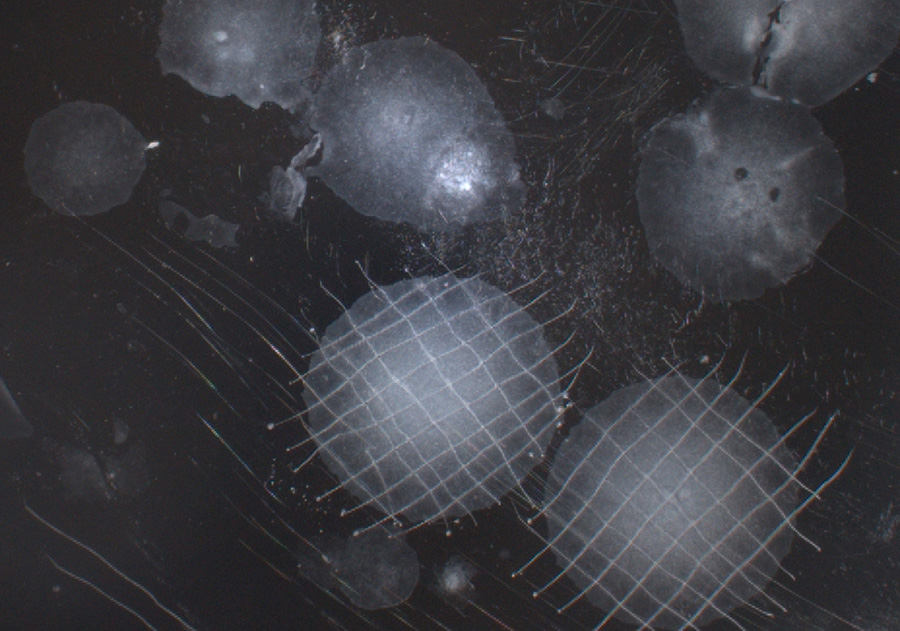
Since I have nice separated colonies, Ash suggested that I select single colonies from two plates to establish two clones (1.1 and 1.2) in separate dishes along with a third mixed (3 x colony) plate. This feels like another milestone.
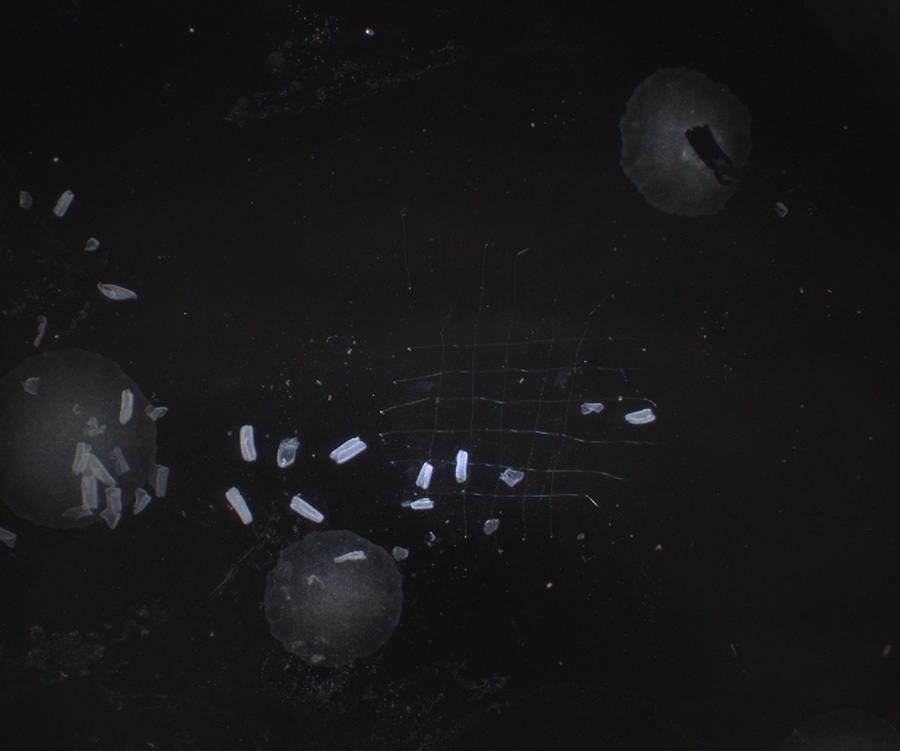
Even my gridding technique has improved 🙂
iPSC colony gridded as part of passage protocol on 19/05/22Gridded cell sections lifted for transfer to new Petri dish on 19/05/22
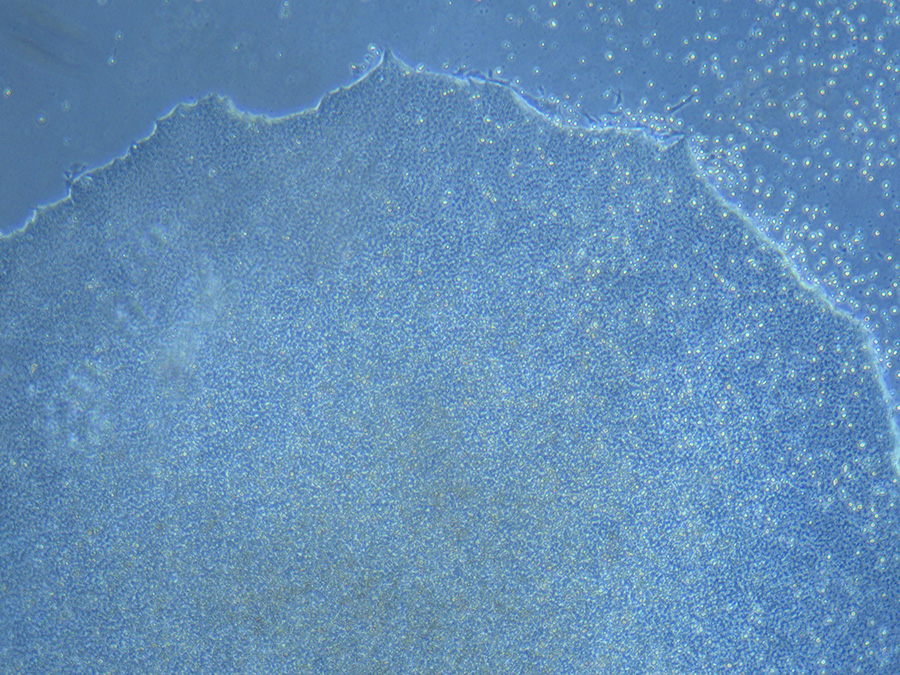
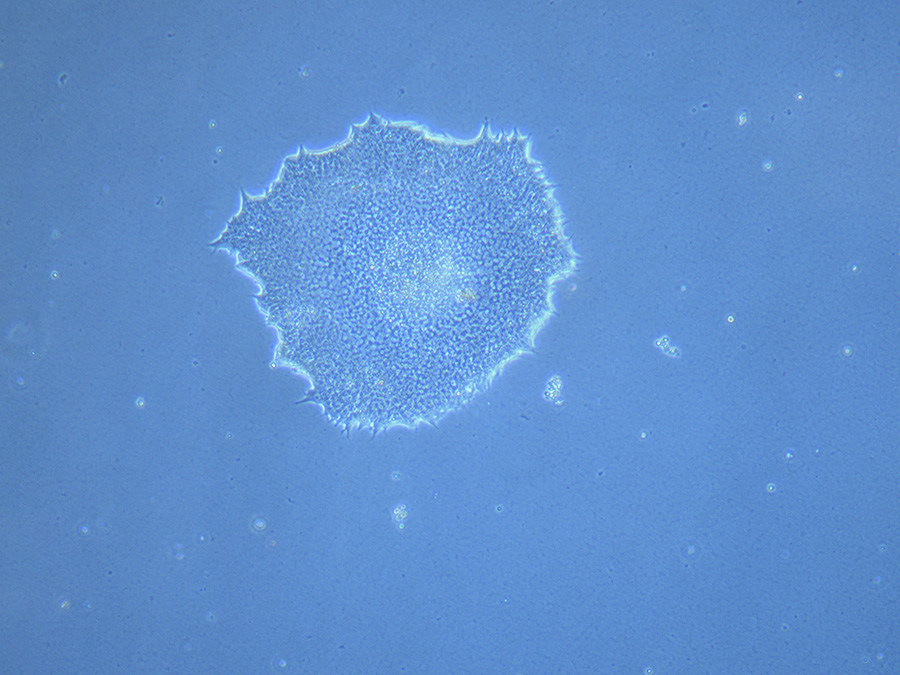
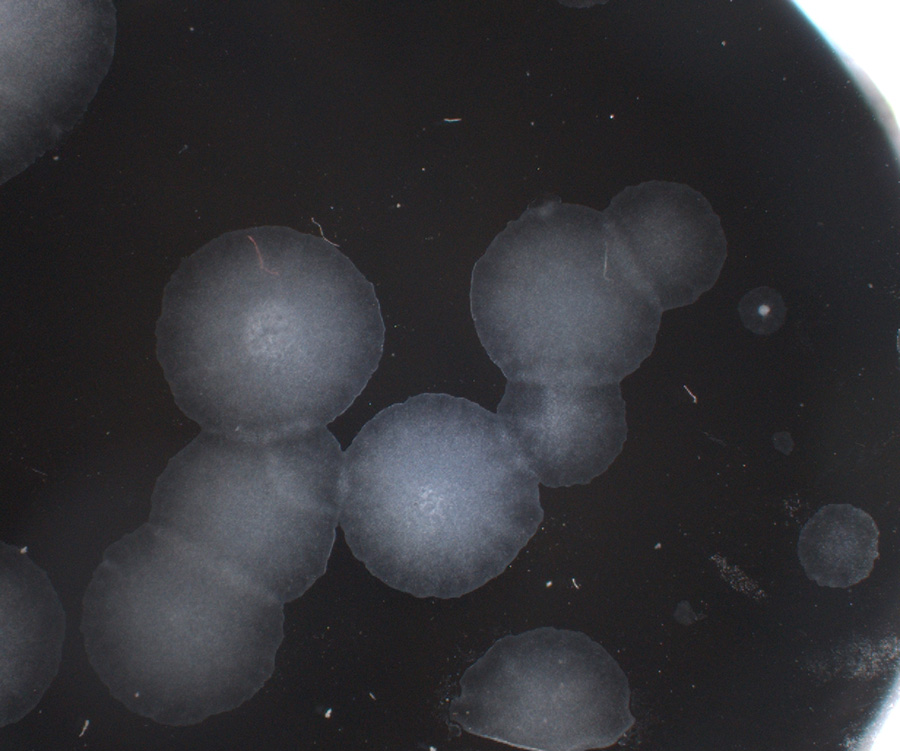
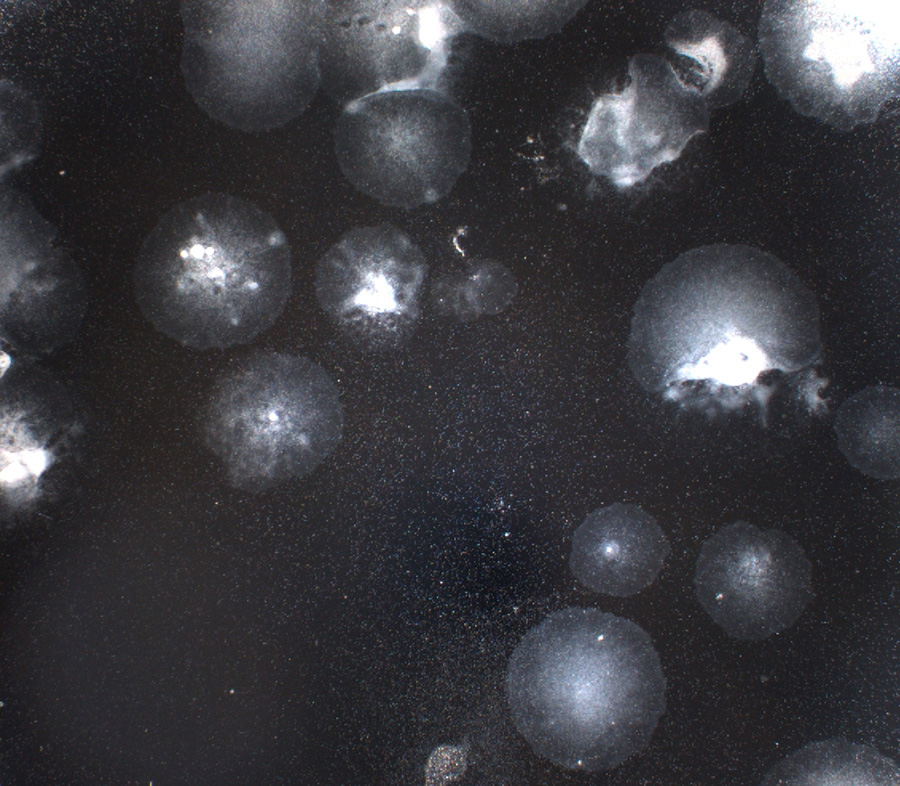
I am proud to report that my passage skills seem to be improving. The next round of colonies from the latest passage (12/05/22) are looking very good (13/05/22).
iPSC colonies on 13/05/22
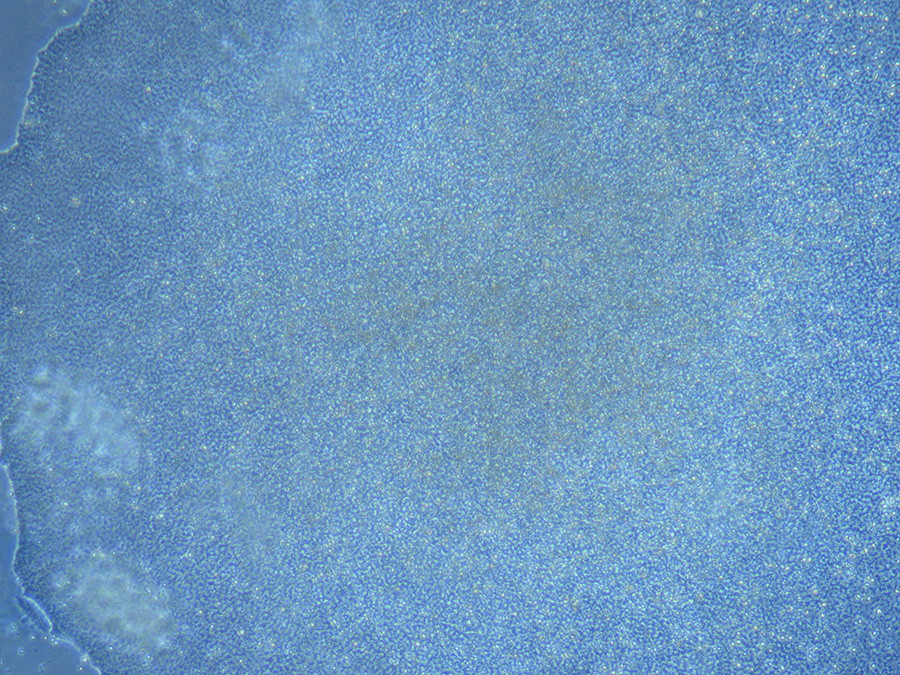
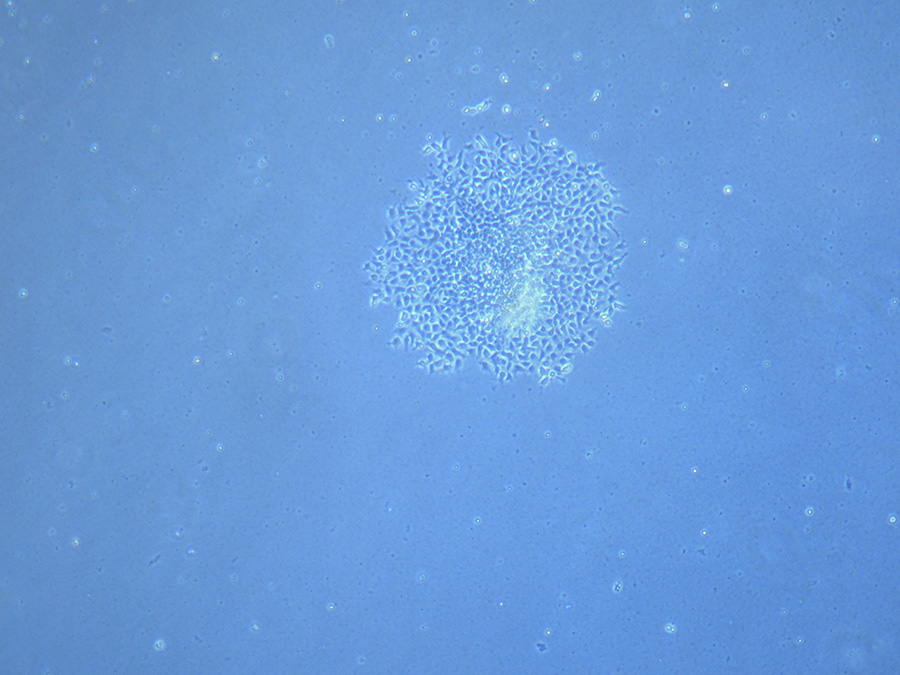
There is just one outlier that is definitely a NOT an iPSC colony:
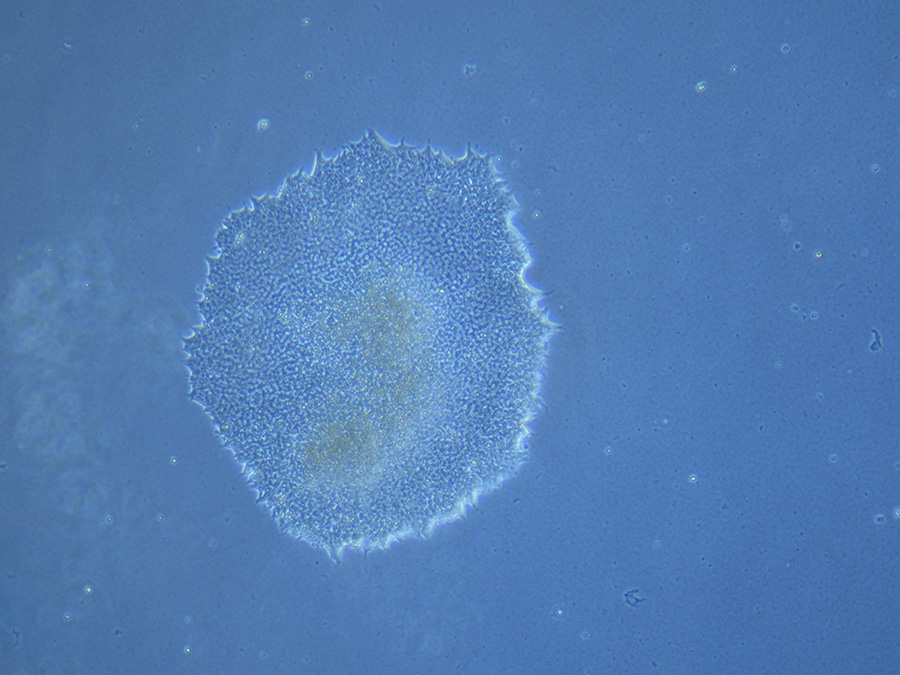
Regardless, there are a few really good colonies to select for the next passage.
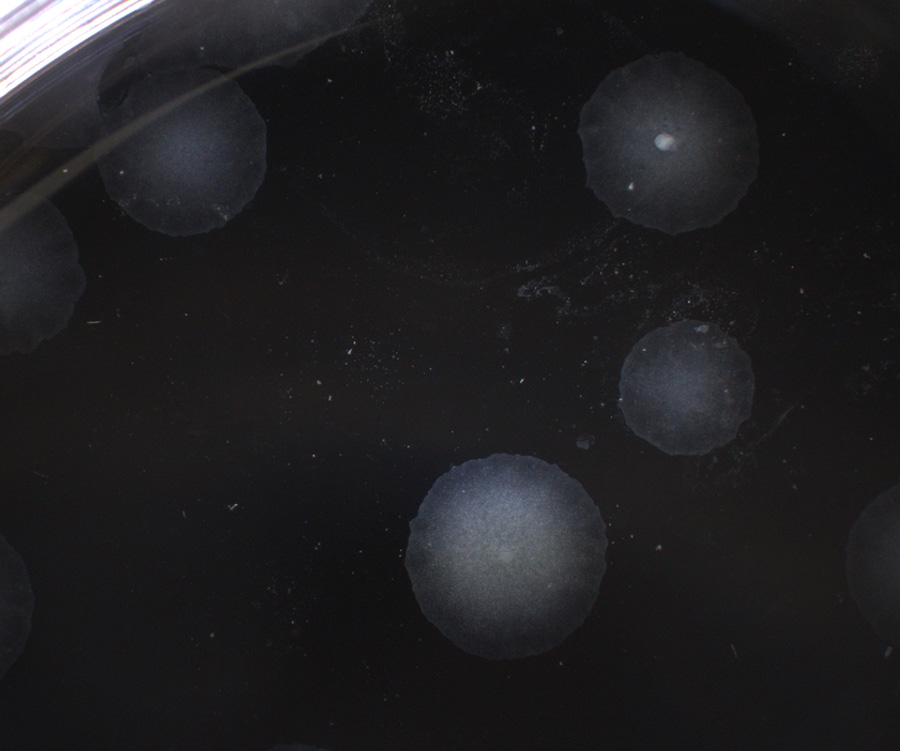
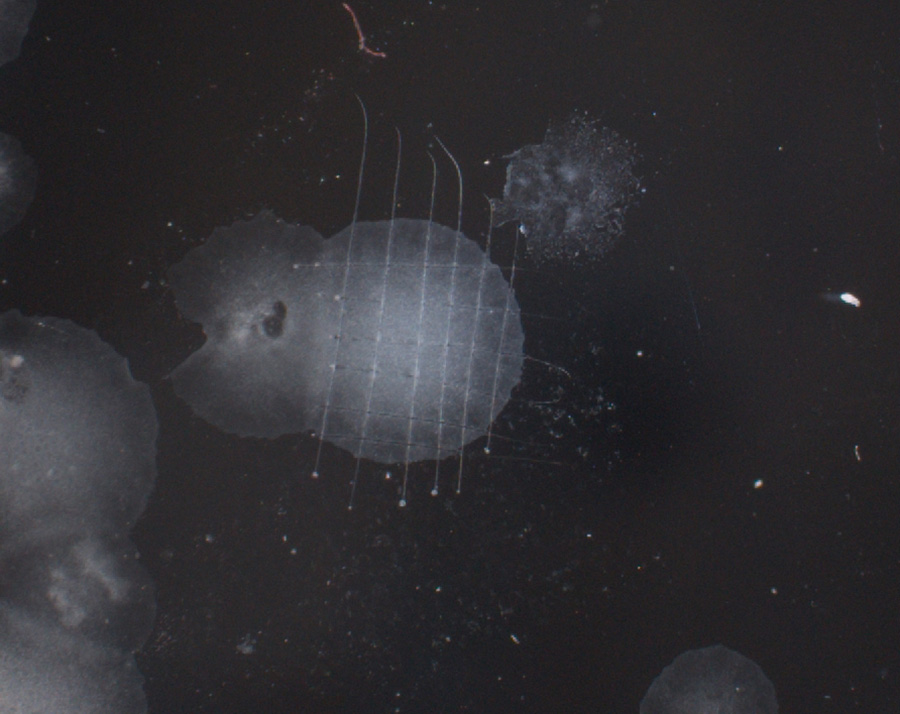
At this point, we are continuing to use the slightly more time-intensive dispase method as it enables me to choose the best colonies for continued growth.
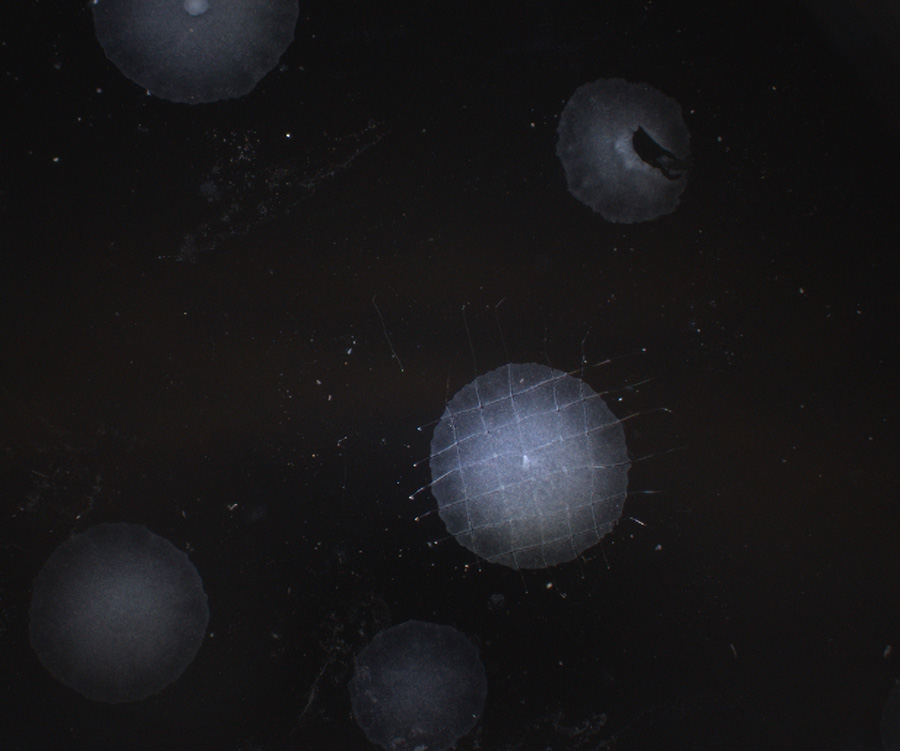
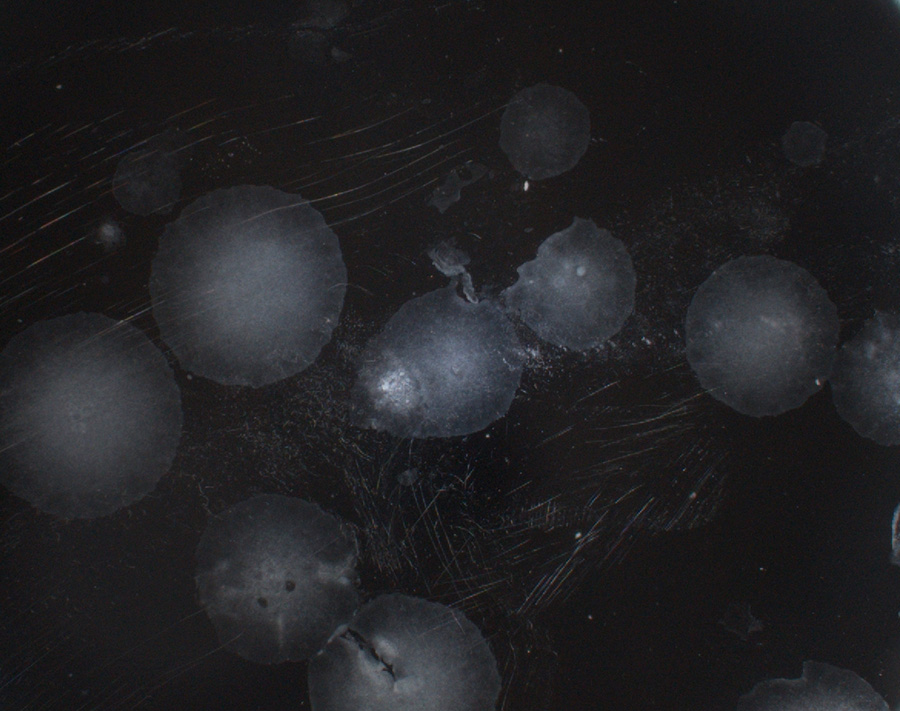
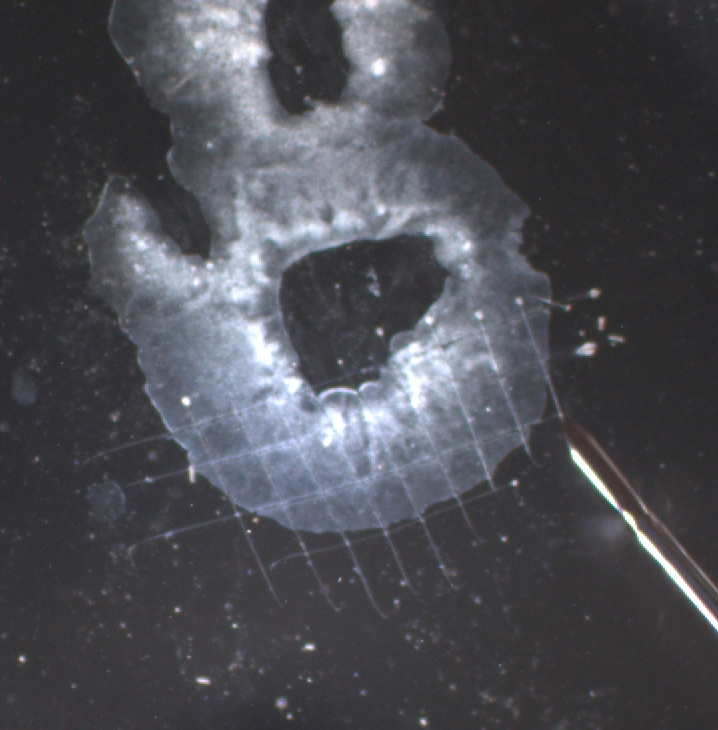
Gridding up good colonies for passage 0n 12/05/22
As you can see my needle technique is improving, but the size is still a little small at times and not quite uniform.
As part of my project documentation, I’ve also fixed the parent plates this passage using 4% PFA. While the fixed cells are not hazardous, we will also coat the cell base with resin so that the vessels can be displayed as part of artwork components if needed.
It was my turn passaging cells today using the dispase method demonstrated by Ash yesterday. To gain a bit more experience, I passaged both dishes (Dish #1 and parent plate Dish #2). While the process went well overall, I definitely still need a bit of practice with my needle technique.
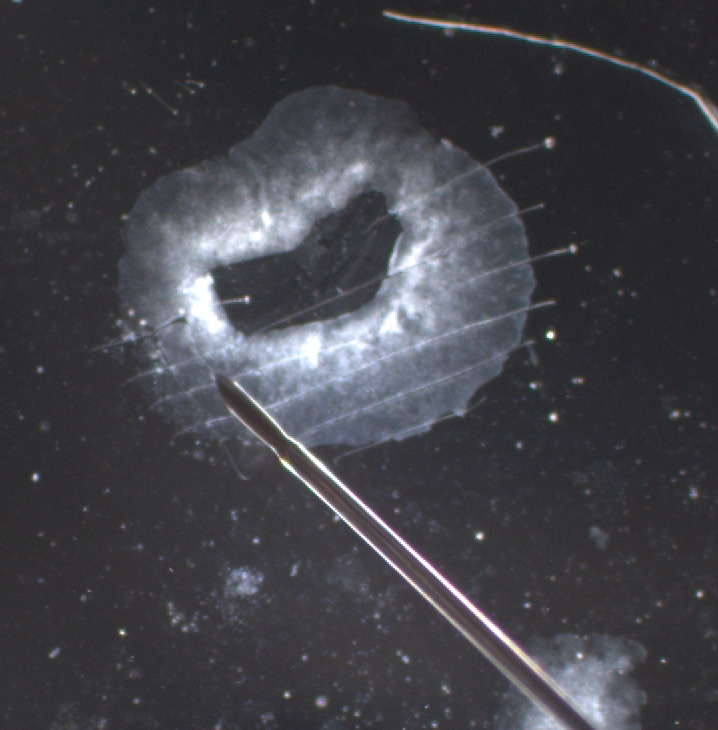
Slightly ‘scratchy’ gridding of cell colonies with the needle on 05/05/22 viewed at .63 X magnification.
Today, we need to passage the first, more established plate – Dish #2. The first passage is always a little risky as it takes skill to ensure attachment of the passaged cells will occur. It is also a little more complex, as we have a lower number of colonies due to low number of initial PBMCs (due to my early media wash error).
As such Ash has kindly offered to do the first passage to ensure viable colonies moving forward. I will passage Dish #1 tomorrow as the colonies need a little more time to grow.
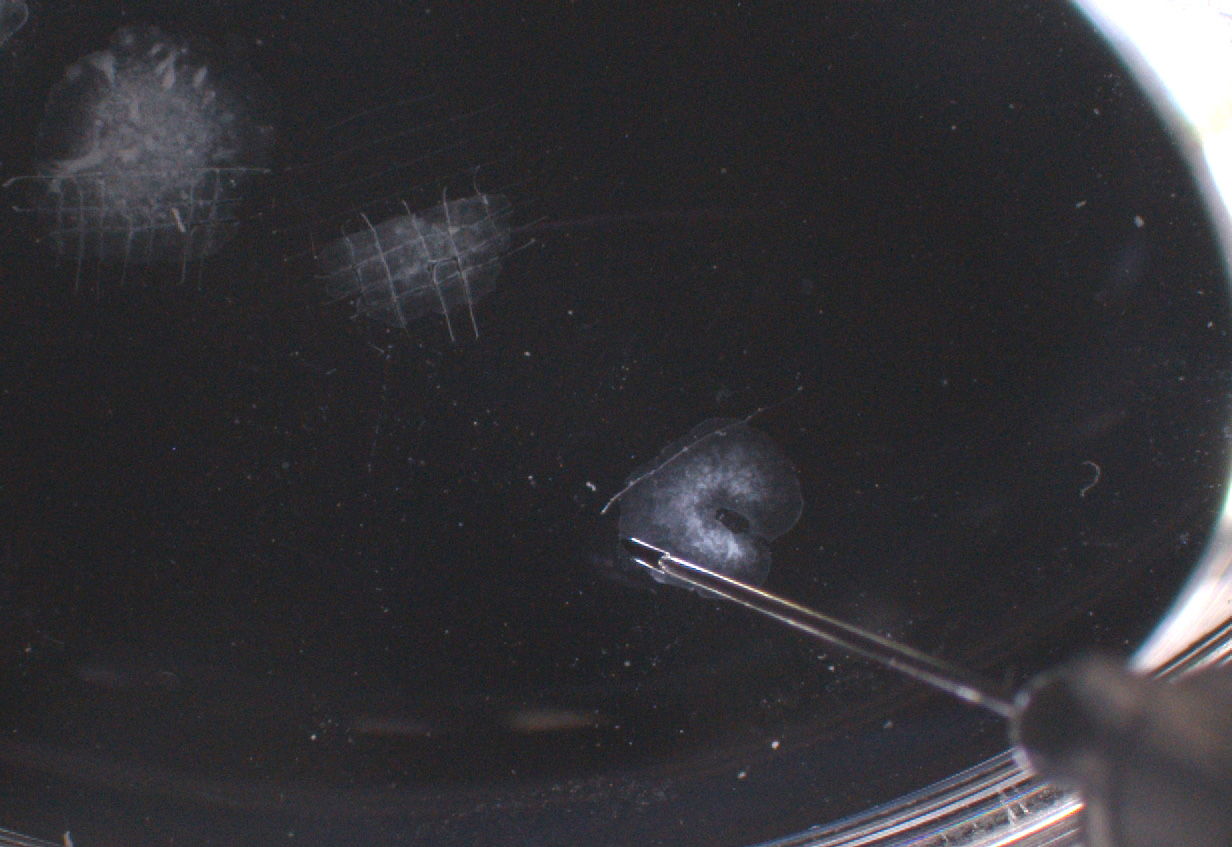
We are using the dispase method to passage the cells as this will enable a careful selection of iPSC-like cells only. This involves incubating the cells with the dispase protease to gently dissociate the cells from the coated dish surface. Once the cells are less attached, good iPSC-like cell areas are selected and gridded up into uniformly sized sections using a needle (around 200 – 500 microns in size = 500 – 1000 cells).
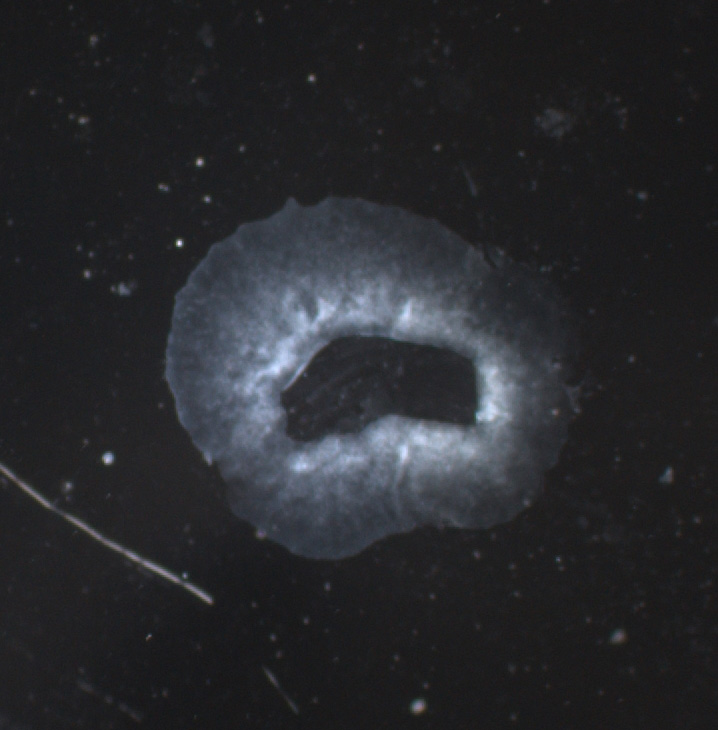
Colony with cleaned centre ready for selection and passage viewed at 1 X magnification.
iPSC-like colony gridded with needle during passage on 04/05/22.
Another iPSC-like colony gridded with needle during passage on 04/05/22.
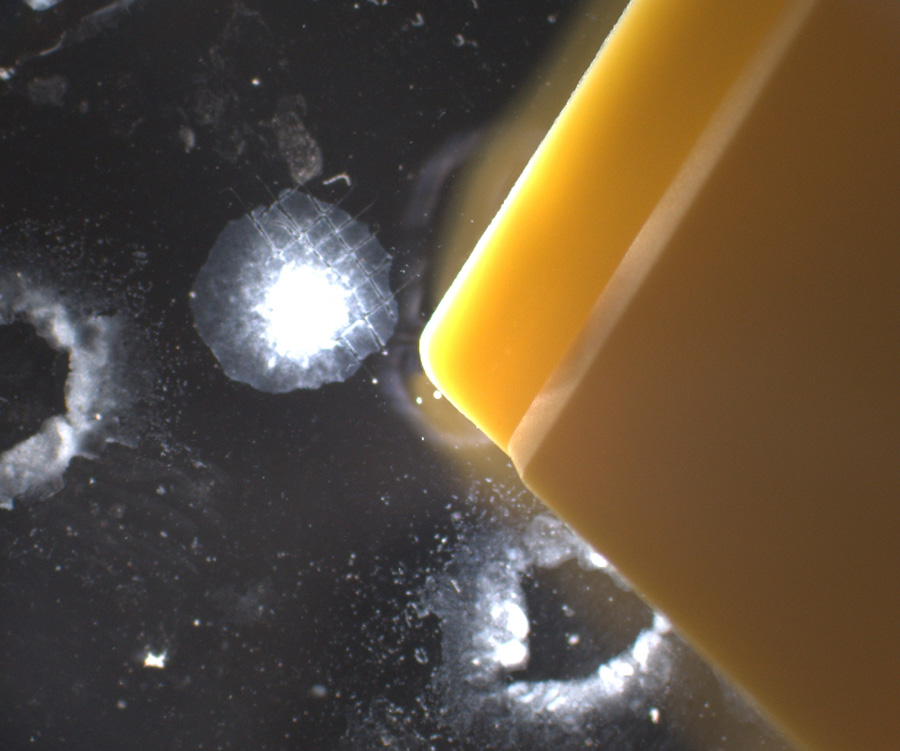
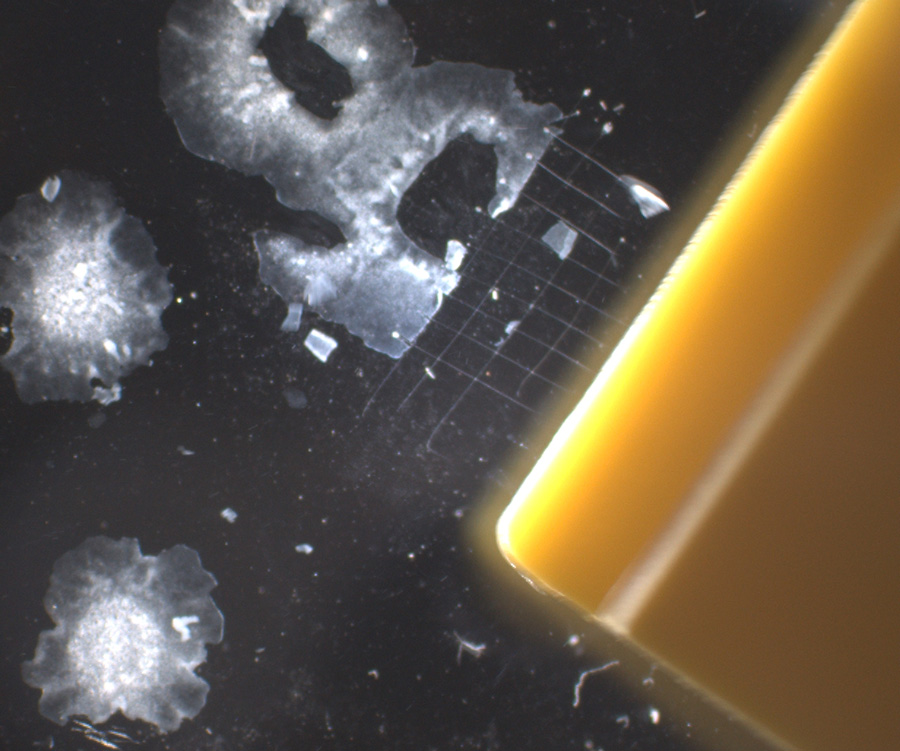
Once colonies are gridded into sections, they are gently removed with a spatula. The aim is to maintain the cells in sections so that they will be more likely to attach and grow new colonies.
Gently lifting cell sections with spatula.Gently lifting cell sections with spatula.
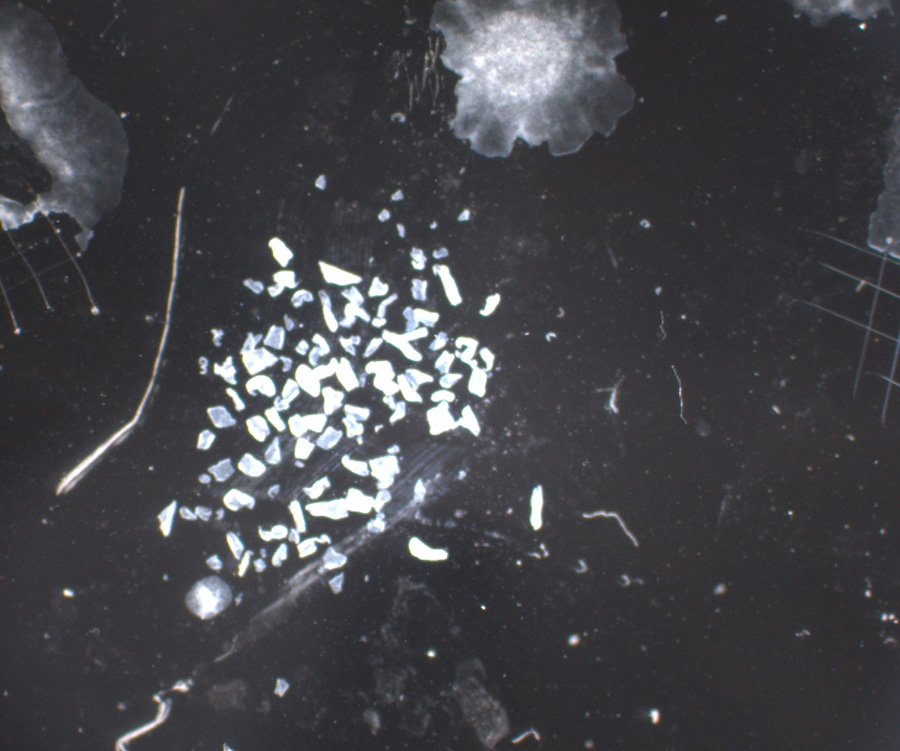
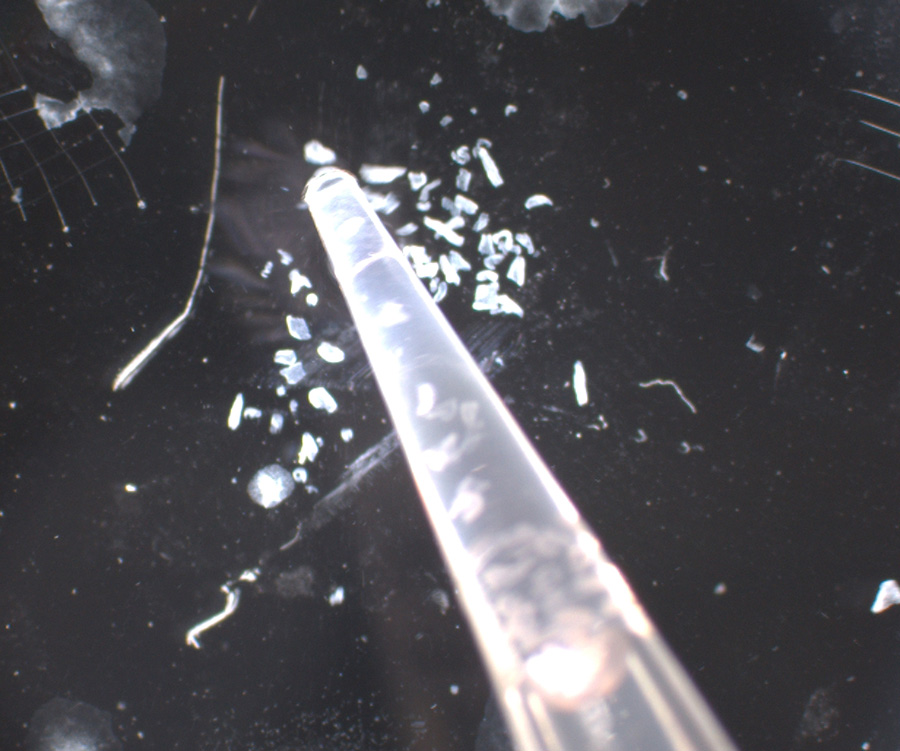
Once the desired areas have been lifted with the spatula, the cell clusters are swirled together and collected with a pipette for transfer into a new Petri dish.
Lifted cell clusters ready for transfer to new Petri dish.Pipette collection of cell clusters.
Once transferred, the cell sections are dispersed throughout the plate to avoid clustering of colonies. At this stage, we will hold on to the parent plate until we are sure that the cell sections have attached.
As part of my reprogramming training, I have now learnt how to maintain iPSC colonies. Maintaining iPSCs is a bit different to standard cell culture, as it involves cleaning the plates (i.e. removing unwanted differentiated cells) or selecting specific colonies or areas as part of the re-plating process.
There are two standard protocols in use. The first method is the simplest and involves using a non-enzymatic dissociation reagent. This operates similarly to Trypsin in standard cell culture and dislodges cells so that they can be transferred to a new culture vessel.
The second (and more time-consuming) method involves using dispase to gently break cell adhesion and then manually selecting the areas for collection. A needle is used to grid the selected colonies into equal(ish) segments. These are then gently dislodged with a spatula and transferred to a new culture vessel.
While the UTAS protocols are not for public dissemination, the Stem Cell Catalogue has a good overview of standard/recommended iPSC maintenance.