Jo-Maree finally had some time to go over basic H&E staining procedures. Since my HBVPs are fixed on the base of glass Petri Dishes, the process is much less involved than working with wax embedded specimens.
H&E is a very common stain combination used in histology. Hematoxylin stains nuclei blue-purple
Eosin stains cytoplasm (protein, muscle fibres etc.) pink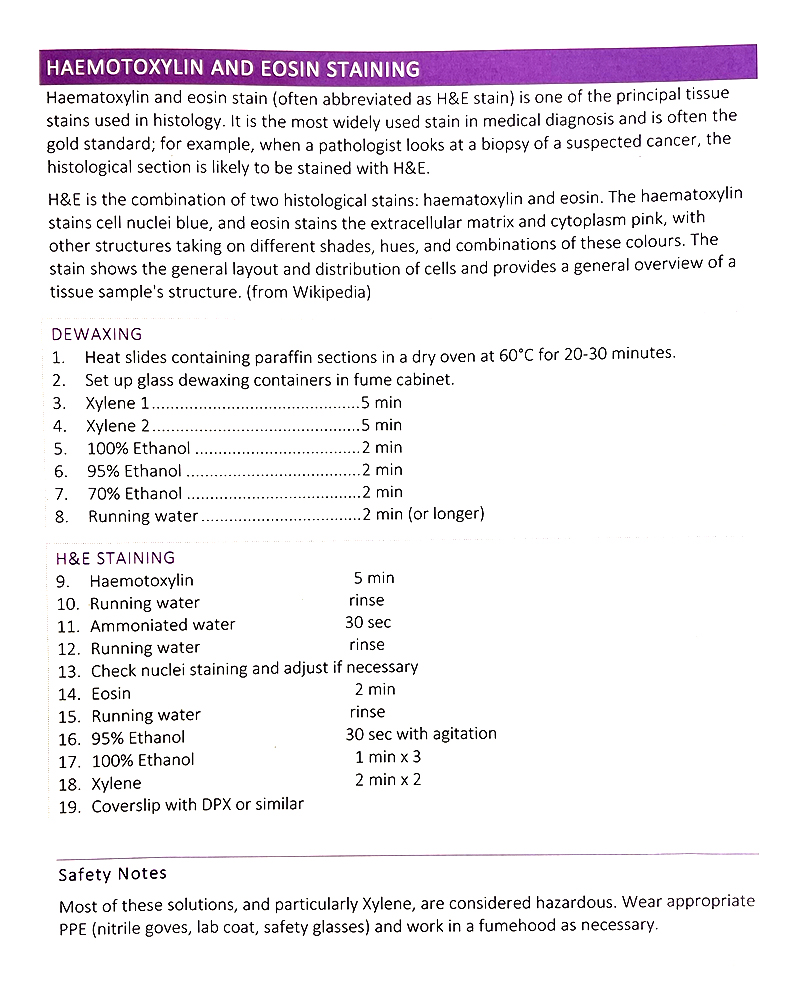 Basic H&E staining protocol from Jo-Maree. We only need to follow the staining process.
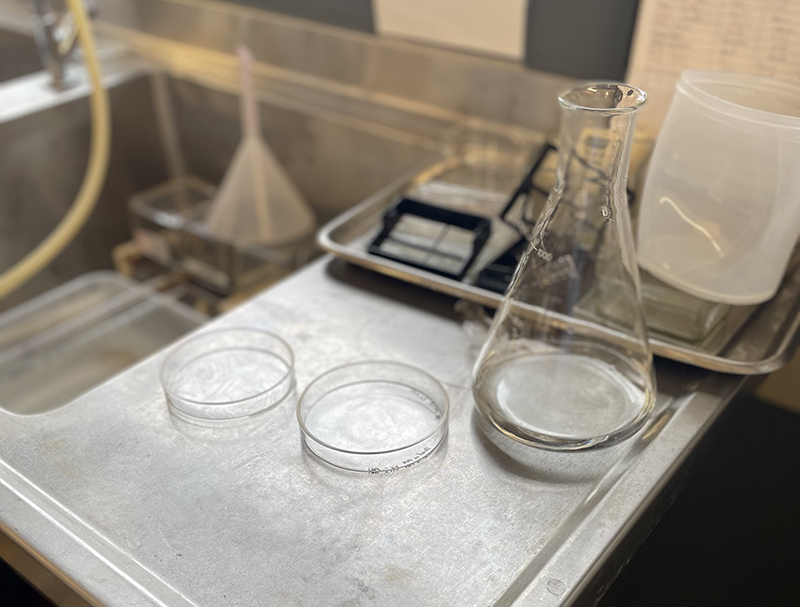 Petri Dish on bench in Histology Lab at MSP with Erlenmeyer flask containing distilled water for washing.
Prior to adding the Hematoxylin stain, we washed the Petri dishes with distilled water (DW). Usually, we would simply wash the dishes under running water from the tap. However, since rapid water could dislodge the cells from the base of the dish, we have used a beaker to control the water flow. I washed each dish twice to remove PBS and dislodged cells.
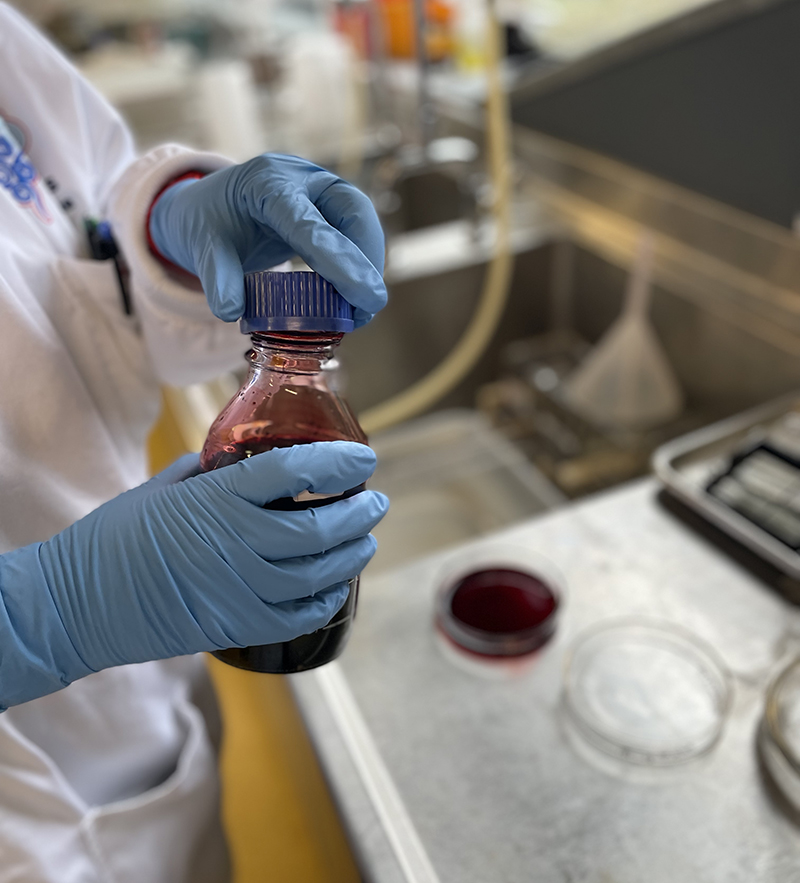 Hematoxylin Stain – deep red stain
Contrary to what the name Hematoxylin suggests, the dye is actually naturally derived and comes from the tree Haematoxylum campechianum (Logwood). As such, it is non-toxic and does not need to be added in a fume cabinet. The dye was added to the Petri Dishes for 5 mins, then washed with distilled water.
The next step involved adding ammoniated water (approx 2 – 3 drops ammonia to 400mL distilled water) to the stained cells for 30 secs. This process is referred to as ‘bluing’ and helps change the red – purple hematoxylin to a blue – purple color.
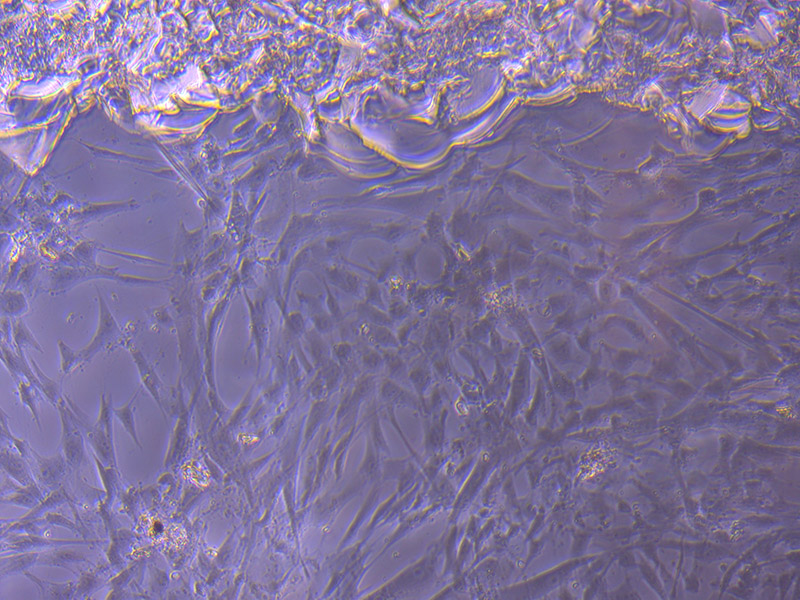
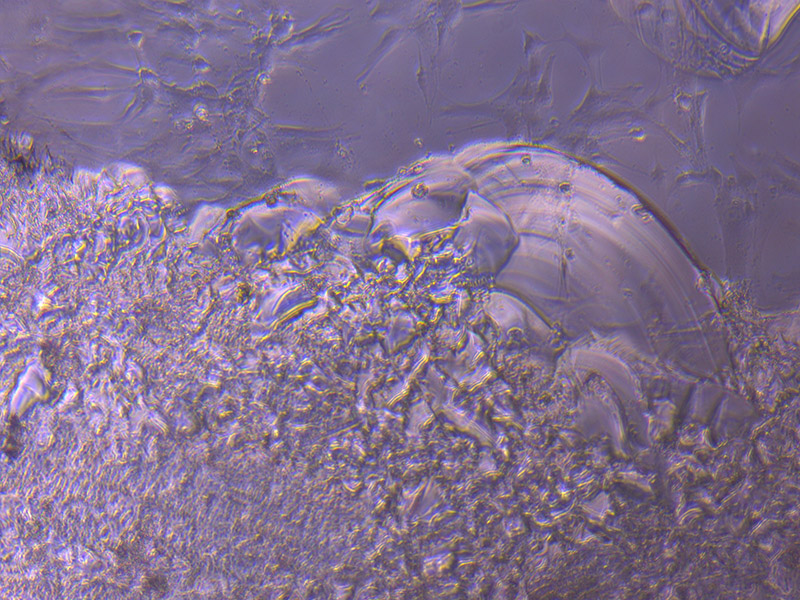
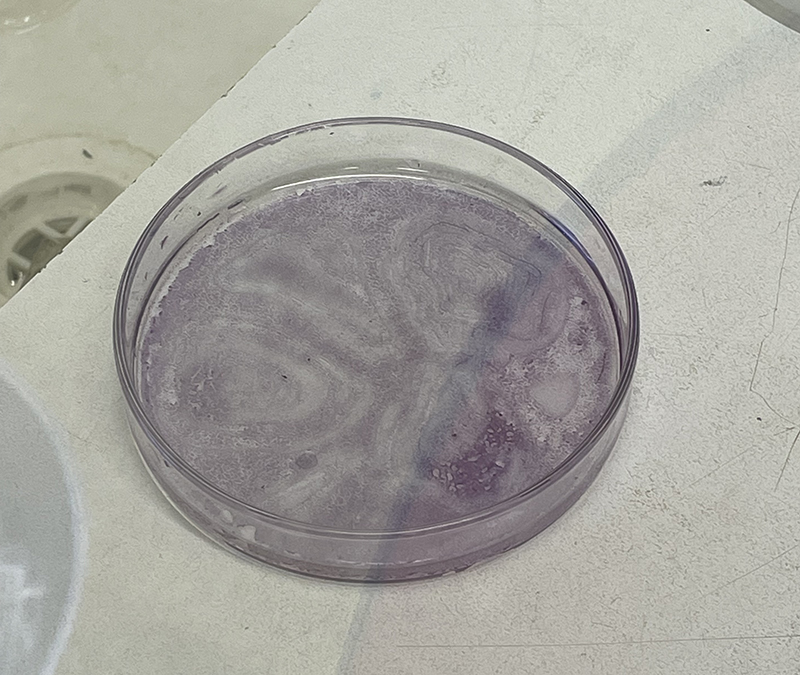 Cells visible on the base of Petri Dish following Hematoxylin staining.
After washing the Petri Dish thoroughly after ‘bluing’, we added the Eosin stain. Eosin is a xanthene dye and has an intense fluorescent colour.
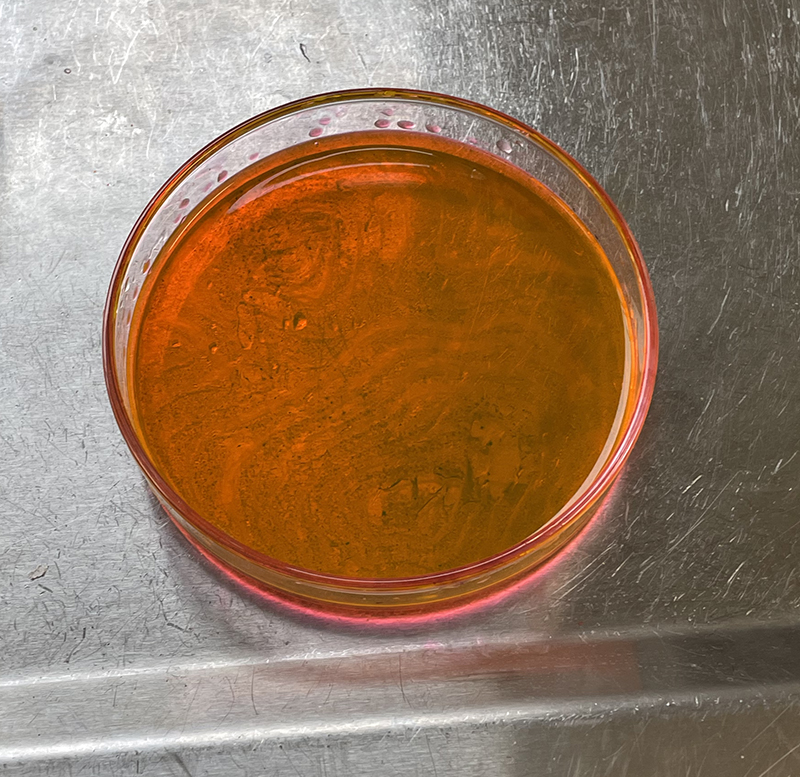 Eosin stain in Petri Dish.
The Eosin stain only needs 2 mins to stain the cytoplasm and matrix of cells. Following another thorough wash of the dish, we added 95% ethanol and secured the Petri dish lids with parafilm.
For stained sections on glass slides, it is usual to add Xylene (toxic) and a coverslip. In this case, we could either create large scale glass covers (a bit impractical) or clear resin. I think clear resin is the best solution as it would create a barrier and preserve the dyed cells. I am keen to use the fixed cells in dishes as part of sculptural works. However, I will need to check with lab manager David Steele that I am able to remove these fixed cells from the lab.
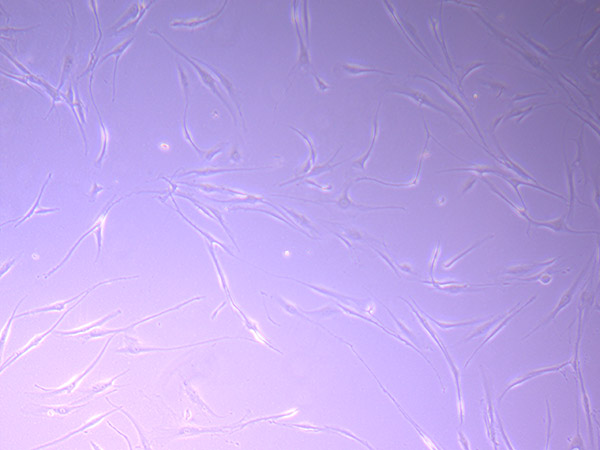
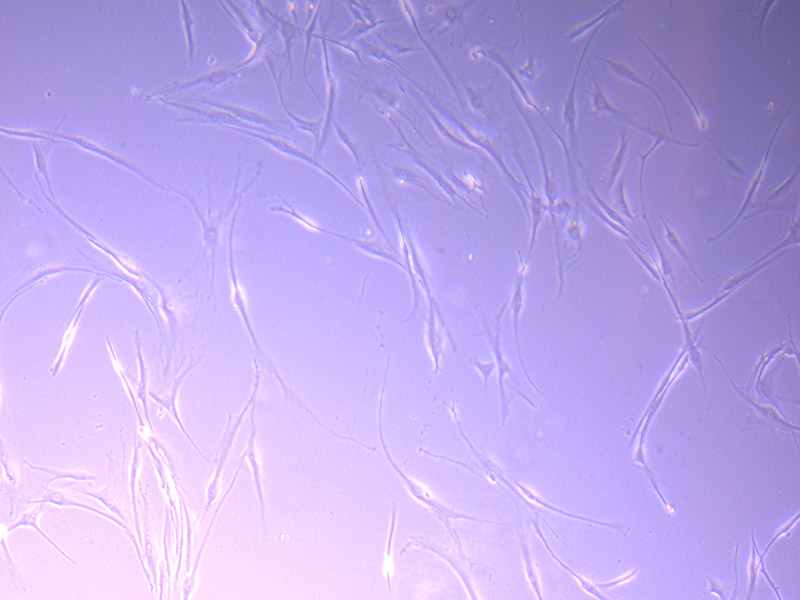
 T25 – Flask 1 P 3, 11/10/21
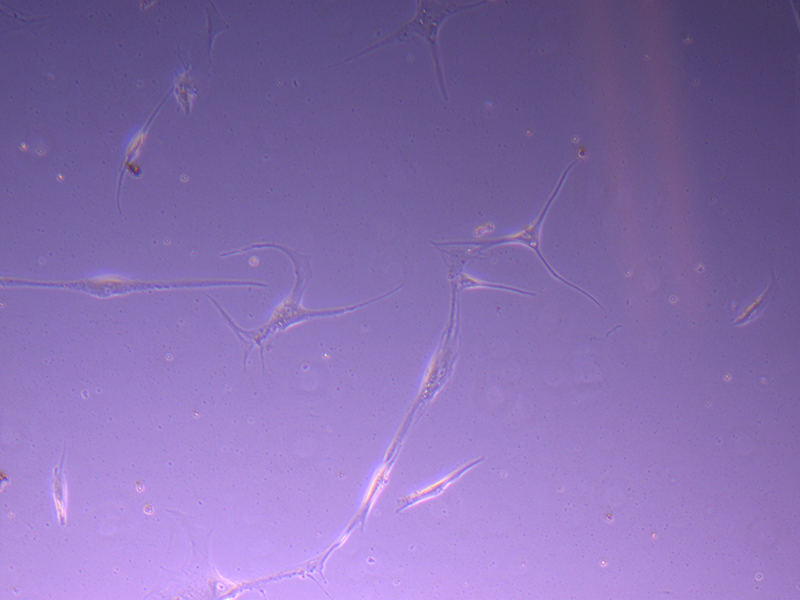 T25 – Flask 1 P 3, 11/10/21
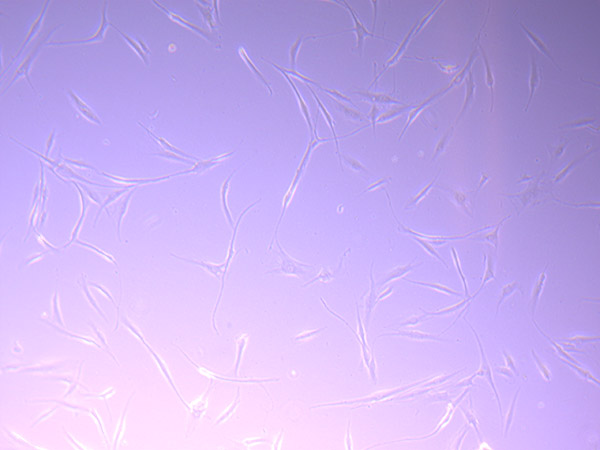
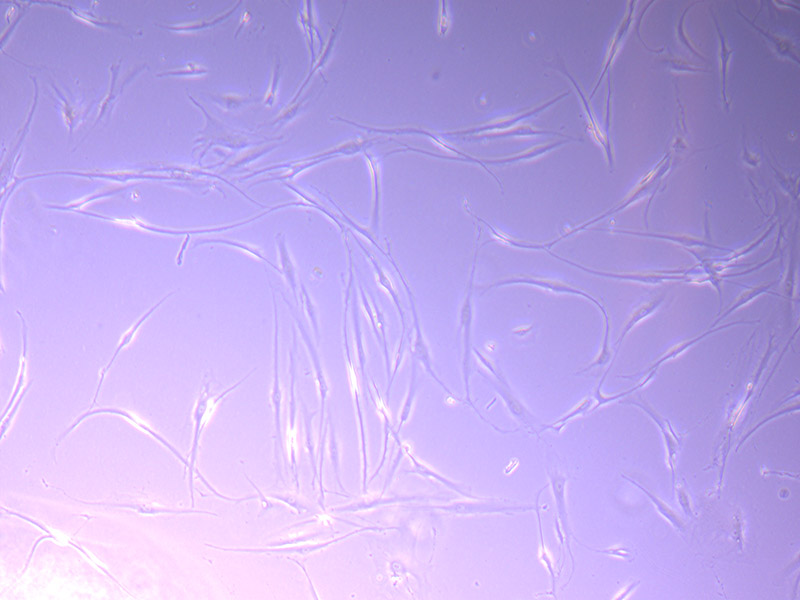
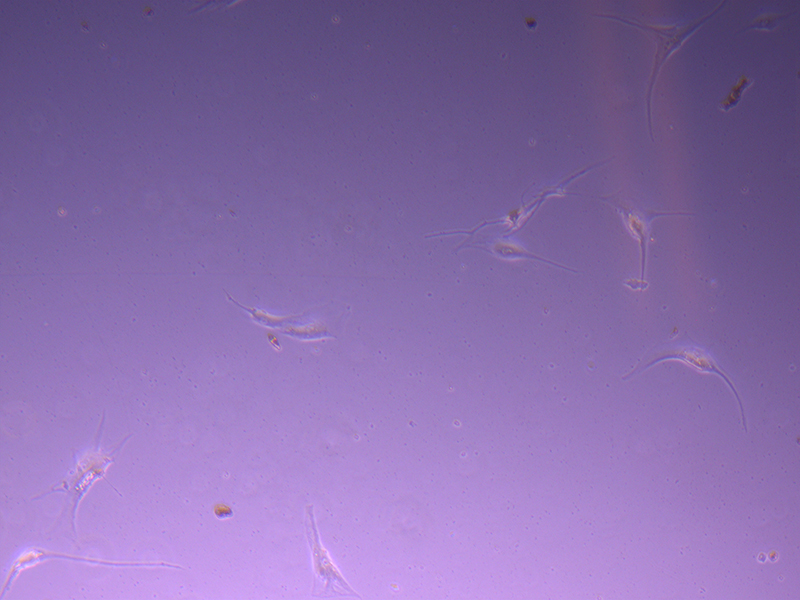 T25 – Flask 2 P 3, 11/10/21
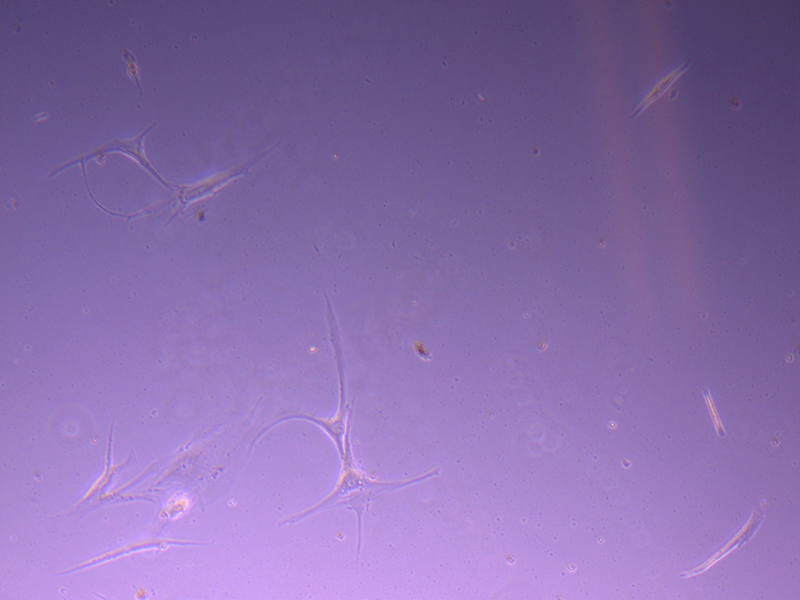 T25 – Flask 2 P 3, 11/10/21
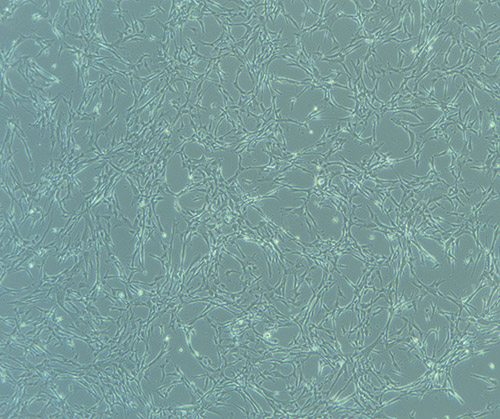
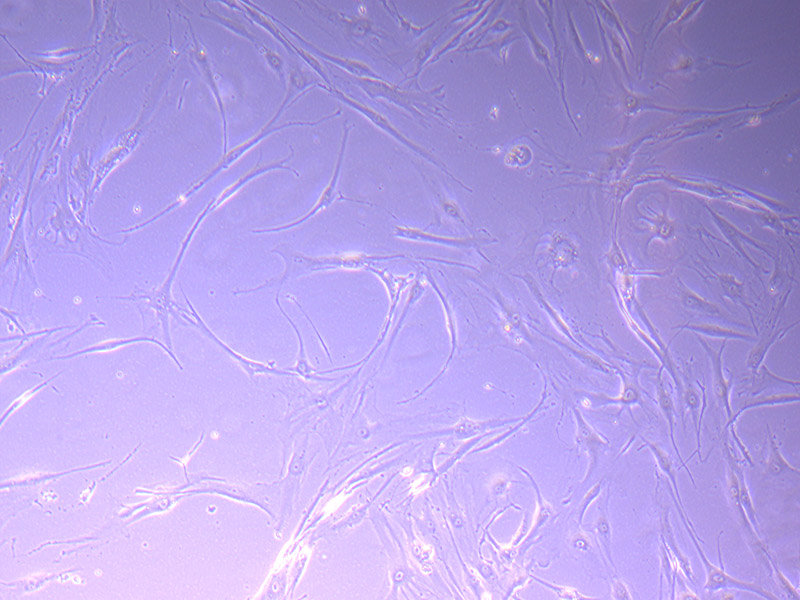
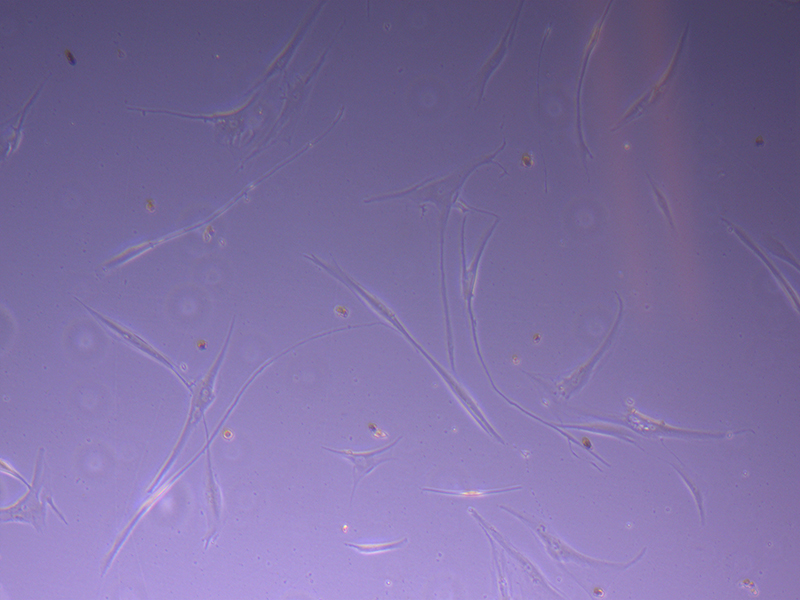 T75 – Flask 1 P 3, 11/10/21
 T75 – Flask 1 P 3, 11/10/21
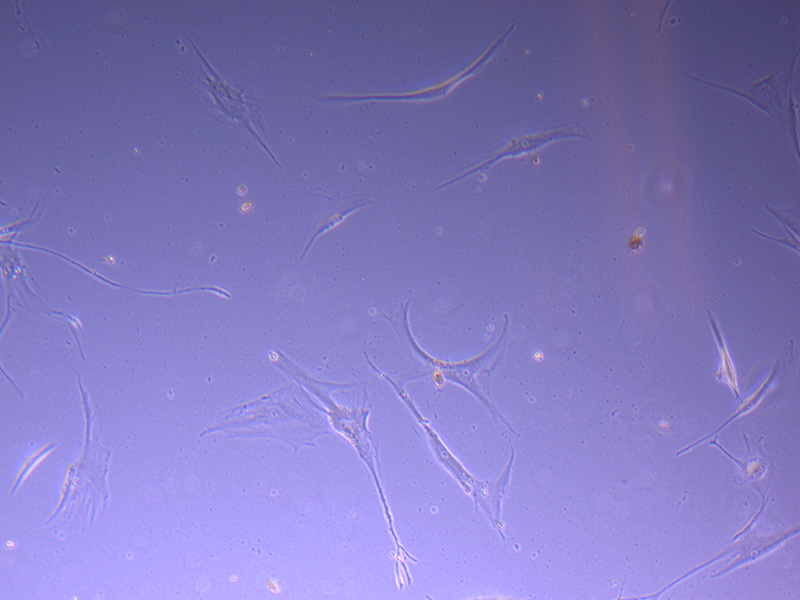 T75 – Flask 2 P 3, 11/10/21
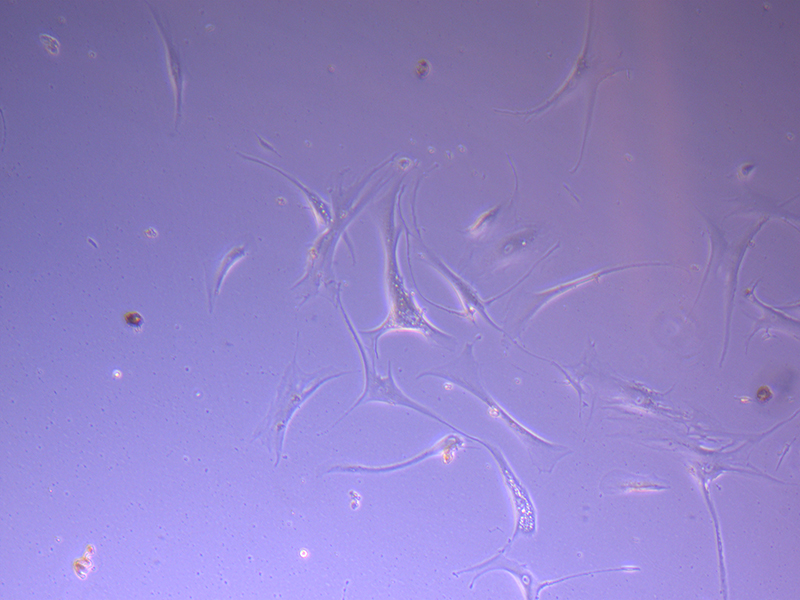 T75 – Flask 2 P 3, 11/10/21
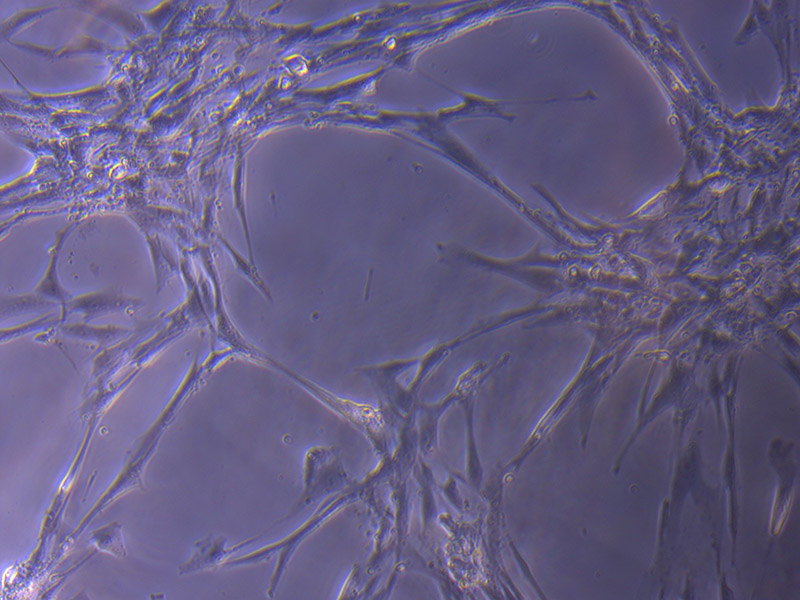
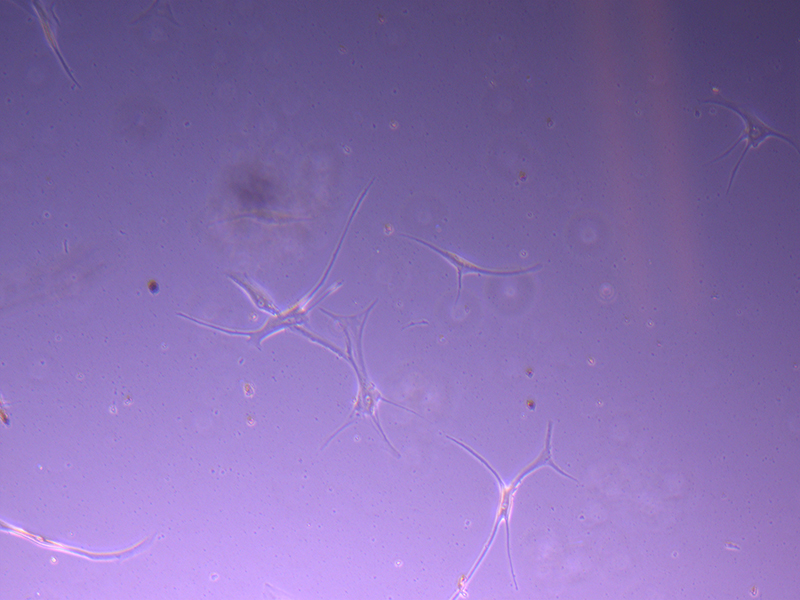
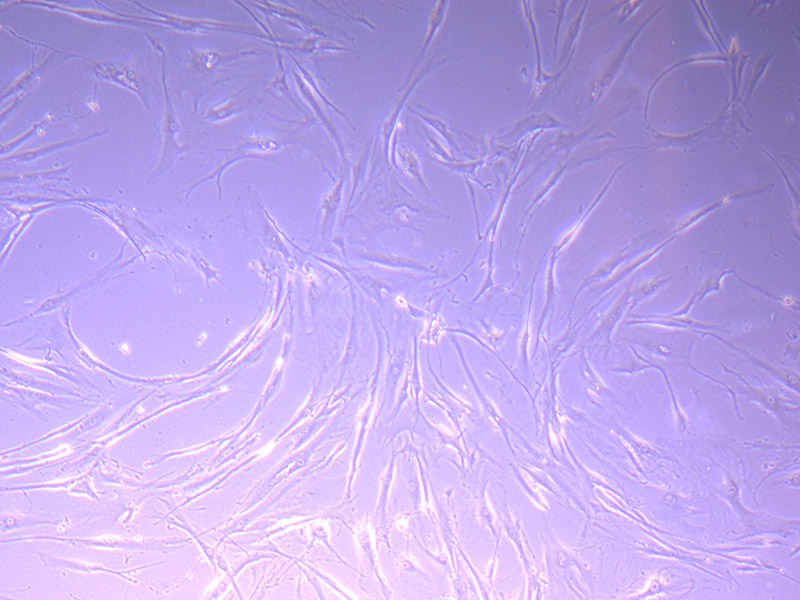
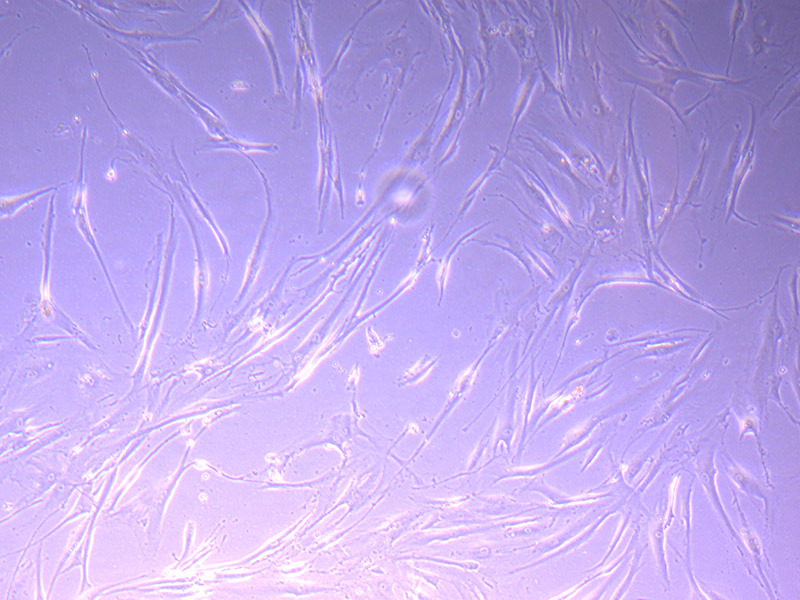
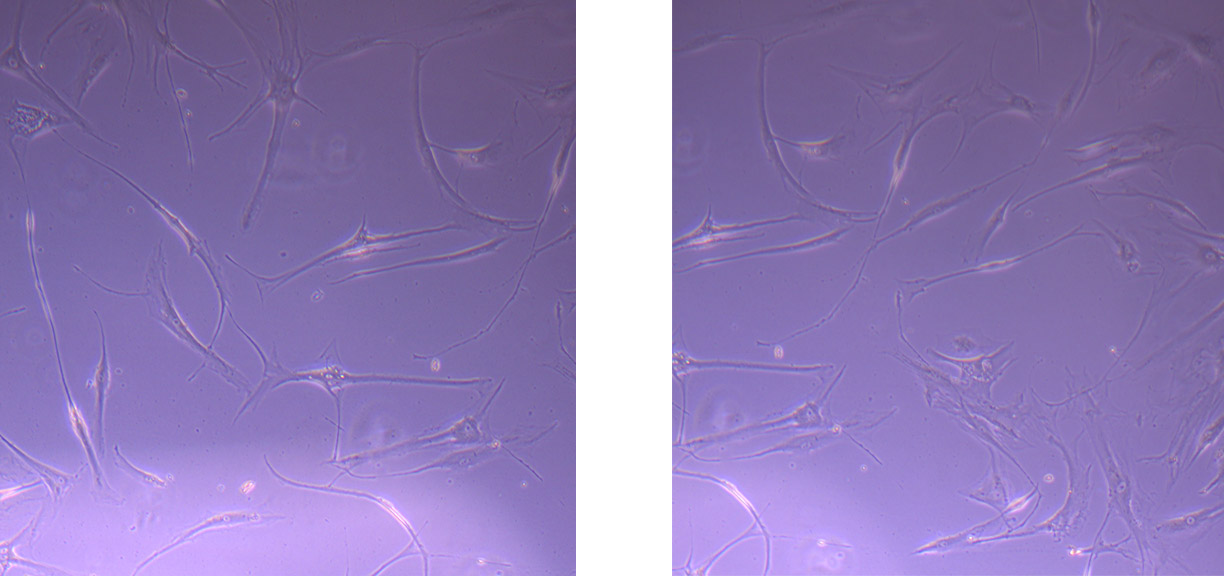 Images of PHGL Tumour Baby Cells P2 at 1/10/21

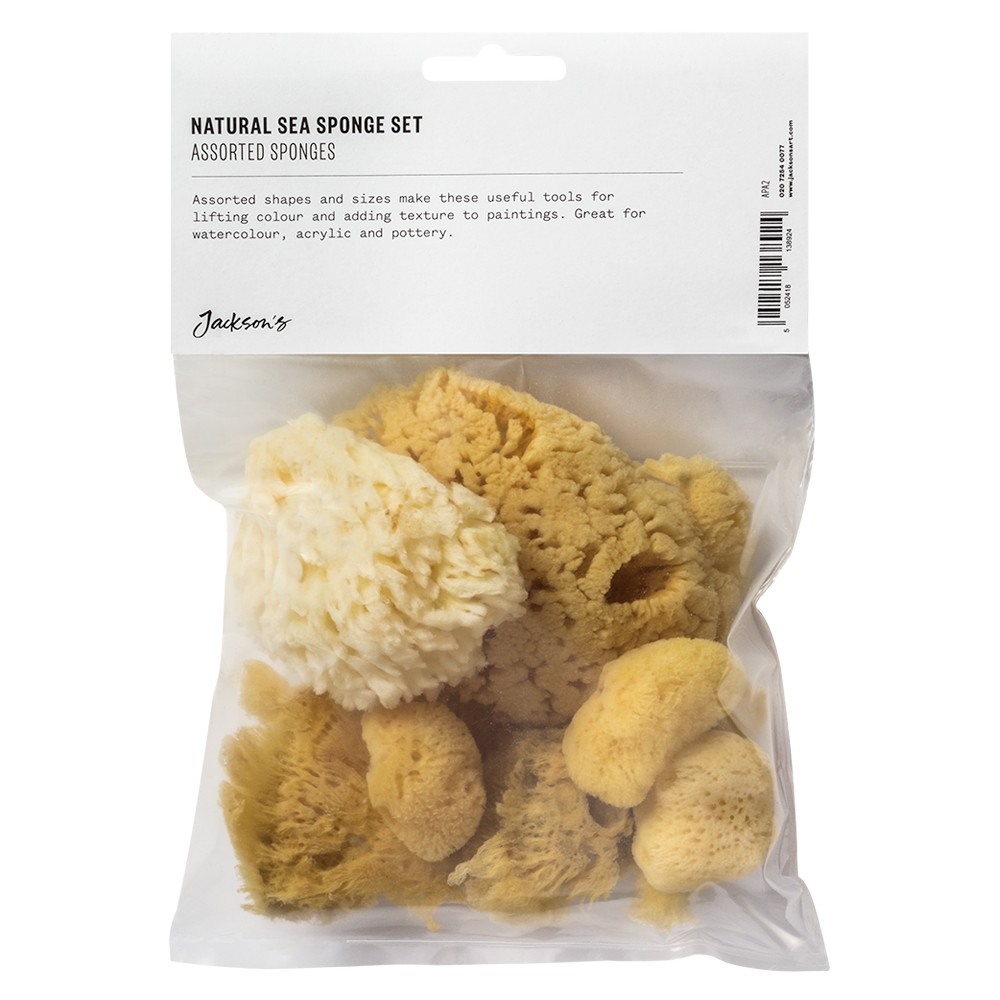
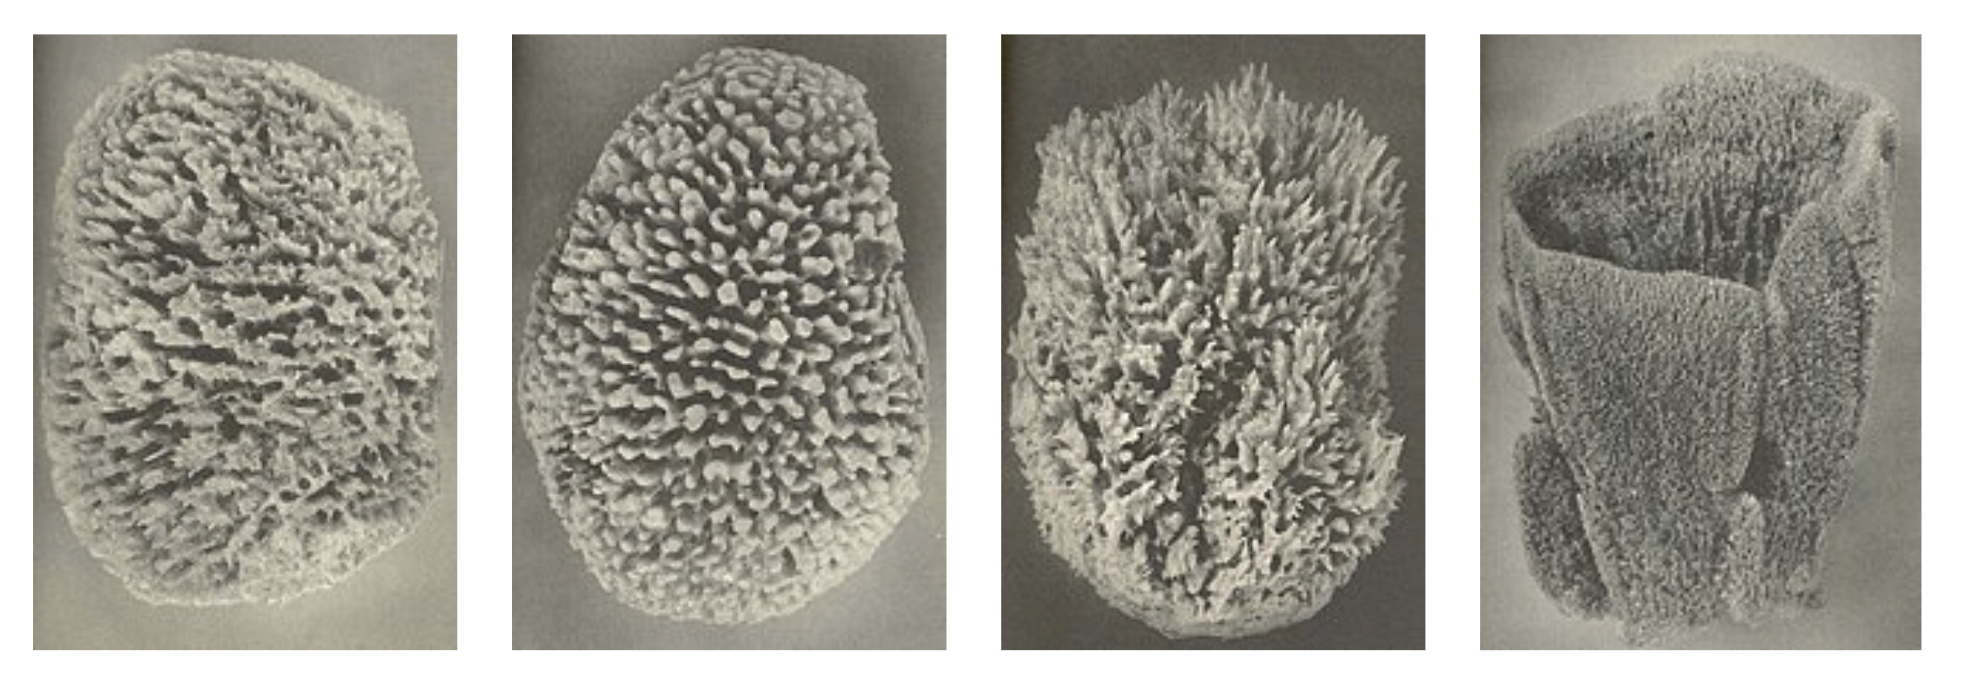 Different sponges from
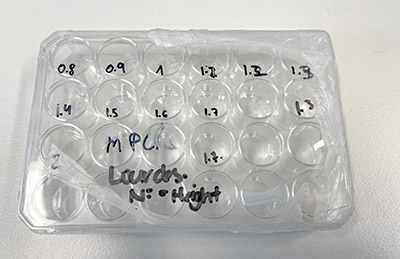 MPCL Scaffolds – tubular structures at varying heights.
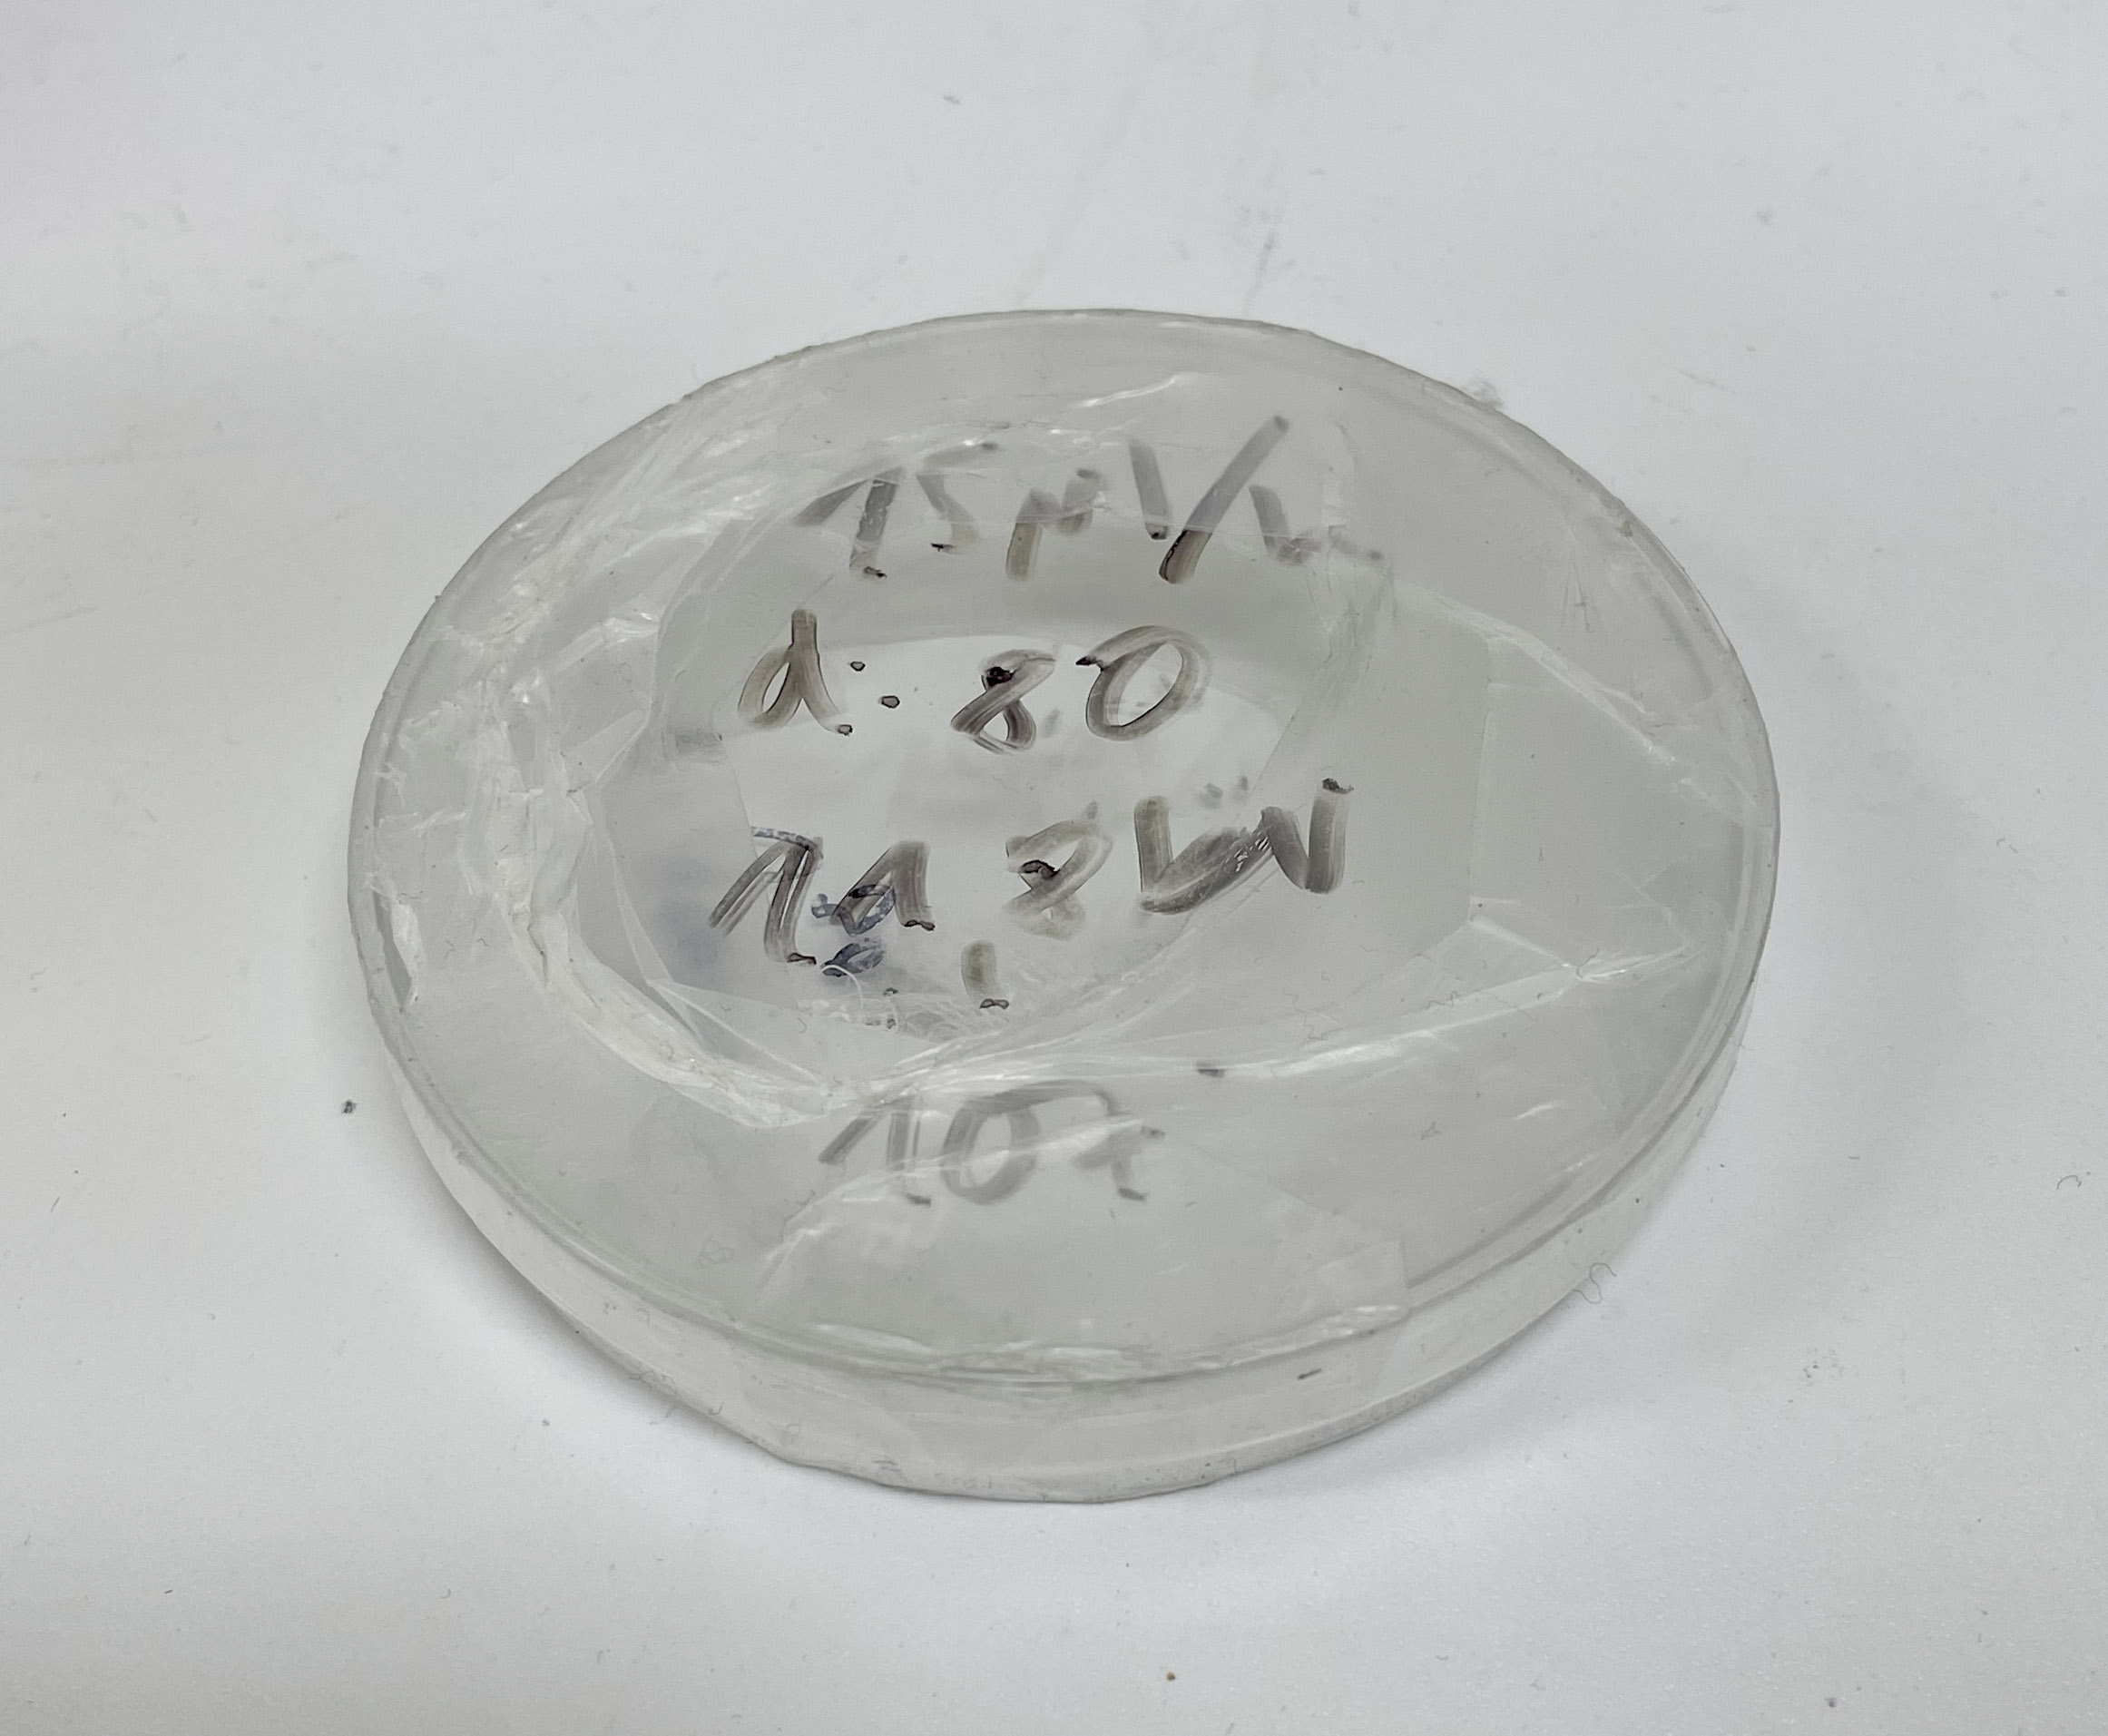 Scaffolds in Petri Dish – flat square structures.
 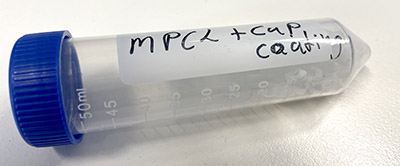 MPCL+CaP coating
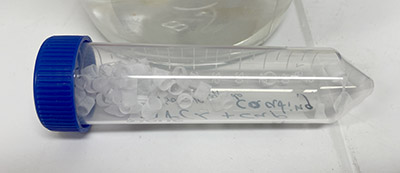 MPCL+CaP coating – tube structures.