I am delighted to be part of a panel for the AAANZ conference on Friday 10 December 2021: Impact of exchange: axis of collaboration between the arts and sciences
This is a wonderful opportunity to share work and approaches with some amazing colleagues including Helen Pynor who is the current ANAT SAHMRI Resident working with Jimmy Breen.
I will provide an overview of my ongoing collaborative engagement with Prof. Dietmar Hutmacher who leads the Centre for Regenerative Medicine at QUT including an update on the ANAT residency project.
Abstract: What is a partnership between an artist and a scientist? What new knowledge do they impart on each other’s discipline, and does it change the way they work and think? This panel will bring to light the kinds of relationships that artists and scientist have, generating new knowledge, ideas and processes resulting in transdisciplinary outcomes that have continuing impacts in both the sciences and art. What can we learn from these relationships and how do we recognise that art/science interdisciplinary and collaborative practice has equal value in both fields? This panel will bring together researchers to discuss how these relationships form, and the kinds of questions artists and scientists bring to the table in order to collaborate. Therefore, we will address the challenges and problems of these experiences, but also how these partnerships redefine the parameters of interdisciplinary engagement and the future of such intersections.
Session Convenor
Dr Erica Seccombe, Australian National University
Gregory Minissale, University of Auckland
Session Speakers
Dr Helen Pynor, ANAT resident, SAHMRI Bioinformatics Platform
Dr Jimmy Breen, Robinson Research Institute, University of Adelaide
Dr Svenja J. Kratz, University of Tasmania
Dr Baden Pailthorpe, Australian National University
Dr Tony Curran, Independent Artist and Scholar
Gregory Minissale, University of Auckland
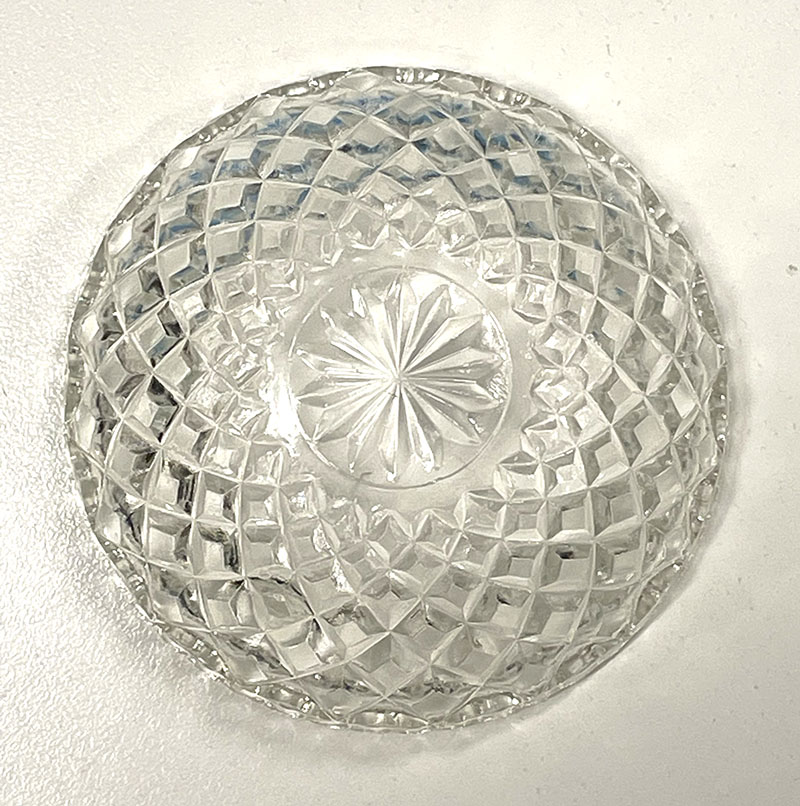 Clear cut glass dish – approx 12cm diameter with central star motif and radiating pattern.
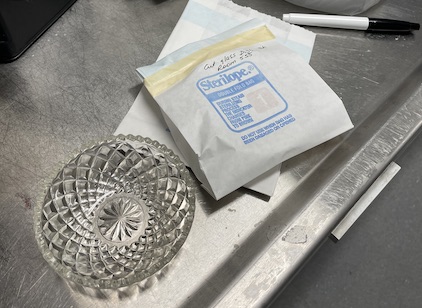 Cut glass dish and wrapped dish ready for sterilisation.
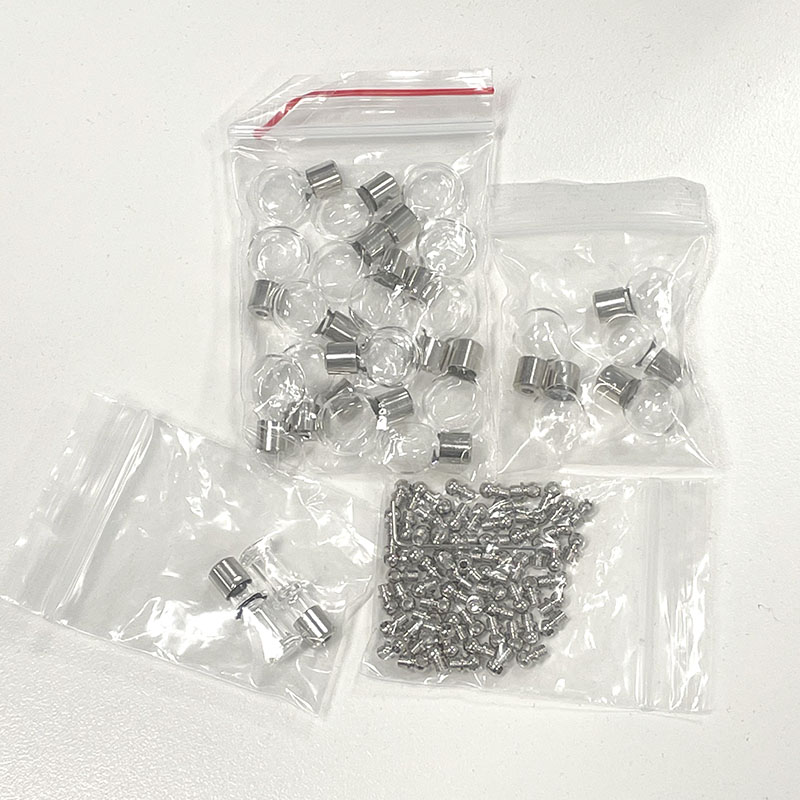 Selection of glass vials for cell culture trial including metal closures.
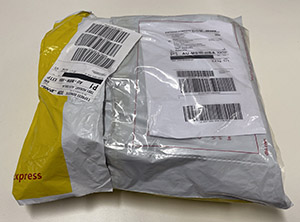
 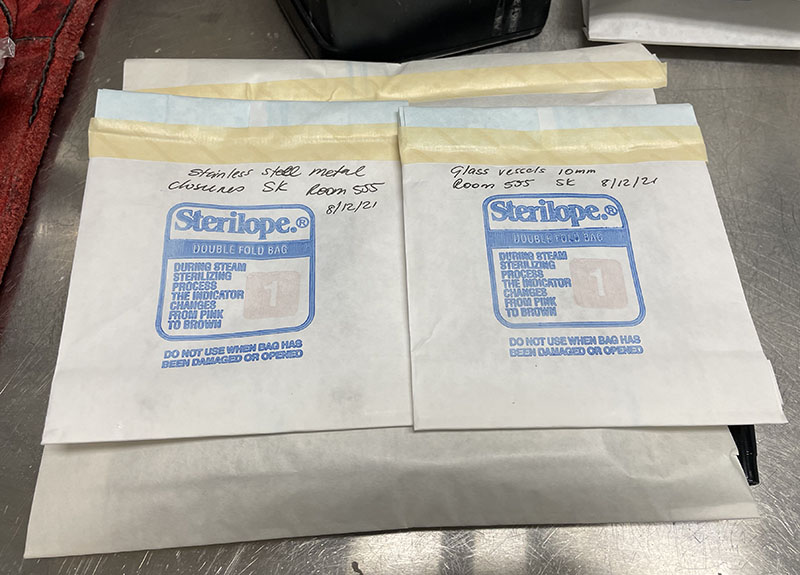 Glass vessels in autoclave bags ready for sterilisation.
 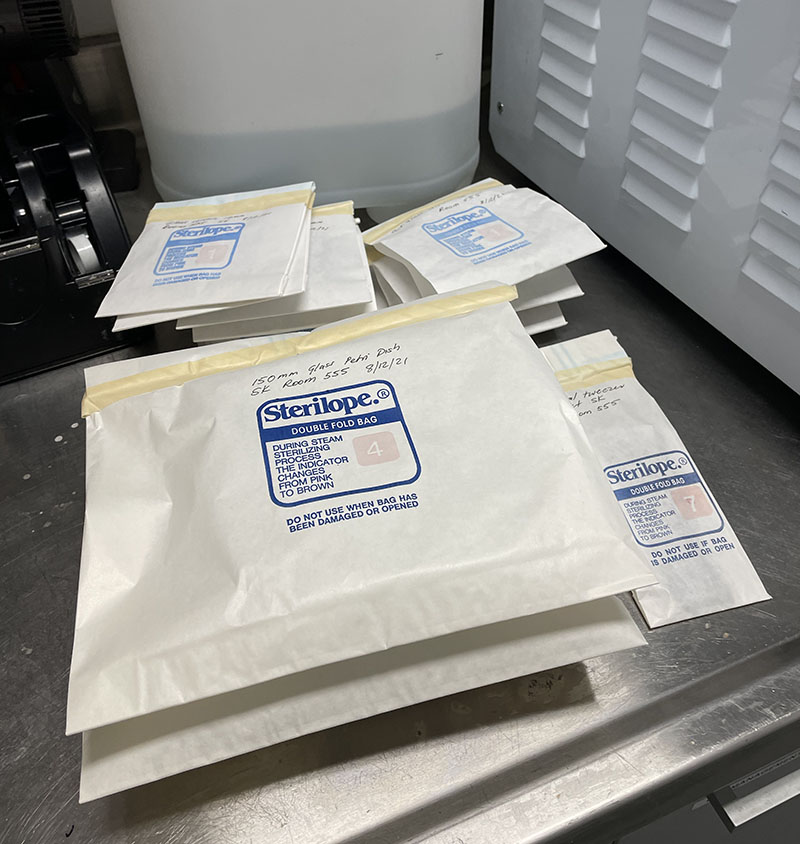 Petri dishes and other glass items in autoclave bags ready for sterilisation.
 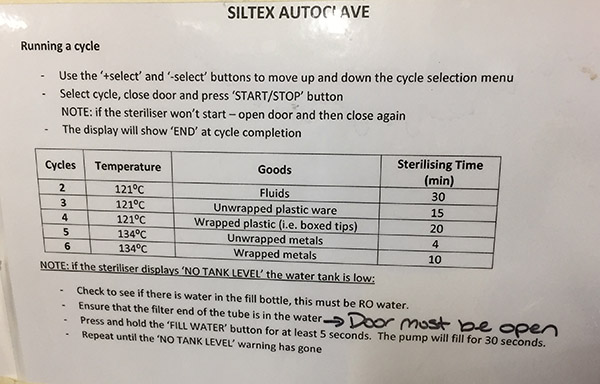 Autoclave instructions with cycle details.
  Autoclaved bags containing sterilised Petri dishes.
 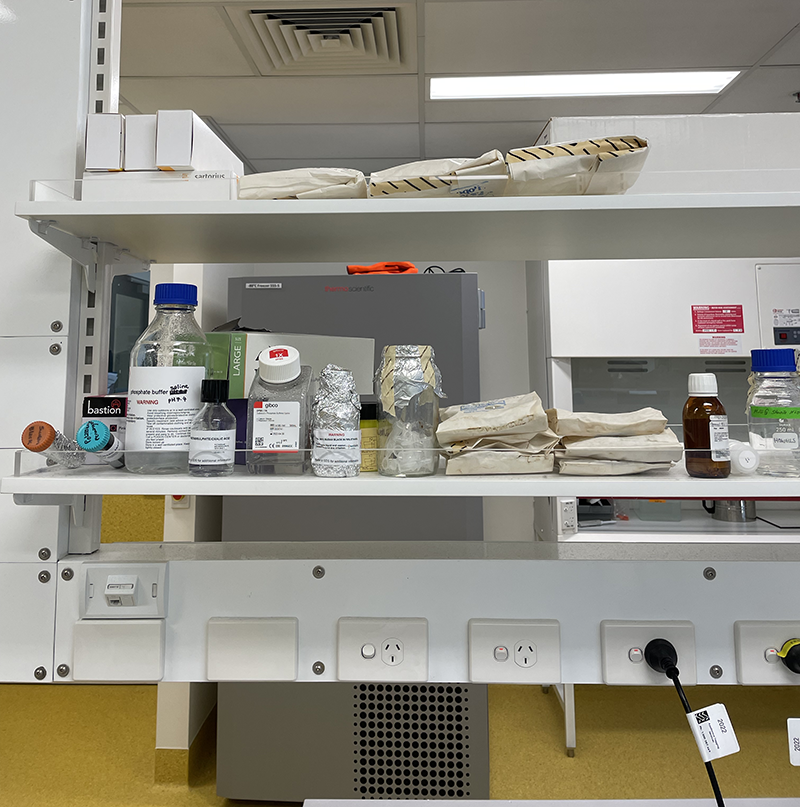 Autoclaved bags stored in lab area, ready for use.
 Timber hall stand with mirror
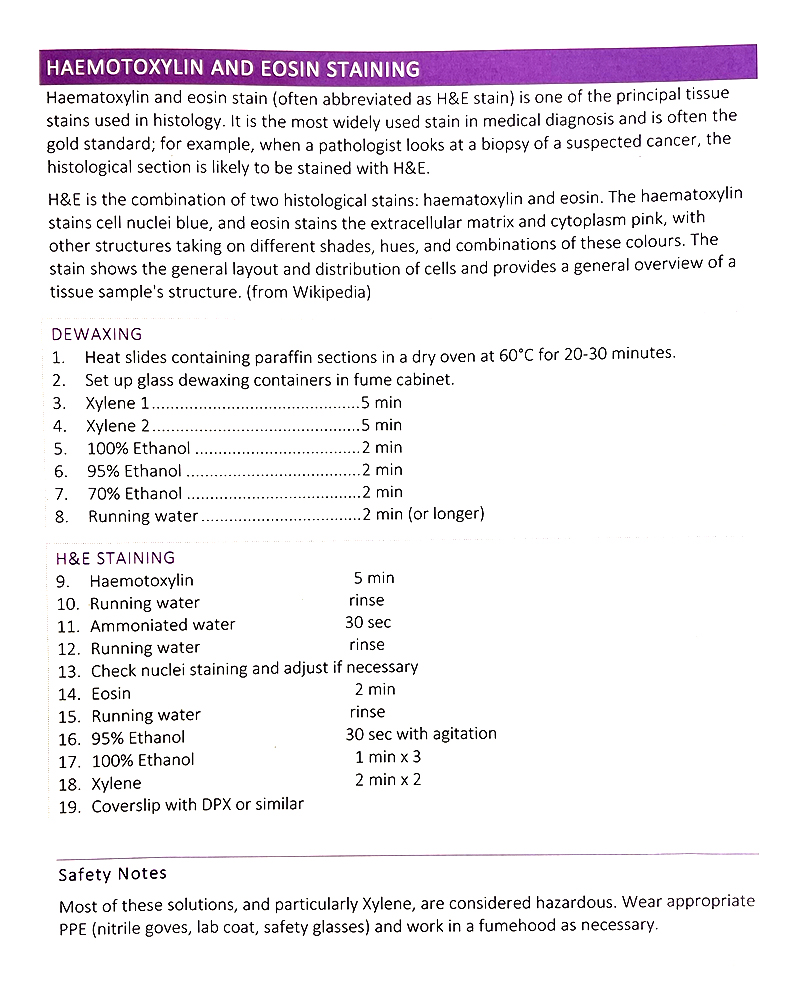 Basic H&E staining protocol from Jo-Maree. We only need to follow the staining process.
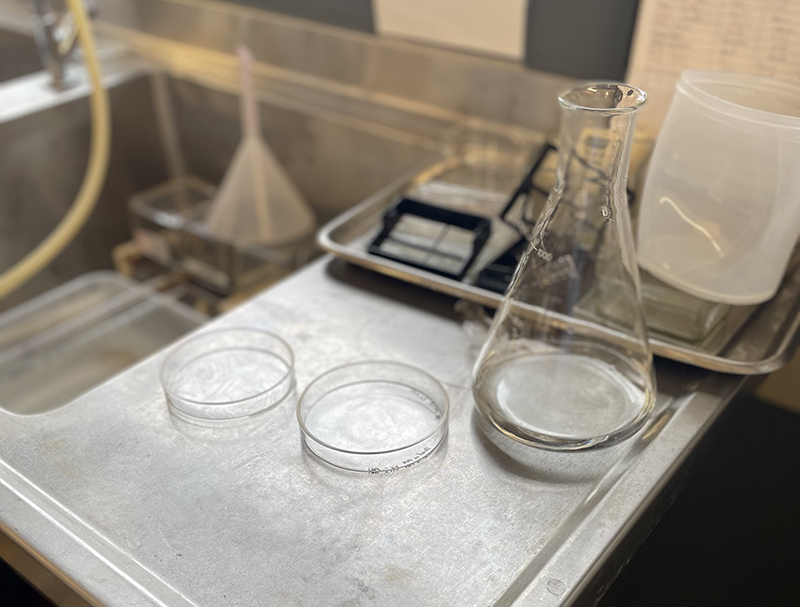 Petri Dish on bench in Histology Lab at MSP with Erlenmeyer flask containing distilled water for washing.
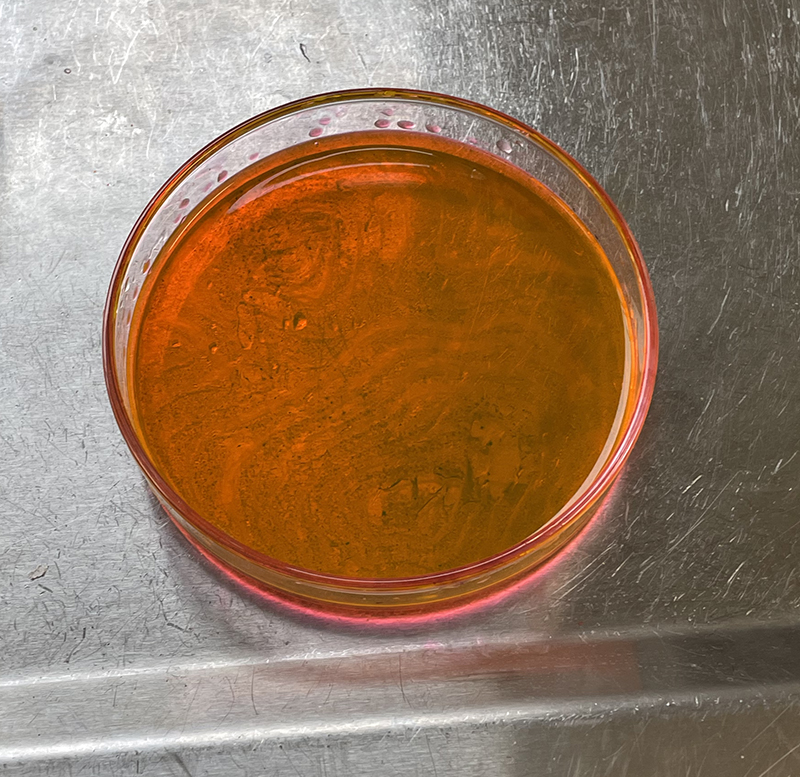
 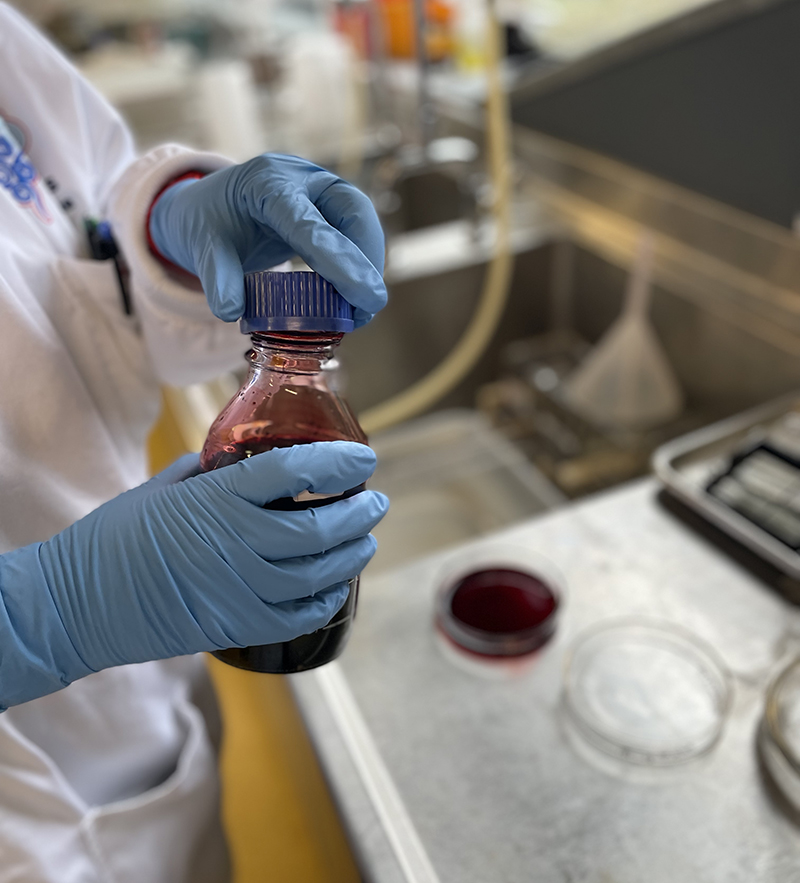 Hematoxylin Stain – deep red stain
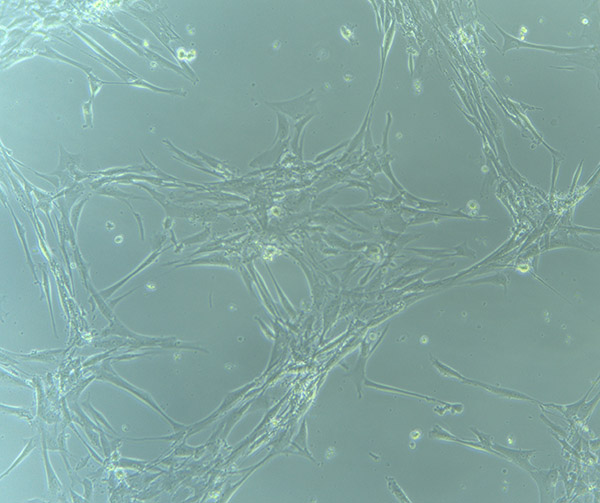
 T25 – Flask 1 P 3, 11/10/21
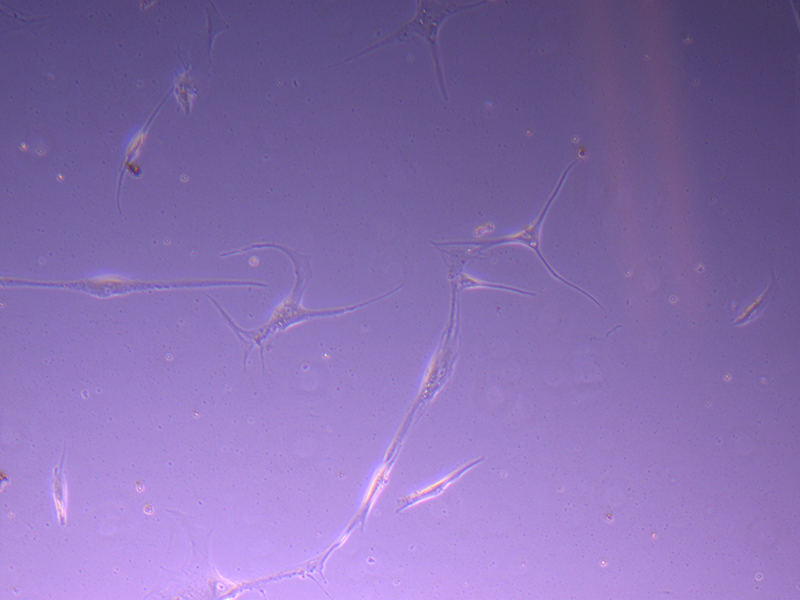 T25 – Flask 1 P 3, 11/10/21
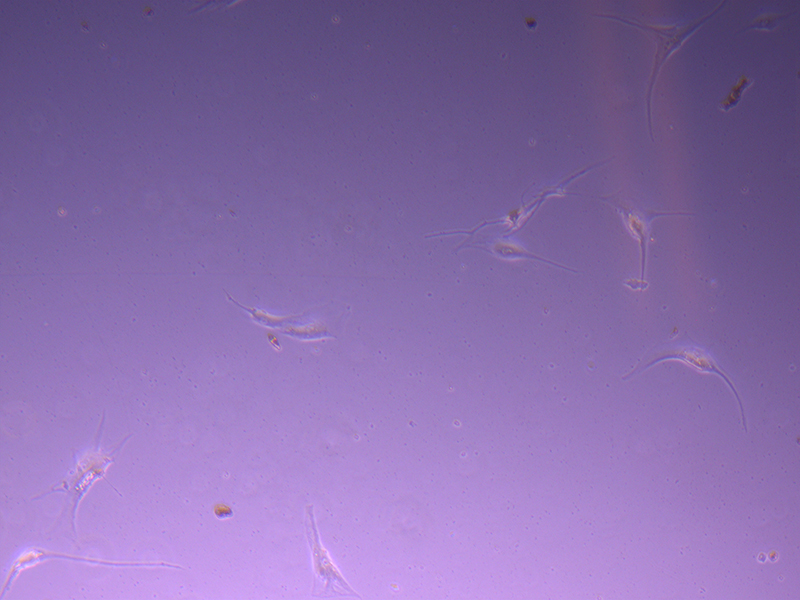 T25 – Flask 2 P 3, 11/10/21
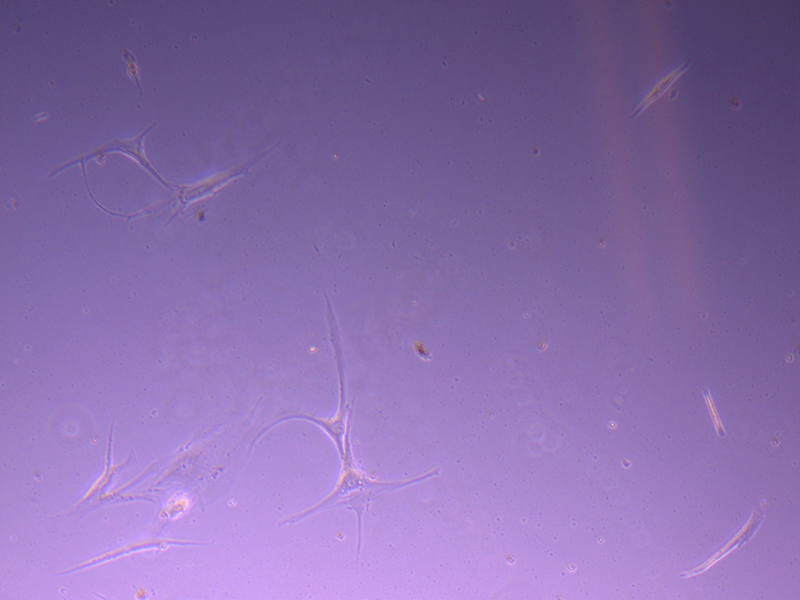 T25 – Flask 2 P 3, 11/10/21
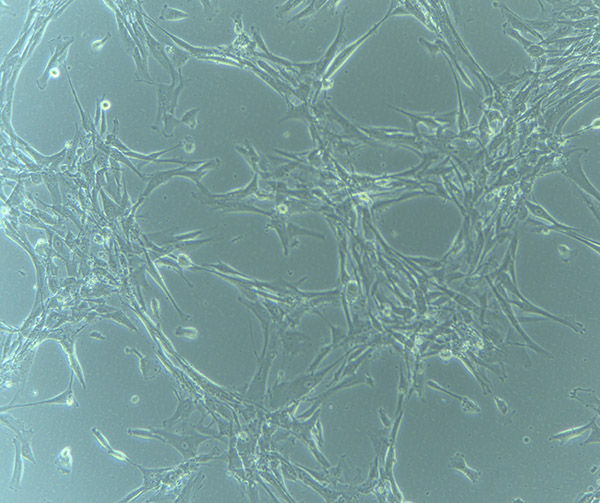
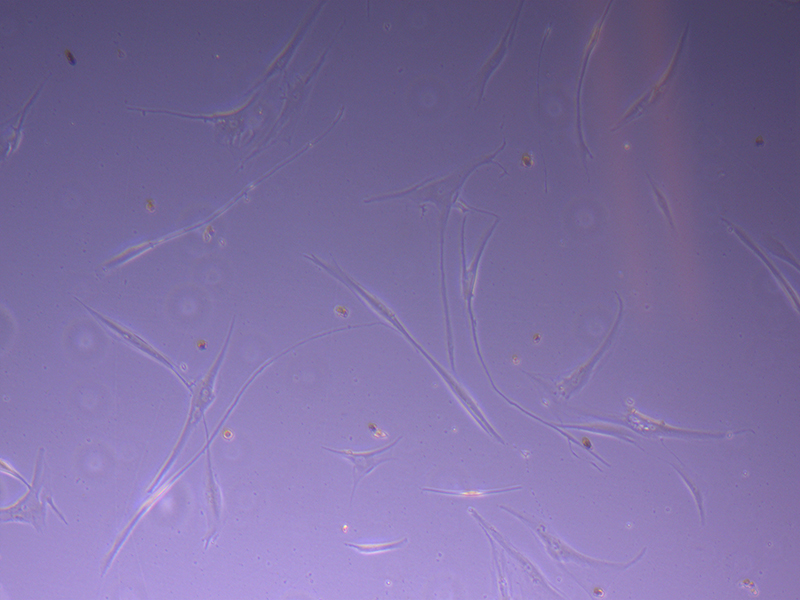 T75 – Flask 1 P 3, 11/10/21
 T75 – Flask 1 P 3, 11/10/21
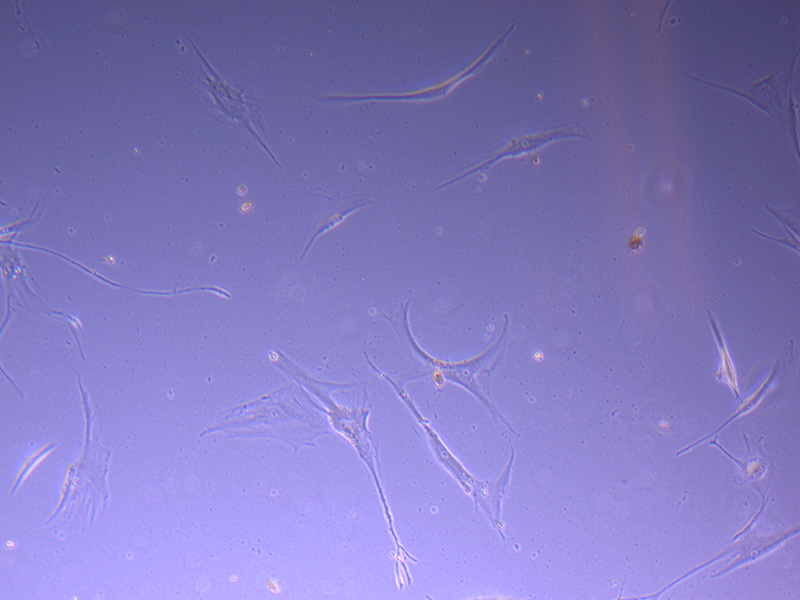 T75 – Flask 2 P 3, 11/10/21
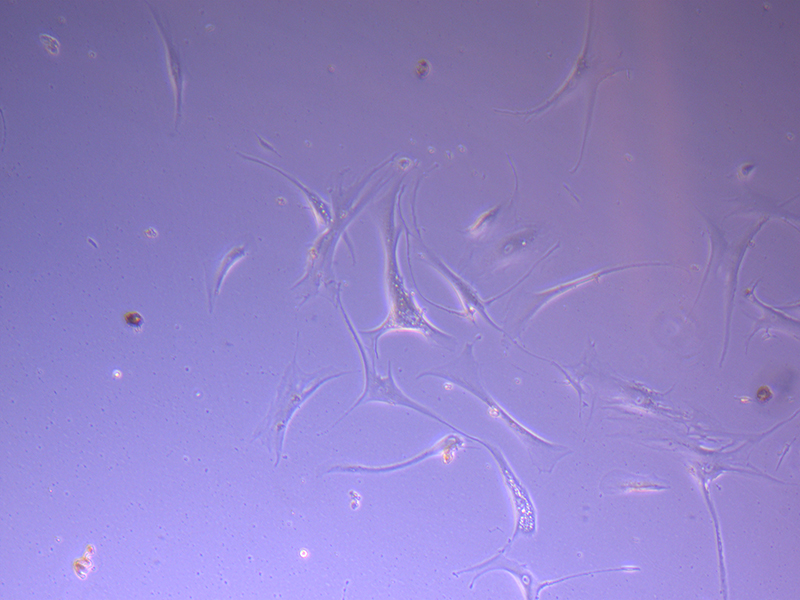 T75 – Flask 2 P 3, 11/10/21


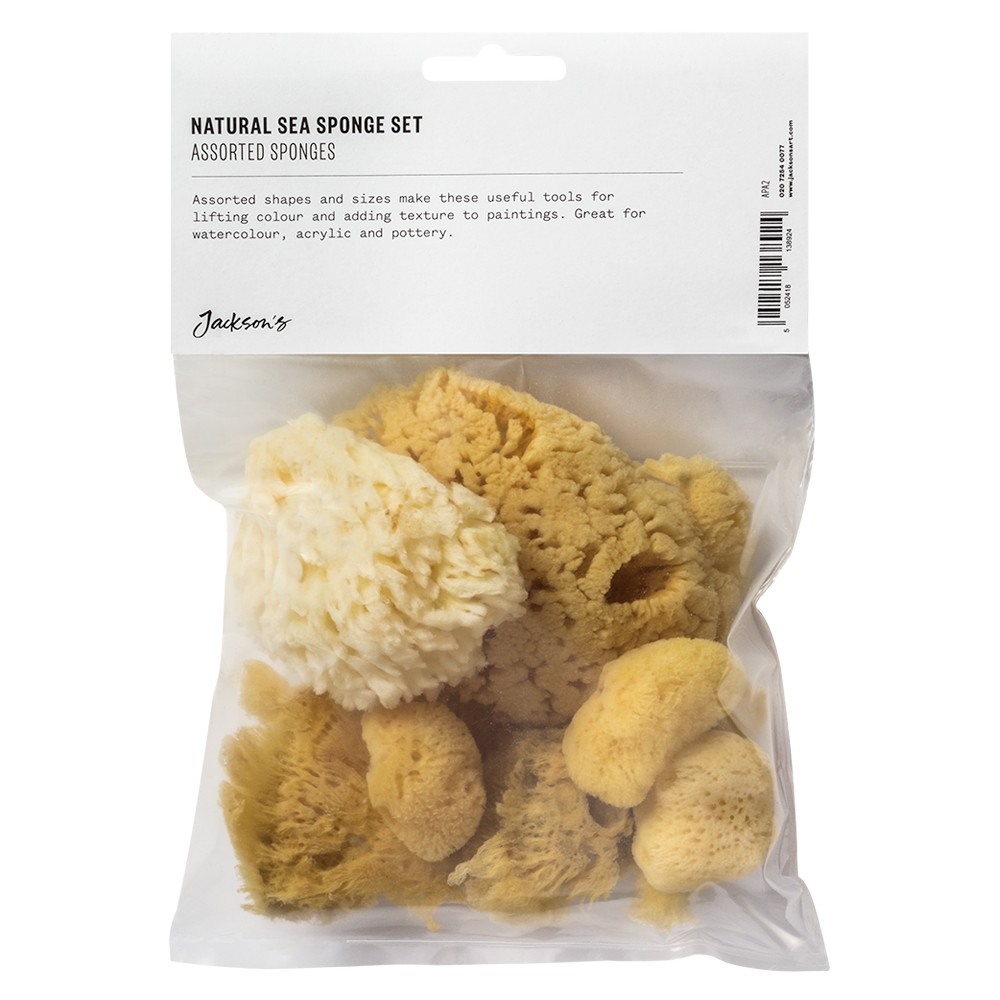
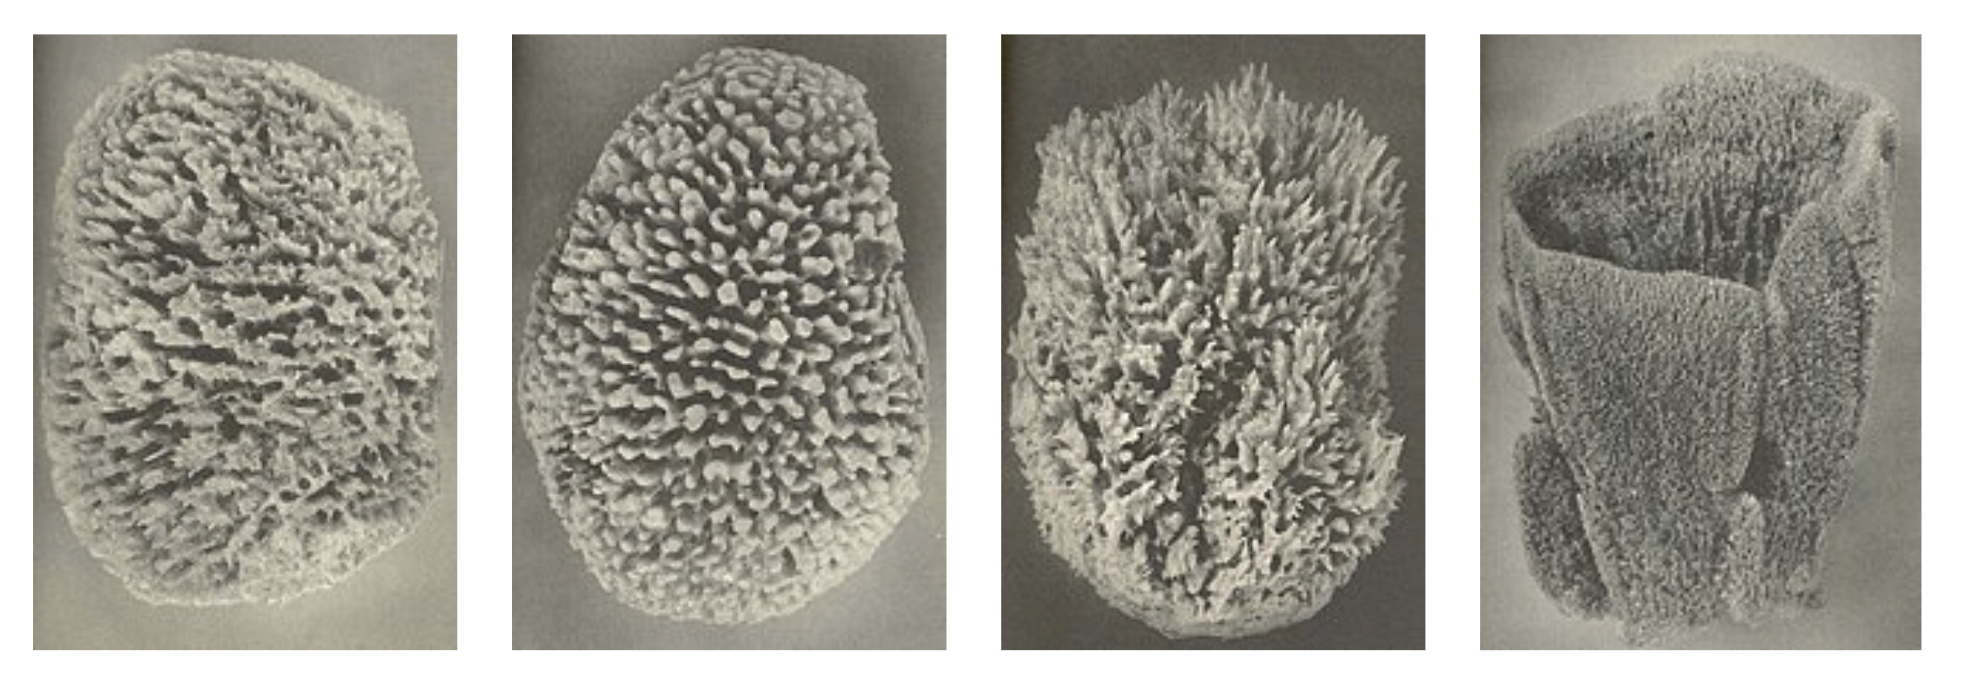 Different sponges from
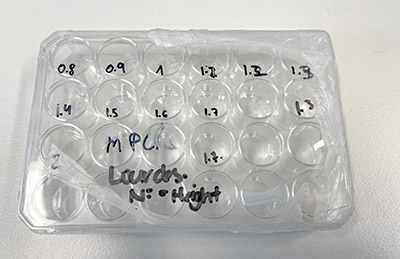 MPCL Scaffolds – tubular structures at varying heights.
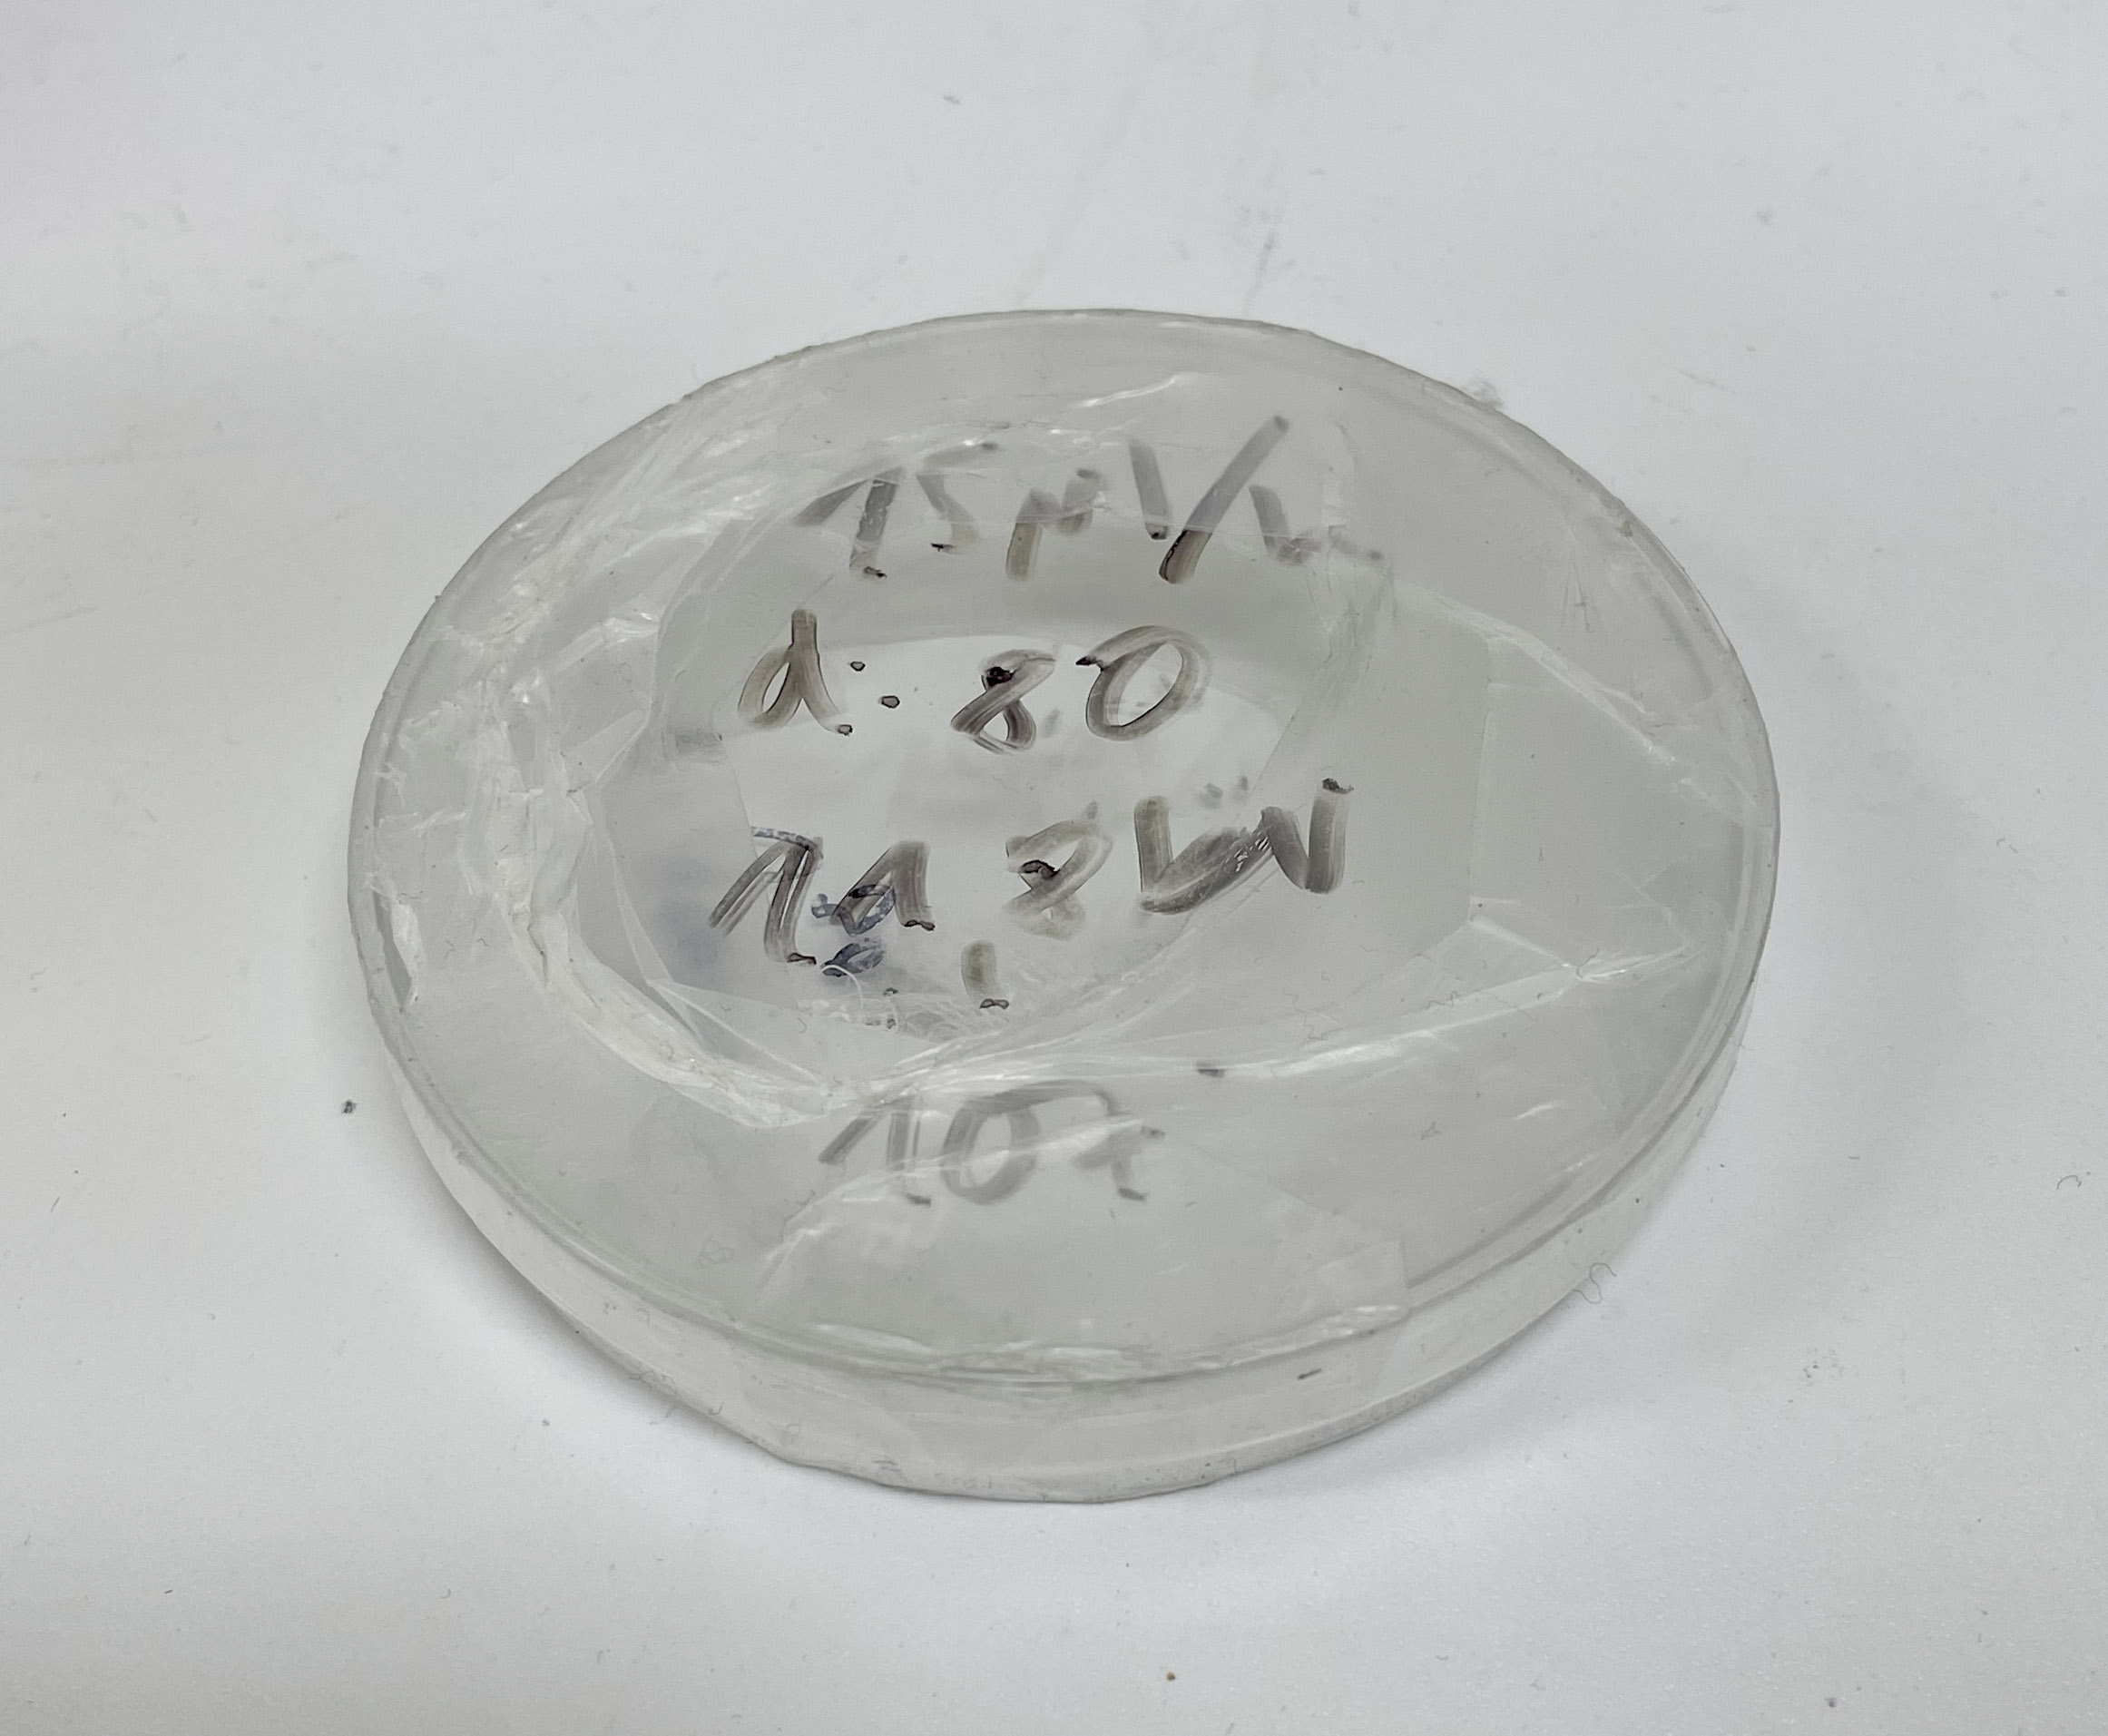 Scaffolds in Petri Dish – flat square structures.
 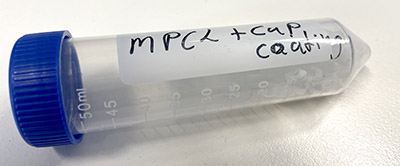 MPCL+CaP coating
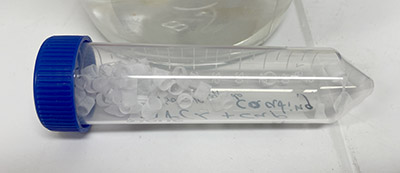 MPCL+CaP coating – tube structures.
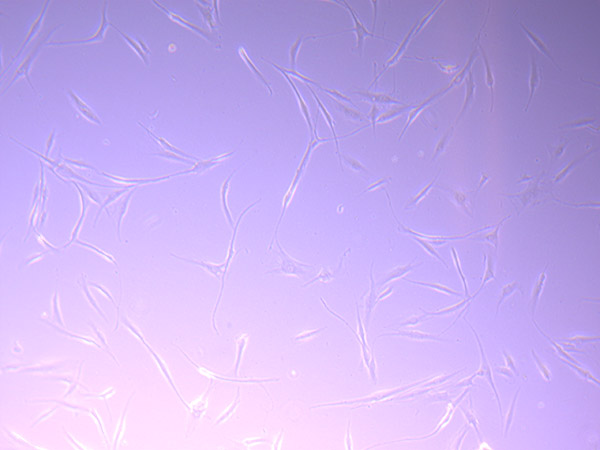
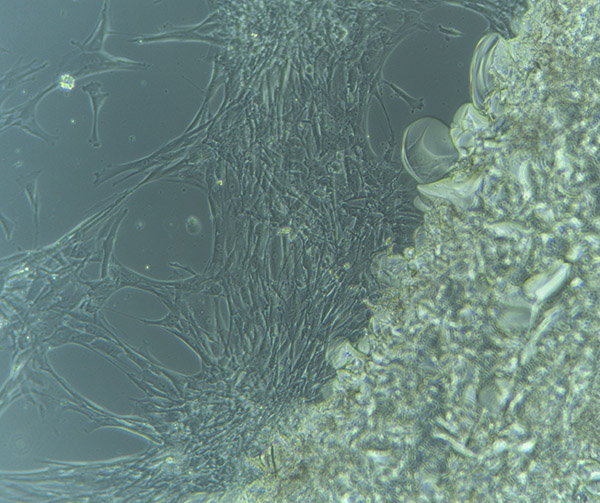
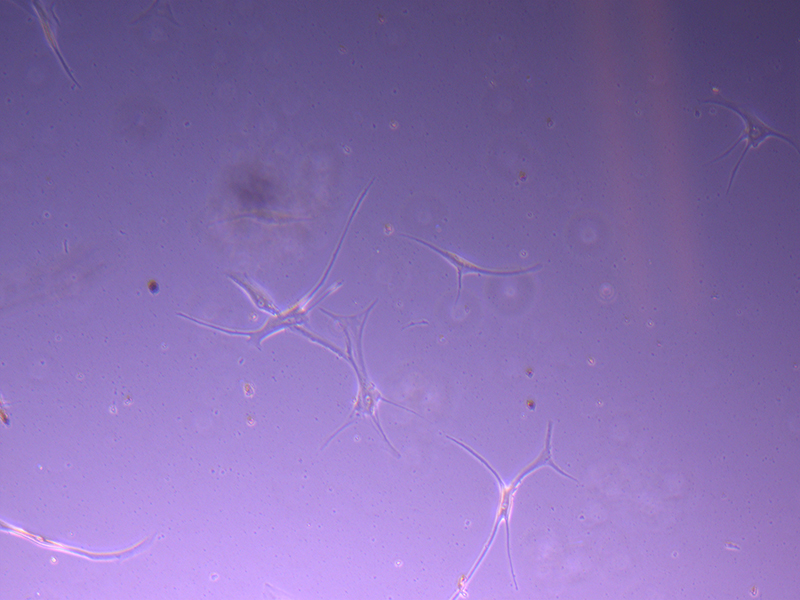
 HBVPs growing in T75 Flask – 13/9/21