We’ve received our first comment from the HREC Chair regarding our ethics application. They raised an important consideration in relation to more clearly outlining some of the ethical implications and questions that the project raises. Here is my current thinking:
Posthuman Genetic Legacies raises some ethical issues in relation to the ownership and governance of biological materials. The ethical implications of using human biomaterials for scientific and artistic research form part of the investigation and will enable the research team to identify and consider these issues from creative, legal, and scientific perspectives. This initial enquiry will also form the basis for subsequent exploration which will focus more specifically on bioethics with attention to legal and ethical frameworks for the management of use of biological materials.
Some of the key issues and questions include:
- Ownership and use of biomaterials (cells and tissue) when removed from the body including tensions arising between individual donor, research team and university.
- Who legally owns biomaterials (cells and tissue) when they are removed from the body?
- What rights does the original donor (and researcher-participant) legally maintain when working in a team research environment at a university?
- What current legal and governance frameworks are in place and which aspects may need reconsideration to better accommodate the interests of all stakeholders?
- IP implications to produce biomaterials in a university environment
- How is IP negotiated within a university environment when biomaterials are associated directly with an individual researcher as participant?
Once primary cells are successfully immortalised, the research team will review current policies regarding the use of biomaterials for artistic use in Australia. To date, most literature on biological art focuses on the conceptual, ethical and theoretical affordances of the practice and basic lab protocols with limited insight into legal and governance frameworks, especially where commercial and research interests intersect.
While the creation of the Billy Apple® cell line was a success (Hilton 2014), claims regarding the uptake of the cell line as part of the ATCC are difficult to verify as the cell line is currently not listed in the online cell product listing. Creating another artist cell line for uptake into the American Type Culture Collection (ATCC) or alternative distributor will enable researchers to gain insight into the current policies and practices that underpin biomaterials use, storage and distribution. These insights can then be used to compare policy documentation and experiences of research from art and science over the past 20 years. This will occur in the next stage of project development.
During this phase, the research team will also consider how ethical implications shift when moving from a university research setting to a more open/shared or commercial research environment such as the storage and distribution of biomaterials by companies such as the ATCC. During this stage, questions will address implications for biomaterial distribution and interdisciplinary engagement:
Some of the key issues and questions include:
- Ownership and use of biomaterials including tensions arising between individual donor, family, research team, universities, and external organisations such as biomaterial distribution companies.
- Who legally owns biomaterials (cells and tissue) when they become part of a global biomaterials repository?
- What ethical guidelines currently govern the use of biomaterials in a global setting? Can you and should you control or restrict the use of biomaterials in relation to personal or cultural values?
- Should extended family members have input into the distribution of biomaterials (and associated personal information)?
- IP implications to produce biomaterials across disciplinary terrains (who owns IP when research and commercial interests are involved)
- How is IP negotiated within a university environment and commercial research setting when biomaterials are associated directly with an individual researcher as participant?
- Privacy issues for disclosure of personal information (personal details and genetic information) in relation to biomaterials use and distribution.
- What are the potential risks (short term and long term) involved in the disclosure of personal and genetic information in relation to biomaterials in a research setting (used and stored within universities) versus commercial research context (stored and distributed by an external company)?
- What biomaterial information is useful for scientific versus artistic disciplines?
- What processes should be put in place to protect the privacy of the donor but still provide useful information across disciplinary domains?
- Communication including public understanding and transparency of regulatory and governance frameworks in biomaterials research across different domains?
- What is the public perception and research value of establishing formal frameworks for the development of biobanks and biomaterials for use in artistic research?
This stage will involve further ethical clearance and require me to work with the research team to develop a cohesive research plan and identify ways of minimising risk in terms of privacy.
While I am somewhat familiar with the ethics clearance process, I am new to thinking through the implications as participant where personal medical and genetic information and biomaterial may become shared research materials. This is where collaboration with experts from the Centre for Law and Genetics is vitally important. I look forward to hearing from my collaborator Jane (and hope I was not completely off track).
Hilton, C., 2014. The immortalisation of Billy Apple®: an art-science collaboration. Leonardo, 47(2), pp.109-113.

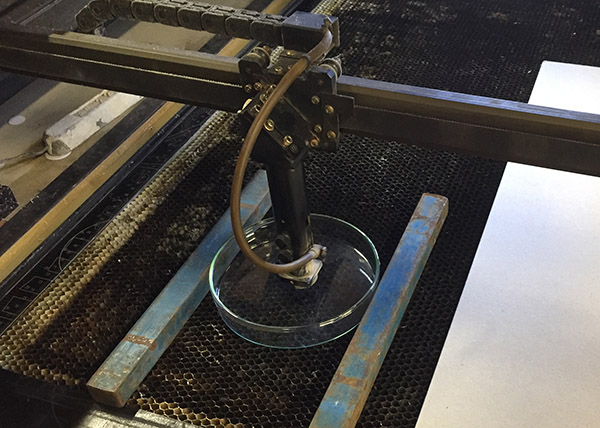
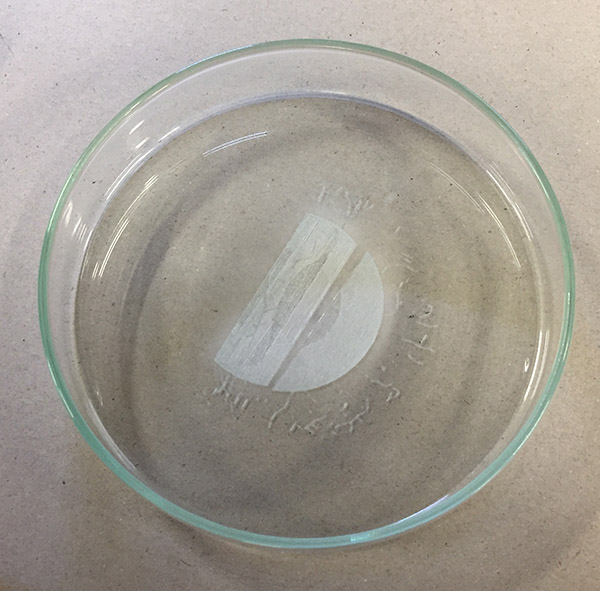
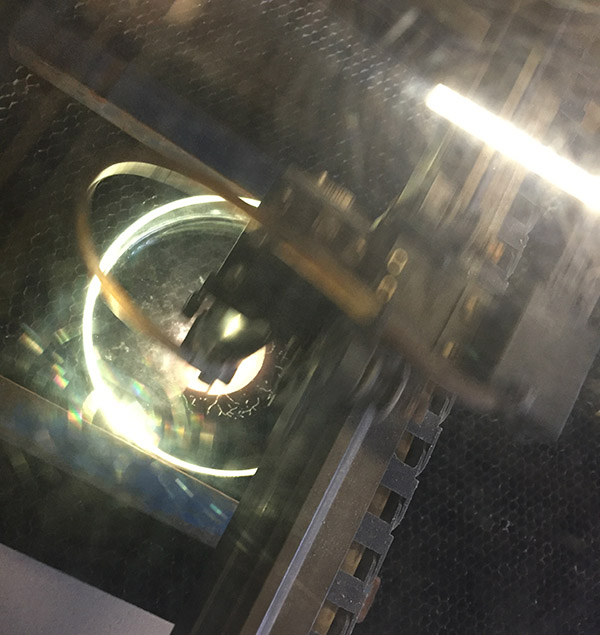 Laser in process.