
After shadowing Jo-Maree and the students in the lab, I feel pretty confident in moving forward with some actual cell work. We are just waiting on the delivery of new cell culture media. There is a bit of a delay with some orders due to the COVID lockdowns in NSW and VIC.
I did receive my glass Petri dishes (90mm and 1500mm) to do some initial tests and had a go at laser engraving them. I usually work in Perspex, so getting the settings just right is unfortunately always a bit of trial and error.
We decided to start with the simple ‘target’ engraving which would enable us to test different engraving depths and see if the graphic should use raster for hatched areas (circles) and vector for lines.
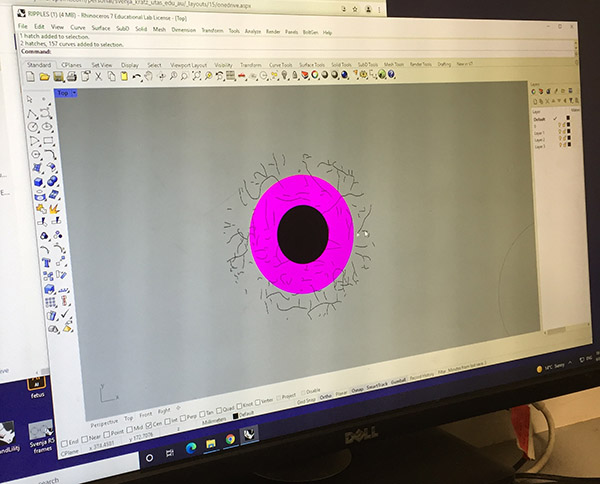
Graphic for laser engraving shown in Rhino 3D.
We need to leave room for the laser head to engrave so the graphic will be centred in the dish with a 25mm boundary. We also had to ensure that each element was on a separate layer with a colour indicating the particular settings for that graphic element.
We tested some basic settings:
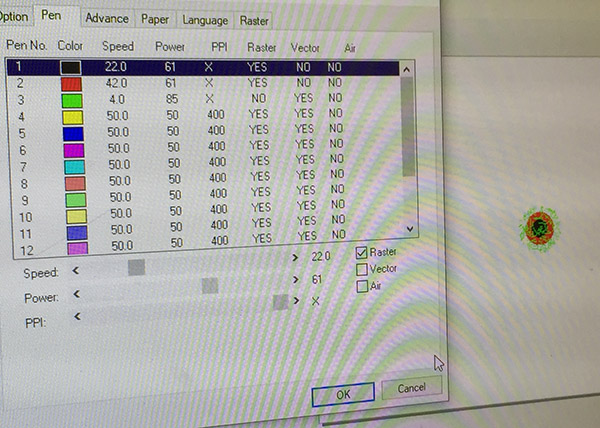
| Black circle: Raster Speed: 22 Power: 61 PPI: X |
Red circle: Raster Speed: 42 Power: 61 PP1: X |
Green Lines: Vector Speed: 4 Power: 85 PPI: X |
We secured the sides with some metal rods to reduce the likelihood of movement when the air flow is turned on during the laser engraving process.
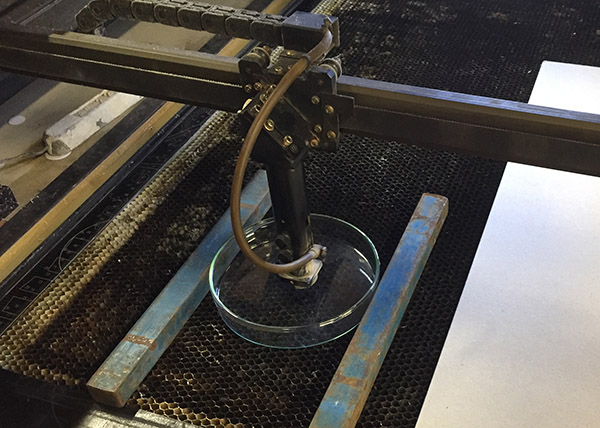
Set up in Laser with metal bars to reduce movement.
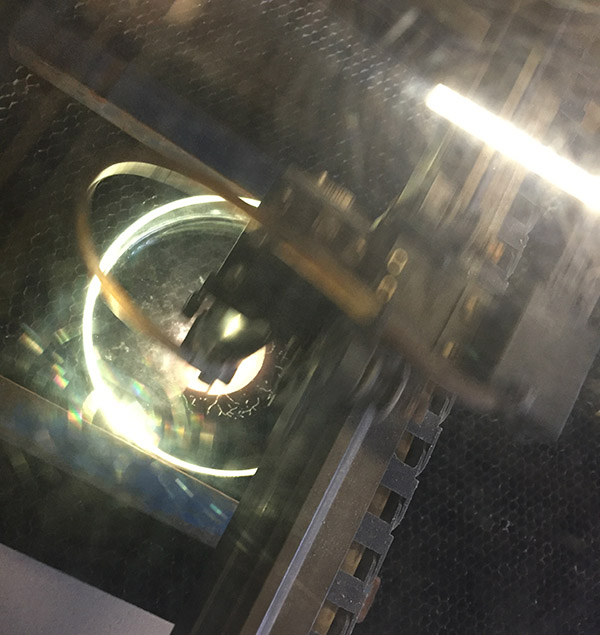 Laser in process.
While the initial engraving seemed promising, the entire graphic was rastered including lines which were supposed to be rendered as vectors. The air flow also moved the dish. This resulted in an initial ‘glitch’ area and, following another shift, an overlaid section.
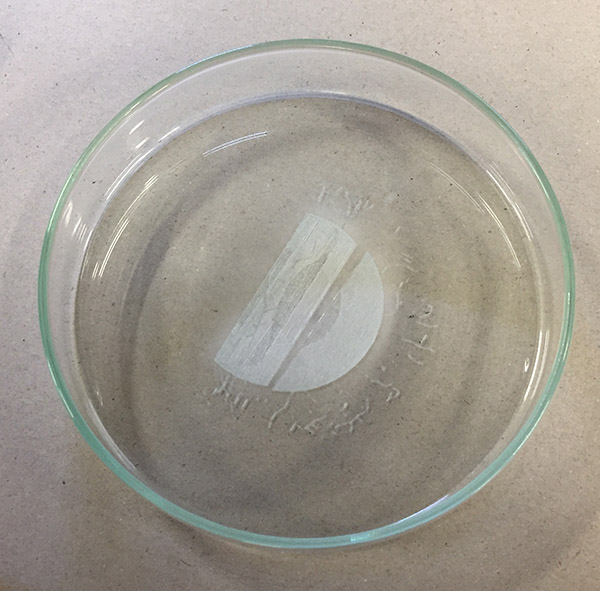
Laser engraved dish with ‘glitch’ pattern.
It is not too bad, but shows the importance of testing settings and set up never assuming that things will work first time around.
We used the same dish again to test different settings (with four metal bars to hold the dish in place. However, we found that the raster setting was the best approach after all to ensure that the laser creates lines without punching through the glass. We still don’t quite have the settings down, but hopefully the next go will yield more promising results.