My fibroid cells are still struggling to gain a foothold. I have yet to reach 80 – 90% confluency. We assumed that they are fibroblasts, but the difficulty of growing them in DMEM suggests that they may need different media.
Despite a slow growth rate, on 7/10/21, I passaged my flask of T25 and T75 (approx 70% confluent) at 1:2 to try and increase our stock of cells.
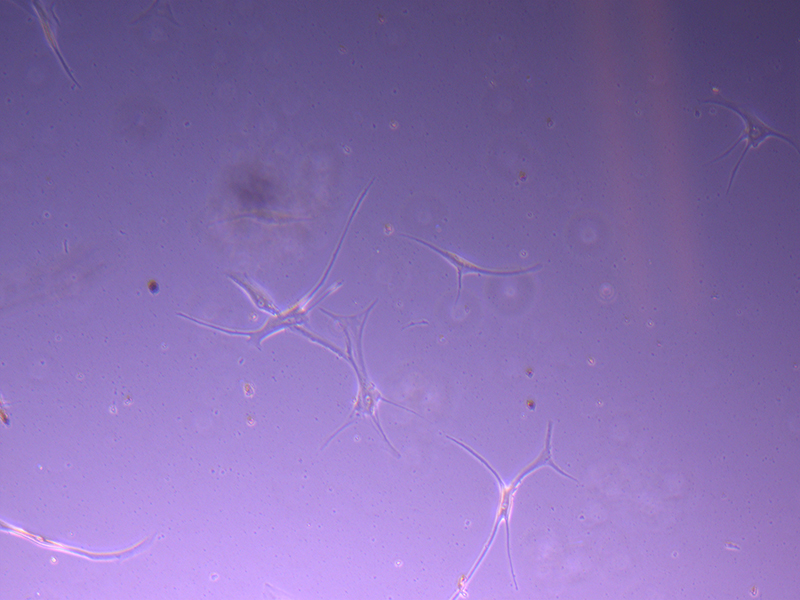
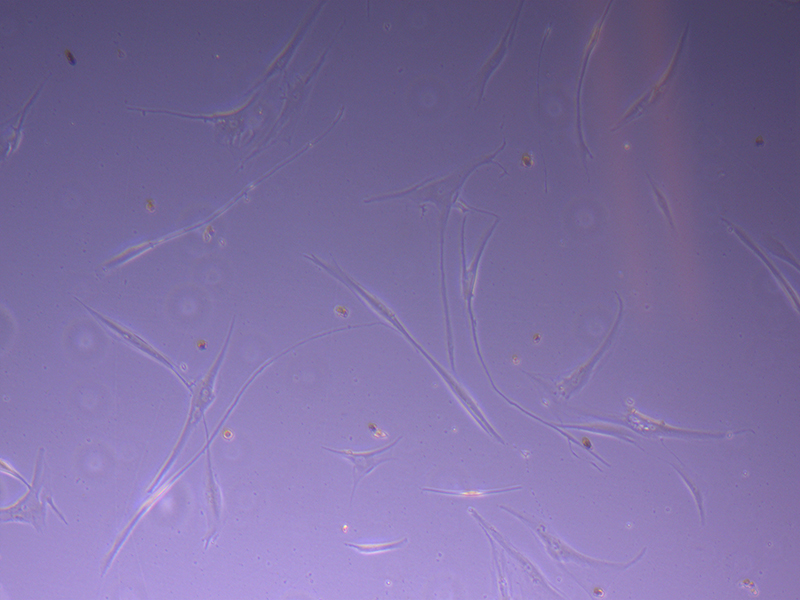
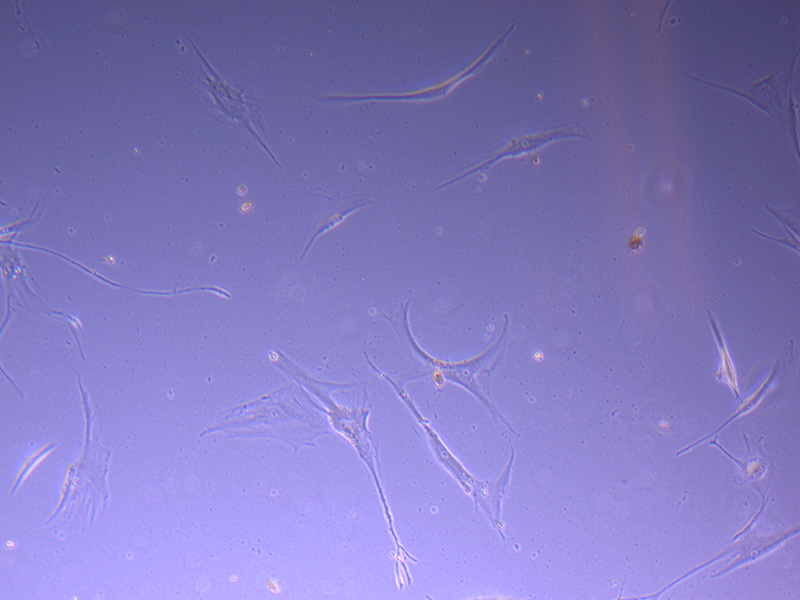
After four days (11/10/21), the cells in the T25 flasks have not grown much and there seemed to be quite a bit of cell debris (i.e. dead cells). I’ve included a few images to provide a better idea of the growth.
 T25 – Flask 1 P 3, 11/10/21
 T25 – Flask 1 P 3, 11/10/21
 T25 – Flask 2 P 3, 11/10/21
 T25 – Flask 2 P 3, 11/10/21
The lag in growth could be a result of these cells growing from the remaining freeze mix. While the DMSO content was very low following plating , exposure to the toxin could have impacted on cell growth and proliferation over time.
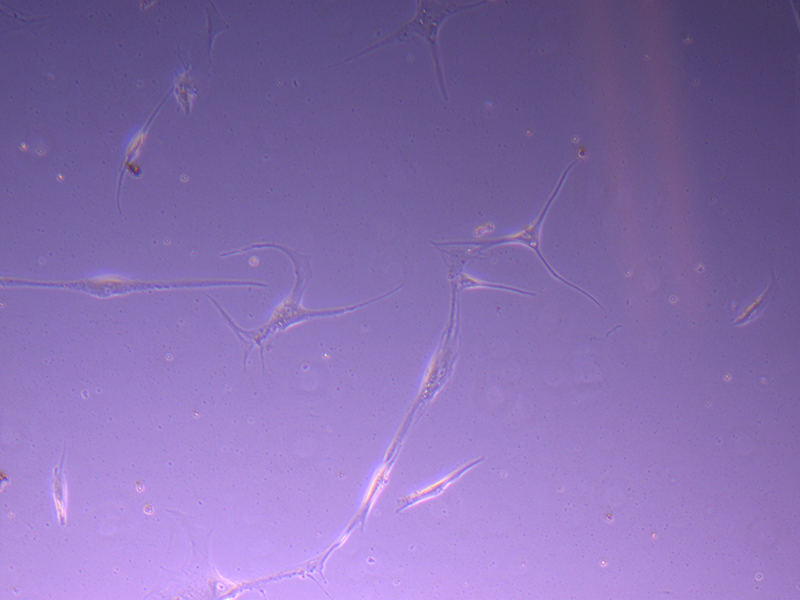
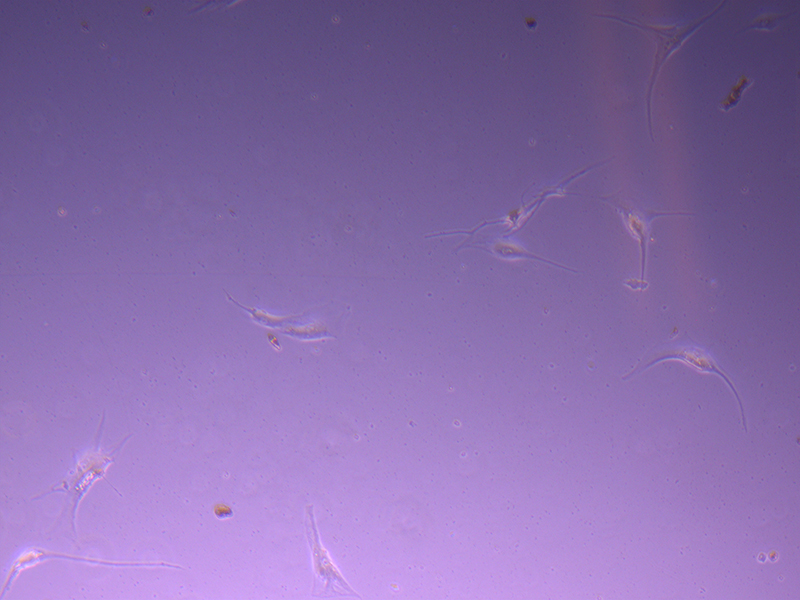
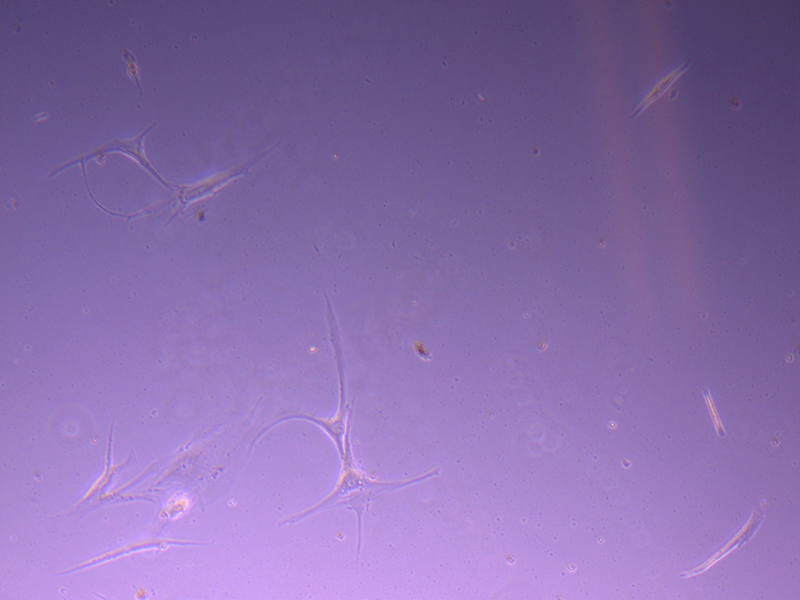
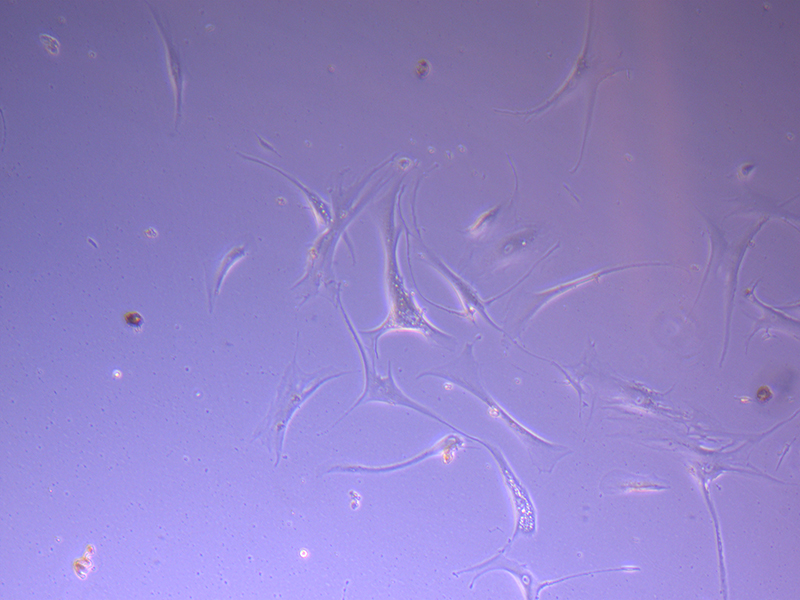
In contrast, the T75 flasks seem and doing better. However, growth rate remains slow.
 T75 – Flask 1 P 3, 11/10/21
 T75 – Flask 1 P 3, 11/10/21
 T75 – Flask 2 P 3, 11/10/21
 T75 – Flask 2 P 3, 11/10/21
While we wait for different media to arrive, I added more FBS (20% total) to see if the increase in serum helps stimulate cell growth.
Some common reasons for poor cell growth include:
- Starting culture of cells too low in number. This is a possibility, because we thawed and added the fibroid cells directly into a T75. At QUT, we always started primary cells in a T25 to ensure there were enough to stimulate growth.
- Incorrect media. This is also a possibility, but it is difficult to determine the best media when we do not know which cell type we are currently working with. We have ordered some DMEM-F12. While this is still optimised for fibroblasts, it may help…plus we need some for the immortalisation and iPSC protocols anyway.
- Mycoplasma contamination. The third option is bad. Mycoplasma contamination would require all cells to be destroyed. Regardless, we will need to check if this is an issue.
We could also try bringing up another vial of cells. However, we only have 2 original vials left, so I am a bit cautious using another flask without further trouble shooting.
Plan B
Fortunately, we considered the potential for the fibroid cells to be unviable and have ethical clearance to get new cells via small biopsy. We will continue to try and optimise fibroid cell growth, but it looks like establishing another batch of cells will be more realistic to move the project forwards.
I will follow up with Brad and his colleagues to get the biopsy underway when lockdown (and end of semester marking) is finalised.

 Simple graphic interface with presets ready to complete fluorescent microscopy.
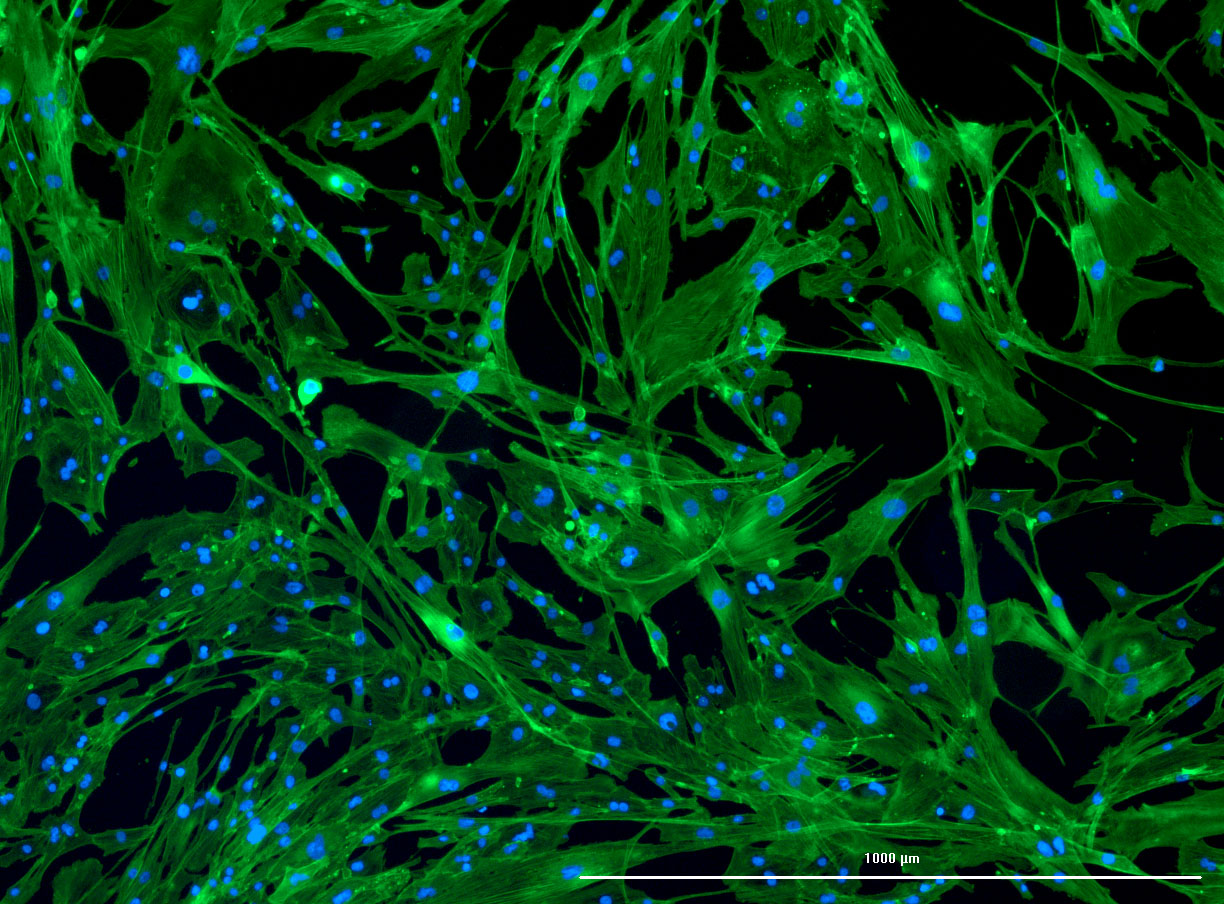
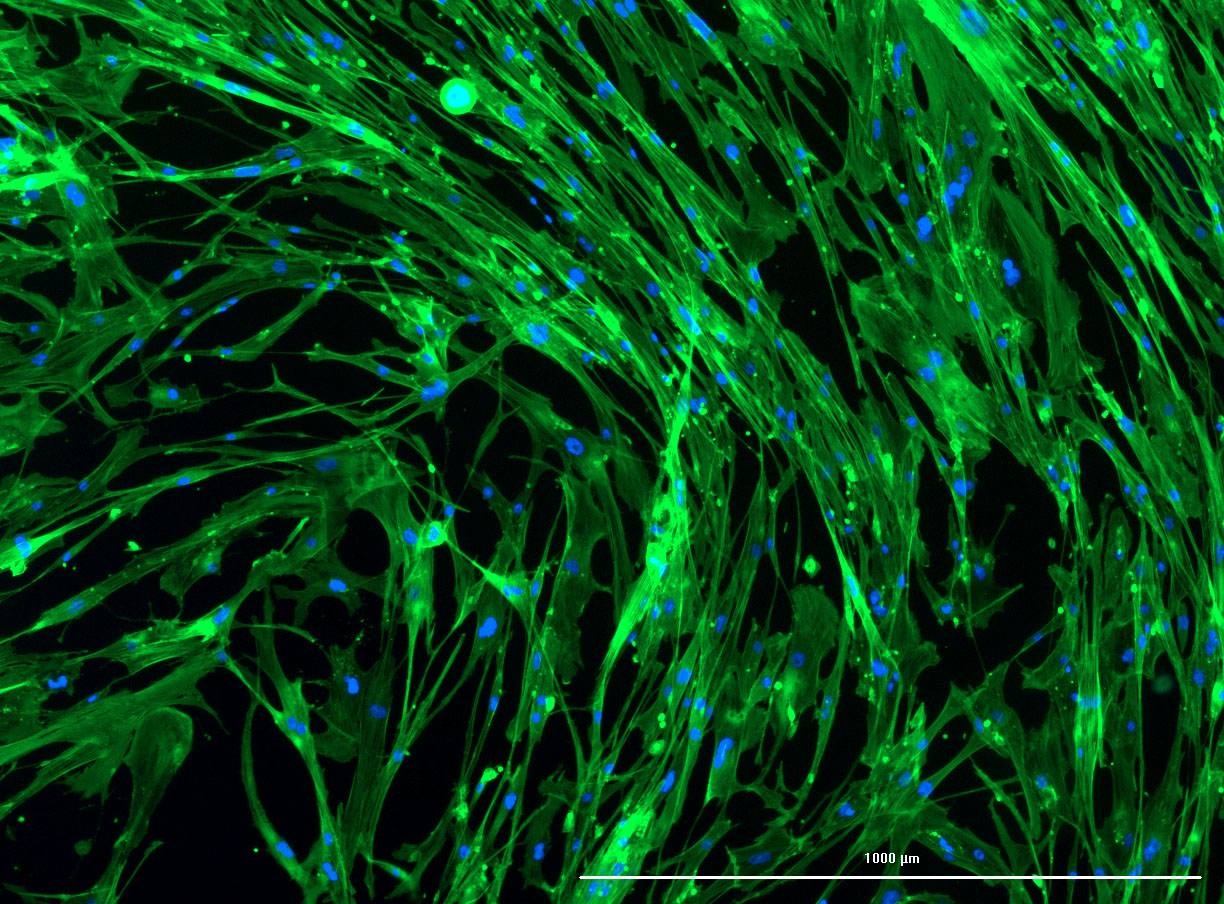
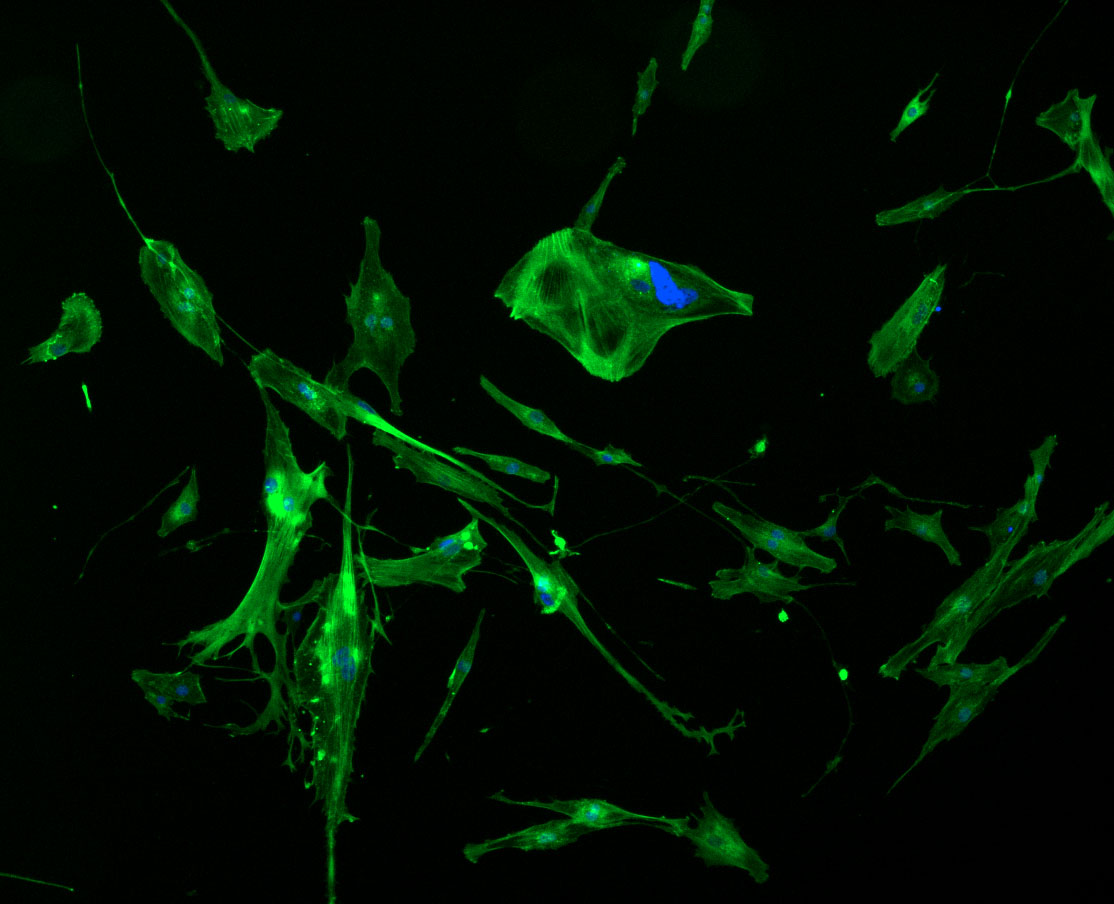
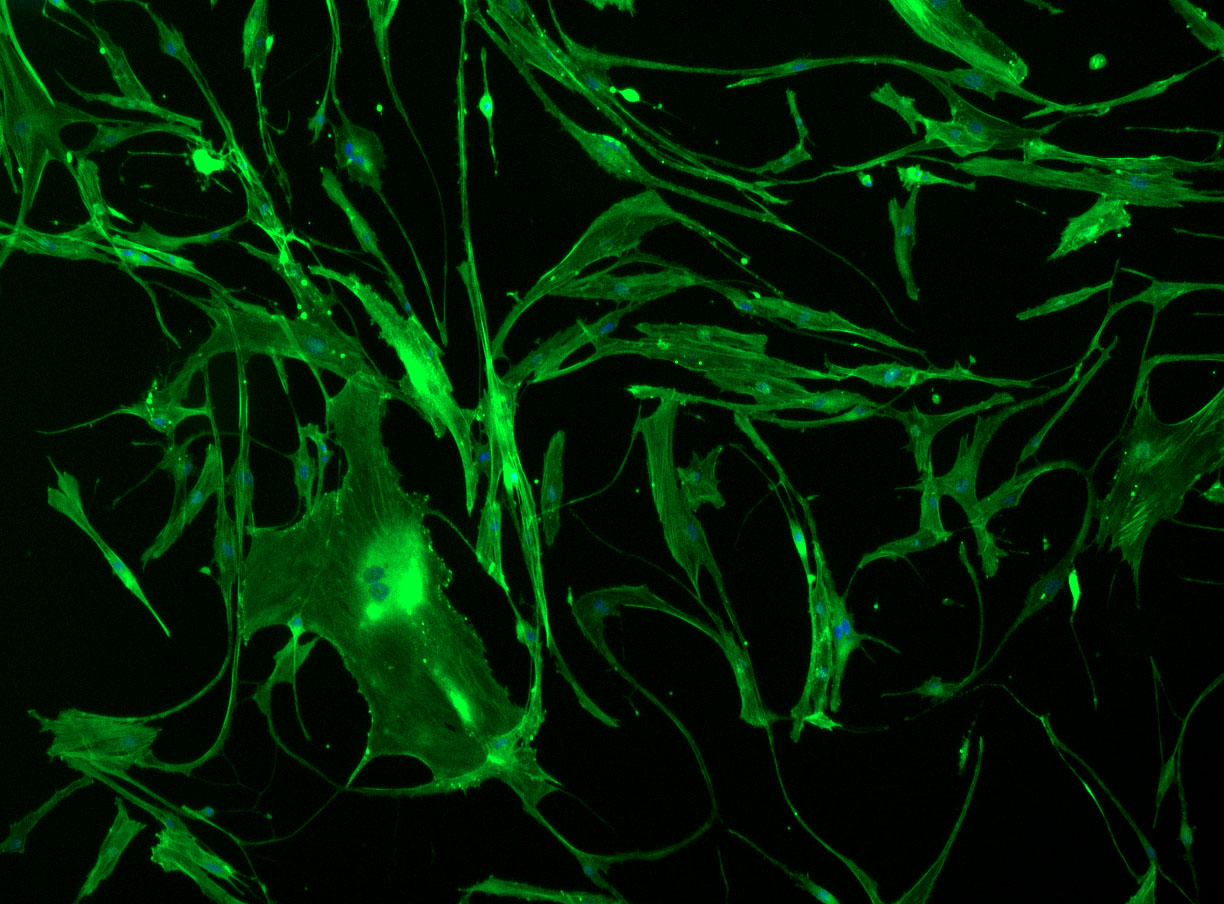
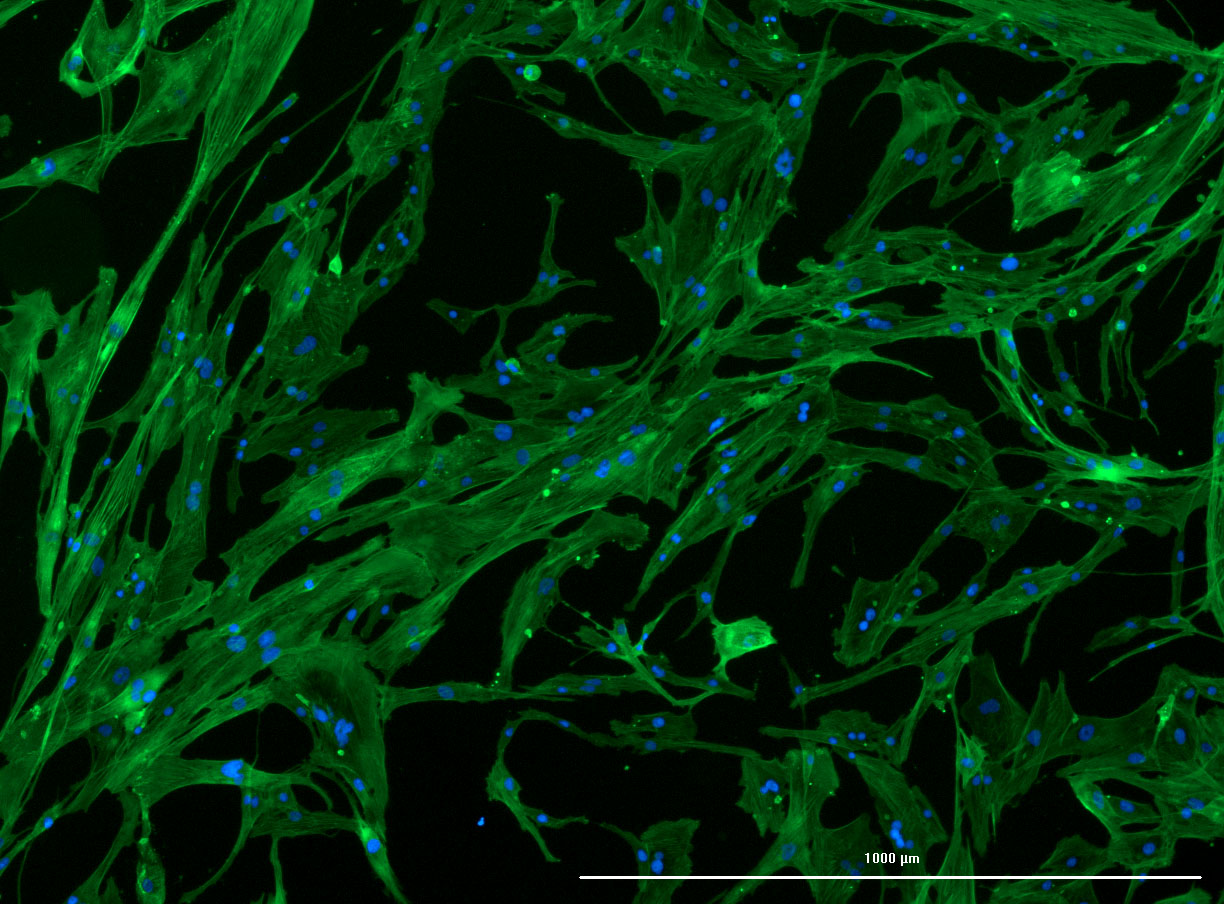 DAPI and Fluorescein Phalloidin staining of confluent fibroid cells P4 (although this is potentially misleading as the cells are very slow growing).
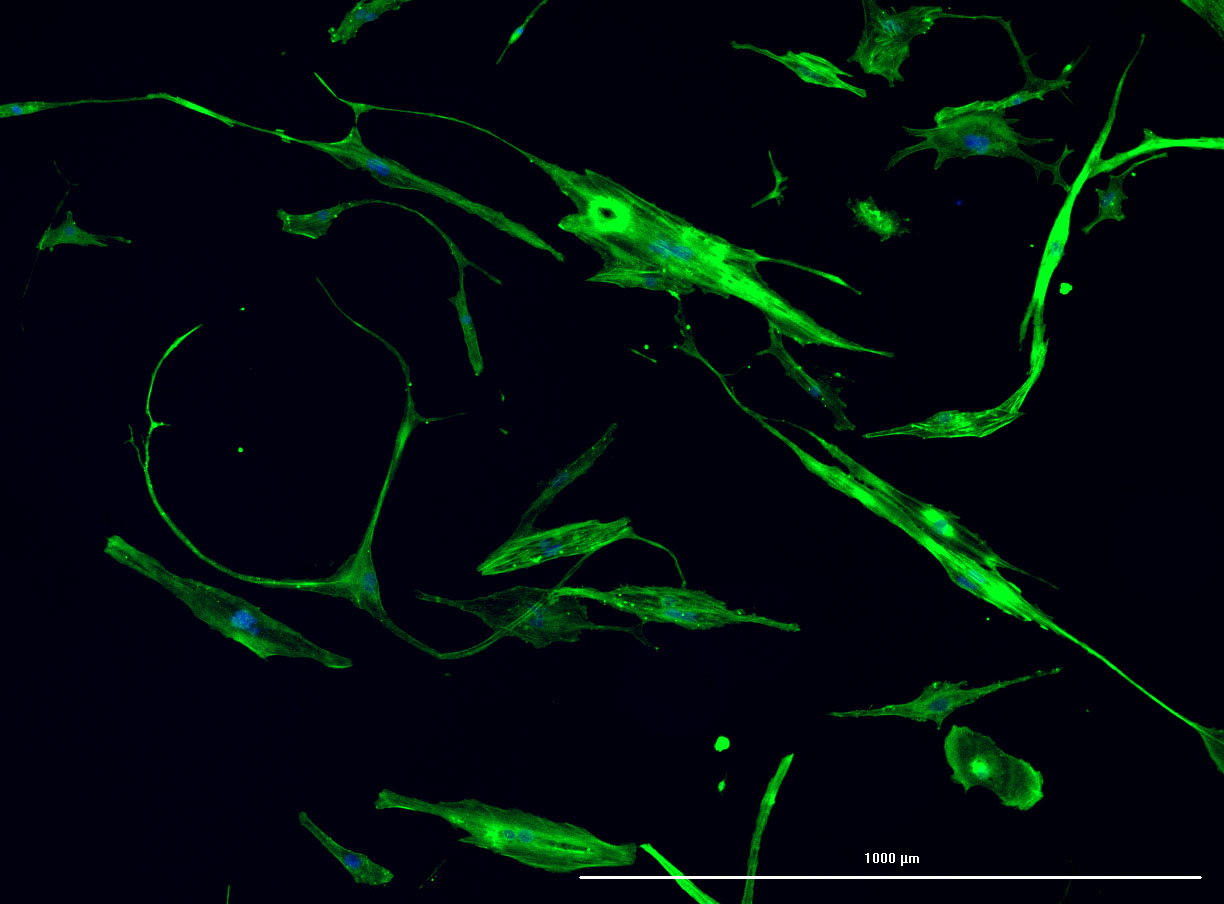
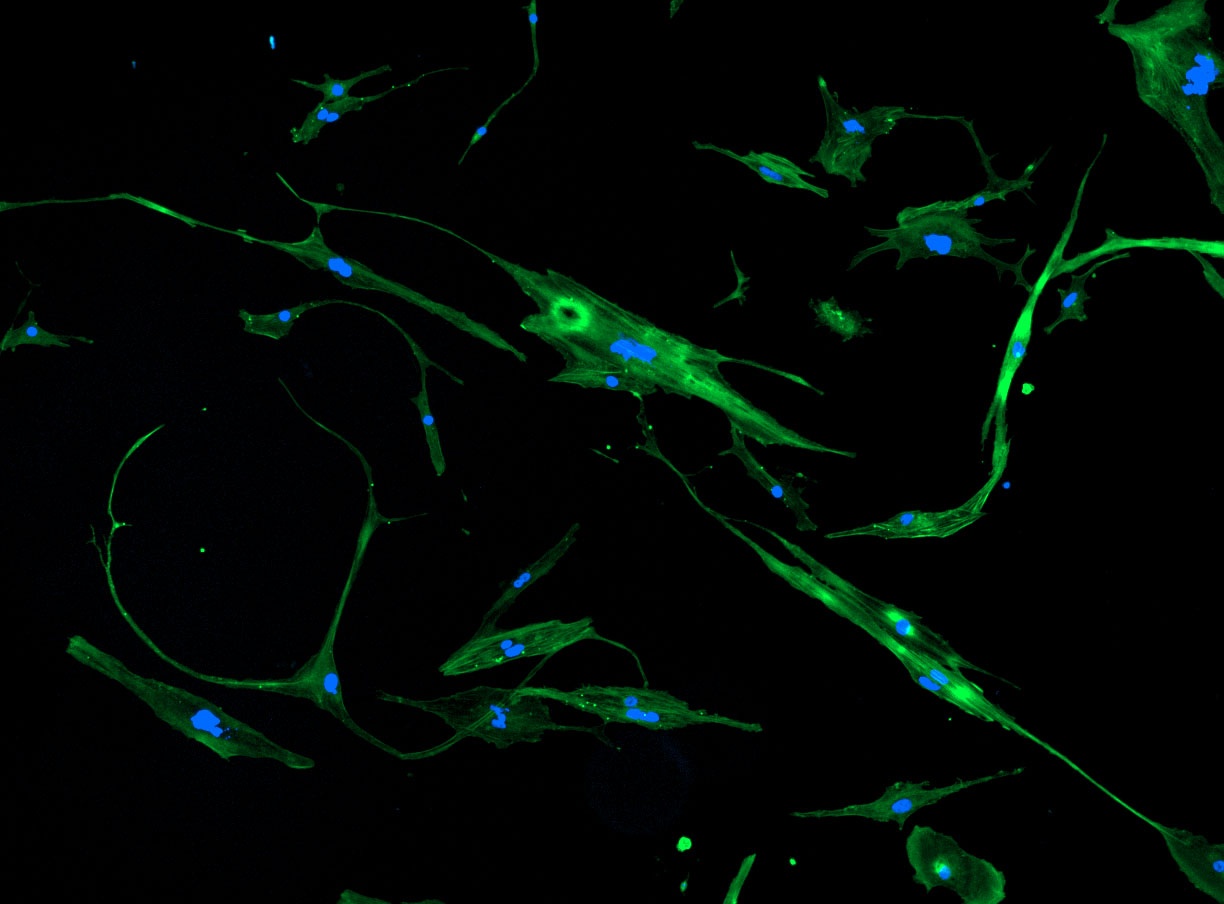
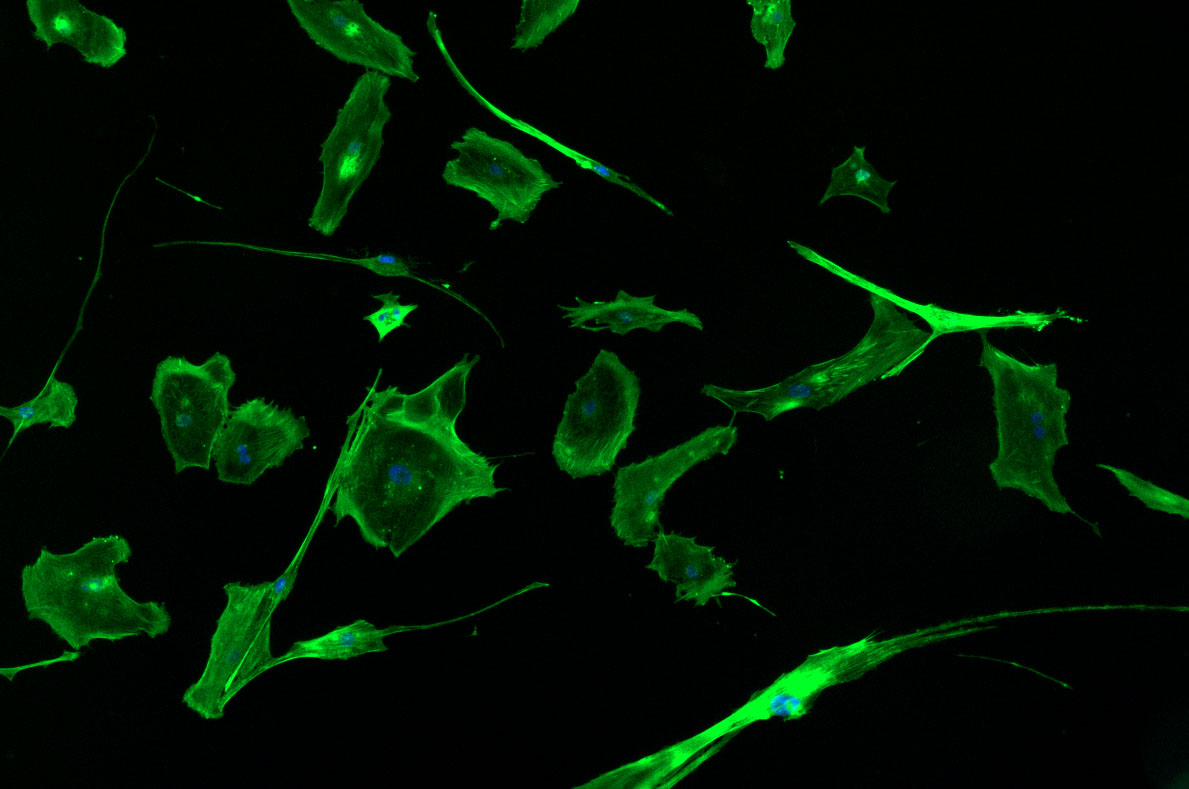
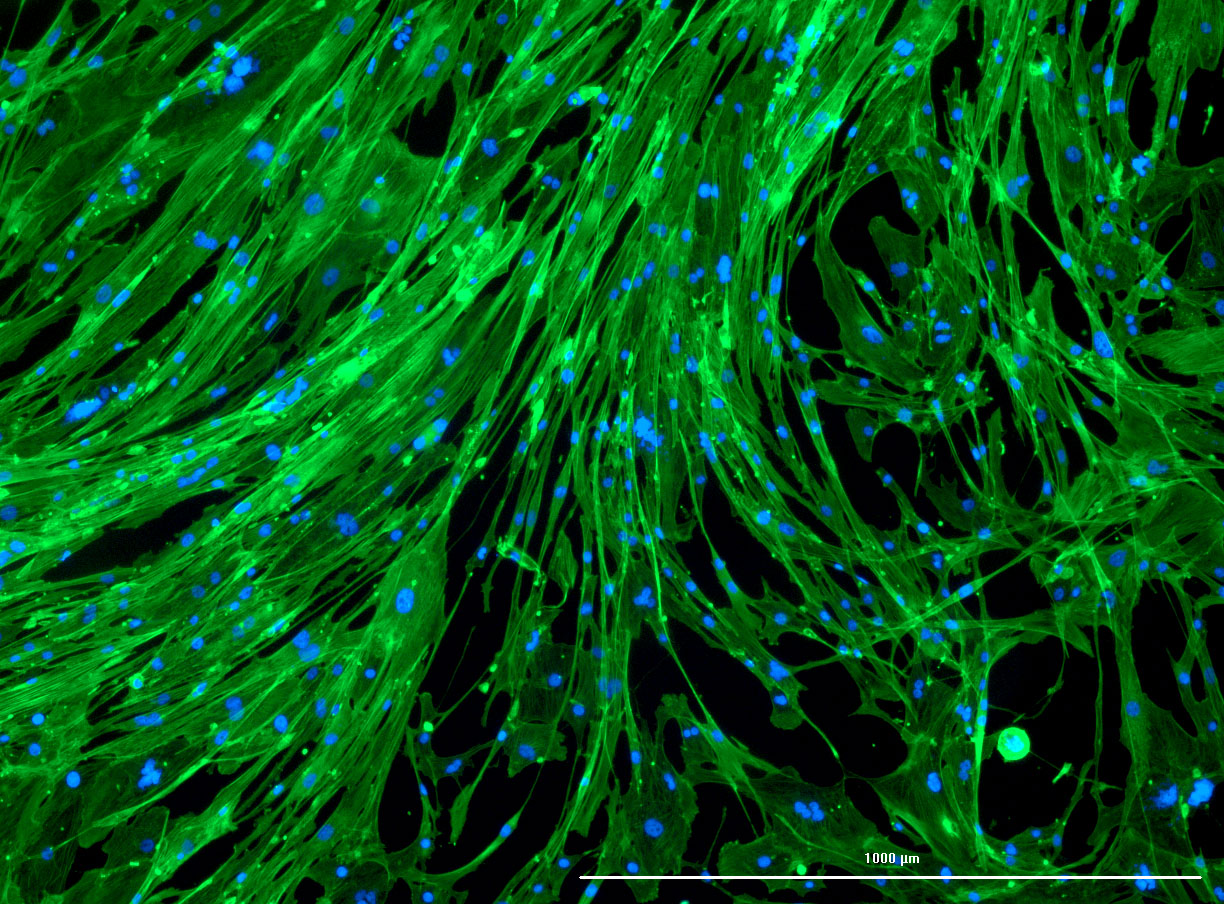
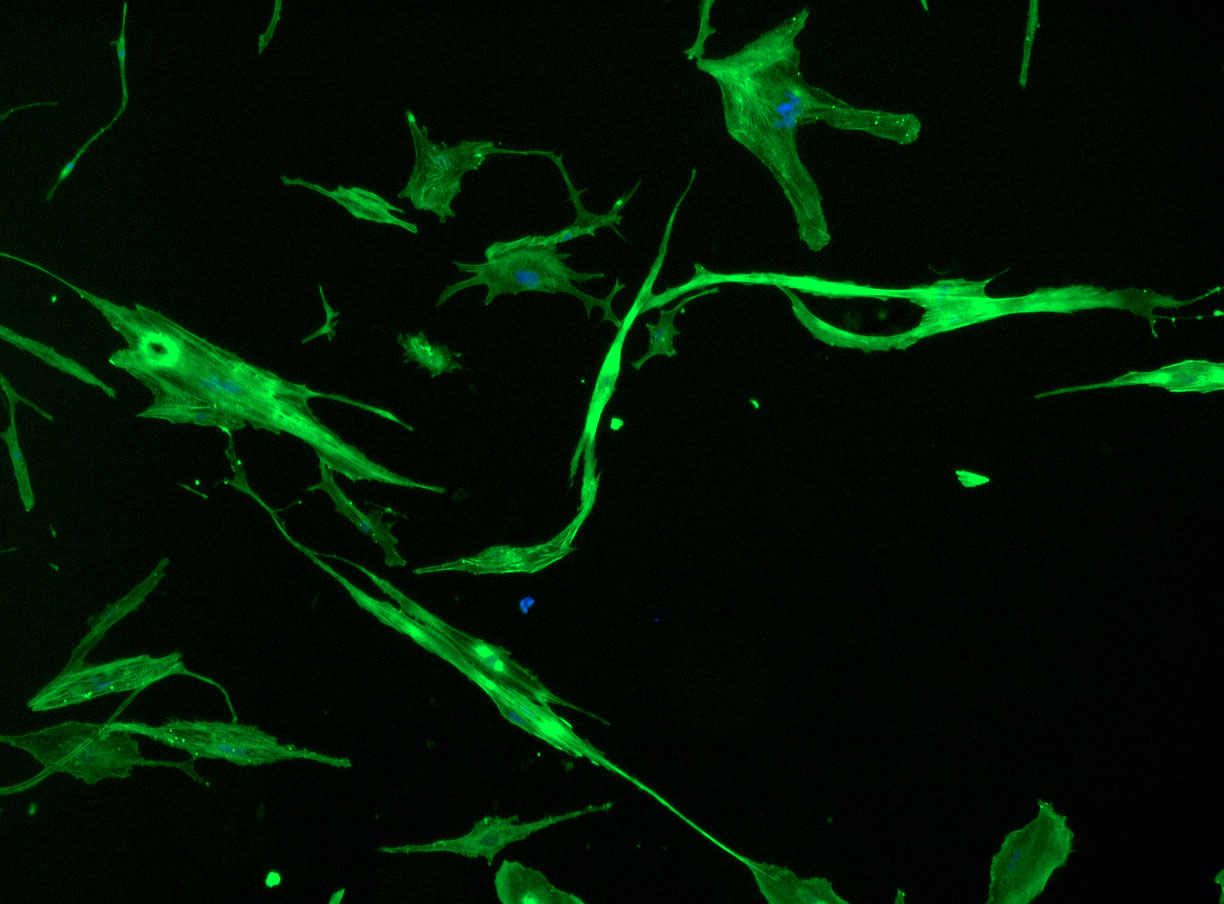 DAPI and Fluorescein Phalloidin staining of fibroid cells P4 which enables better visualisation of individual cells.
  Working with 4% PFA in Fume Hood
 Working at lab bench in the Stroke Group area
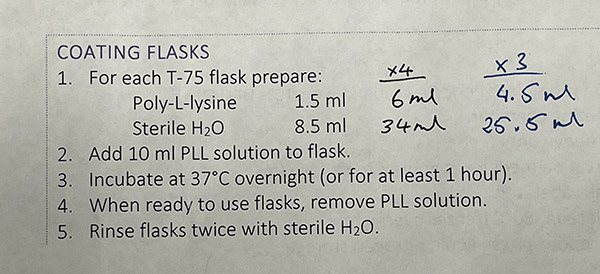
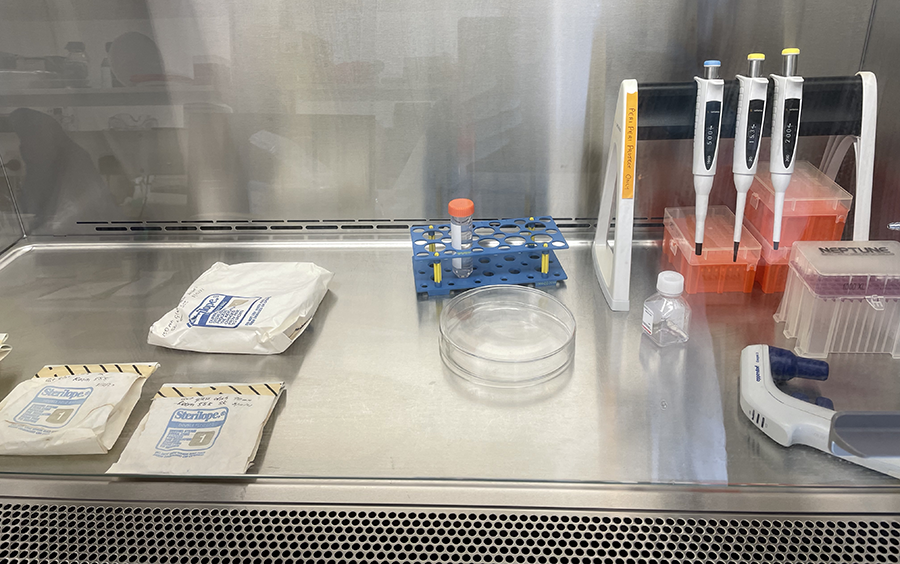 Unwrapping Petri dishes and getting ready to coat culture glassware with PLL.
  PLL coated glassware in Petri dishes ready for incubation.
  Cut glass vessels with cells ready for incubation.
 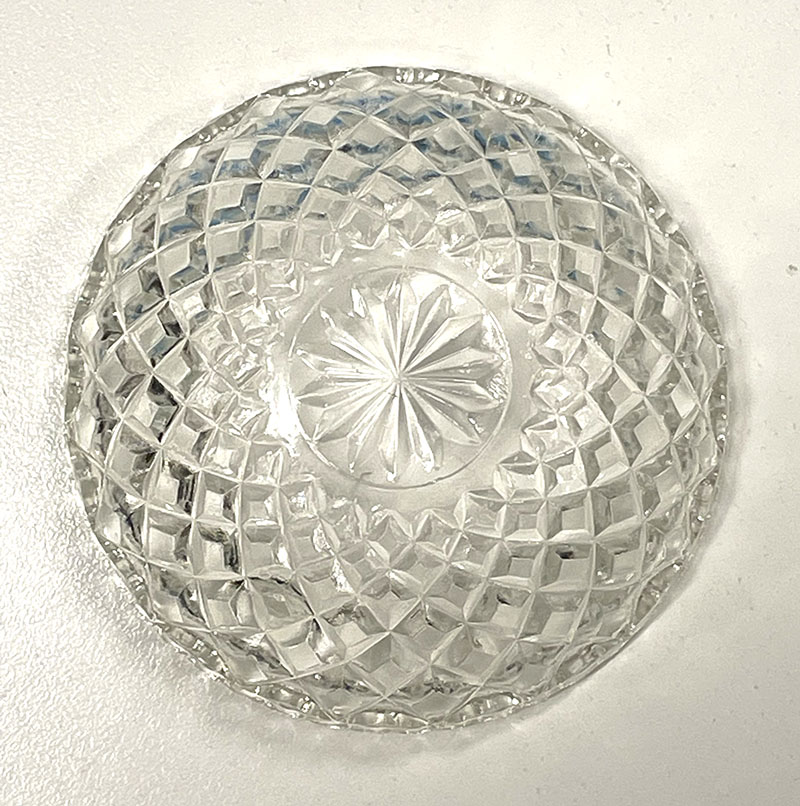 Clear cut glass dish – approx 12cm diameter with central star motif and radiating pattern.
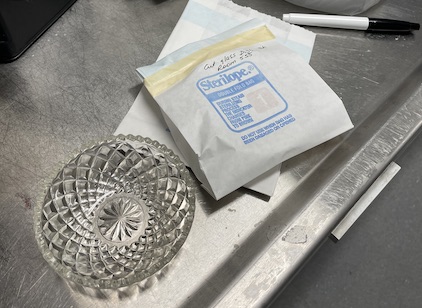 Cut glass dish and wrapped dish ready for sterilisation.
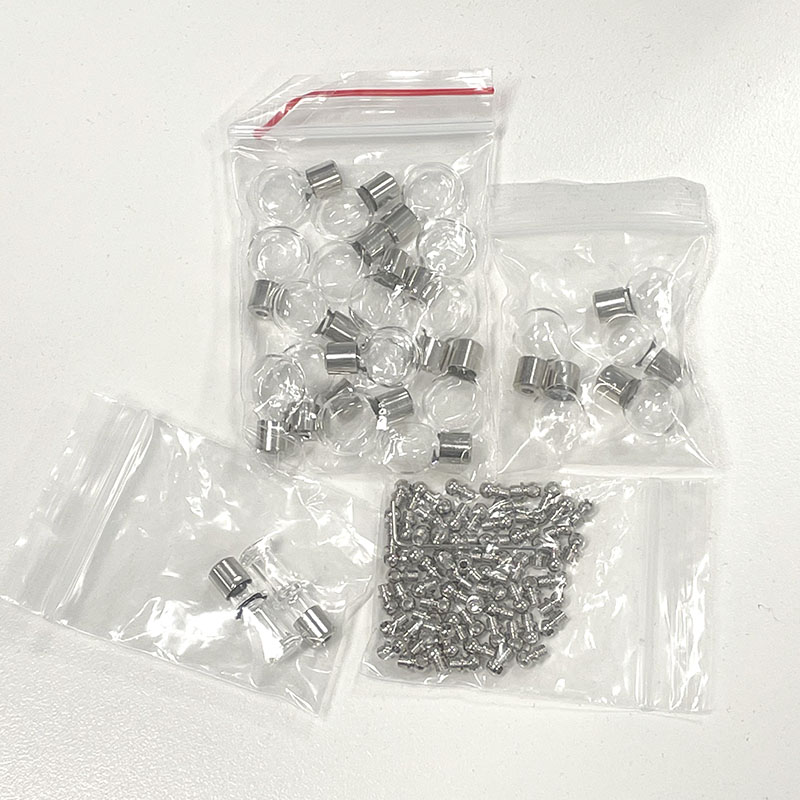 Selection of glass vials for cell culture trial including metal closures.
 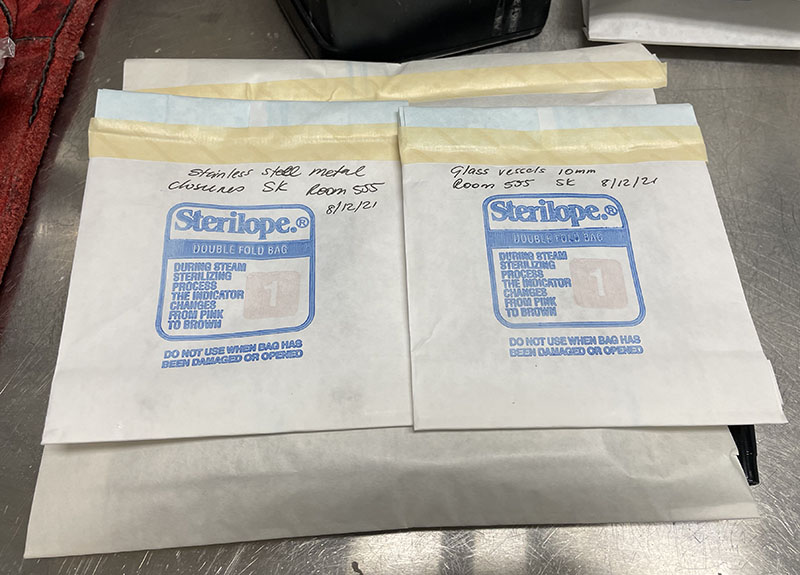 Glass vessels in autoclave bags ready for sterilisation.
 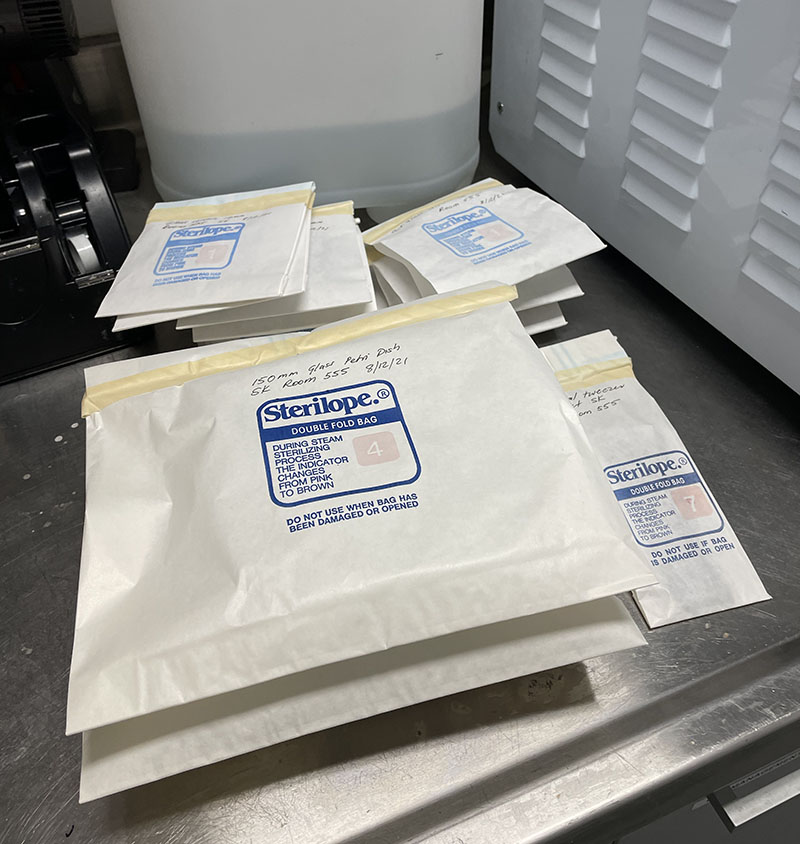 Petri dishes and other glass items in autoclave bags ready for sterilisation.
 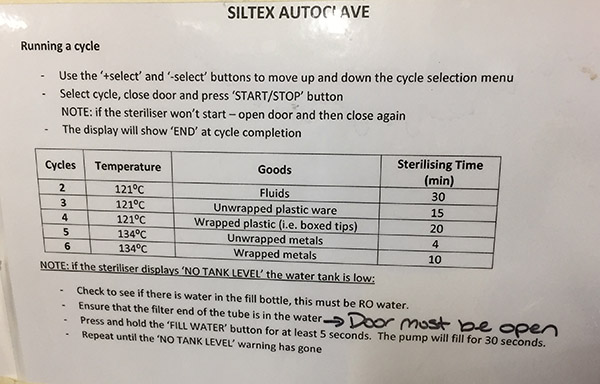 Autoclave instructions with cycle details.
  Autoclaved bags containing sterilised Petri dishes.
 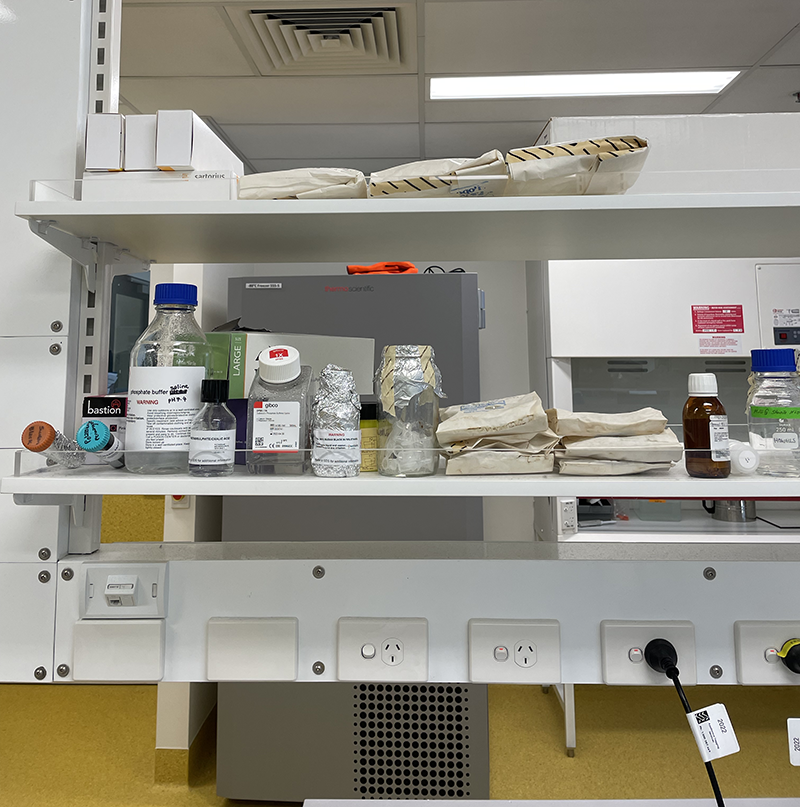 Autoclaved bags stored in lab area, ready for use.
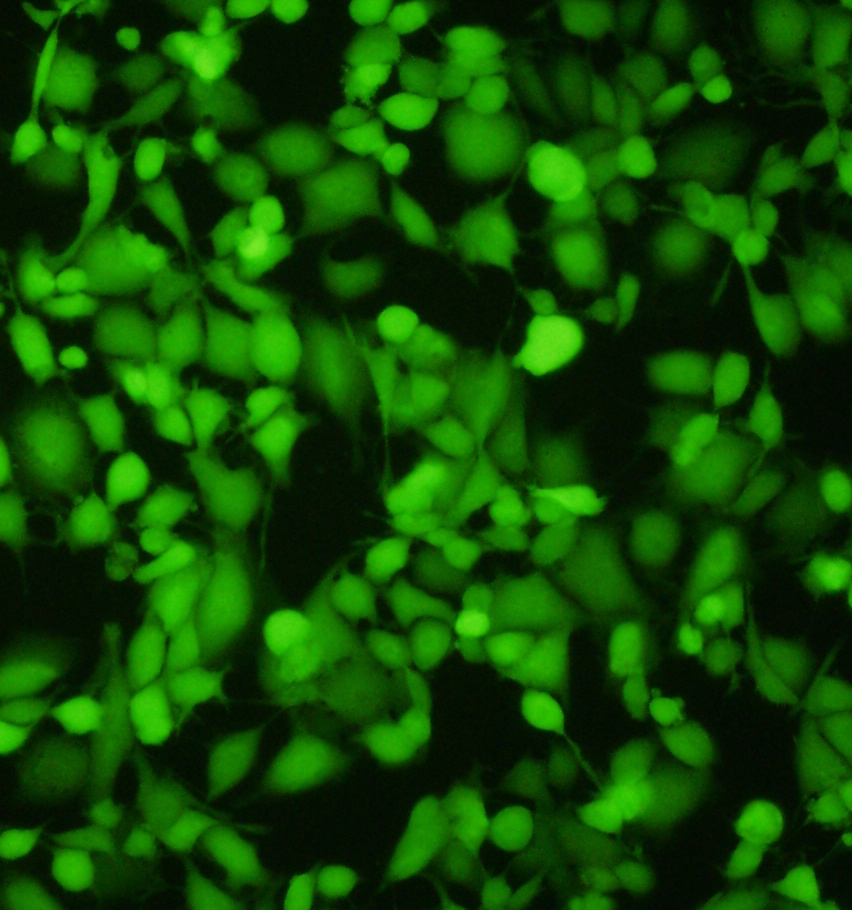 Impressive image of Calcein dye – live cells fluoresce a vibrant green – image via
 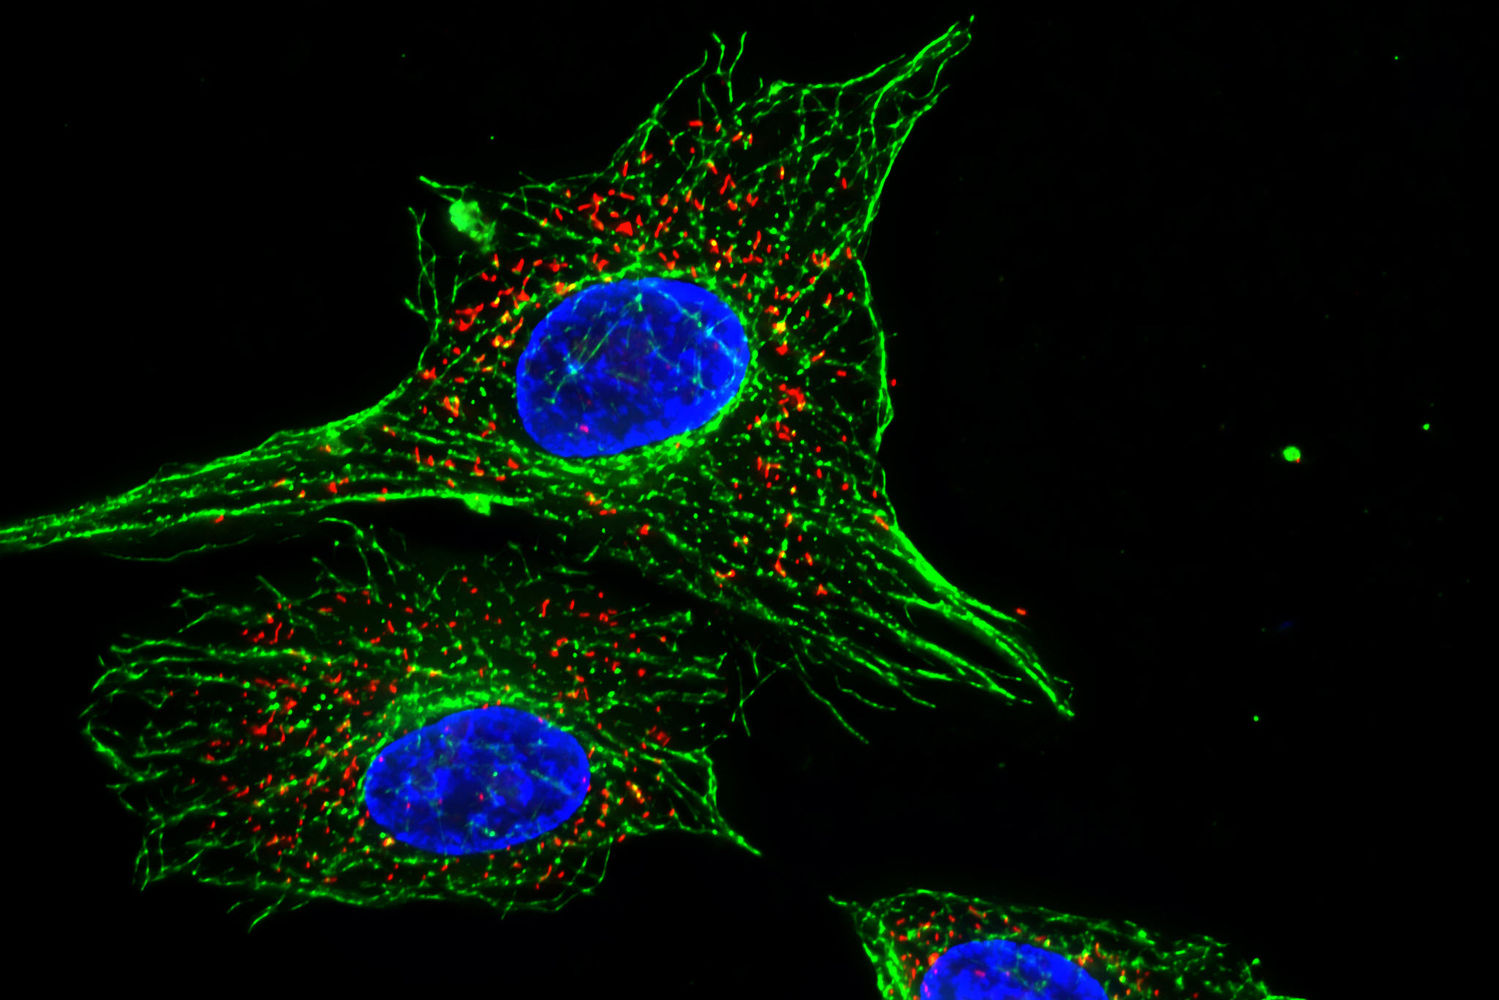 Image of fluorescent cells via
 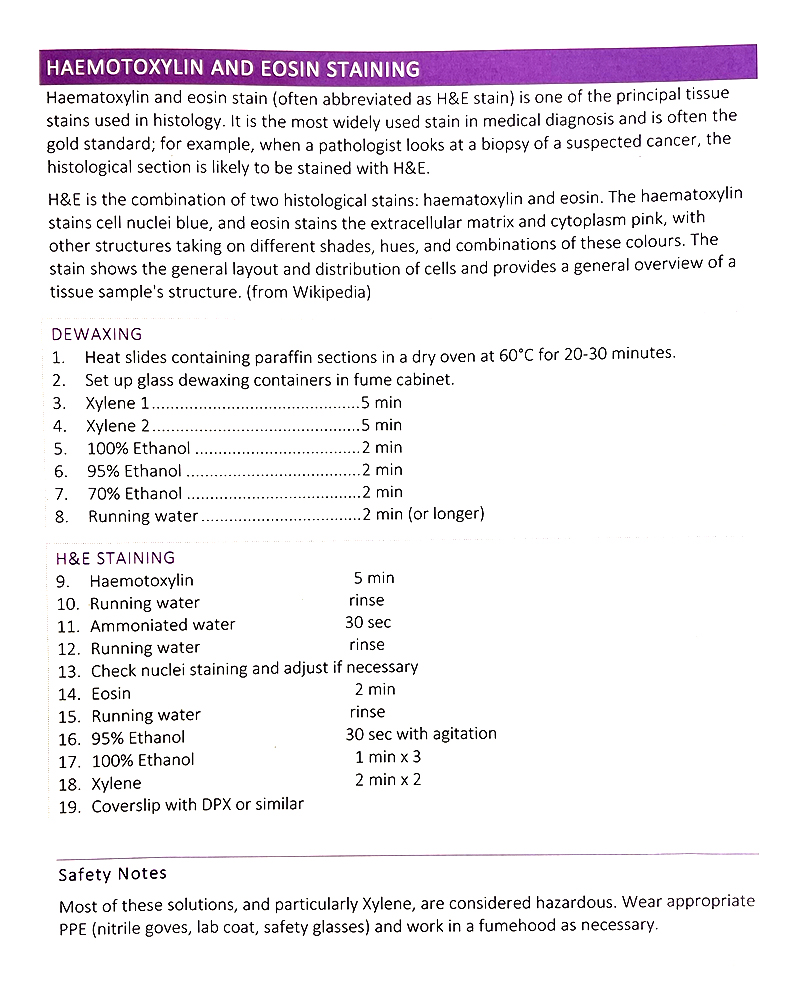 Basic H&E staining protocol from Jo-Maree. We only need to follow the staining process.
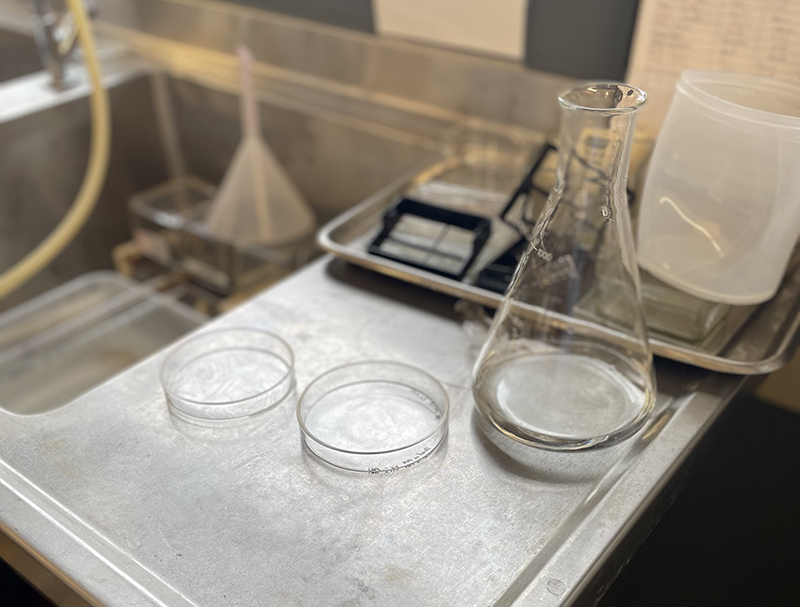 Petri Dish on bench in Histology Lab at MSP with Erlenmeyer flask containing distilled water for washing.
 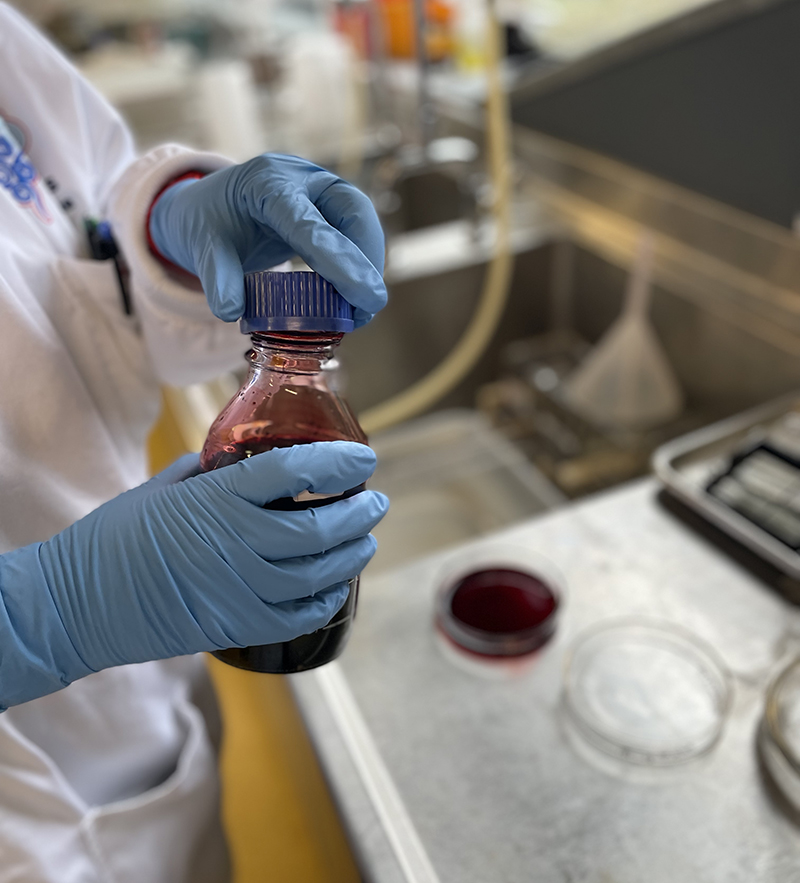 Hematoxylin Stain – deep red stain
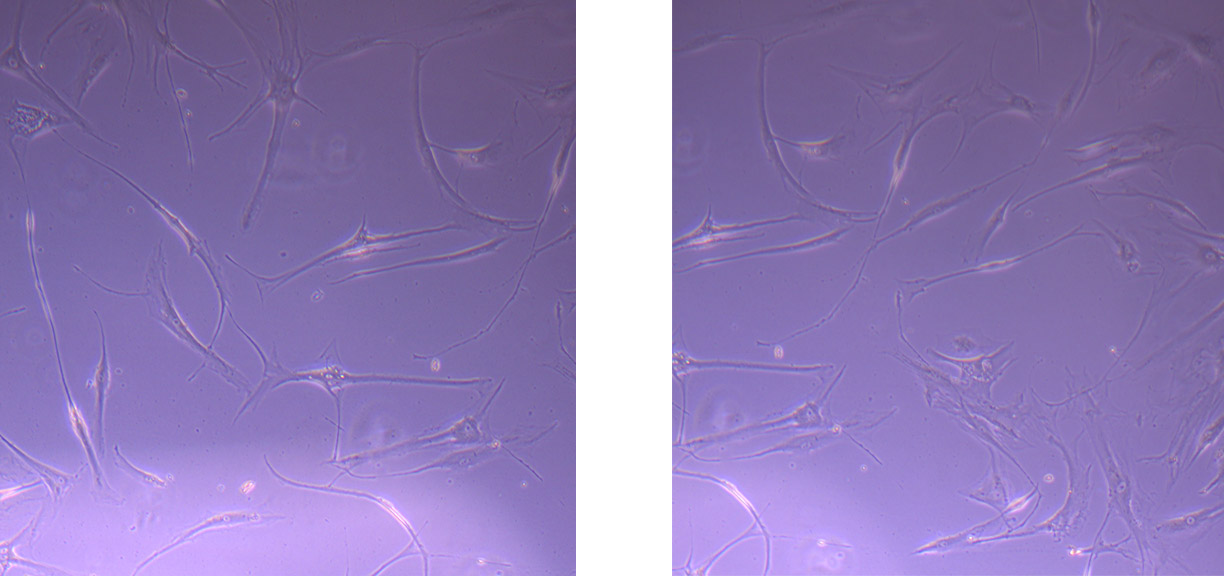 Images of PHGL Tumour Baby Cells P2 at 1/10/21