As part of the residency project, I have started a collection of cut glass items. These were sourced from different second hand shops and build on an existing collection of items used for an exhibition at The Edge at the State Library of Queensland in 2013.
I am particularly attracted to the patterns of the glass. A recurring central motif in many items is a star.
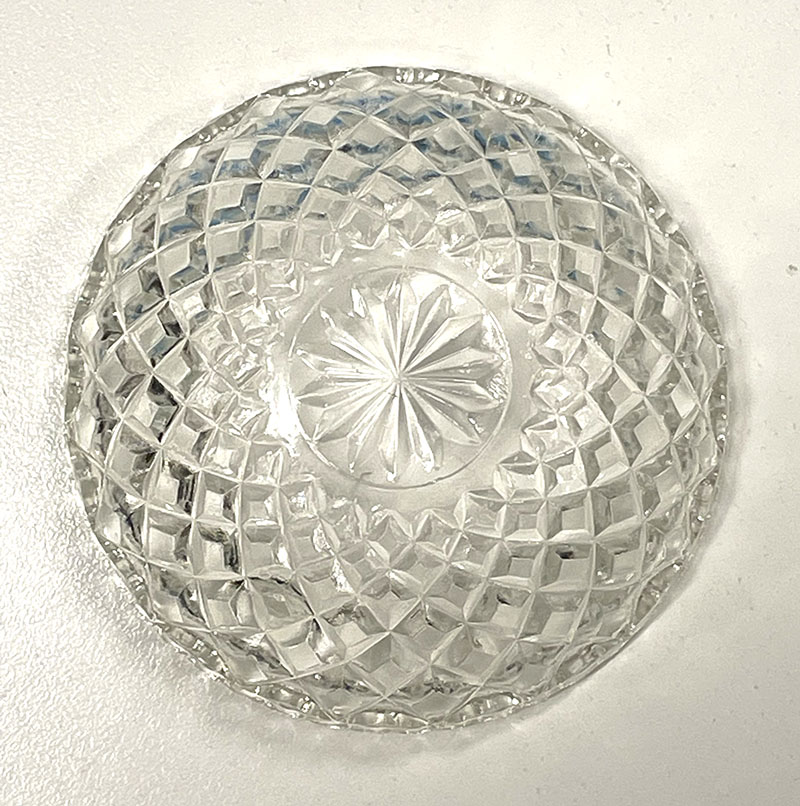 Clear cut glass dish – approx 12cm diameter with central star motif and radiating pattern.
This links to my current interest in deep time including the birth of the universe and emergence of complexity. The glass items also look wonderful when lit from rear. As such, I am considering mounting them over a light source. However, this remains to be seen…
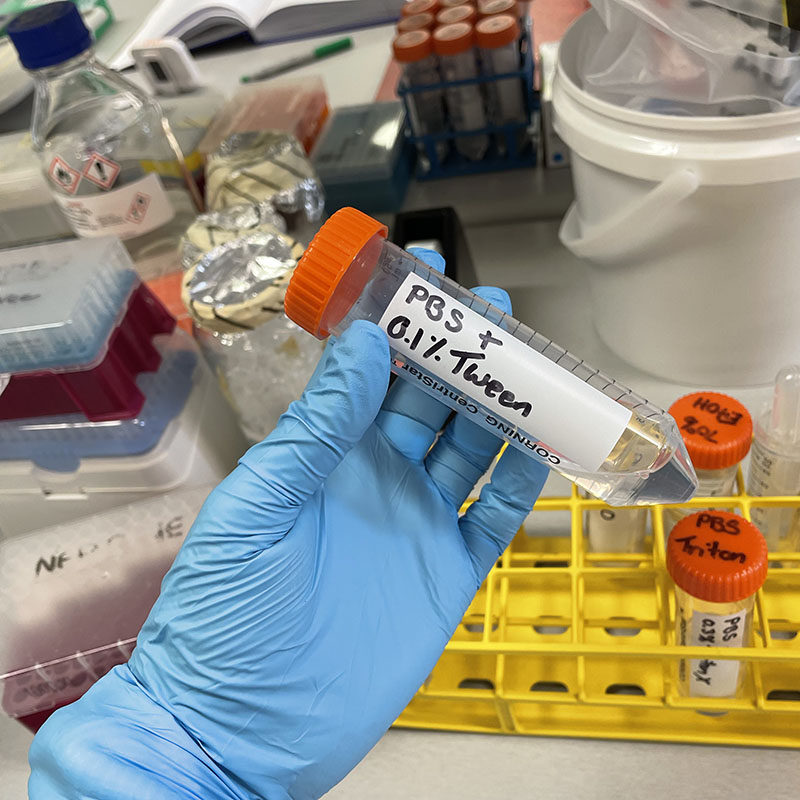
In order to grow cells in the dishes, they need to be sterilised so that they do not carry any bacteria or other organisms that could contaminate my cells.
I am feeling more confident in using the benchtop autoclaves independently so am preparing a batch for sterilisation today. As per previous work, they are placed in autoclave bags and sealed with tape. Once the bags are autoclaved, black lines indicate successful sterilisation.
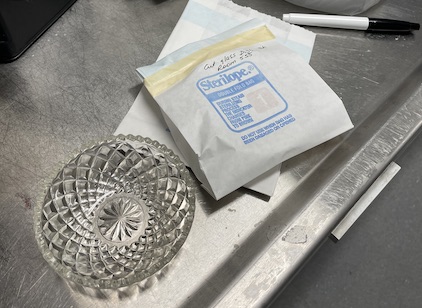 Cut glass dish and wrapped dish ready for sterilisation.
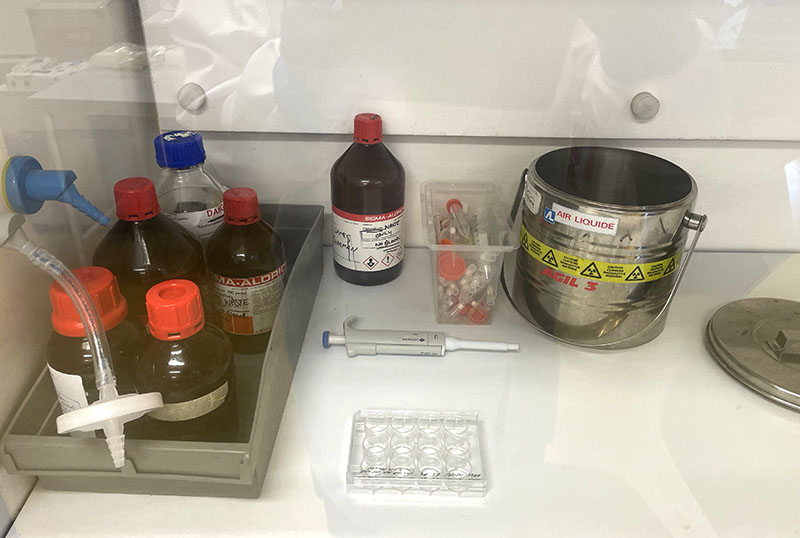
I have also sources some small glass vials which I am considering integrating into some of the future creative works. There are various shapes that I am planning to test.
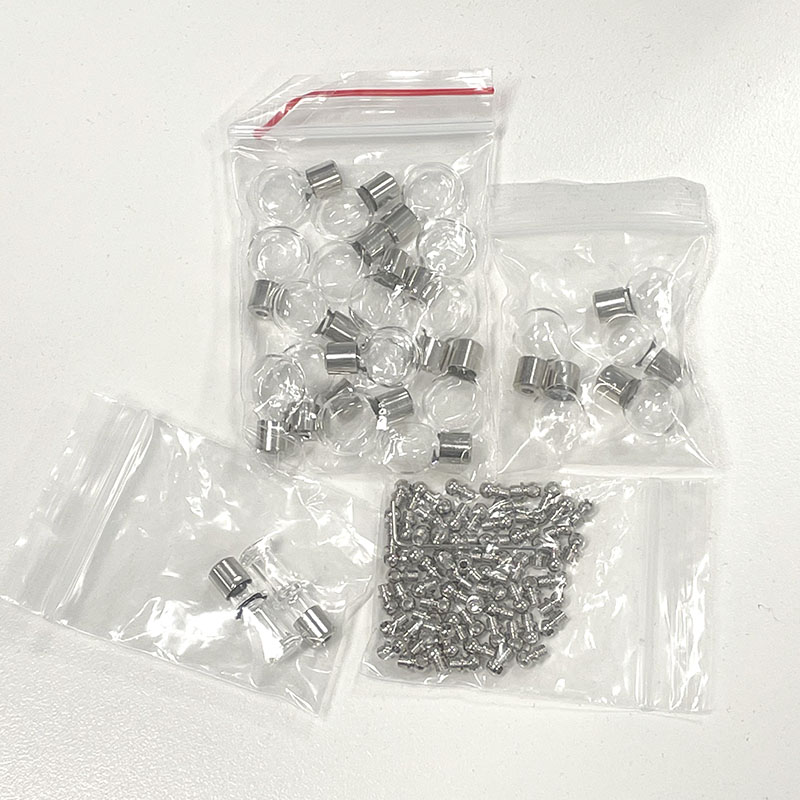 Selection of glass vials for cell culture trial including metal closures.
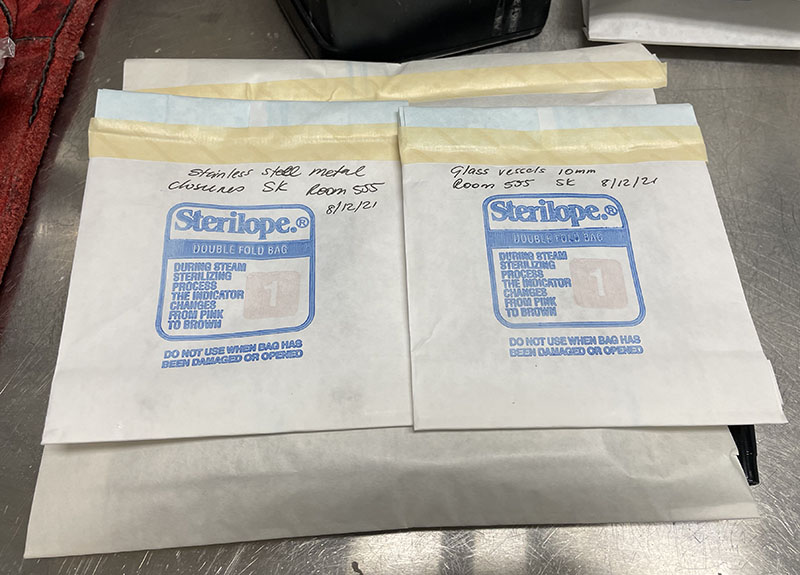 Glass vessels in autoclave bags ready for sterilisation.
Finally, I have also prepared some additional 150mm and 90mm Petri dishes. The large dishes will be used as container vessels for the cut glass dishes to keep them sterile during cell culture.
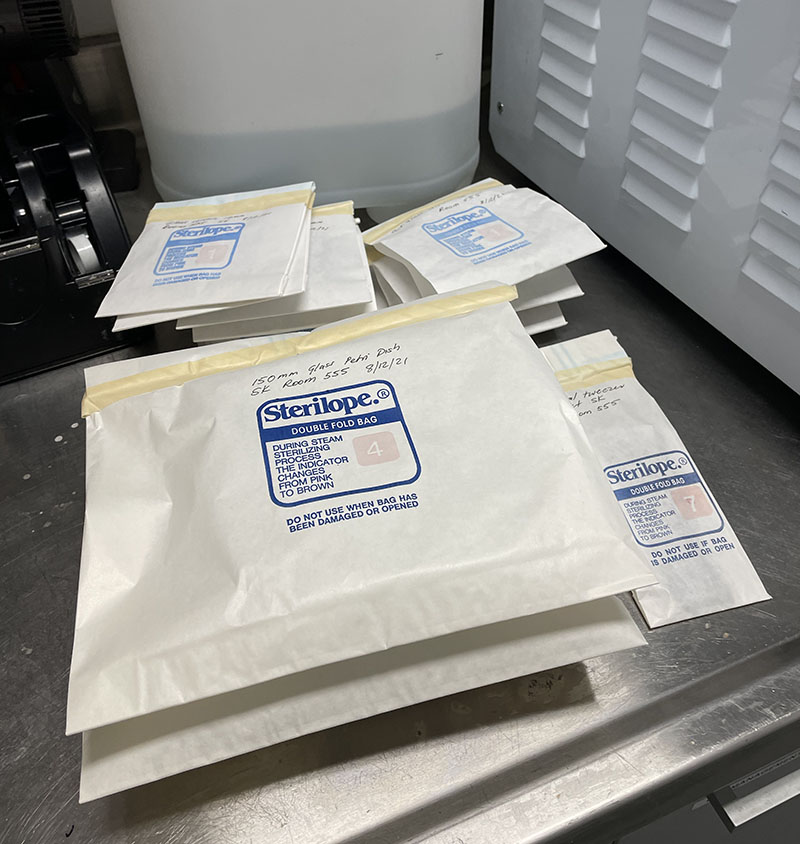 Petri dishes and other glass items in autoclave bags ready for sterilisation.
I divided the batch into two runs. As per previous process, I used cycle 6 (134 degrees for 10 min). This enables me to process both glassware and metal. It takes about 10 min for the sterilization process (but extra for cooling to handle materials).
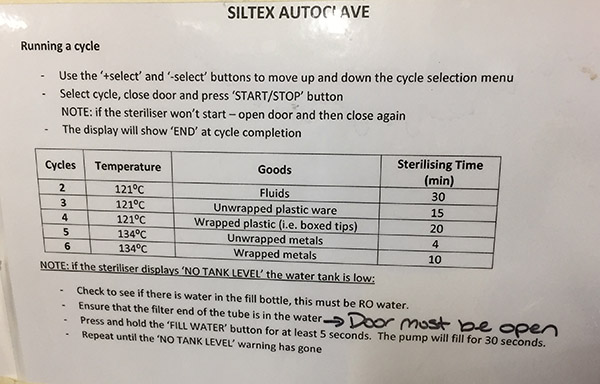 Autoclave instructions with cycle details.
 Autoclaved bags containing sterilised Petri dishes.
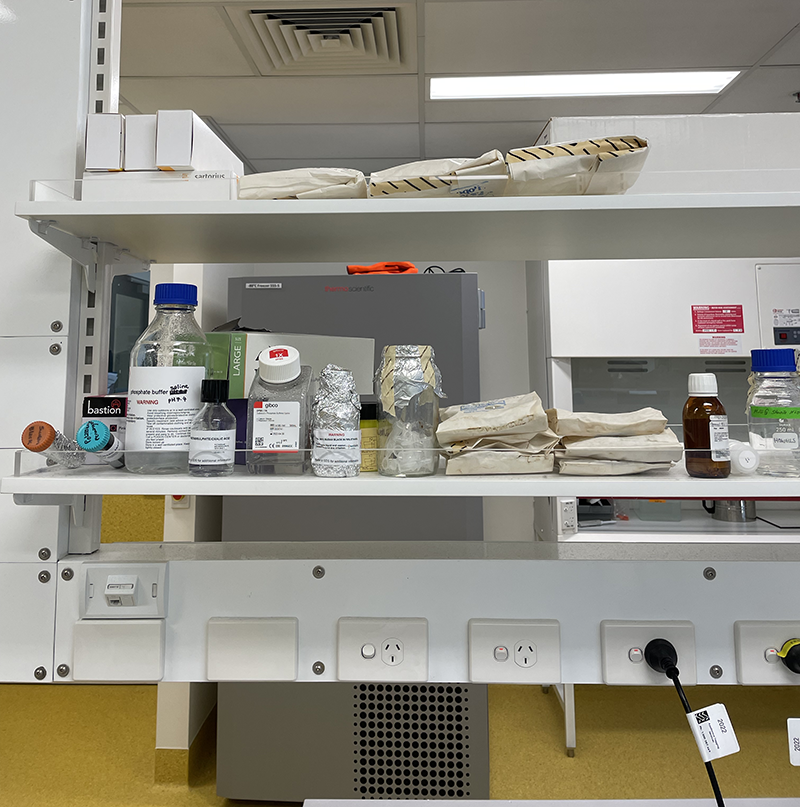 Autoclaved bags stored in lab area, ready for use.

 Working with 4% PFA in Fume Hood
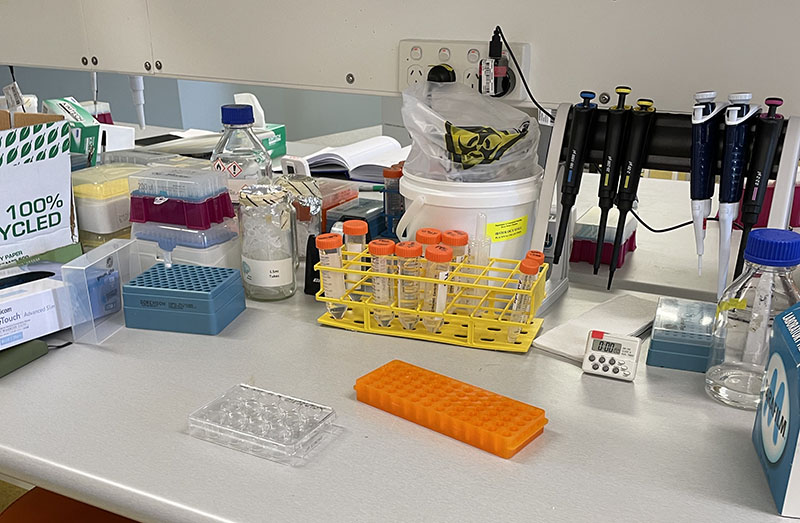 Working at lab bench in the Stroke Group area
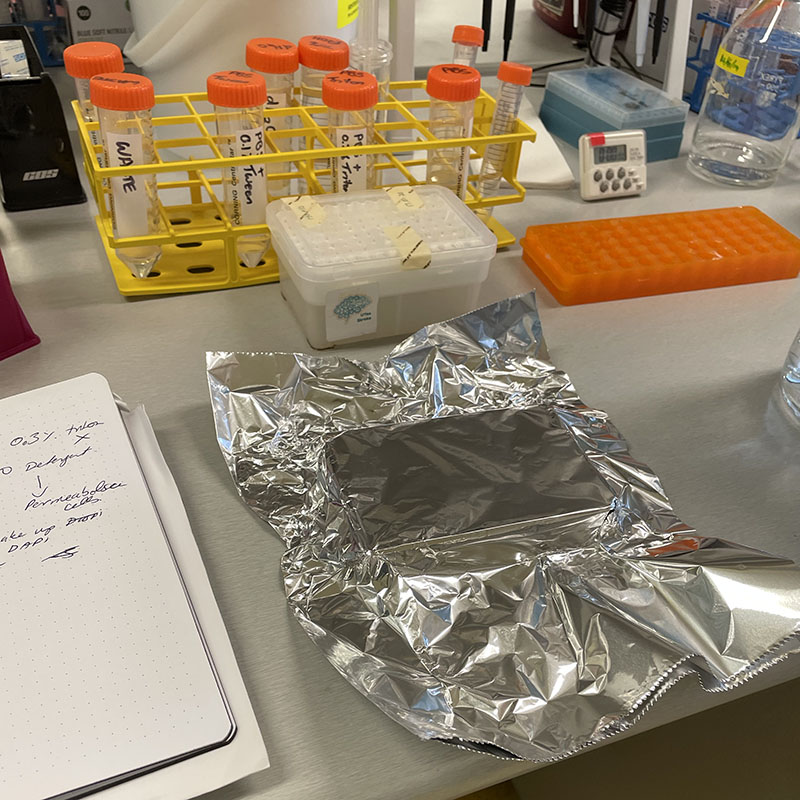
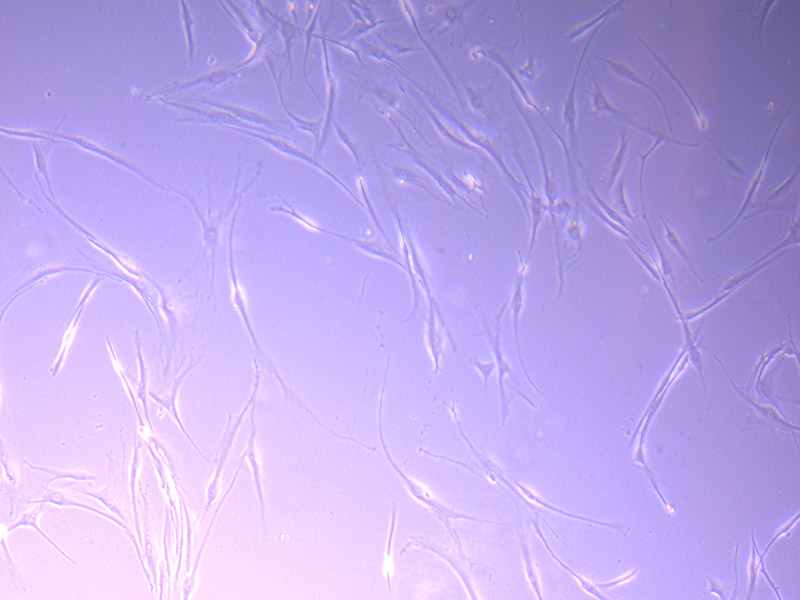
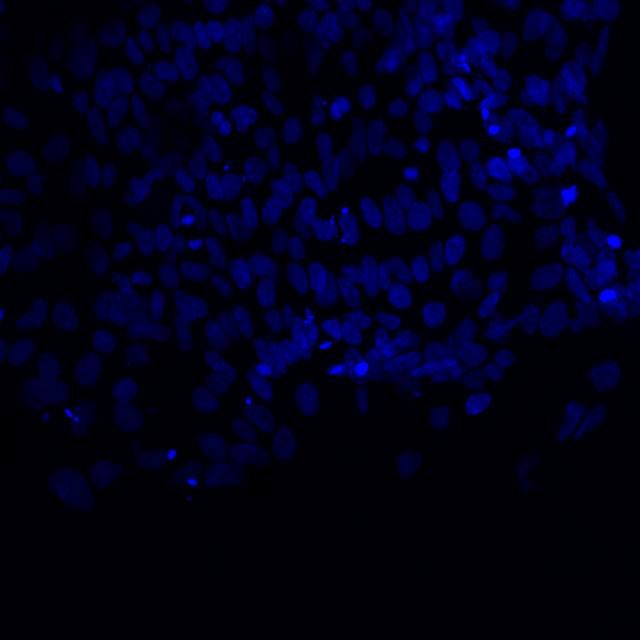 Microscopic image of stem cells, Hues 9 stained with DAPI (blue) by the UC San Diego Stem Cell Program.
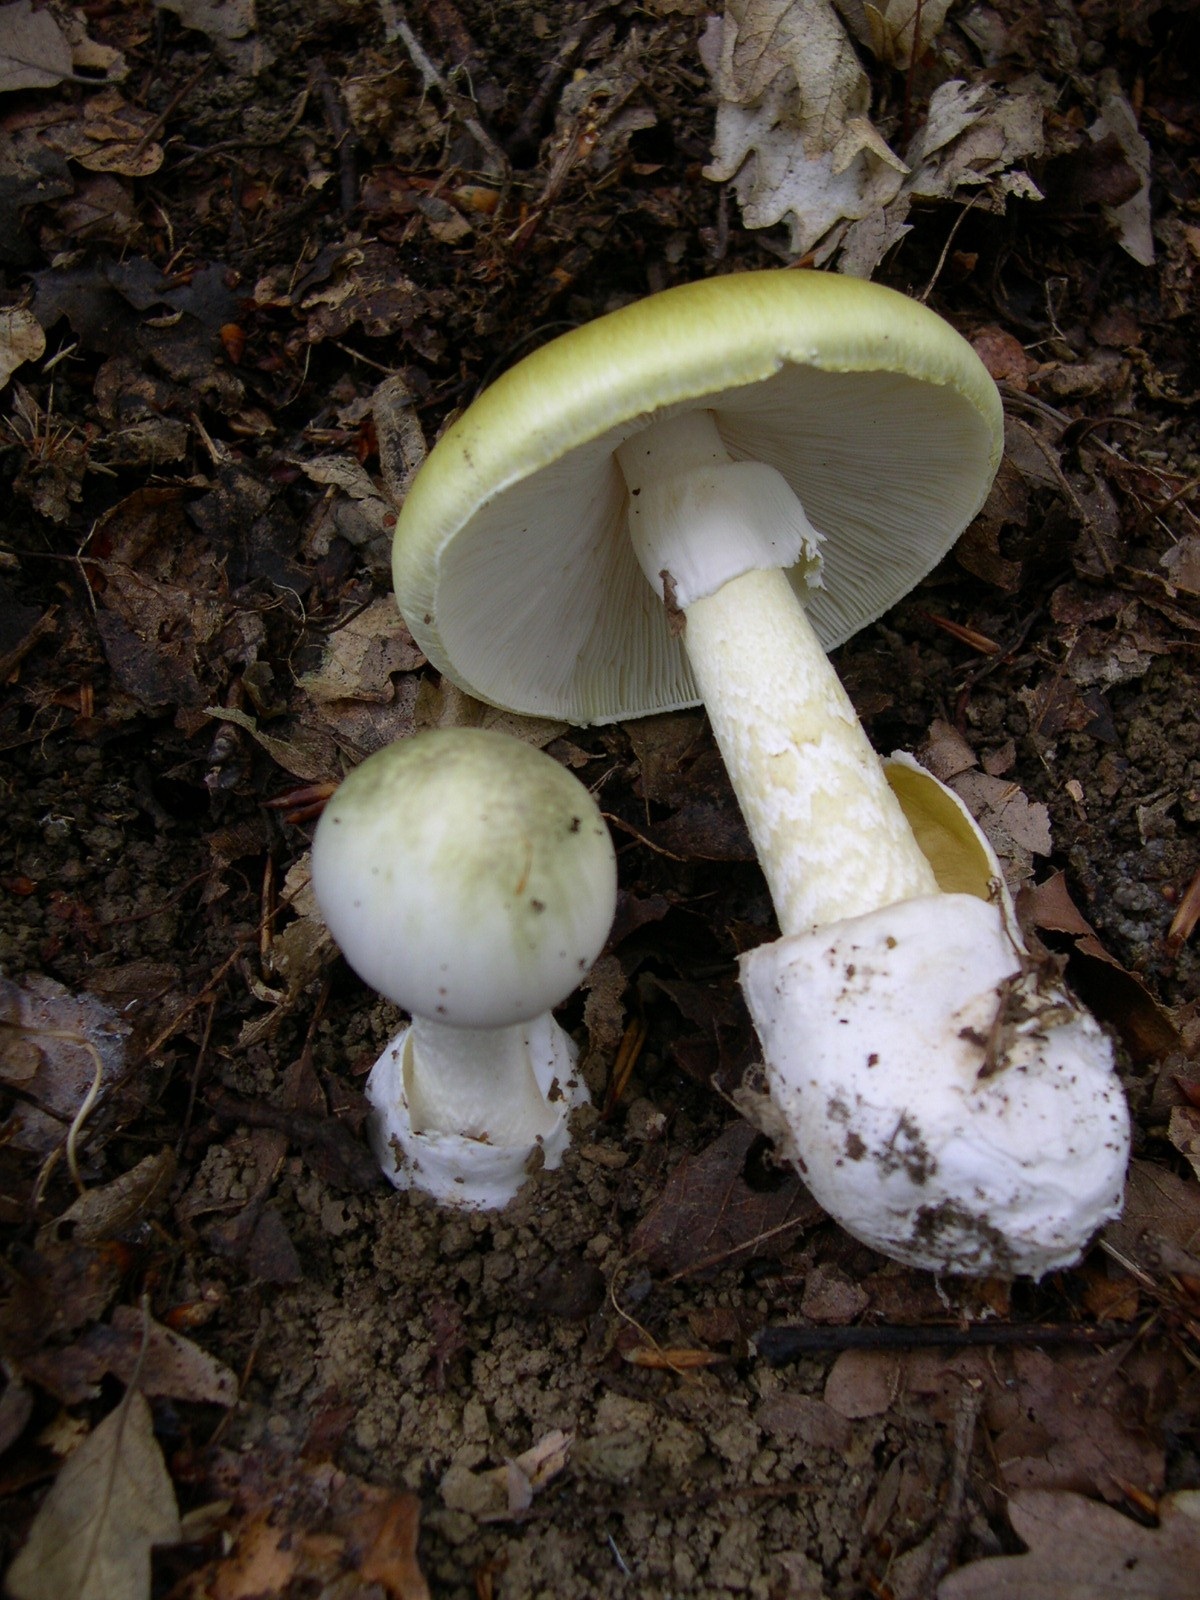 Image of Amanita phalloides via
 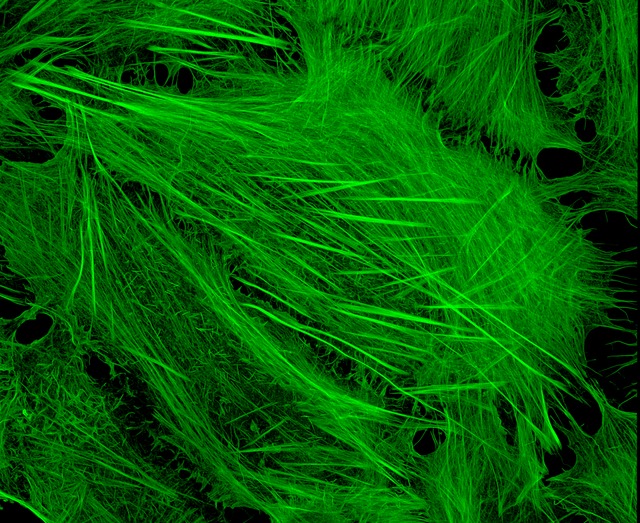 U2OS cells stained with fluorescent phalloidin taken on a confocal microscope by Howard Vindin
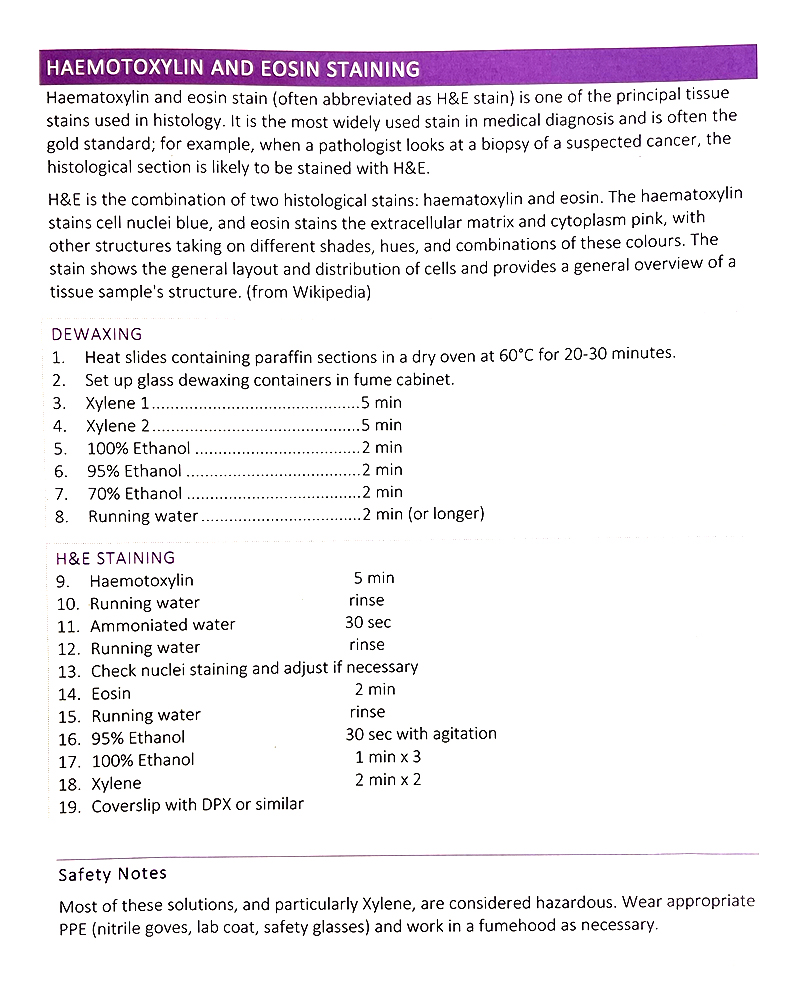 Basic H&E staining protocol from Jo-Maree. We only need to follow the staining process.
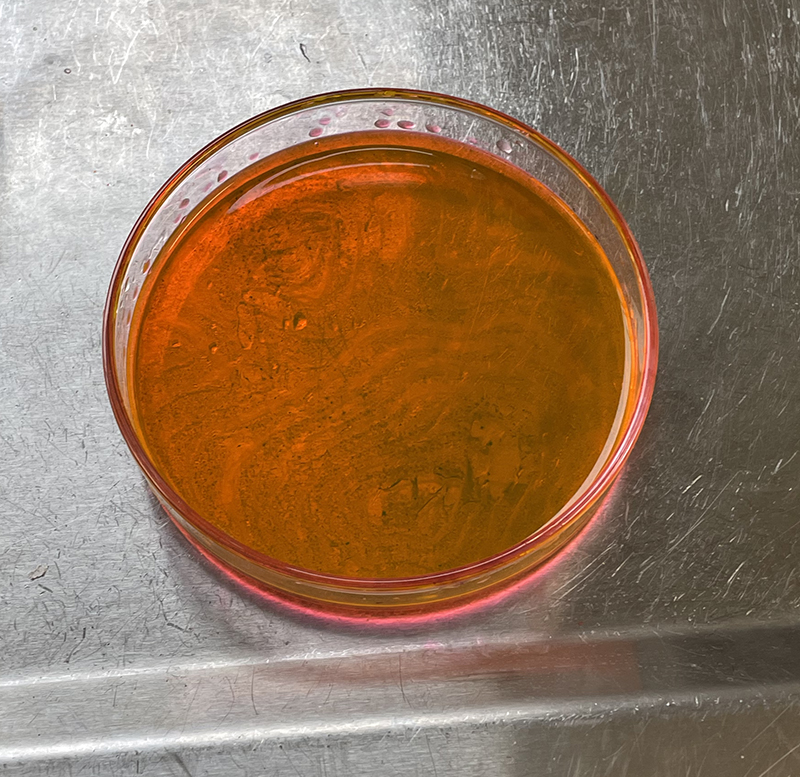
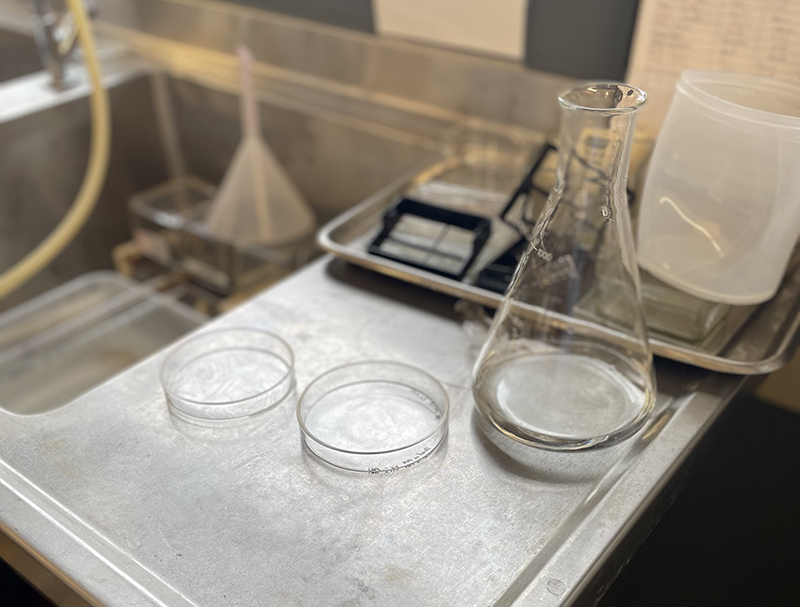 Petri Dish on bench in Histology Lab at MSP with Erlenmeyer flask containing distilled water for washing.
 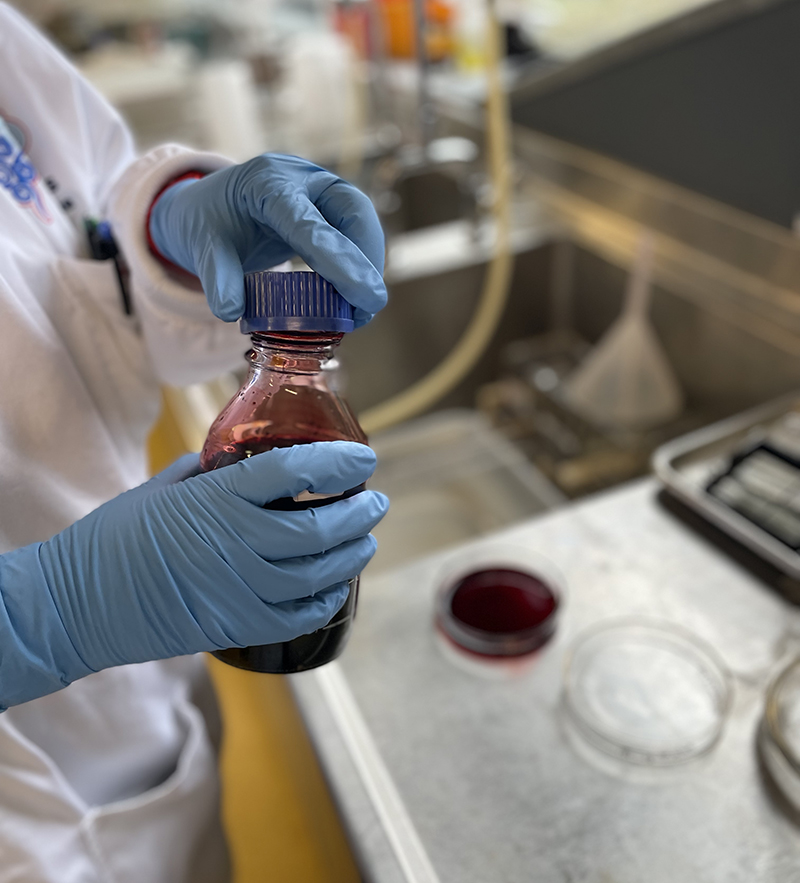 Hematoxylin Stain – deep red stain