While I have been prepping for lab work (and awaiting clearances and media), I have been using my residency to invest in studio time and test new materials and processes that (somewhat subconsciously still) align to the themes of the Synapse project.
Over the past few months, I have ordered a stack of chameleon pigments from suppliers in Australia, China, the US and UK to test quality and colour. I have compiled a series of swatches on different substrates to determine colour shifting properties and how they layer and complement each other. So far my favourite supplier is A1 Pigments. They stock a huge range of powdered pigments including chameleon and mica pigments.
I have also tested solvents including water-based varnishes, oil-based media and wood varnish. Unfortunately water-based products are not suitable for the pigment and it works best in a polyurethane/resin base. I particularly like the results from using timber varnishes such as the Bondall Monocel Timber Varnish range. They have a slight warm amber tint which gives the application a nice depth of colour. For crystal clear application and sealing, KBS’s Diamond Finish Clear Coat is fantastic as it is non-yellowing and super clear (although a bit expensive).
As part of my testing process, I have started to develop a series of small sculptural works that consider species and matter entanglements and the wonder of the universe.
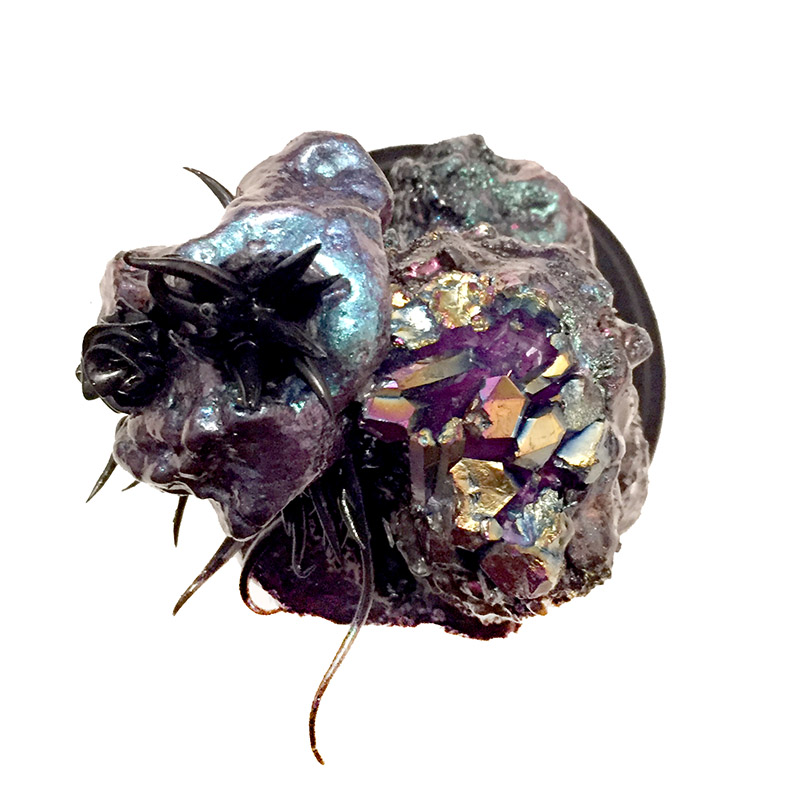
Top view of Sculpture 1 showing chameleon pigment coated rocks formations and Titanium Aura Quartz

Frontal view of Sculpture 1
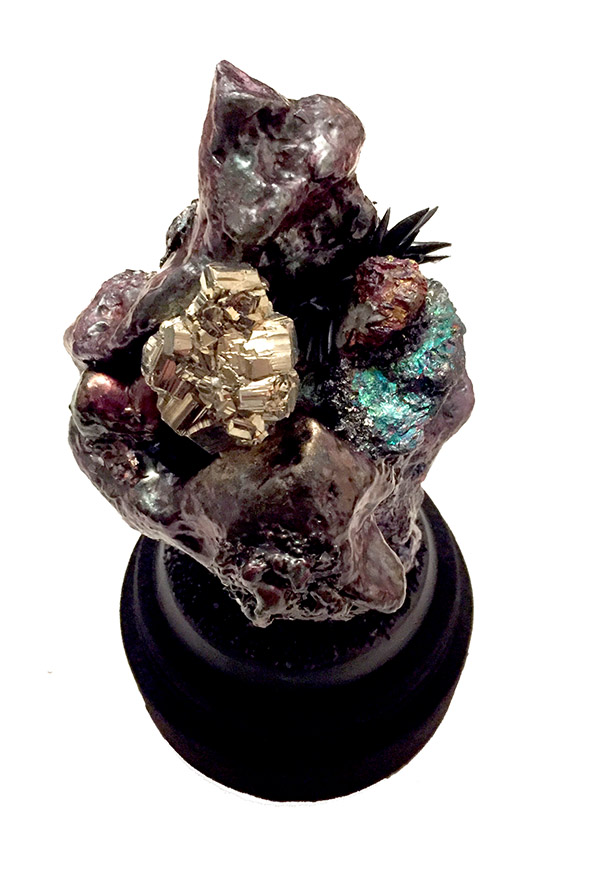
Frontal view of Sculpture 2 showing a Pyrite cluster and Peacock Ore (Bornite).
These sculptures have ‘secrets of the universe’ hidden in their base. The form of the works hints at the nature of the secret, but you would have to destroy the work to reveal it.
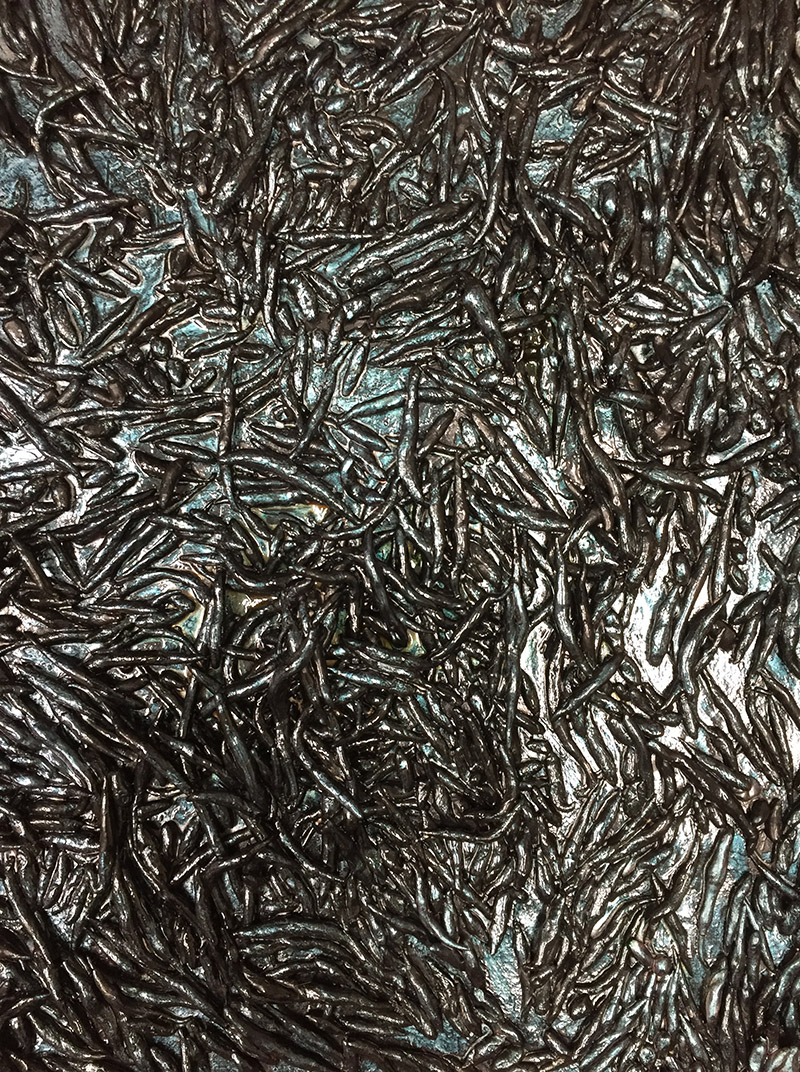
I really wanted the base to be a dark matt black. To achieve this I tested Stuart Semple’s Black 3.0. While the initial results were good, the black marked too easily with my messy handling. As such, I opted for black flock instead. Not only does this coating hide slight surface imperfections, it also creates a great matt black and light absorbing coating. Now that I am making some headway on ideal flocking application, I am planning to flock some of sculptural works to create a contrast between soft velvety textures and glossy surfaces.
I should mention that was first introduced to flocking by my dear friend and fellow artist Michael Riddle. Finally, I have a purpose for my own work to ‘get flocked’. So thanks Mike.

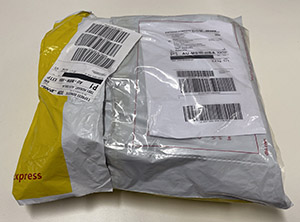 Scaffolds arrived via Express Post on 16/09/21
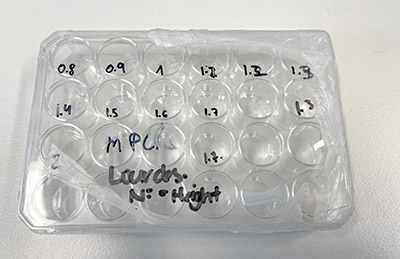 MPCL Scaffolds – tubular structures at varying heights.
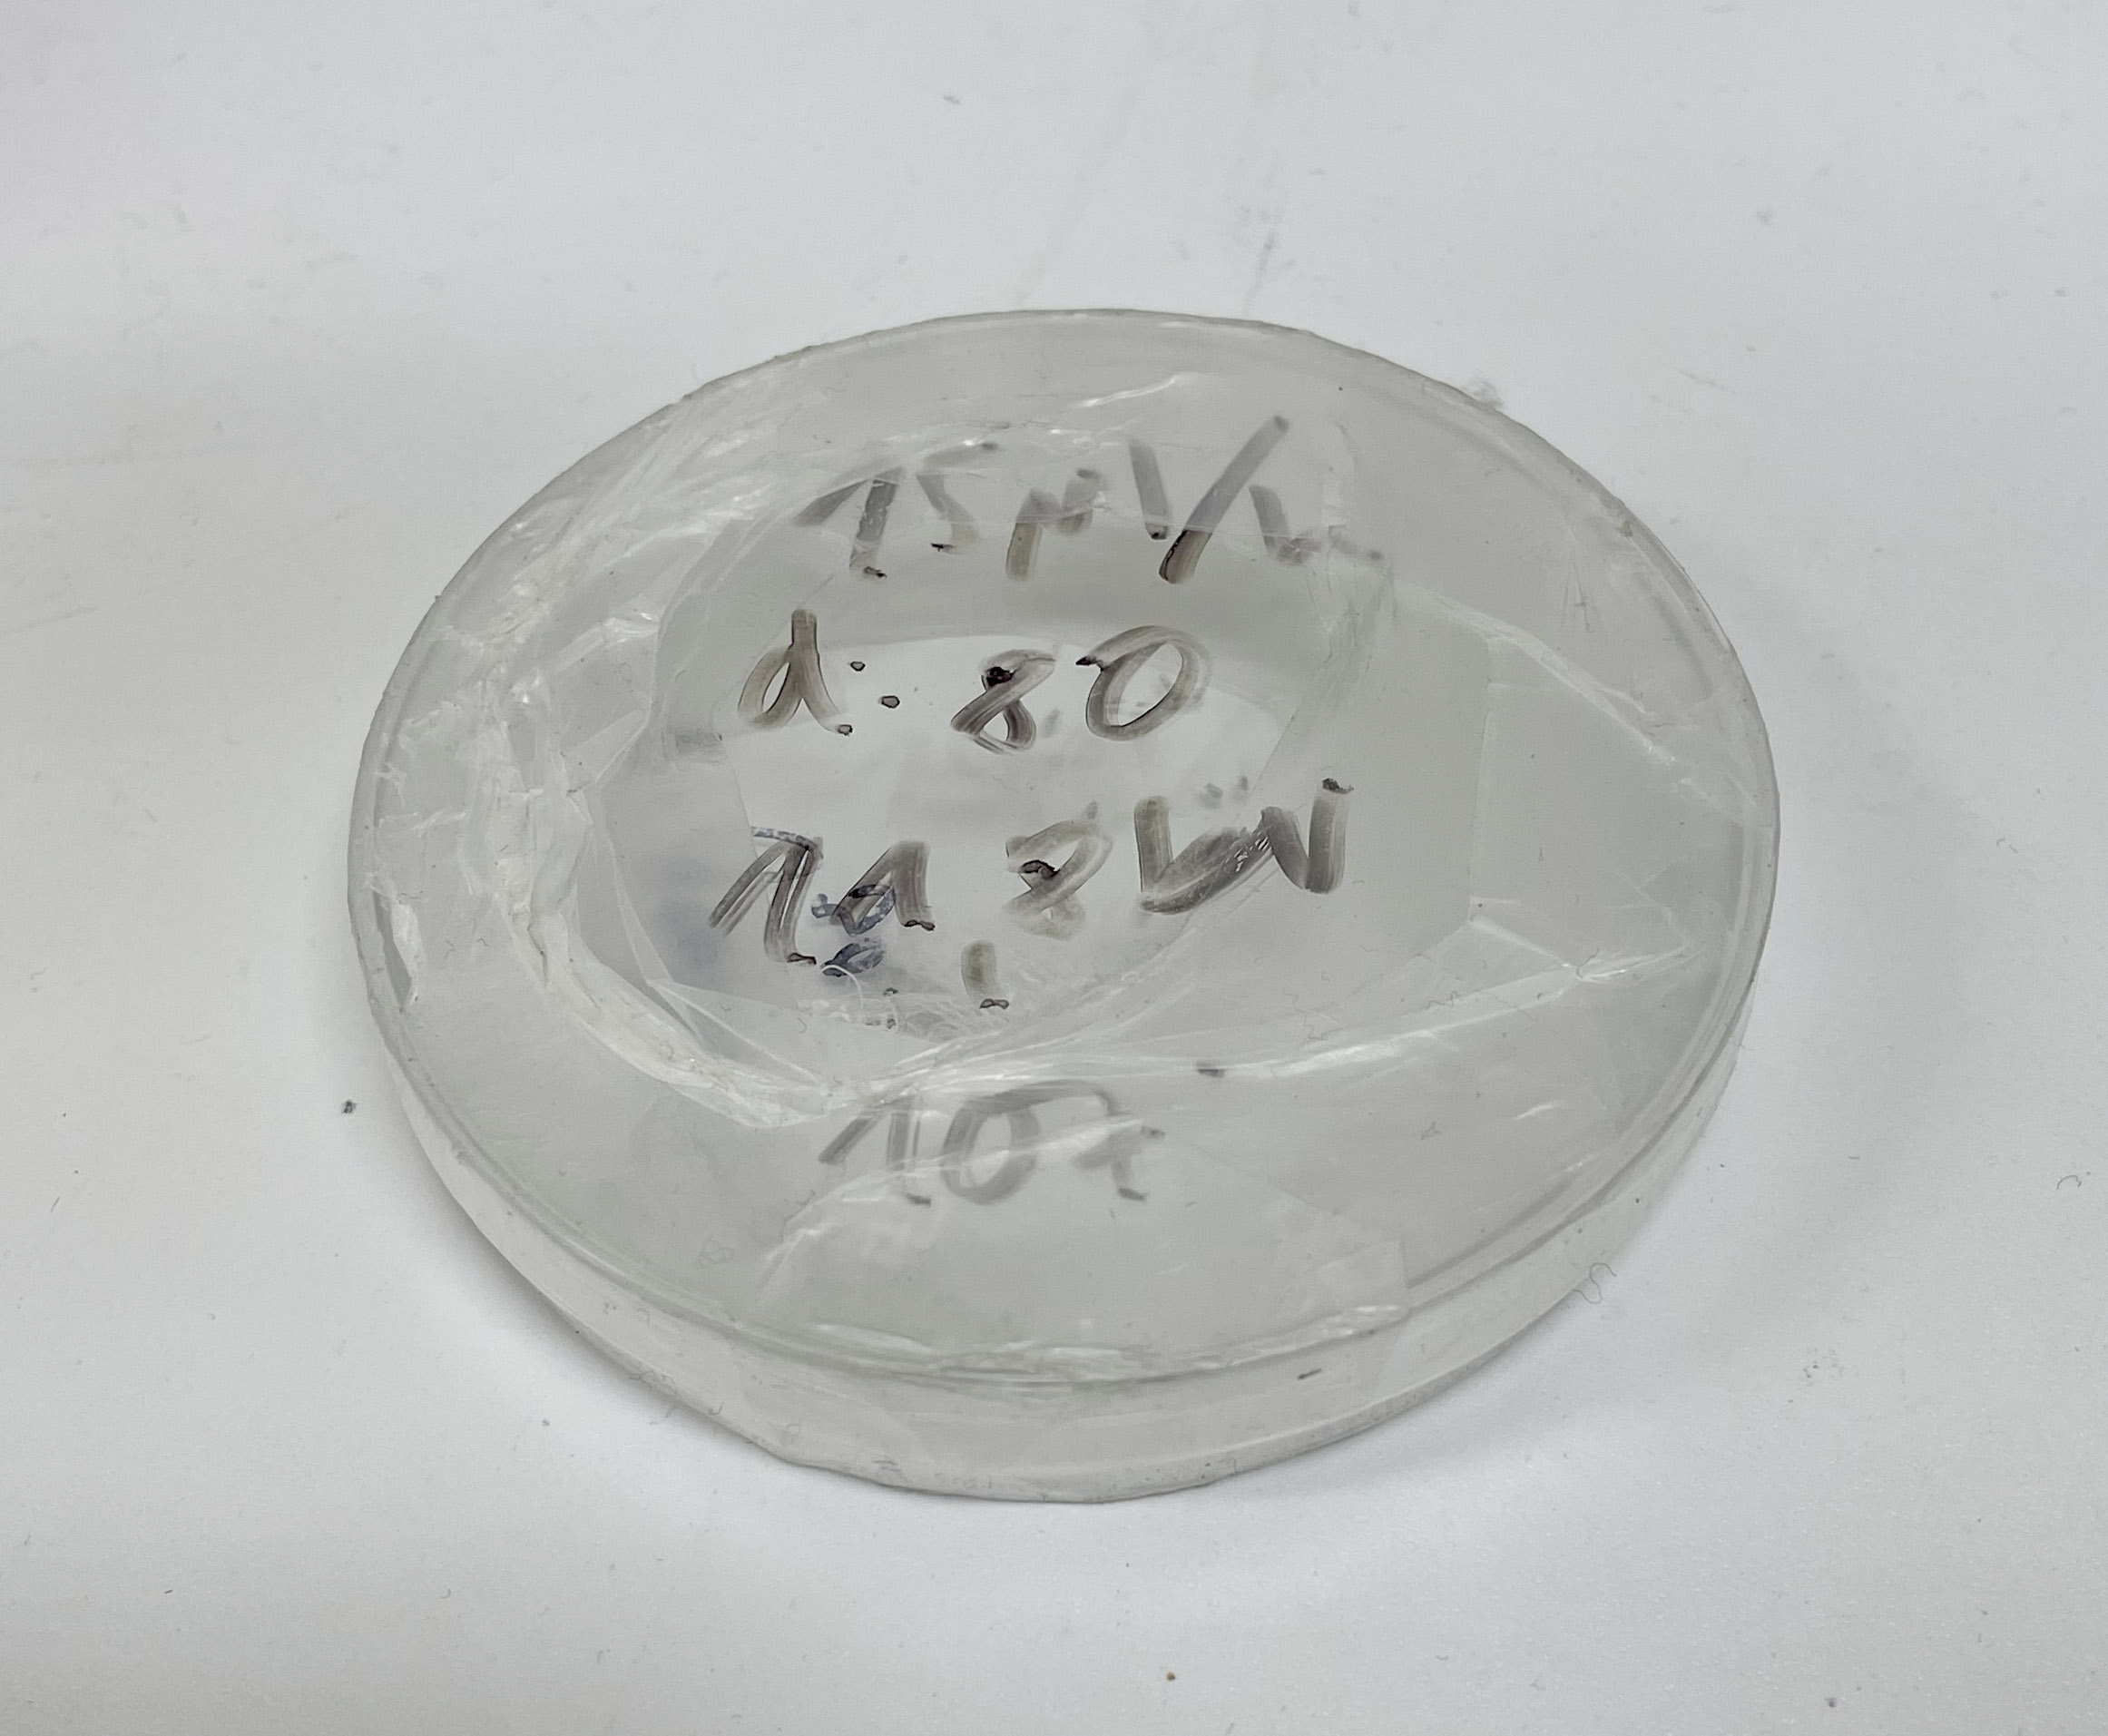 Scaffolds in Petri Dish – flat square structures.
 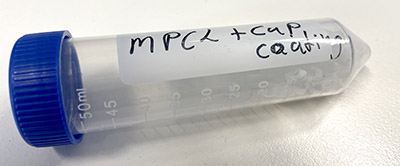 MPCL+CaP coating
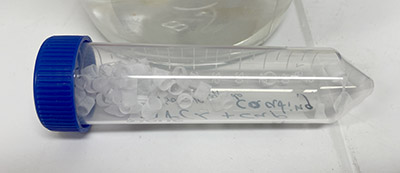 MPCL+CaP coating – tube structures.
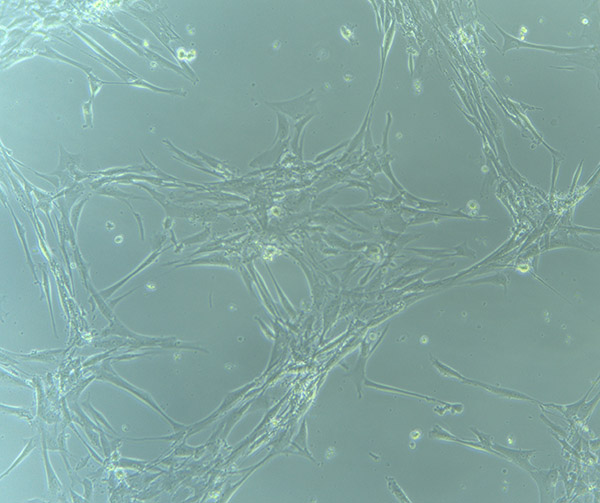
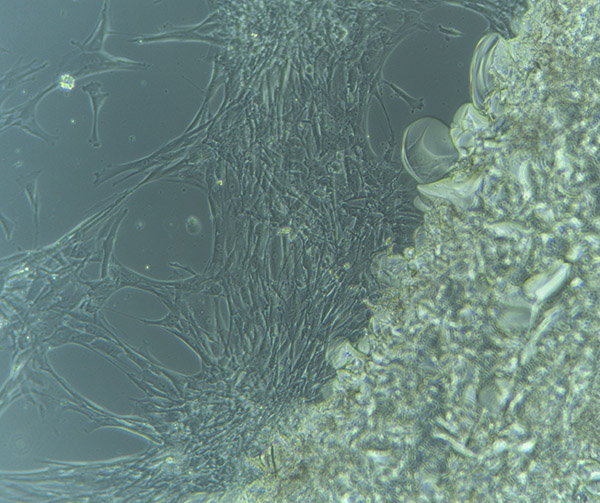
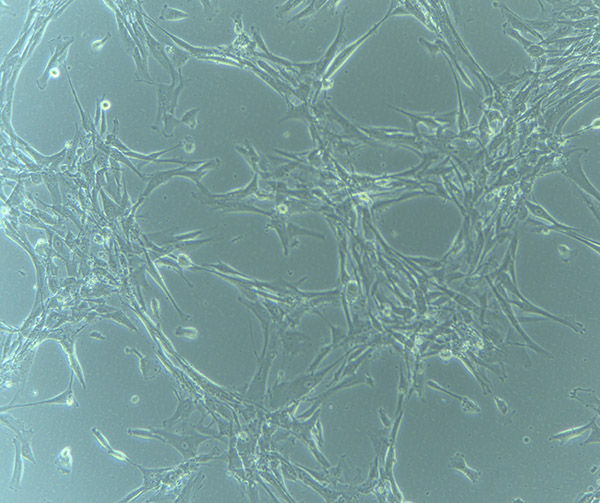 HBVPs growing in T75 Flask – 13/9/21