Tag Archives: experimentation

Extent of death post-holiday – Cut Glass and Petri Dishes

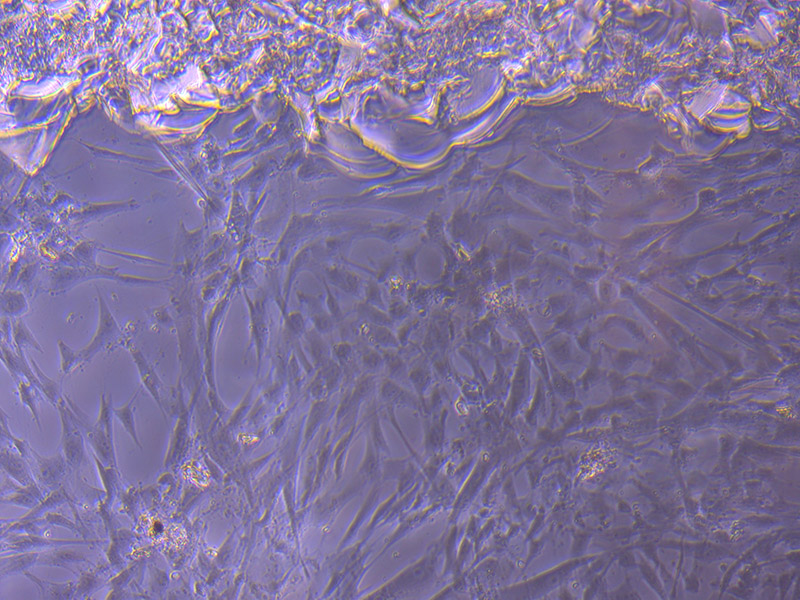
Following more detailed review of cell flasks, there are some hardy ‘survivors’ of my lab-free holiday.

Cut Glass CellLight microscope image of cut glass dish with media containing dead cell debris and evidence of a small number of surviving cells. 

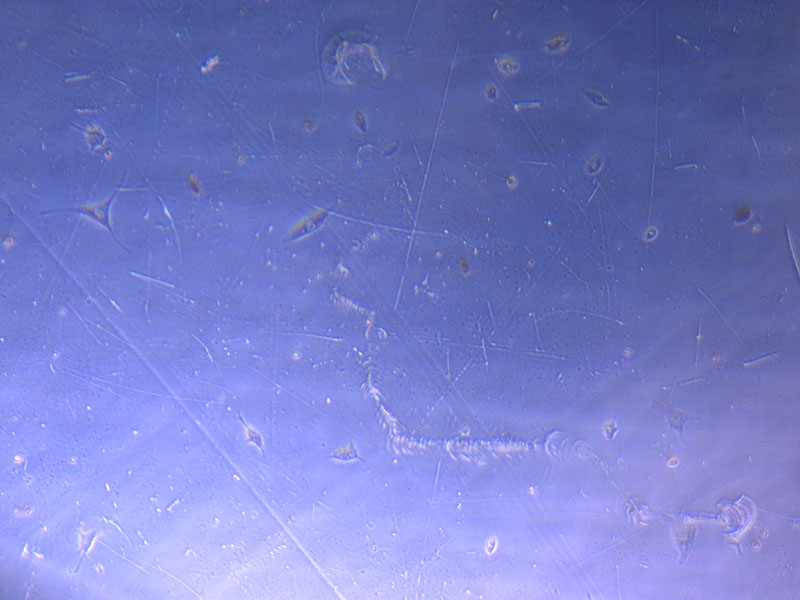
After removing the old media, it was easier to see the remaining cells:

Cell Survivors - Cut Glass

Light microscope image of cut glass dish in PBS showing evidence of a small number of surviving cells. 

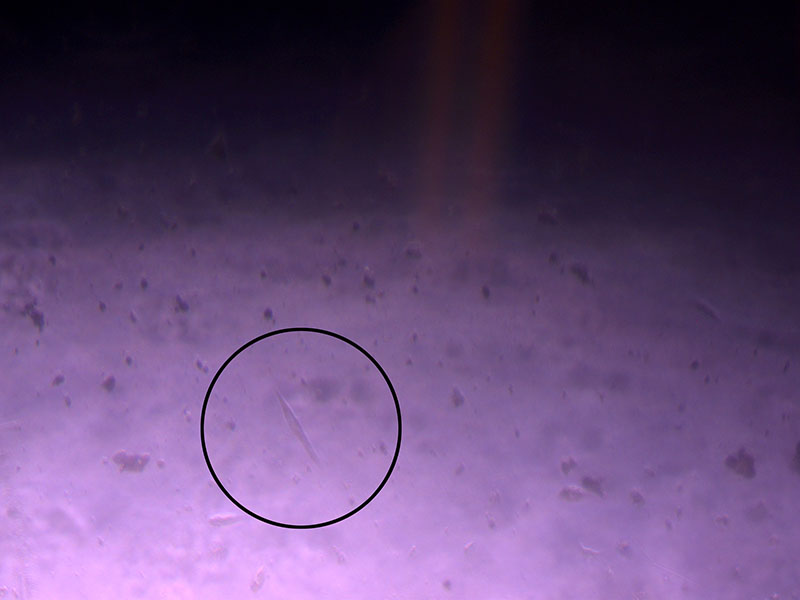
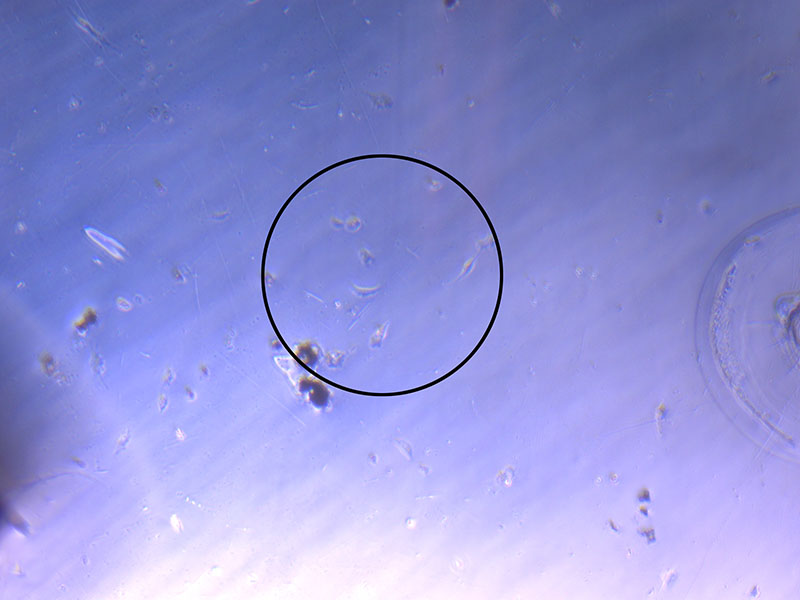
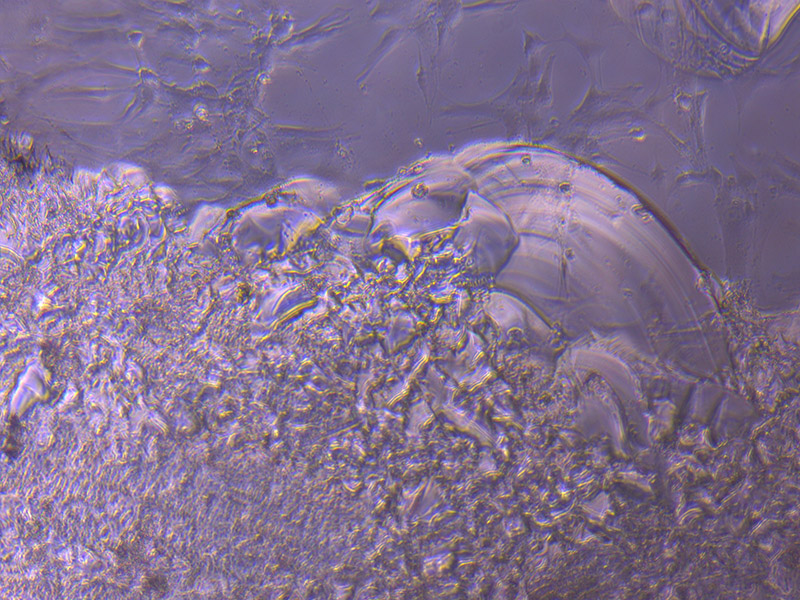
This image shows even more evidence of cell survival:

Cell Survivors - Cut Glass
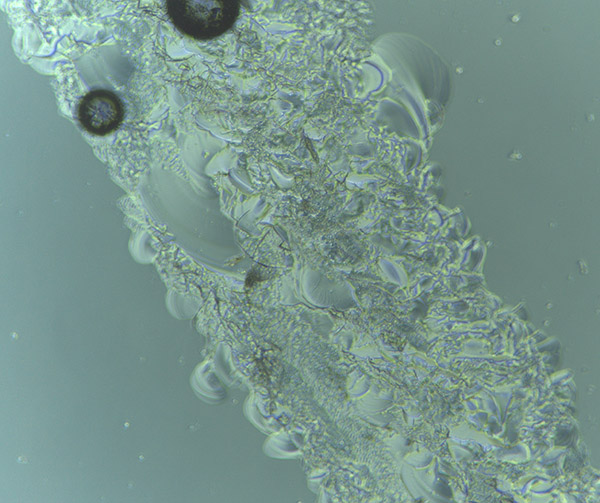
Light microscope image of cut glass dish in PBS showing further evidence of a small number of surviving cells. 

 Cell Survivors - Cut Glass
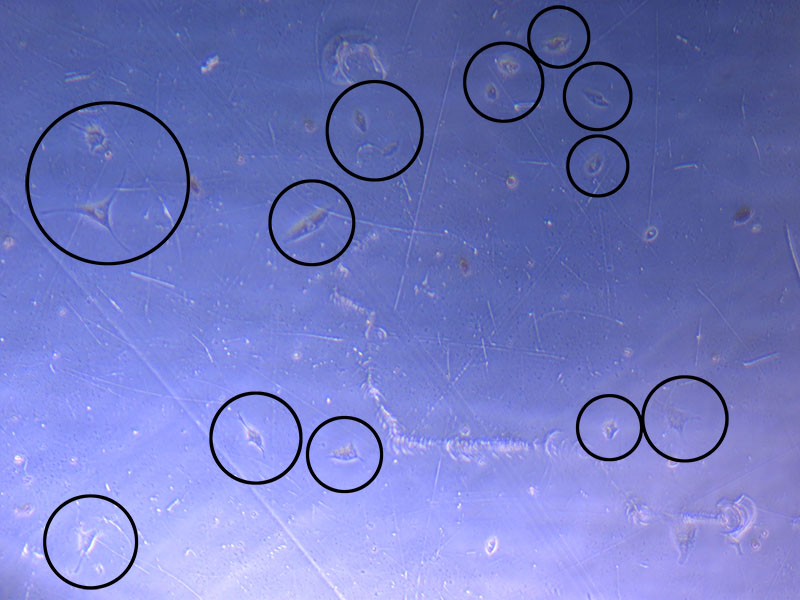
Light microscope image of cut glass dish in PBS with likely cells circled. There are a few additional potential cells visible, but I have only circled the most obvious. 

To get an even better sense of survivors, I will fix (in 4% PFA) and H&E stain 2/3 of the cut glass dishes. The flatter cut glass dish and Petri dish (with more potential for cell survival will be maintained in the incubator to see how they fare over the next week).

Petri Dish 
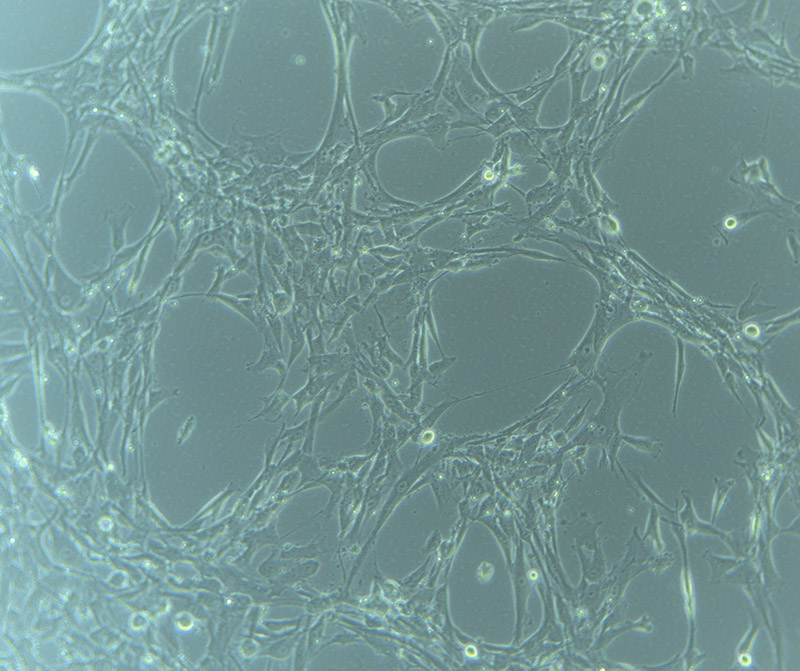
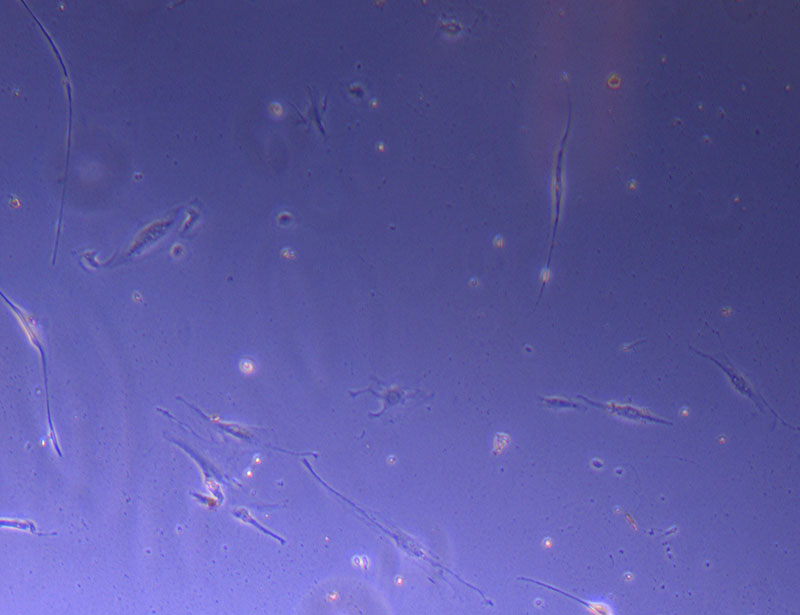
Light microscope image of Petri dish with fresh complete media with live cells. 

I will also fix and stain the glass vessels. It is less likely that these will yield anything interesting, but it will help me troubleshoot how to do the protocol with the tiny openings – it is very difficult to effectively remove the media – even with a 20ul pipette and tip 🙁


Growing my own cells in Petri Dishes

Following the successful growth of HBVPs in Poly-L-Lysine coated glass Petri dishes, I have enough of my own fibroid cells to repeat the process.

My cells continue to grow so slowly that I should be able to passage them into the Petri dishes and allow them to grow to confluence during the festive season break over 2 weeks .  Of course, I need to clear this plan with Jo-Maree. No one else is using the incubator, so it should not be too much of a problem.

As part of this plan, I will be growing my tumour baby cells in 90mm glass Petri dishes and 1 x 90mm crystal dish.  As per my previous experiment with HBVP cells, I need to coat the glass surface with Poly-L-Lysine solution to enable cell adherence.

I diluted the  Poly-L-lysine solution  with sterile MilliQ water (sterilised  14/12/21) to make up 40 mL total (10mL for each 900mm Petri dish x 3, plus 1 x cut glass crystal dish)

6mL PLL + 34mL MilliQ = 40mL PLL Solution

Coating

I added 10mL of the Poly-L-Lysine solution to each dish and then incubated them for an hour. [ The cut glass crystal dish was placed inside a 150mm autoclaved Petri dish to preserve sterility.]

Pll coating glassware
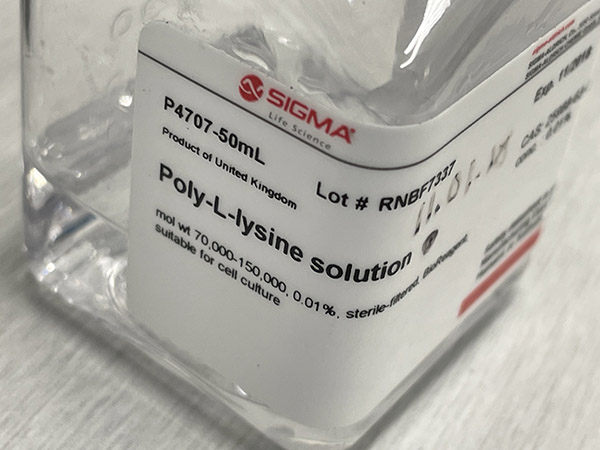
Unwrapping Petri dishes and getting ready to coat culture glassware with PLL. 

Pll coating glasswarePLL coated glassware in Petri dishes ready for incubation. 

Following incubation, I removed the Poly-L-Lysine solution and washed the dish with PBS. During cell passage of my confluent flask, I added 1mL of cell solution (from a 10mL suspension) and 5mL media. I placed the cut glass vessels back into a 150 mm Petri dish and into the incubator.

Cut glass dishes with cells ready for incubationCut glass vessels with cells ready for incubation. 

Fingers crossed that they survive the holiday break!

Hematoxylin and Eosin Staining

Jo-Maree finally had some time to go over basic H&E staining procedures. Since my HBVPs are fixed on the base of  glass Petri Dishes, the process is much less involved than working with wax embedded specimens.

H&E is a very common stain combination used in histology. Hematoxylin stains nuclei blue-purple
Eosin stains cytoplasm (protein, muscle fibres etc.) pink
H & E Stain Protocol Basic H&E staining protocol from Jo-Maree.   We only need to follow the staining process.

Stain: washing Petri Dish on bench in Histology Lab at MSP with Erlenmeyer flask containing distilled water for washing. 

Prior to adding the Hematoxylin stain, we washed the Petri dishes with distilled water (DW). Usually, we would simply wash the dishes under running water from the tap. However, since rapid water could dislodge the cells from the base of the dish, we have used a beaker to control the water flow.  I washed each dish twice to remove PBS and dislodged cells.

Hematoxylin Stain
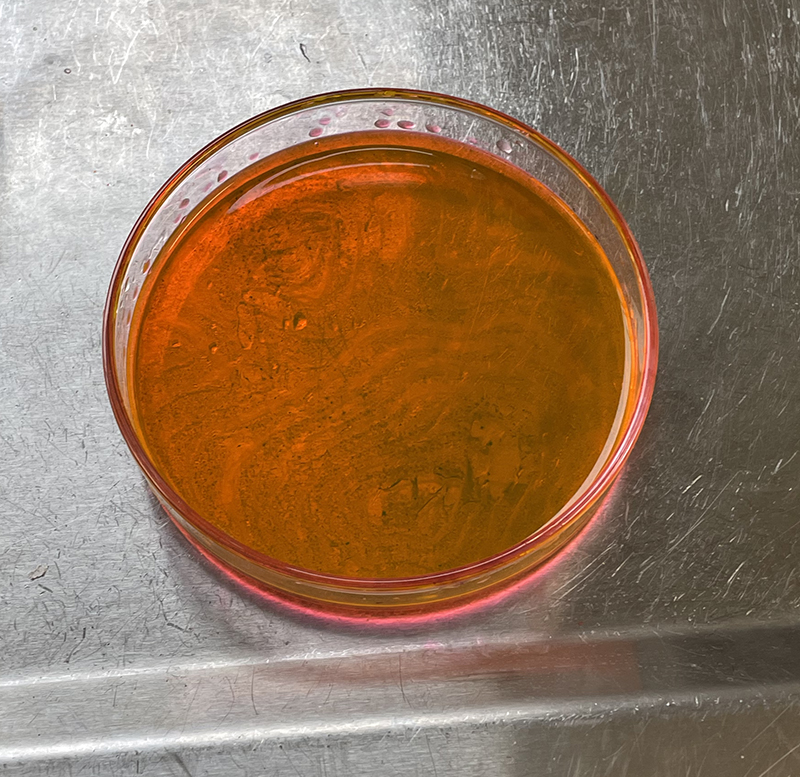
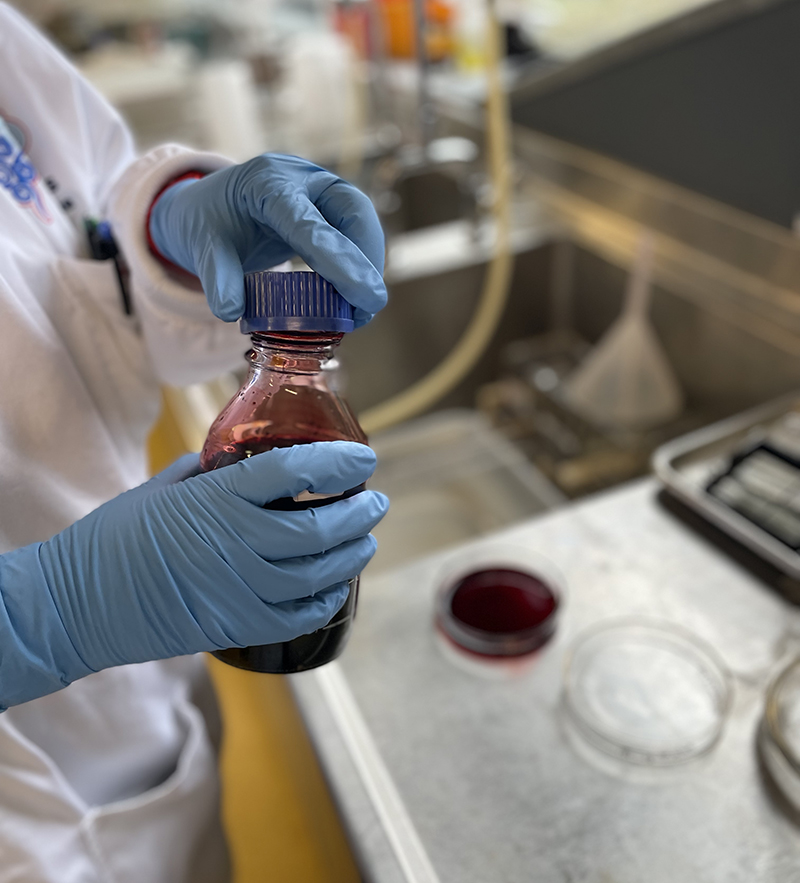
Hematoxylin Stain – deep red stain 

Contrary to what the name Hematoxylin suggests, the dye is actually naturally derived and comes from the tree  Haematoxylum campechianum (Logwood). As such, it is non-toxic and does not need to be added in a fume cabinet. The dye was added to the Petri Dishes for 5 mins, then washed with distilled water.

The next step involved adding ammoniated water (approx 2 – 3 drops ammonia to 400mL distilled water) to the stained cells for 30 secs.   This process is referred to as ‘bluing’ and helps change the red – purple hematoxylin to a blue – purple color.

Hematoxylin Stained DishCells visible on the base of Petri Dish following Hematoxylin staining.

After washing the Petri Dish thoroughly after ‘bluing’, we added the Eosin stain.  Eosin is a xanthene dye and has an intense fluorescent colour.

Eosin StainEosin stain in Petri Dish.

The Eosin stain only needs 2 mins to stain the cytoplasm and matrix of cells. Following  another thorough wash of the dish, we added 95% ethanol and secured the Petri dish lids with parafilm.

For stained sections on glass slides, it is usual to add Xylene (toxic) and a coverslip. In this case, we could either create large scale glass covers (a bit impractical) or clear resin. I think clear resin is the best solution as it would create a barrier and preserve the dyed cells. I am keen to use the fixed cells in dishes as part of sculptural works.  However, I will need to check with lab manager David Steele that I am able to remove these fixed cells from the lab.

Sponges as scaffolds?

We are lucky in Tasmania to be able to travel freely across the state. With winter coming to an end, I saw an opportunity to visit Burnie with some art school colleagues. We witnessed the arrival of some of the first penguins at the Burnie Little Penguin colony for their annual mating and childrearing.

We also glanced some amazing sponges on the beaches in nearby Wynyard.

Wynyard BeachFossil Bluff – Wynyard.

Doctor's RocksDoctor’s Rocks – Wynyard

Marine Sponge texture

Seeing the texture and architecture of different marine sponges on the beach, prompted me to consider whether they have been considered as a scaffold architecture for cell growth.

Sponges from Wikimedia
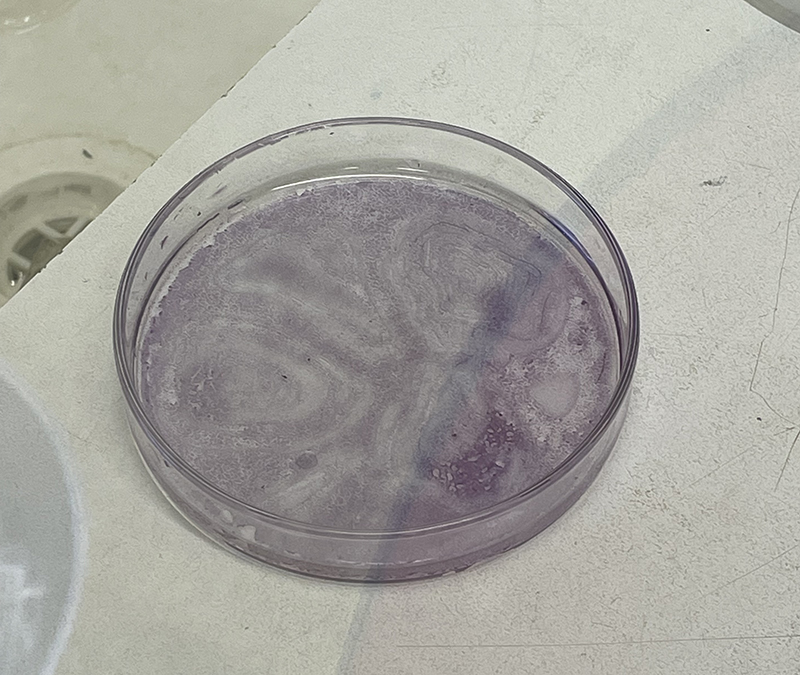
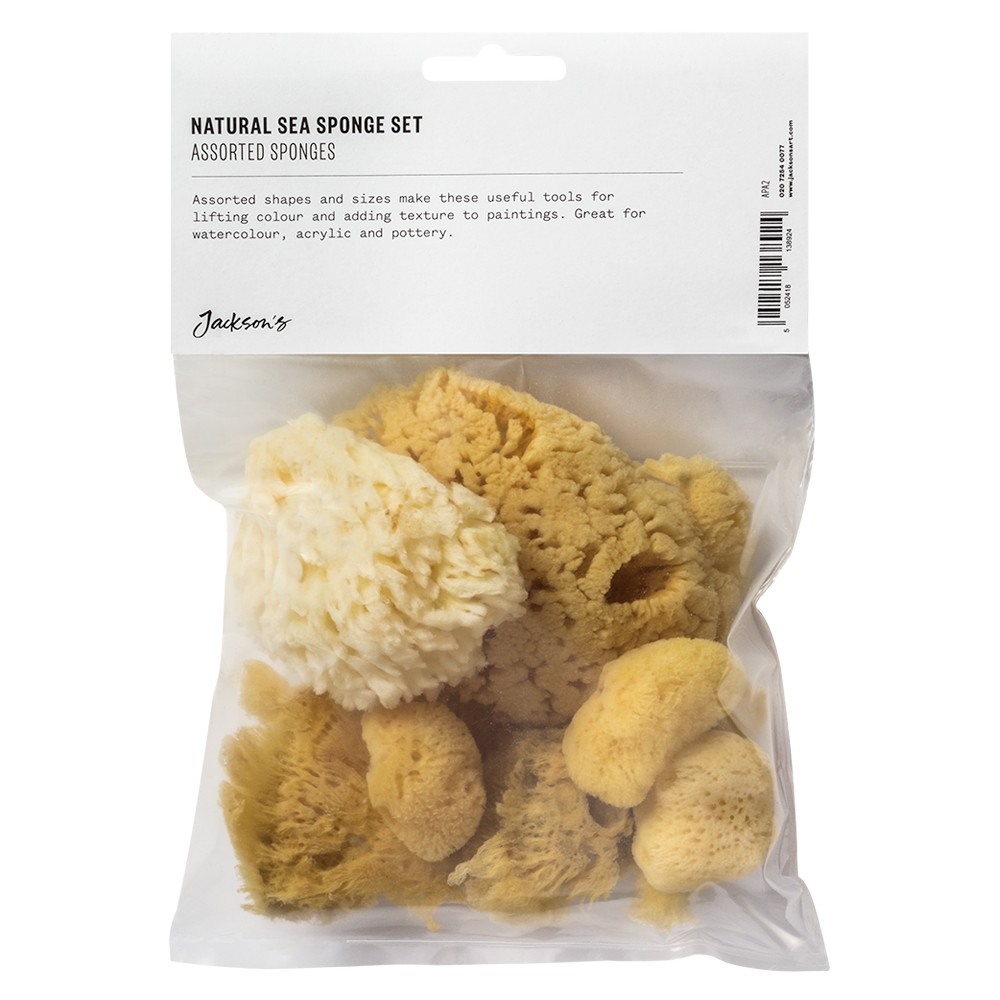
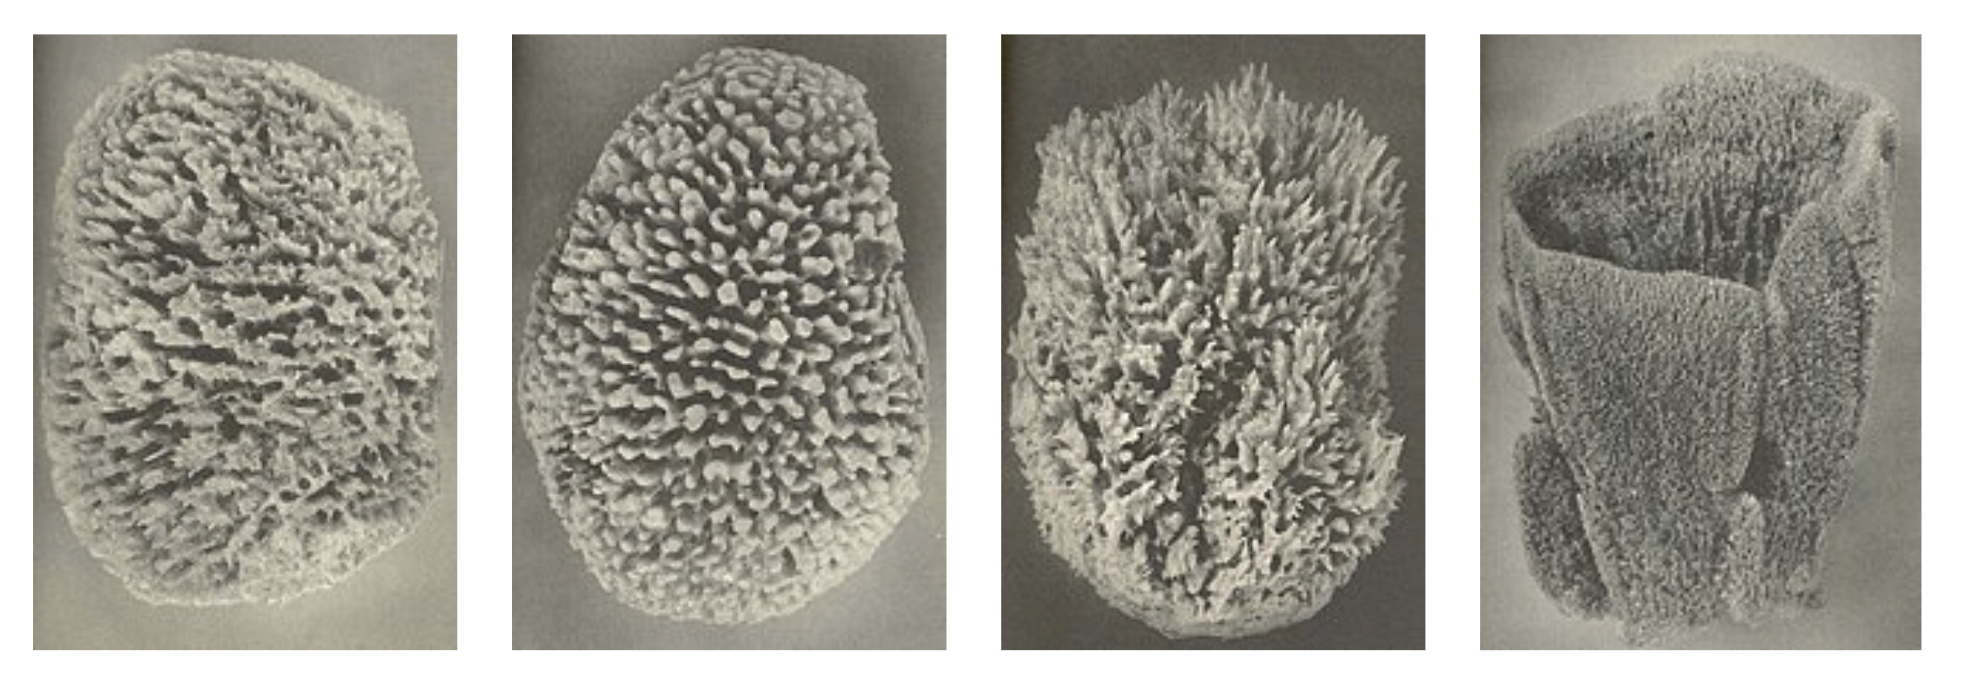
Different sponges from Wikimedia Commons.

Turns out that yes, there is already a study on whether marine sponges could be used as scaffolds in bone repair.

In vitro Evaluation of Natural Marine Sponge Collagen as a Scaffold for Bone Tissue Engineering

While this has already been done. I think it would still be a nice side experiment to see whether I can grow my cells in a marine sponge scaffold. There are a number of companies that offer cleaned and bleached natural marine sponges for bathing, facial exfoliation and art – although the variety seems usually limited to honeycomb and silk sponges from the Mediterranean.

Sponges

Bag of sponges available from art supply store.

Perhaps the sponges could be used in conjunction with a hydrogel to assist with cell adhesion and proliferation. I think it would be quite lovely to make a self-portrait of ‘me’ as a sponge. Although, I will likely need to use a bioreactor to enable nutrients to reach the interior of the structure.

Scaffolds Arrived

Dietmar’s scaffolds have arrived.

Scaffolds in Express Post BagScaffolds arrived via Express Post on 16/09/21

This means that we can do some tests to see how the HBVPs grow in a matrix.  The scaffolds include some flat and tubular sections for initial experimentation.

MPC Scaffolds
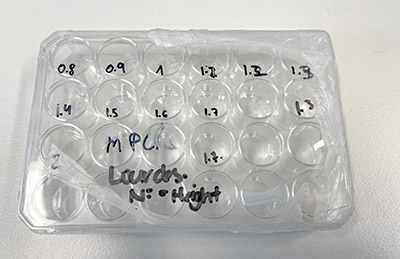
MPCL Scaffolds – tubular structures at varying heights.

Scaffolds in Petri Dish 
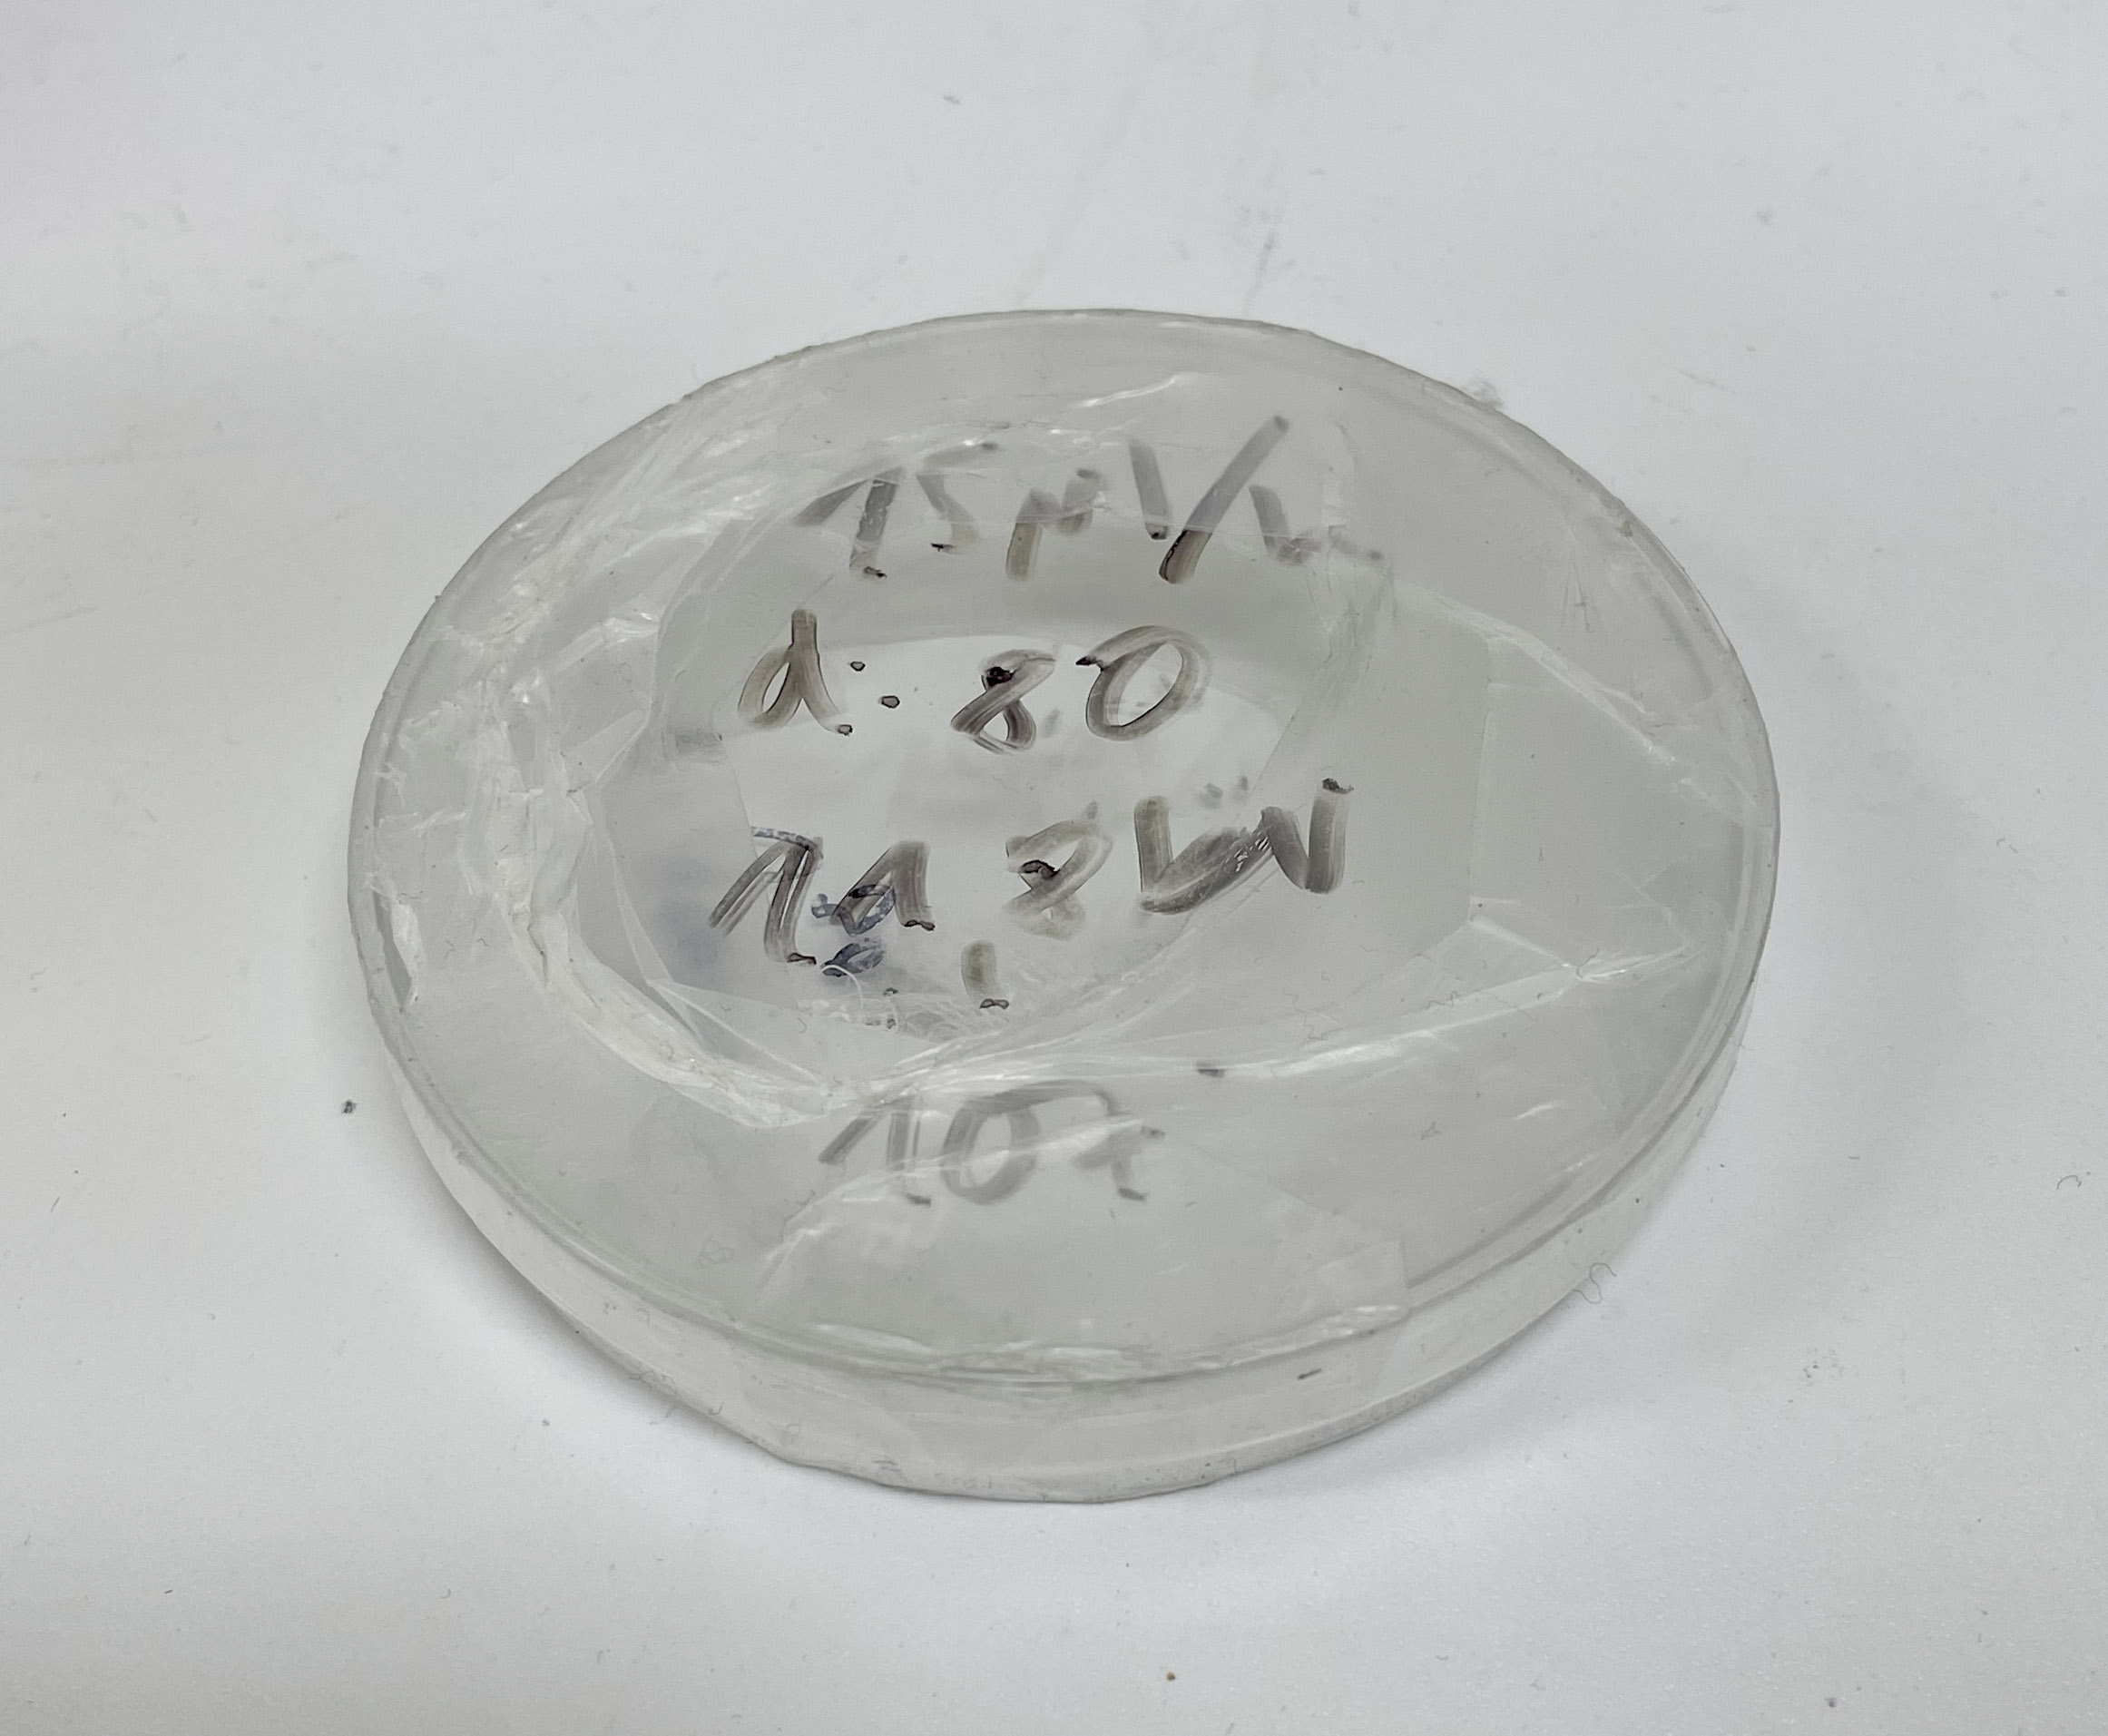
Scaffolds in Petri Dish  – flat square structures. 
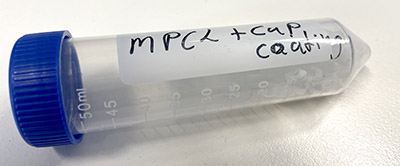
I will need to confirm with Dietmar’s group but the notations seem to indicate that the scaffolds are  medical grade polycaprolactone (mPCL) with some tubes including a  calcium phosphate (CaP) coating.

MPCL+CaP CoatingMPCL+CaP coating

MPCL+CaP Coating
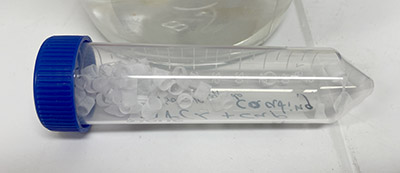
MPCL+CaP coating – tube structures.


Fixed Cells

The HBVP cells in the Petri Dishes were ready for fixing on the 14/09/21. I followed a very basic protocol which involved removing the media and and fixing the cells with 4% Paraformaldehyde (PFA) solution for an hour.

After an hour the PFA was removed (in the fume hood in a special waste container) and 5mL PBS added to keep the cells moist and avoid them drying out. I will  stain them later with H&E stain when Jo-Maree has time to show me through histology.

HBVP Clear Petri Dish Fixed

Fixed HBVP cells in clear Petri dish. Image taken 16/09/21

HBVP Sigil Petri Dish Engraved Fixed

HBVP Sigil Petri Dish Engraved Fixed

Fixed HBVP cells in engraved sigil Petri dish. Image taken 16/09/21

Overall the cells seem quite well preserved. However, the cells in the engraved Petri dish with the sigil for “protection from accidents” had the best outcome….maybe sigils make me more vigilant.

HBVPs growing well

The Poly-L-Lysine coating has worked well to encourage growth of HBVPs on the base surface of the glass Petri dishes.  They look comparable to the T75 Flask cells.

HBVPs growing in Glass Petri Dish
HBVPs growing on base of glass Petri Dish (no engraving) coated with PLL 13/9/21
HBVPs in T75 Flask 
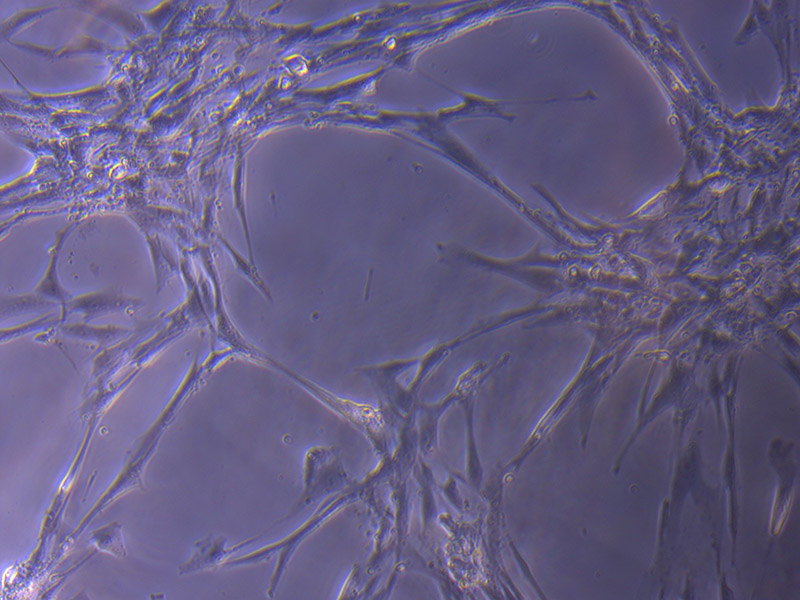
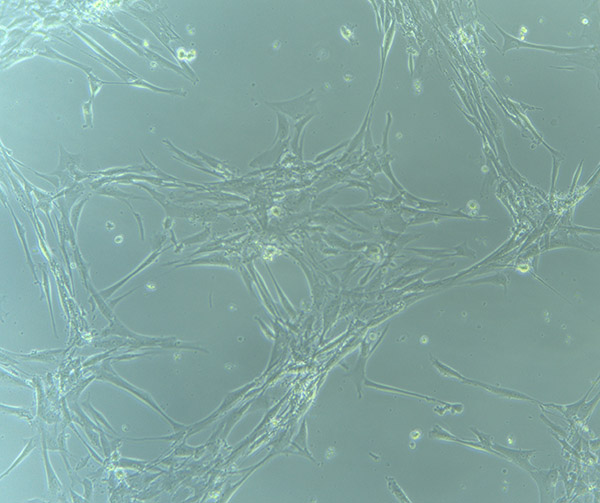
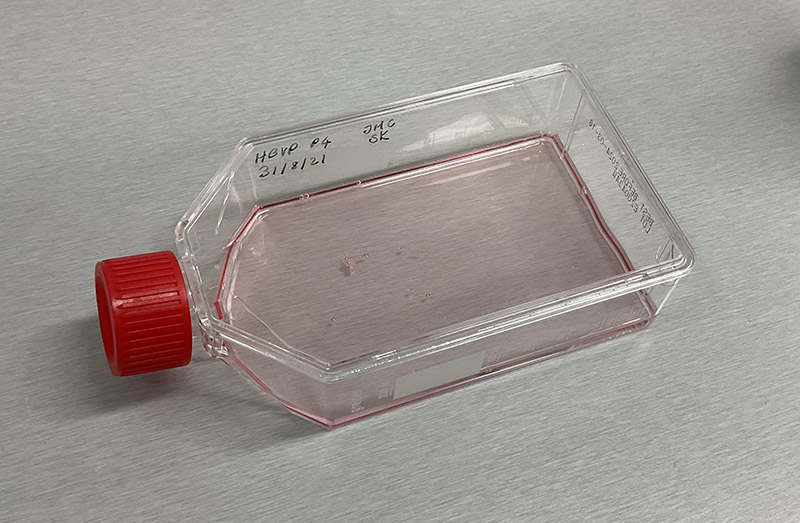
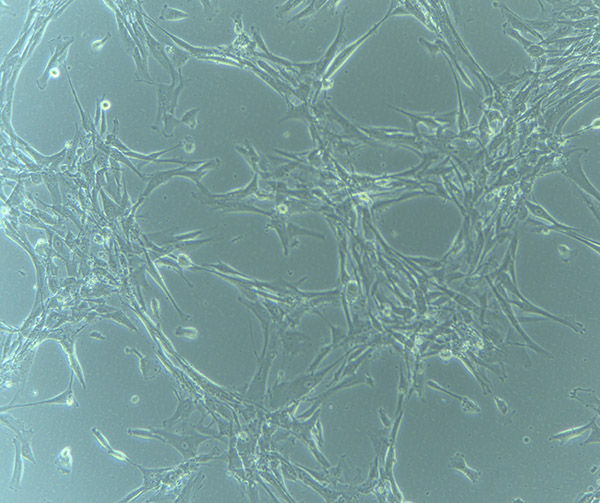
HBVPs growing in T75 Flask – 13/9/21

Cells are also growing well in the engraved Petri dishes although it is hard to see the cells on the engraved surface.

Engraved Petri Dish
HBVPs growing on base of glass Petri Dish (with engraving) coated with PLL 13/9/21

To better get a sense of where the cells are growing, we will fix them with 4% Paraformaldehyde (PFA) and then stain them with hematoxylin and eosin (H&E). Hematoxylin has blue-purple color and stains cell nuclei.  Eosin is pink and stains proteins more generally.

HBVPs ready and on the go!

I am now well into culturing thanks to Jo-Maree’s expert guidance. I am happy to say that it is all coming back to me and I actually feel pretty confident navigating the labyrinthian lab layout and doing routine cell culture.

I also have my own stock of HBVPs in the Stem Cell lab. As you can see they are quite spindly and form little ‘star clusters’ as they grow:

HBVP_P5_090921

Brightfield Microscope image of HBVP cells (P5 – passage no. 5). These cells were passaged on 9/9/21.

These cells grow in Complete Pericyte Medium (CPM) – Pericyte Medium supplemented with FBS, Antibiotics and Growth Supplements. When keeping a lab journal, it is important to record the Lot no. for all items. This allows researchers to track any variations between batches. It is also vital to record the opening date.

Complete Medium

Complete Pericyte Medium – prepared on 9/9/21

The HBVPs grow in standard T75 Tissue Culture flasks in 15mL of CPM (with cell type, passage number, date of passage and researcher initials listed on the vessel).

HBVP cells

HBVP cells (P4 – passage 4) in T75 Flask. 

As part of the experimentation process, I prepared  three 90mm glass Petri dishes.

Protection from Accidents
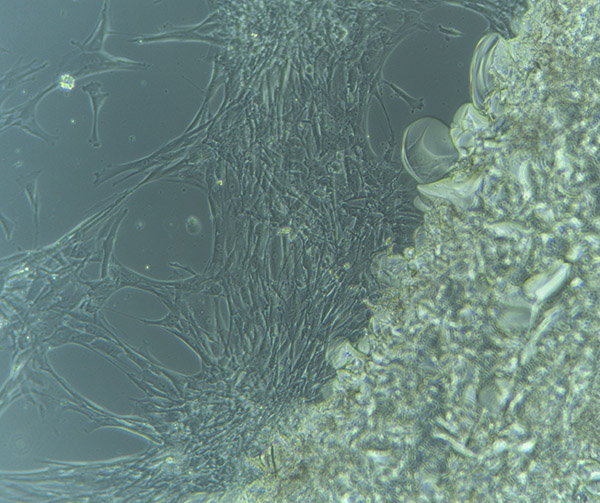
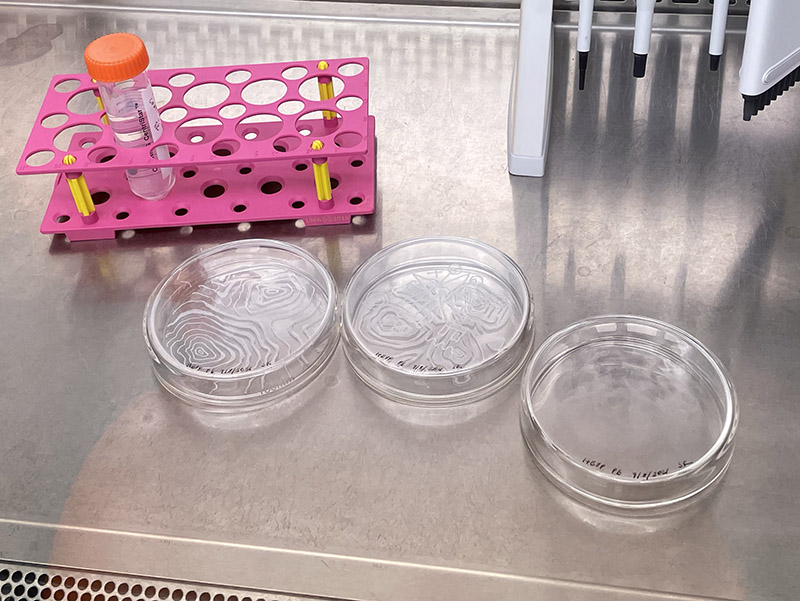
I engraved the base of two dishes with a ripple pattern to see if the engraving would impact on the growth/adherence of the cells. Inspired by the awesome work of Whitefeather Hunter (and my previous collaborative work with sigils), one of these dishes also had an engraved symbol to aid protection from accidents.

As you can see below, the engraving looks quite rugged and sharp as it was done by hand. I am curious to see if the cells will grow on this area.

Engraved Glass

Brightfield microscope image of the engraved glass.

To sterilise the dishes for cell culture, they are placed into paper autoclave bags and sealed with autoclave tape.  They are then placed into an autoclave that steam sterilises the vessels at high temperature. The black lines on the tape indicate that the process was successful and the correct temperature was reached.

Autoclaved Petri Dish

Single Petri dish in autoclave bag – dated 26/8/21

Most cells do not adhere well to untreated plastic or glass surfaces. As such we added a Poly-L-lysine coating to aid cell adherence.

poly-l-lysine

Poly-L-lysine solution.

The Poly-L-lysine solution was diluted with sterile H2O to make up 30mL total (10mL for each Petri Dish).

Coating

10mL of the Poly-L-lysine solution was added to each dish and then incubated for an hour.

Petri Dishes

After an hour, I removed the Poly-L-lysine solution and washed each dish twice with sterile H2O.  I passaged (split) the HBVPs and added approx 1 million cells (in 1mL media) to each Petri Dish and one T75 Flask (plus 14mL media).


Clay surface tests

Alongside 3D sculpture tests, I have also been working on some old canvases to see how the chameleon pigments work on a more 2D surface. These canvases have hand mould clay elements that resemble worms and bacteria. I must admit that I am not quite sure where I am going with this… although at the very least, it will enable me to build up layers of chameleon and UV reactive pigments.

Clay Panel

Canvas with 3D clay surface texture and first coating of chameleon pigment.

Chameleon Pigment: 3D Experiments

While I have been prepping for lab work (and awaiting clearances and media), I have been using my residency to invest in studio time and test new materials and processes that (somewhat subconsciously still) align to the themes of the Synapse project.

Over the past few months, I have ordered a stack of chameleon pigments from suppliers in Australia, China, the US and UK to test quality and colour. I have compiled a series of swatches on different substrates to determine colour shifting properties and how they layer and complement each other. So far my favourite supplier is A1 Pigments. They stock a huge range of powdered pigments including chameleon and mica pigments.

I have also tested solvents including water-based varnishes, oil-based media and wood varnish. Unfortunately water-based products are not suitable for the pigment and it works best in a polyurethane/resin base. I particularly like the results from using timber varnishes such as the Bondall Monocel Timber Varnish range. They have a slight warm amber tint which  gives the application a nice depth of colour. For crystal clear application and sealing, KBS’s Diamond Finish Clear Coat is fantastic as it is non-yellowing and super clear (although a bit expensive).

As part of my testing process, I have started to develop a series of small sculptural works that consider species and matter entanglements and the wonder of the universe.

Sculpture 1

Top view of Sculpture 1 showing chameleon pigment coated rocks formations and Titanium Aura Quartz

Sculpture 1

Frontal view of Sculpture 1

Sculpture 2

Frontal view of Sculpture 2 showing a Pyrite cluster and Peacock Ore (Bornite).

These sculptures have ‘secrets of the universe’ hidden in their base. The form of the works hints at the nature of the secret, but you would have to destroy the work to reveal it.

I really wanted the base to be a dark matt black. To achieve this I tested Stuart Semple’s Black 3.0. While the initial results were good, the black marked too easily with my messy handling. As such, I opted for black flock  instead. Not only does this coating hide slight surface imperfections, it also creates a great matt black and light absorbing coating. Now that I am making some headway on ideal flocking application, I am planning to flock some of sculptural works to create a contrast between soft velvety textures and glossy surfaces.

I should mention that was first introduced to flocking by my dear friend and fellow artist Michael Riddle. Finally, I have a purpose for my own work to ‘get flocked’. So thanks Mike.