Tag Archives: H&E staining

H & E staining is a bust :(

histology

After spending most of the day in the lab staining up the cut glass dishes and vessels…

Staining set up

… I have emerged victorious-less.

Cut Glass after Staining

Cut Glass after Staining 
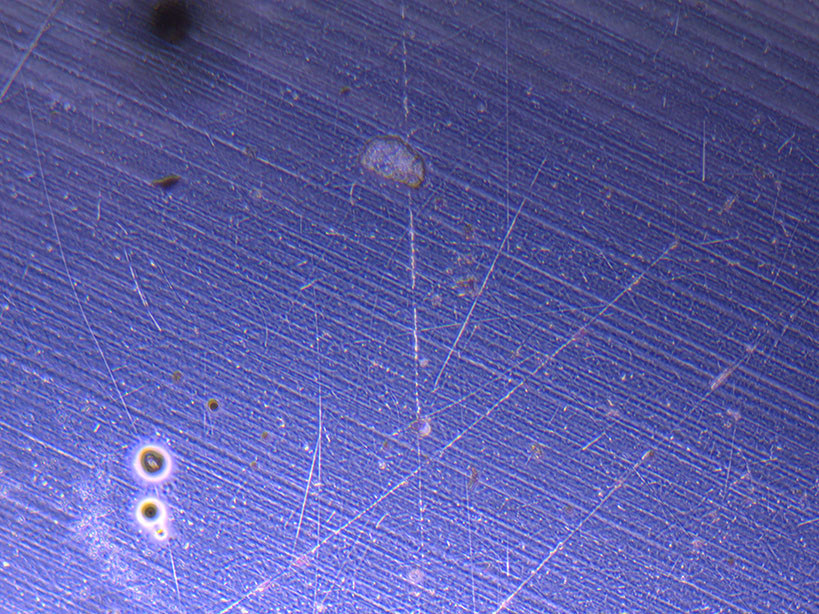
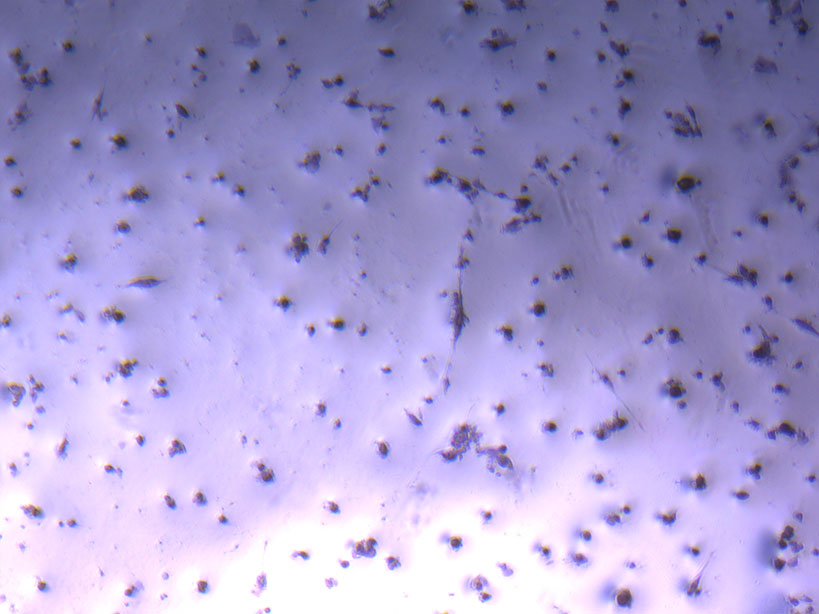
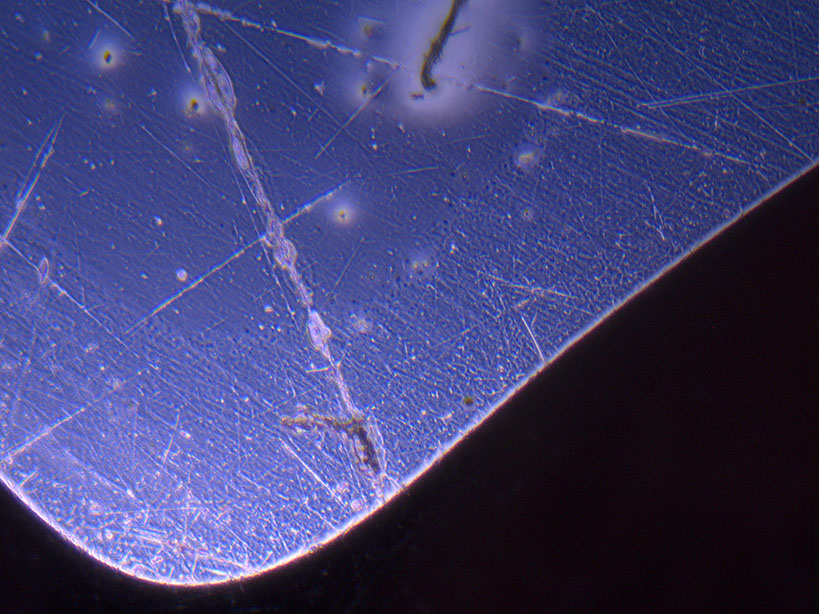
Microscope images of cut glass dishes after H&E staining on 20/01/22 showing scratches on glass surface and no cells. 

There are no cells visible at all – just scratches on the surface of the glass. This is likely due to the very limited number of remaining cells which may have been further dislodged during the washing process.

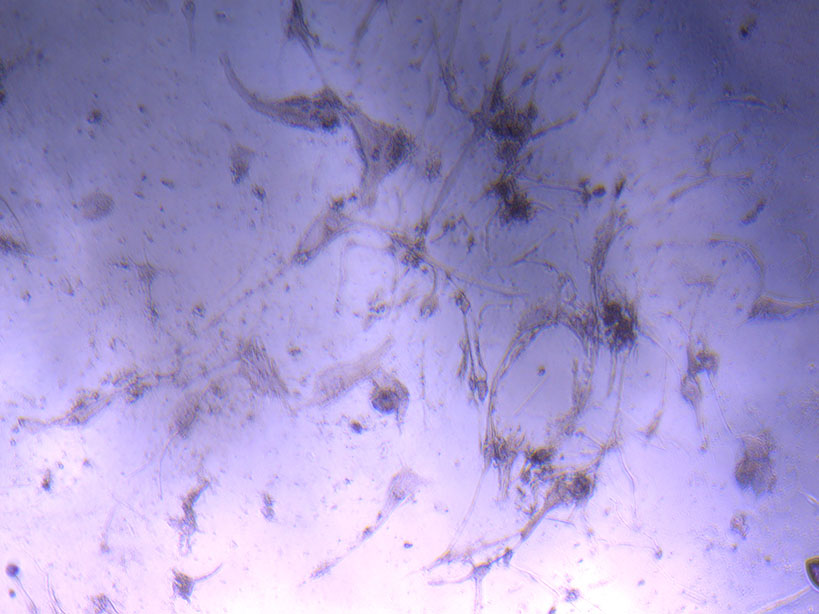
The glass vials have not fared much better. While there are cells visible, most of them are dead or dried out as it was tricky working with the small opening and 3D surface area.

Cell Vial 1Microscope image of glass vial after H&E staining on 20/01/22. The image shows a vast number of dead cells that were not fixed in a live state. 

Cell Vial 2Microscope image of glass vial after H&E staining on 20/01/22. The image shows dried cell remnants. 

The flasks show relatively good fixation of the cells, but the staining is not really visible under the light microscope in the ‘dirty’ lab.

T25 - Fixed

Microscope image of fixed PHGL Tumour Baby Cells after H&E staining on 20/01/22. The image shows intact  fixed cells with very limited evidence of H&E stain.

I think, I will stick to Petri Dishes for the next test as they offer a more consistent surface area to work with.

H & E Staining – Protocol Reminder

Today, I plan to stain the cut glass, glass vessels and T25 Flasks.

Before I head over to the lab, I always review the protocol and make sure I have an easily accessible copy.  While it is simple, I have not done it often enough to remember the process without error.

BASIC H&E STAIN:

  1. Remove PBS
  2. Add Hematoxylin – leave for 5 min
  3. Rinse under running water
  4. Add Ammoniated water for 30sec (2 – 3 drops ammonia  to 400mL distilled water)
  5. Rinse under running water
  6. Add Eosin for 2 min
  7. Rinse under running water
  8. Add 95% Etoh for 30sec with agitation
  9. Add 100% Etoh wash x 3

I still need to check with the lab manager if I they are happy that I preserve the stained cells in resin for removal from the lab.

Reviewing the protocol also ensures that I check materials prior to starting the process – there is nothing worse than starting a protocol only to discover that some of the materials are missing.

Extent of death post-holiday – Cut Glass and Petri Dishes

Following more detailed review of cell flasks, there are some hardy ‘survivors’ of my lab-free holiday.

Cut Glass Cell
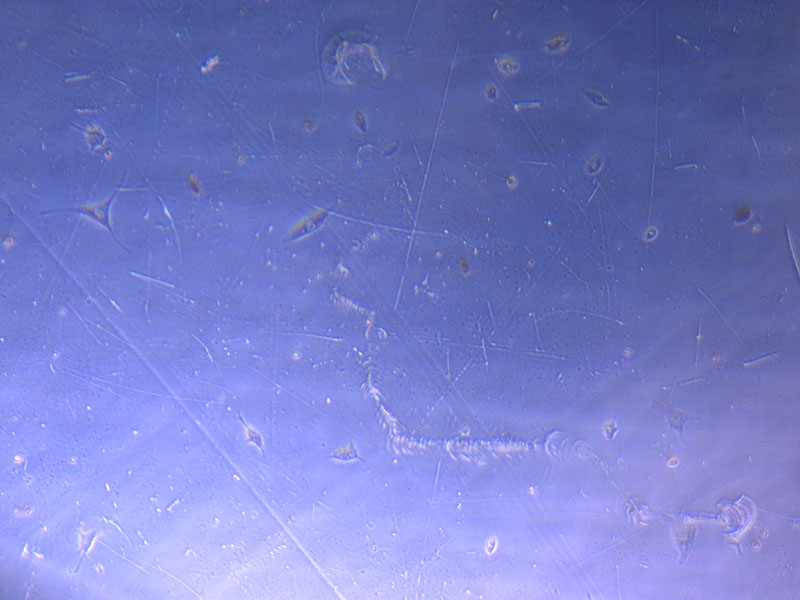
Light microscope image of cut glass dish with media containing dead cell debris and evidence of a small number of surviving cells. 

After removing the old media, it was easier to see the remaining cells:

Cell Survivors - Cut Glass

Light microscope image of cut glass dish in PBS showing evidence of a small number of surviving cells. 

This image shows even more evidence of cell survival:

Cell Survivors - Cut Glass
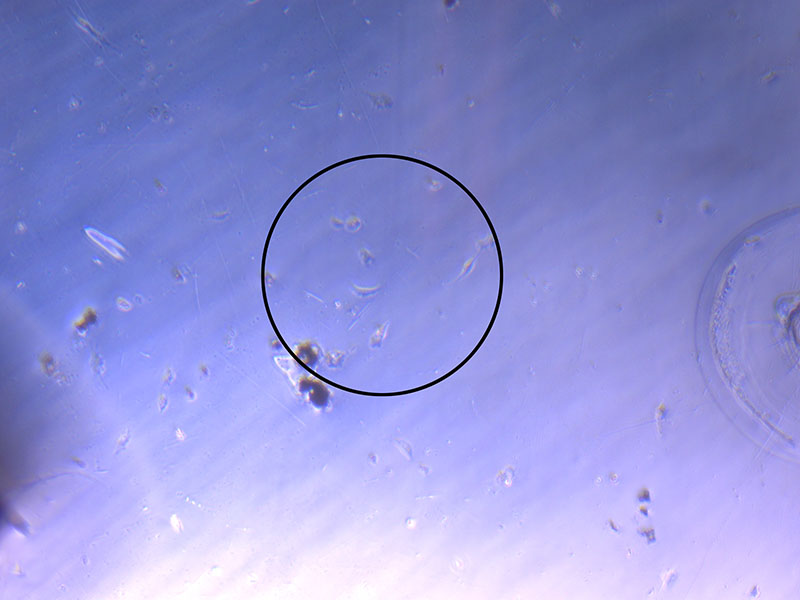
Light microscope image of cut glass dish in PBS showing further evidence of a small number of surviving cells. 

 Cell Survivors - Cut Glass
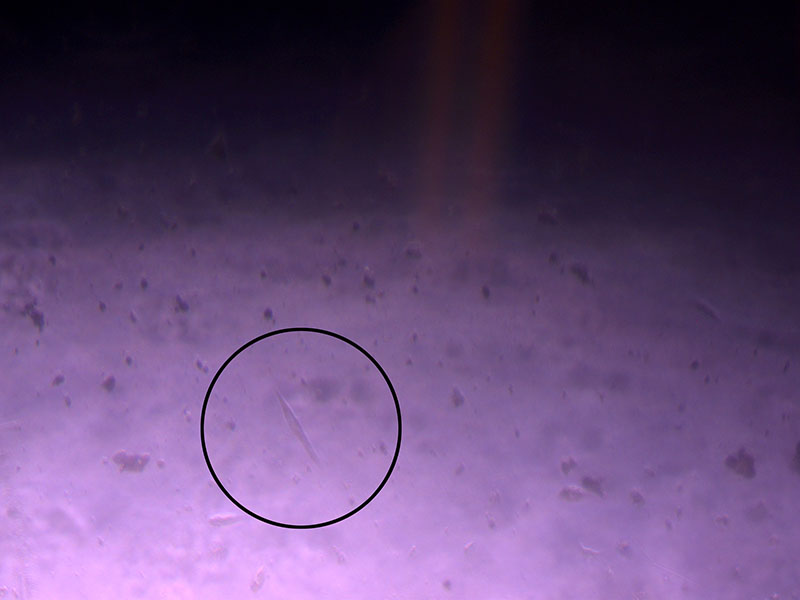
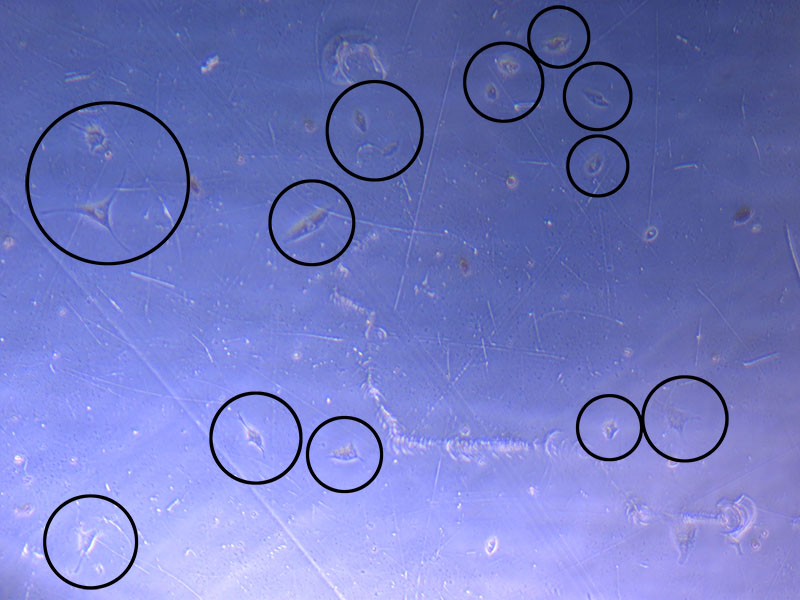
Light microscope image of cut glass dish in PBS with likely cells circled. There are a few additional potential cells visible, but I have only circled the most obvious. 

To get an even better sense of survivors, I will fix (in 4% PFA) and H&E stain 2/3 of the cut glass dishes. The flatter cut glass dish and Petri dish (with more potential for cell survival will be maintained in the incubator to see how they fare over the next week).

Petri Dish 
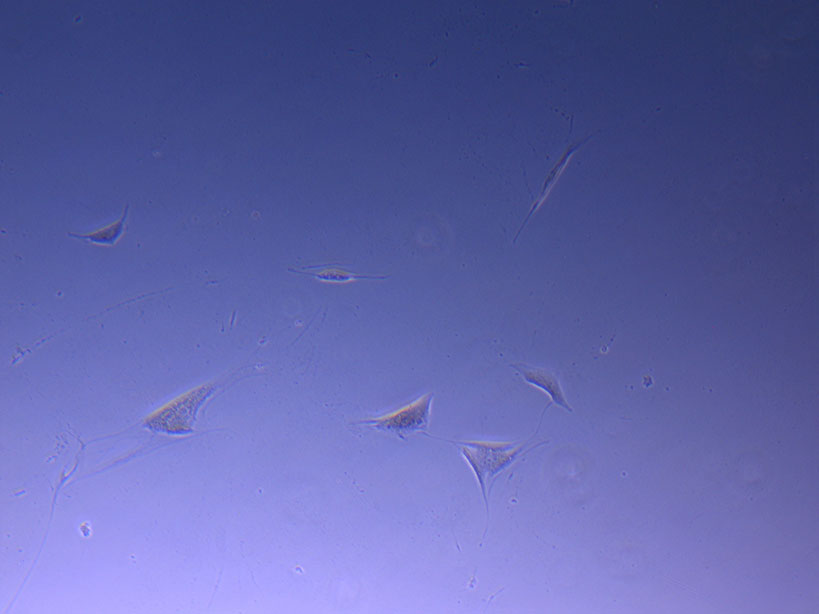
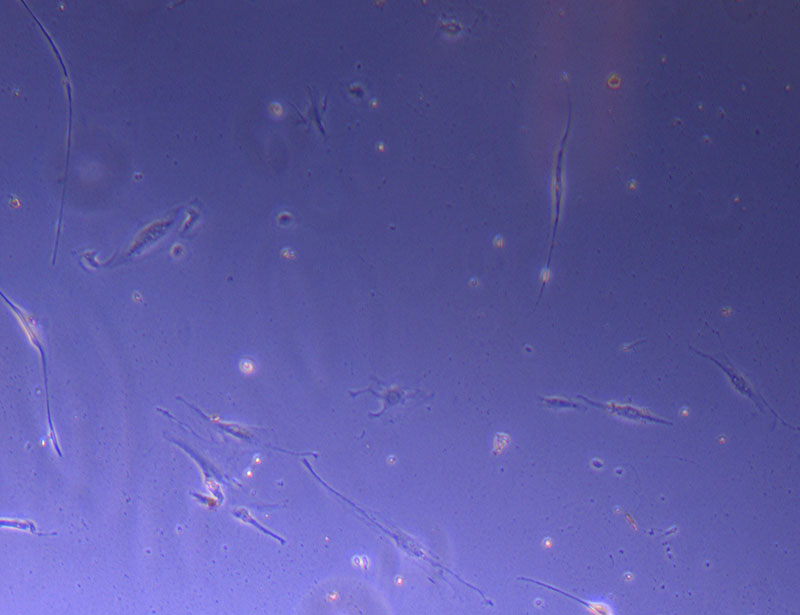
Light microscope image of Petri dish with fresh complete media with live cells. 

I will also fix and stain the glass vessels. It is less likely that these will yield anything interesting, but it will help me troubleshoot how to do the protocol with the tiny openings – it is very difficult to effectively remove the media – even with a 20ul pipette and tip 🙁


Immunostaining of fibroid cells

To gain some more insight into the cellular structure of my fibroid cells, I asked Jo-Maree to help me with immunostaining. Immunostaining refers to a staining method that uses antibodies to stain different proteins and structures within the cell. We are going to start with an easy protocol using two antibodies: DAPI and Phalloidin.

DAPI (4′,6-diamidino-2-phenylindole) is a very common fluorescent blue stain used to reveal the nucleus in cultured cells. It can penetrate the intact membrane of the cell. Thus, it can be used for staining both fixed and live cells.

Microscopic image of stem cells, Hues 9 stained with DAPI (blue)
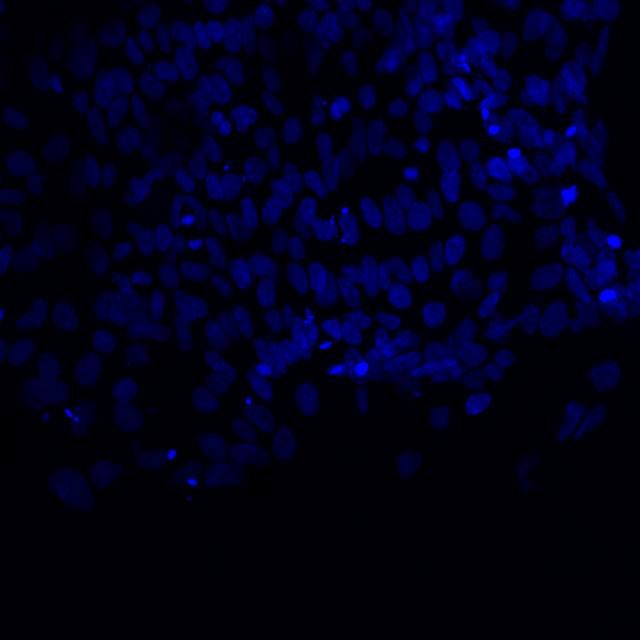
Microscopic image of stem cells, Hues 9 stained with DAPI (blue) by the UC San Diego Stem Cell Program.

BASIC LIVE CELL STAINING PROTOCOL

  1. Add DAPI to the complete culture medium used for cultured cells at a concentration of 10 ug/mL.
  2. Remove culture medium from the cells and replace with the medium containing the DAPI.
  3. Cover cells from light exposure and incubate at room temperature or 37°C for 5-15 minutes, then image.

Direct Addition: According to the biotium protocol, you can also stain cells by adding the dye directly to the cell culture and medium. However, this requires a 10X concentration of dye. 

  1. Add the dye to complete culture medium at 10 times the final recommended staining DAPI concentration – 100 ug/mL..
  2. Without removing the medium from the cells, add 1/10 volume of 10X dye directly to the well.
  3. Immediate mix thoroughly by gently pipetting the medium up and down. For larger well sizes (e.g., 24-well to 6-well plates), the plate can be gently swirled to mix.
  4. Cover cells from light exposure and incubate cells at room temperature or 37°C for 5-15 minutes, then image

STAINING FIXED CELLS/TISSUES:

  1. Add DAPI to PBS at 1 ug/mL.
  2. Add the PBS with dye to cells or tissue sections and incubate at room temperature for at least 5 minutes with covering from light exposure.
  3. Samples can be stored in a lightsafe covering (e.g. aluminium foil) at 4°C after staining and before imaging

From: https://biotium.com/tech-tips/protocol-staining-cells-with-hoechst-or-dapi-nuclear-stains/ with minor edits for simpliticy.

Since we are using phalloidin and fixing the cells prior to imaging, we need to follow some additional step to make the cells permeable.

Phalloidin Jo-Maree did not have any relevant stocks, Natalie kindly sourced a sample from another group. [I am always impressed by the generosity of functioning labs and how groups are happy to share stocks to enable other researchers to move forward.]

We are using Fluorescein Phalloidin as a counterstain to enable the visualisation of actin – a protein found in large quantities in the cytoskeleton and cell muscle fibres. As such, it  plays a vital role in cell muscle contraction and overall cell movement.

Interestingly Phalloidin is a toxin (specifically phallotoxin) derived from Amanita phalloides (death cap mushroom).

Amanita phalloides
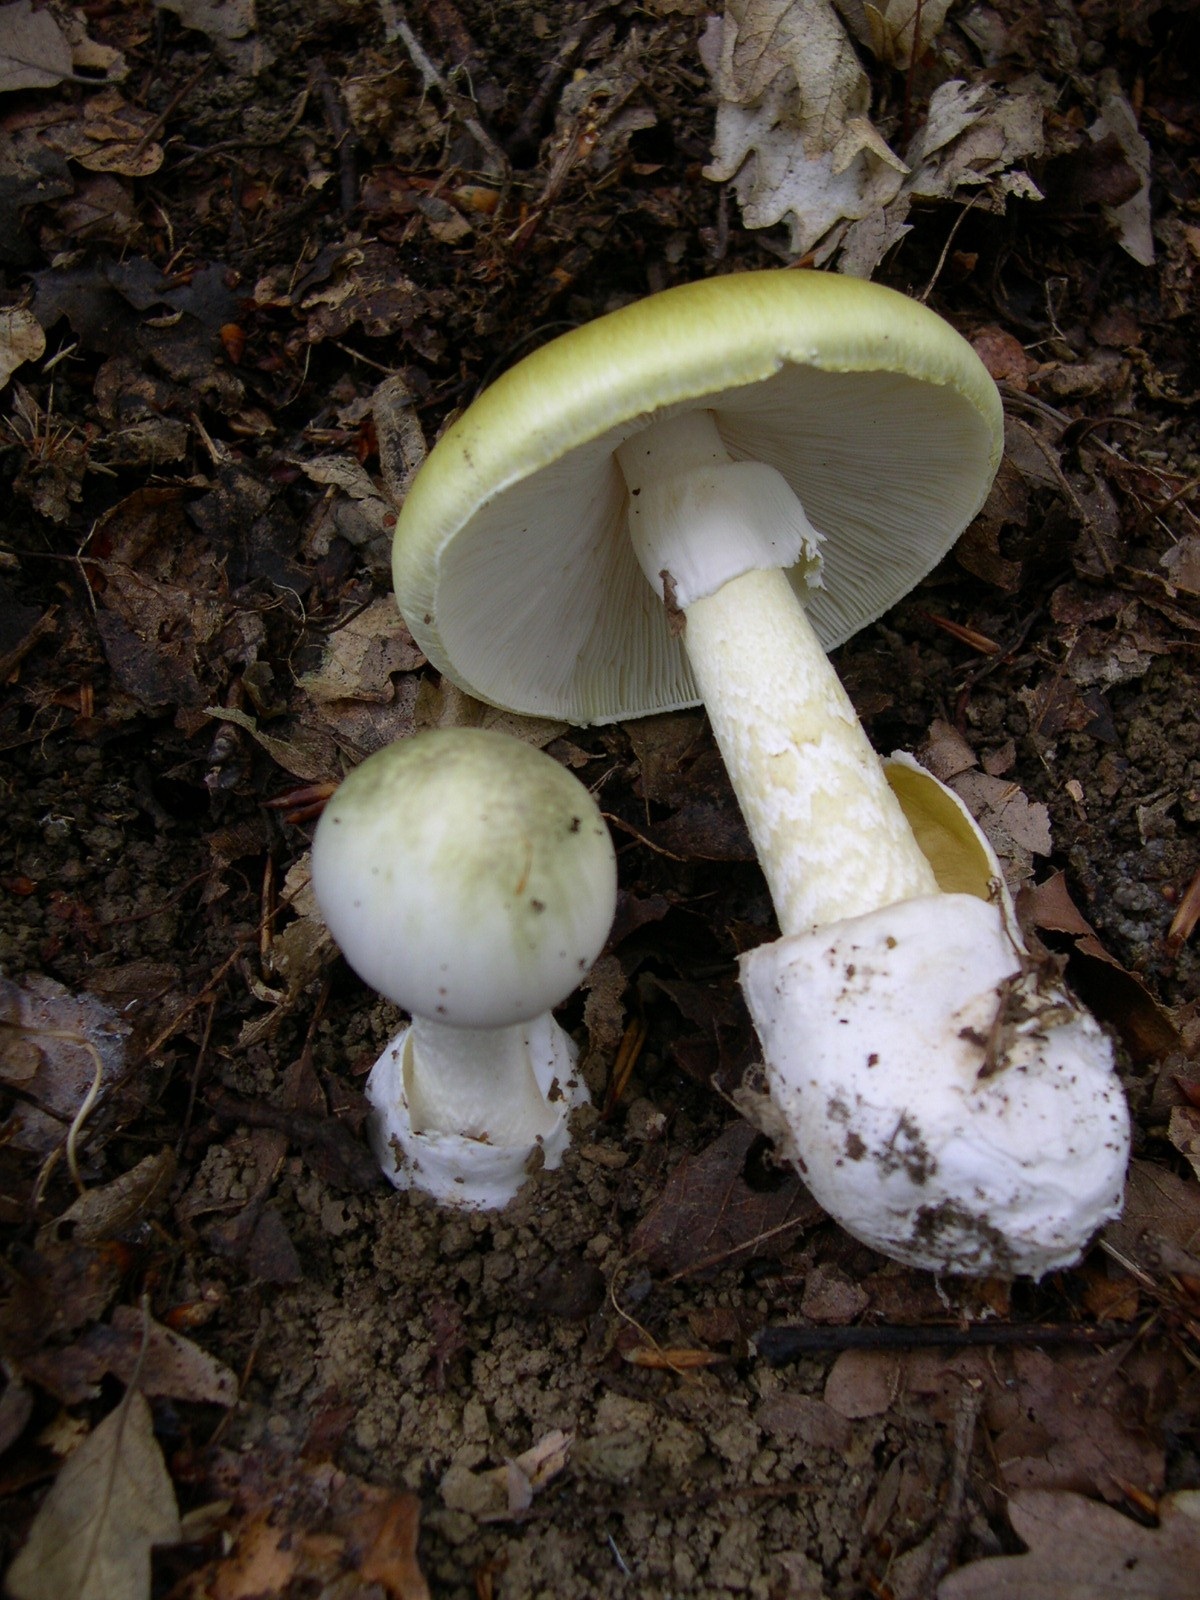
Image of Amanita phalloides via Wikimedia Commons

Phalloidin binds very well to actin filaments and is therefore very useful in visualising cell structure.

Phalloidin staining of actin filaments
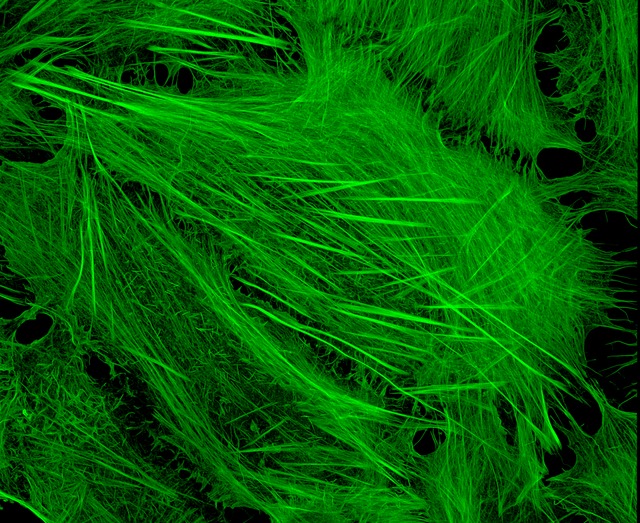
U2OS cells stained with fluorescent phalloidin taken on a confocal microscope by Howard Vindin

STAINING FIXED CELLS

  1. Fix cells in 3–4% formaldehyde in PBS at room temperature for 10–30 minutes.
  2. Remove fixation solution and wash cells 2–3 times in PBS.
  3. Add 0.1% Triton X-100 in PBS into the fixed cells for 3–5 minutes to increase permeability. Then wash cells 2–3 times in PBS.
  4. Add phalloidin-conjugate working solution. Incubate at room temperature for 20–90 minutes.
  5. Add DAPI DNA staining dye at this point.
  6. Rinse cells 2–3 times with PBS, 5 min per wash.
  7. Cover with lightfast material to preserve fluorescence

Adapted from:  https://www.abcam.com/protocols/phalloidin-staining-protocol 

Hematoxylin and Eosin Staining

Jo-Maree finally had some time to go over basic H&E staining procedures. Since my HBVPs are fixed on the base of  glass Petri Dishes, the process is much less involved than working with wax embedded specimens.

H&E is a very common stain combination used in histology. Hematoxylin stains nuclei blue-purple
Eosin stains cytoplasm (protein, muscle fibres etc.) pink
H & E Stain Protocol 
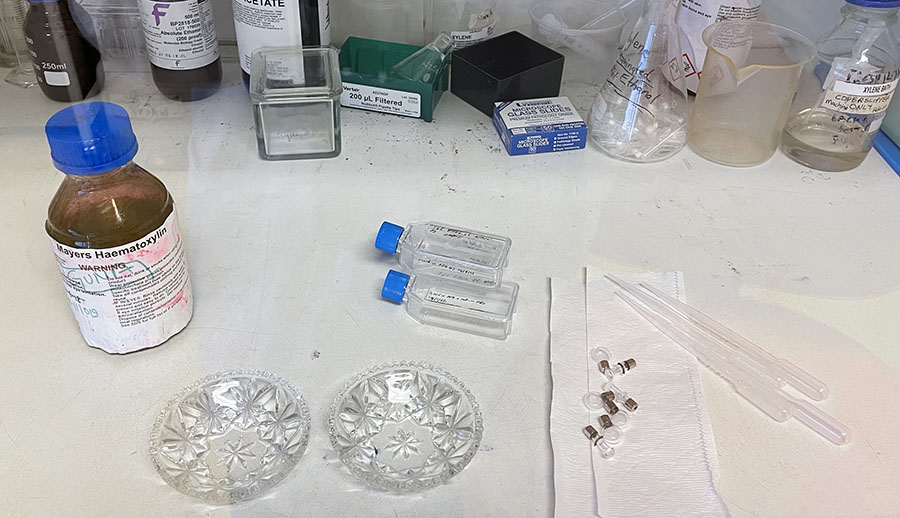
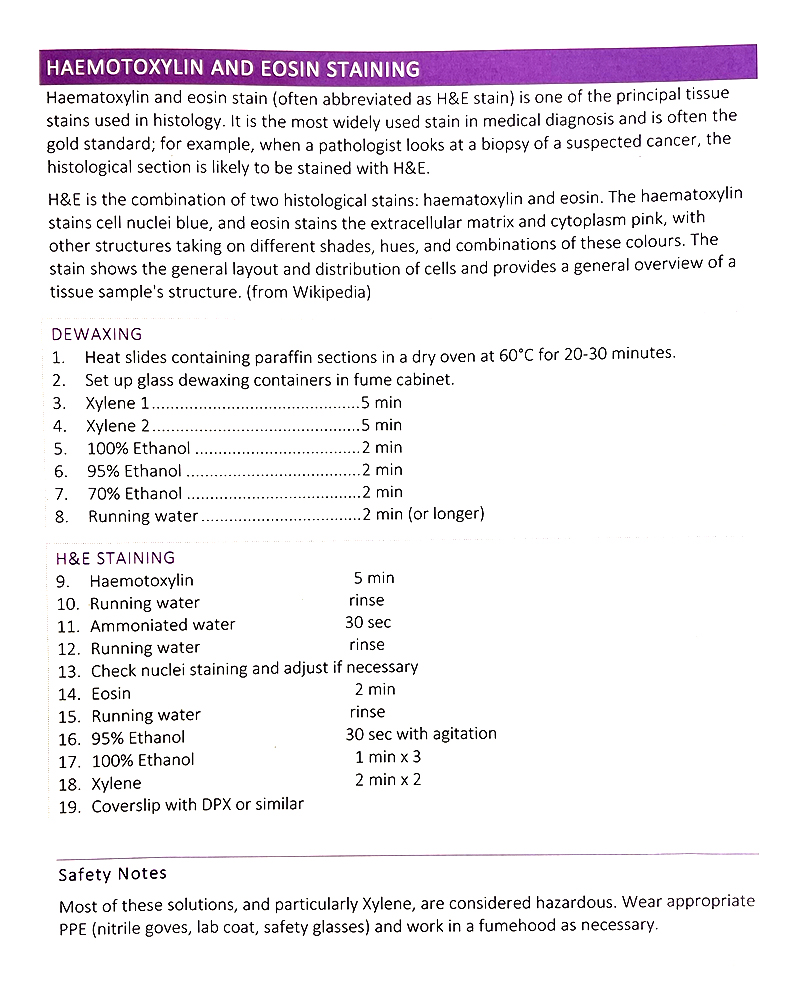
Basic H&E staining protocol from Jo-Maree.   We only need to follow the staining process.

Stain: washing 
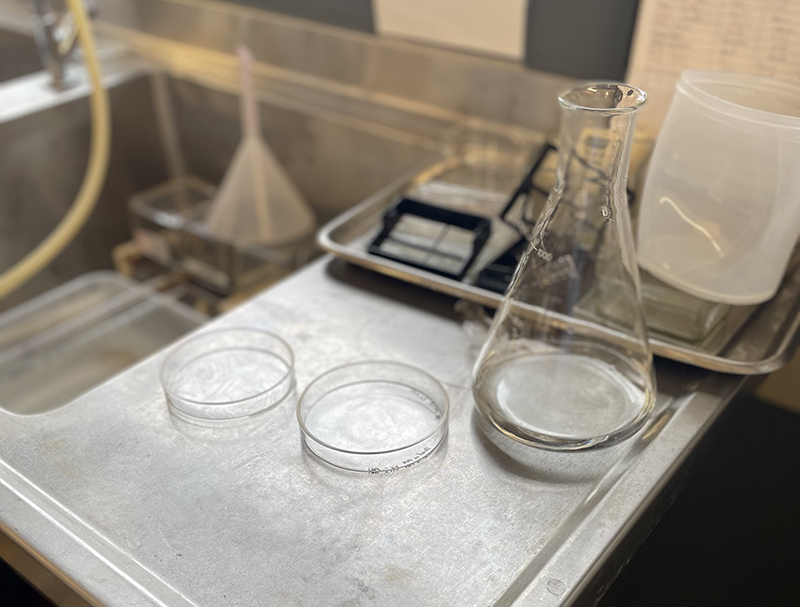
Petri Dish on bench in Histology Lab at MSP with Erlenmeyer flask containing distilled water for washing. 

Prior to adding the Hematoxylin stain, we washed the Petri dishes with distilled water (DW). Usually, we would simply wash the dishes under running water from the tap. However, since rapid water could dislodge the cells from the base of the dish, we have used a beaker to control the water flow.  I washed each dish twice to remove PBS and dislodged cells.

Hematoxylin Stain
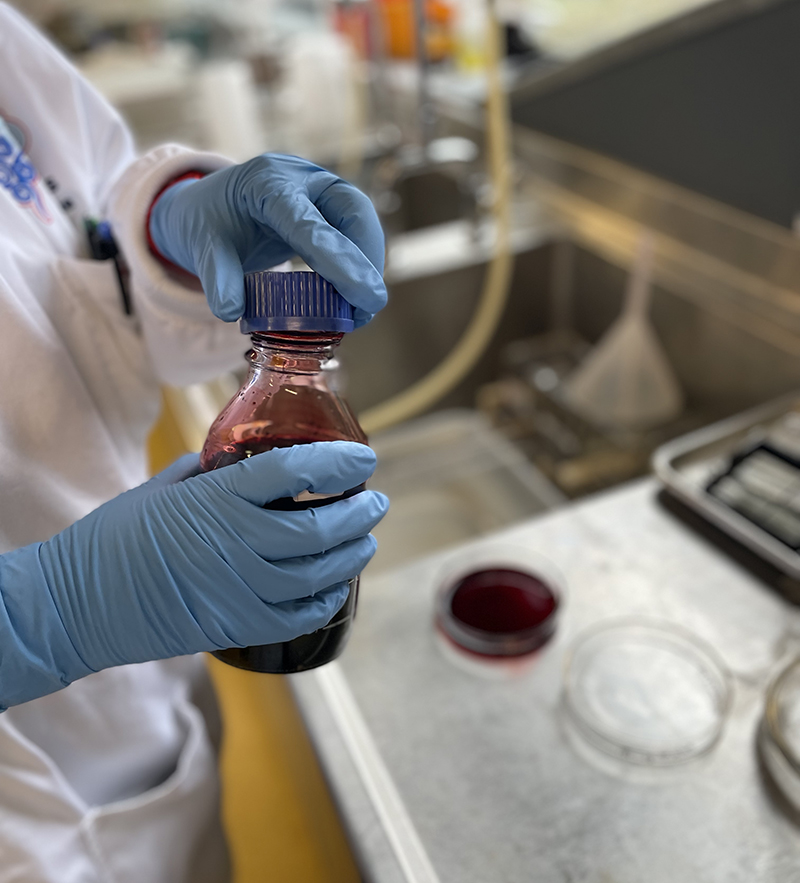
Hematoxylin Stain – deep red stain 

Contrary to what the name Hematoxylin suggests, the dye is actually naturally derived and comes from the tree  Haematoxylum campechianum (Logwood). As such, it is non-toxic and does not need to be added in a fume cabinet. The dye was added to the Petri Dishes for 5 mins, then washed with distilled water.

The next step involved adding ammoniated water (approx 2 – 3 drops ammonia to 400mL distilled water) to the stained cells for 30 secs.   This process is referred to as ‘bluing’ and helps change the red – purple hematoxylin to a blue – purple color.

Hematoxylin Stained DishCells visible on the base of Petri Dish following Hematoxylin staining.

After washing the Petri Dish thoroughly after ‘bluing’, we added the Eosin stain.  Eosin is a xanthene dye and has an intense fluorescent colour.

Eosin StainEosin stain in Petri Dish.

The Eosin stain only needs 2 mins to stain the cytoplasm and matrix of cells. Following  another thorough wash of the dish, we added 95% ethanol and secured the Petri dish lids with parafilm.

For stained sections on glass slides, it is usual to add Xylene (toxic) and a coverslip. In this case, we could either create large scale glass covers (a bit impractical) or clear resin. I think clear resin is the best solution as it would create a barrier and preserve the dyed cells. I am keen to use the fixed cells in dishes as part of sculptural works.  However, I will need to check with lab manager David Steele that I am able to remove these fixed cells from the lab.

T25 – Discard and staining

I think I can officially label myself a hoarder of materials – I never want to let anything go in case it may be creatively useful or yield something.  As such, I have been maintaining most of my passage flasks hoping for cell survivors (and, if I’m honest, spontaneous mutation and cell immortalisation).

Today the time has come to let go of some of my flasks. I am building up to the task, so will start with some of my smaller flasks – the T25s.

Following the standard fixation protocol in 4% PFA, I’ve prepared them for staining with H&E. It will be interesting to see if there were any remaining cells and if the ‘ghost trails’ stain with Eosin.

T25 flasks ready for staining
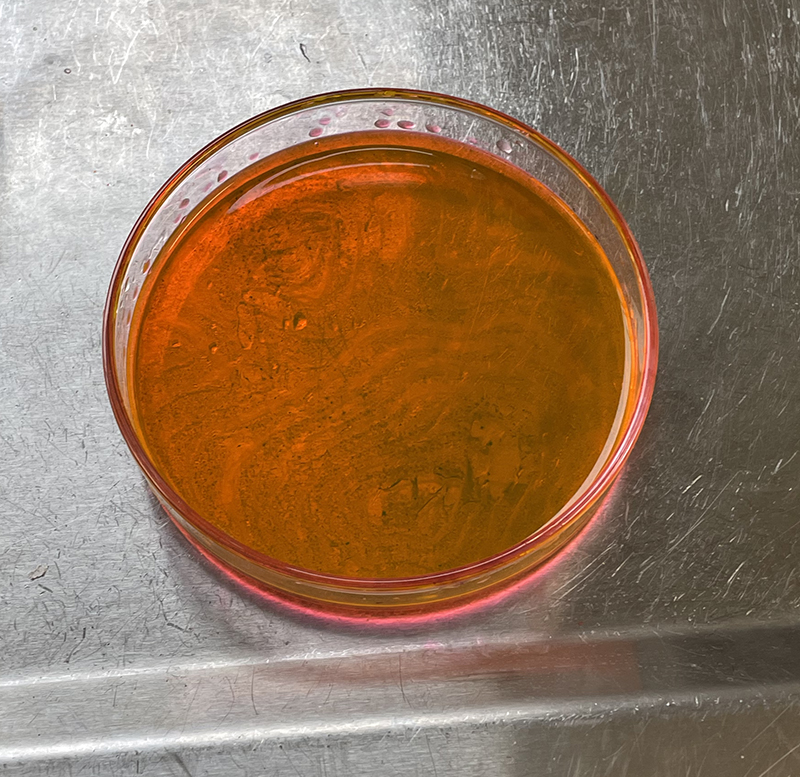
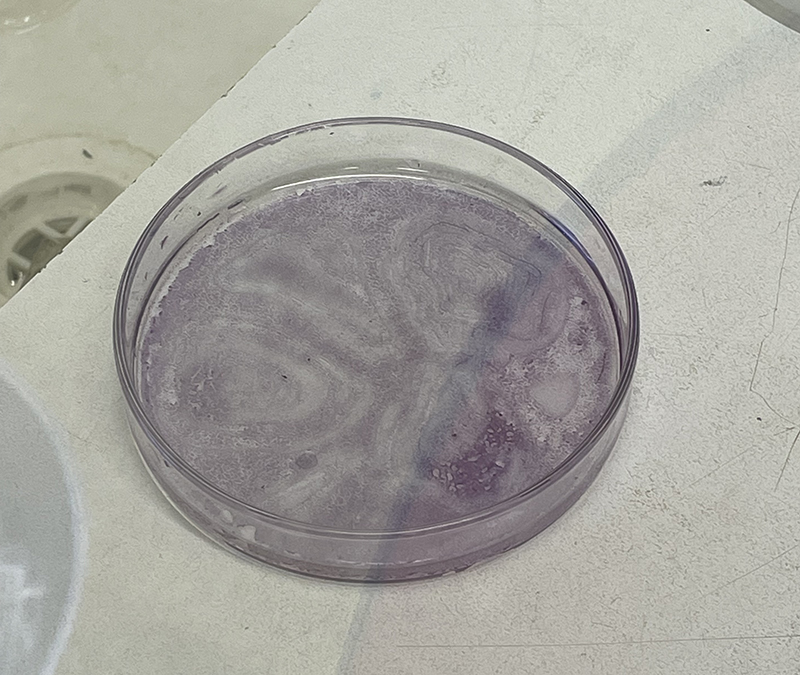
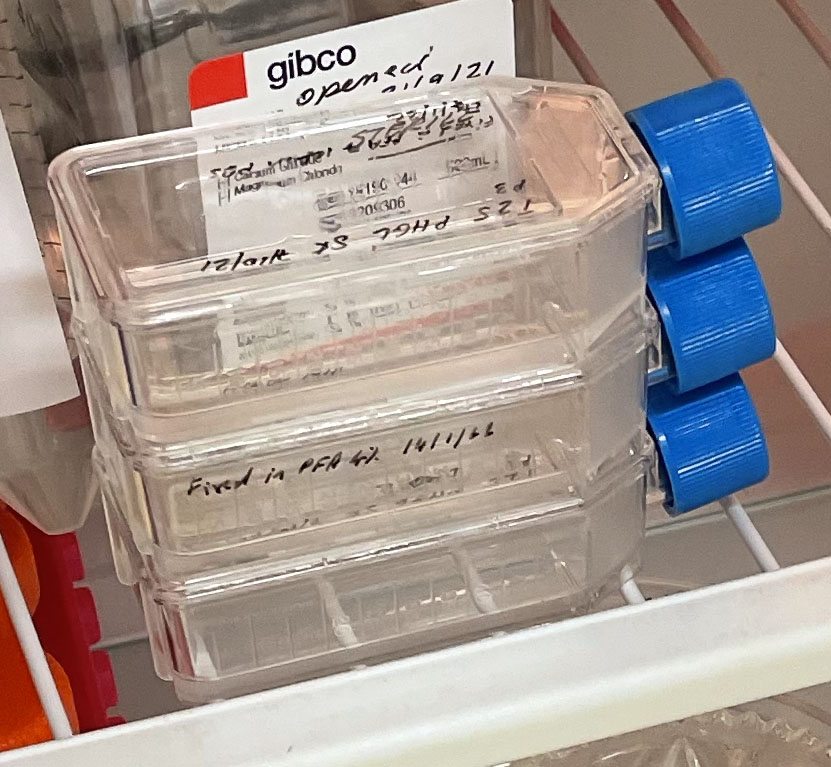
Three T25 PHGL Tumour Baby Flasks fixed with 4% PFA in PBS ready for staining.