I am currently planning out my upcoming show (June 2022) at The Barracks. Michelle from the Derwent Valley Arts Committee indicated that the large courtyard would make a potentially interesting site to include in the show.
This prompted me to ponder how I might create a sculptural work suitable for an outdoor environment – and whether I could re-make a version of ‘Coming to Terms with Being Forgotten’ – but designed to disintegrate, shed nutrients and enable the growth of other plants and animals. In this way, the work could better reflect the idea of letting go and making way for what comes after. It would also force me to be more considerate about the materials used in the construction of the work.
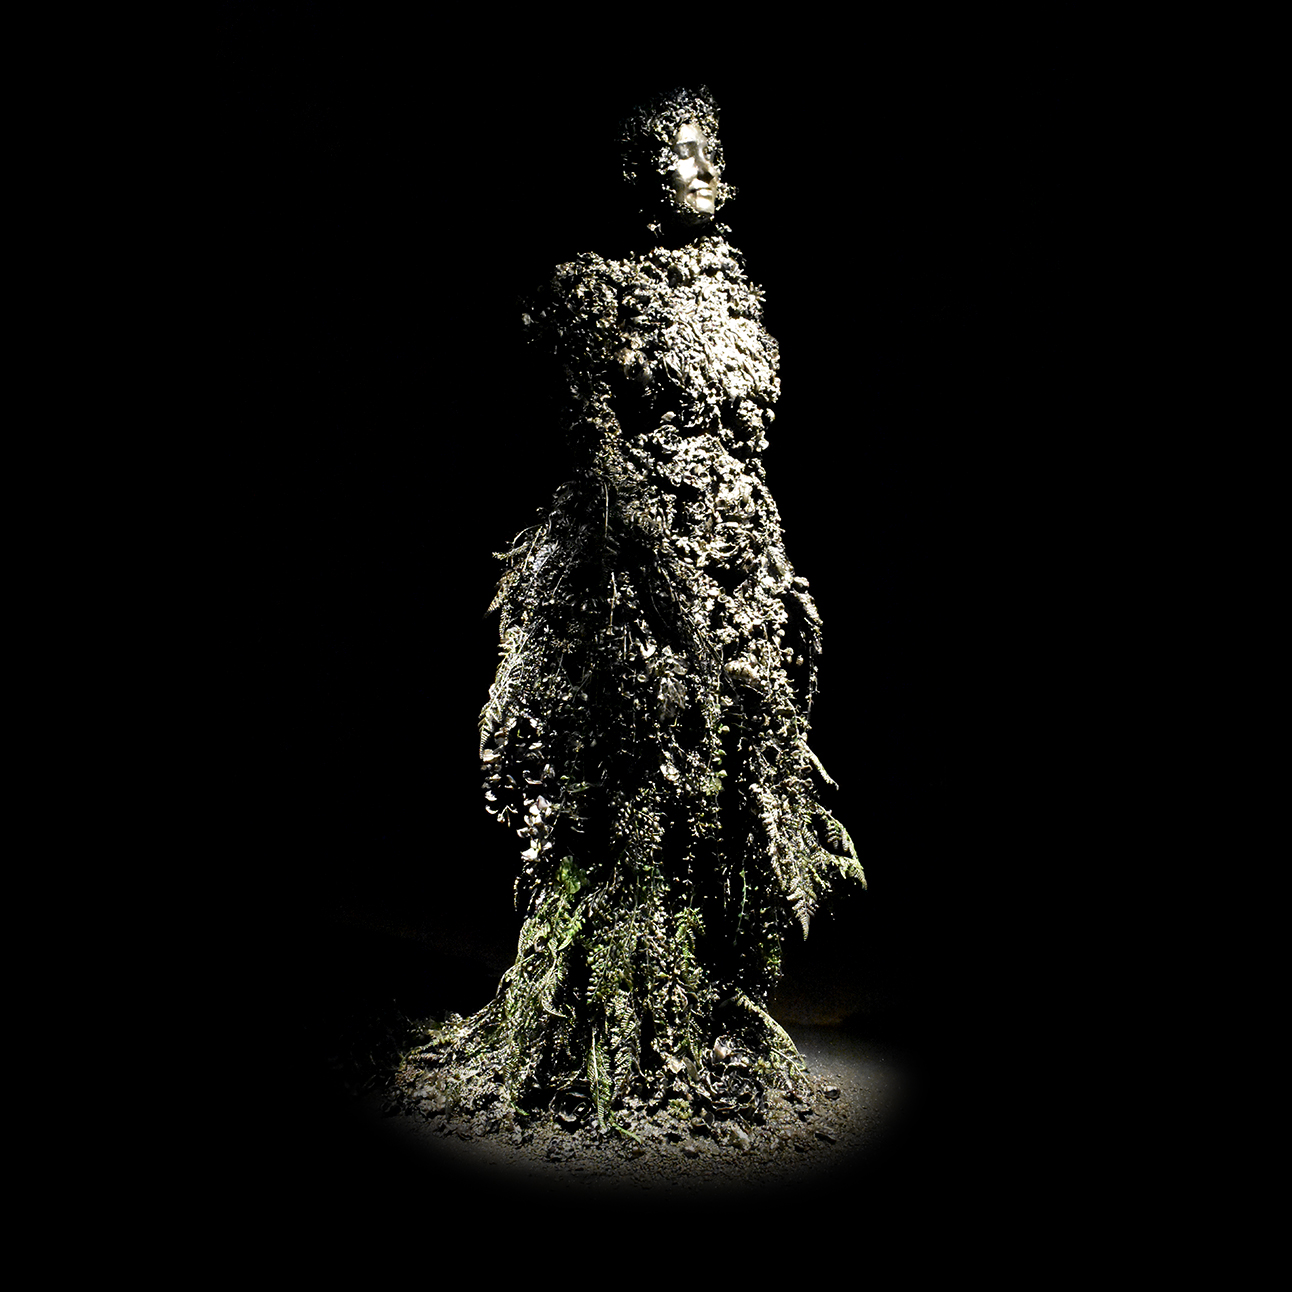 Svenja Kratz, Coming to Terms with Being Forgotten, 2020
Fibreglass, polyurethane, plastic, plants, insects, wax, polymer clay, clay, acrylic paint. Original sculpture exhibited at Rosny Barn (2020) and The Barracks (2021).
This consideration prompted me to revisit the work of Australian artist Jamie North:
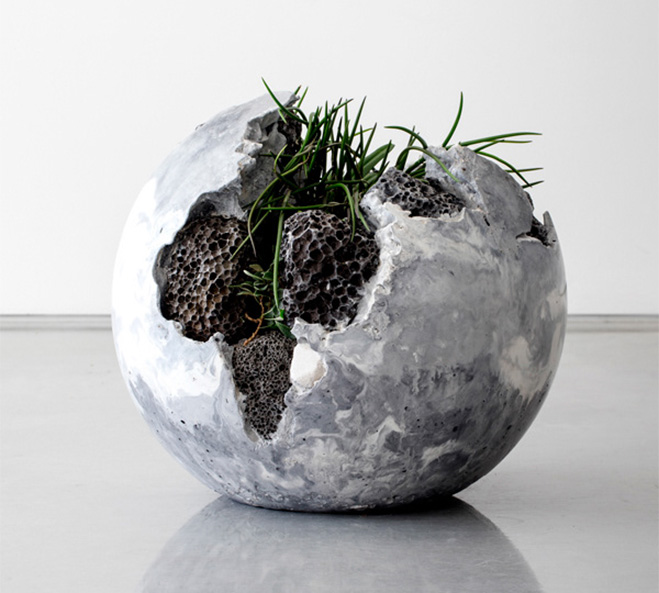 Jamie North, Remainder No.4 2016
cement, blast-furnace slag, coal ash, marble waste, living Australian plants
45cm diameter.
I like the impermanence disintegrating aesthetic and the integration of live plants into the structure.
Some of his larger works also hint at the ephemerality of all things including monuments and other markers of ‘human ingenuity’.
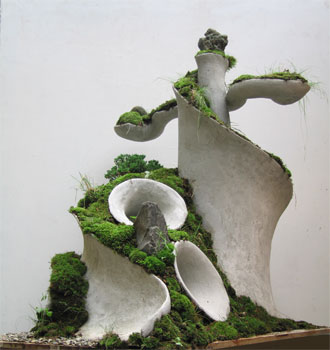
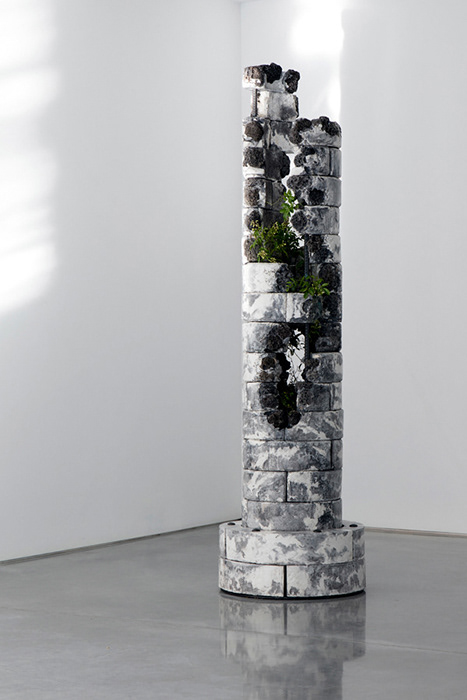 Jamie North, Drifting to Void, 2016
Cement, blast-furnace slag, coal ash, marble waste, steel, living Australian plants, 240 x 67 x 67cm
Jamie North’s work also connects to the ‘TerraForm’ sculptures of Robert Cannon – although I must admit that I prefer the more abstracted works.
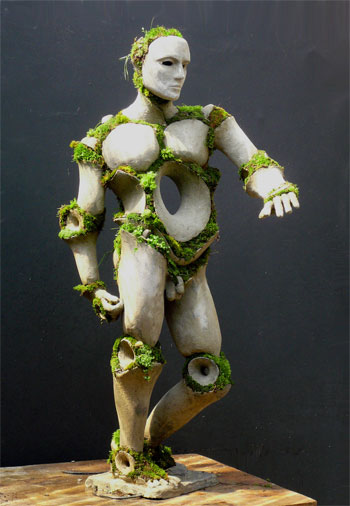 Robert Cannon, Apollo, concrete, moss and living plants via: Design Swan
 Robert Cannon, Uprising, concrete, moss and living plants via: Design Swan
The work of Antony Gormley is also always interesting to consider in relation to the human figure.
In the context of this project, I think the work ‘Sense’ offers an interesting option in relation to the idea of an absent body (with the potential of filling of a void with potential growth).
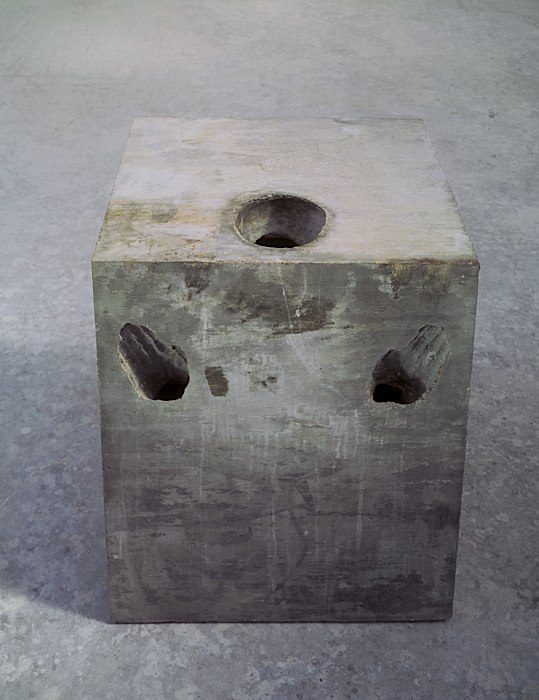 Antony Gormley, Sense, 1991, concrete
While concrete is one material option for producing an outdoor sculpture, I really want to find an alternative casting material that would offer better biodegradability alongside nutrient supplements for organism growth and soil improvement.
There seem to be a growing number of more sustainable materials or biodegradable materials available for casting or injection moulding including bioplastics or Arboform, which manufacturers describe as ‘Liquid Wood’. However, a number of these products seem to be more designed for industrial and product design purposes. As such, I think this project is more suited to raw materials such as compost or a custom mix between a variety of elements (e.g. sand, rocks, compost, concrete, hay) to enable a range of durational unfoldings and both nutrients and potential habitats.
To help with some of the planning, I consulted designer (and UTAS concrete guru) Jouni Jarvela. He suggested that casting would be a good option, but it would be best to test a range of materials on a smaller scale before sizing the design up to a large-scale format. I do love me some design prototyping!
Following our chat, I will work on a smaller ‘bust’ version which will be easier to manage than a life-size human form. In the interim, he will consider some material options for testing.
I have to say that one of the things I love about making work is seeing where things go after an initial idea is put forward. At this stage, a life-size courtyard sculpture for June seems out of the realm of possibility – however, a series of degrading self-portrait busts may be the alternative outcome. Who knows….

 T75 originally plated 15/12/21 – Flask #1
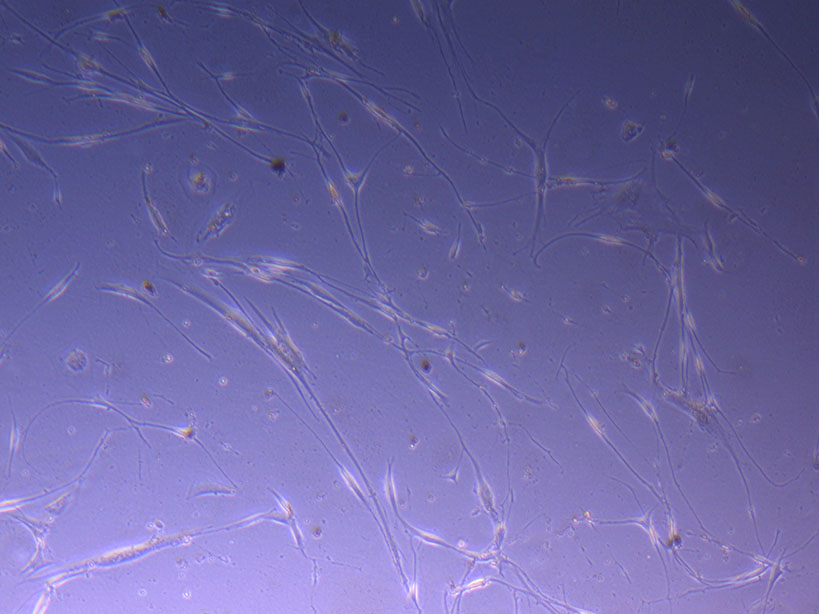 T75 originally plated 15/12/21 – Flask #2
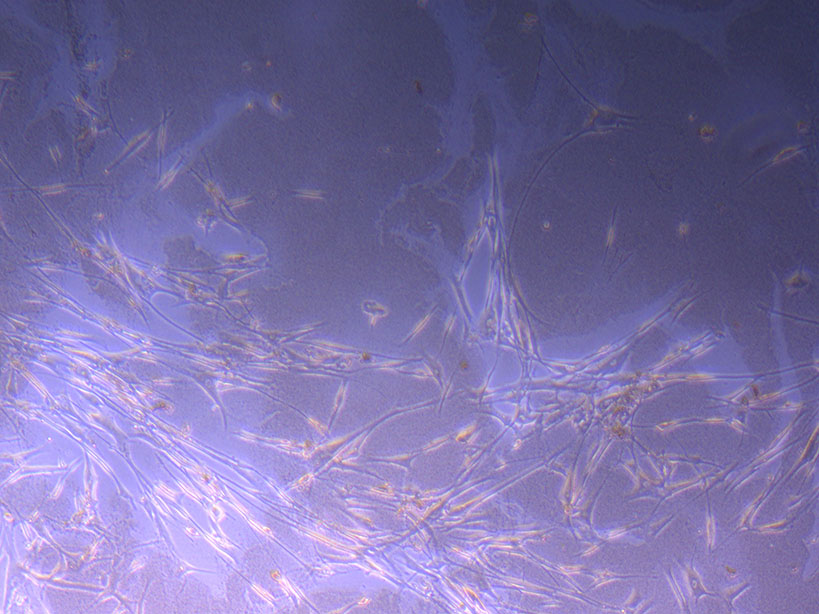 T75 originally plated 7/10/21
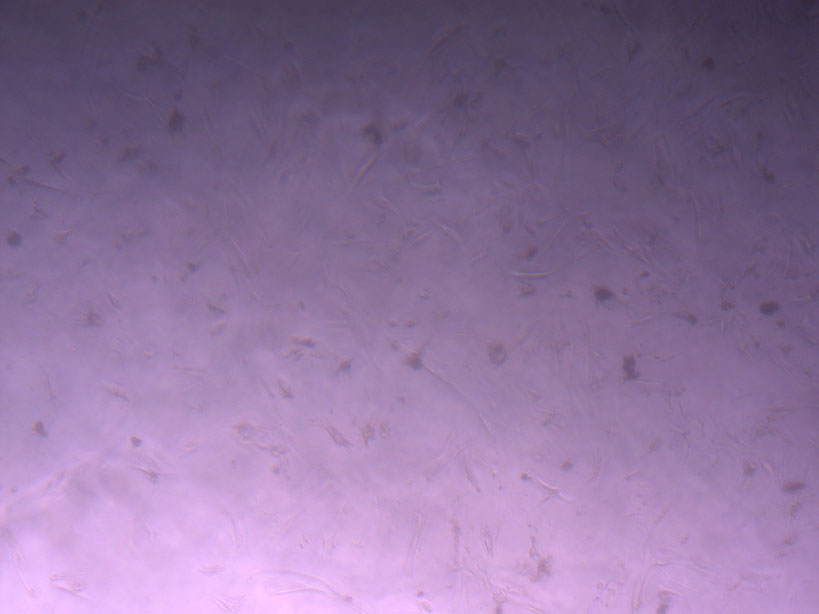 Cut Glass Dish – originally plated 15/12/21
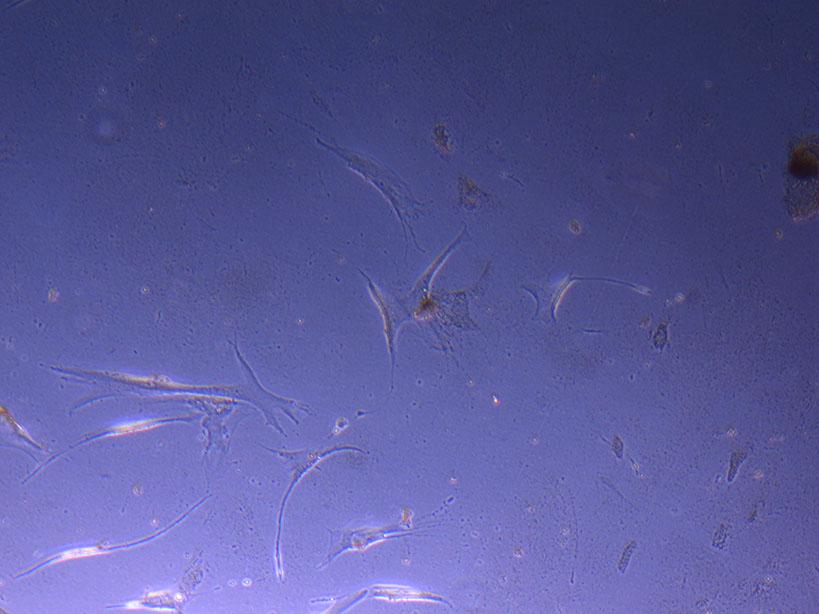 T75 originally plated 7/10/21 and passaged 16/11/21 – Flask #1
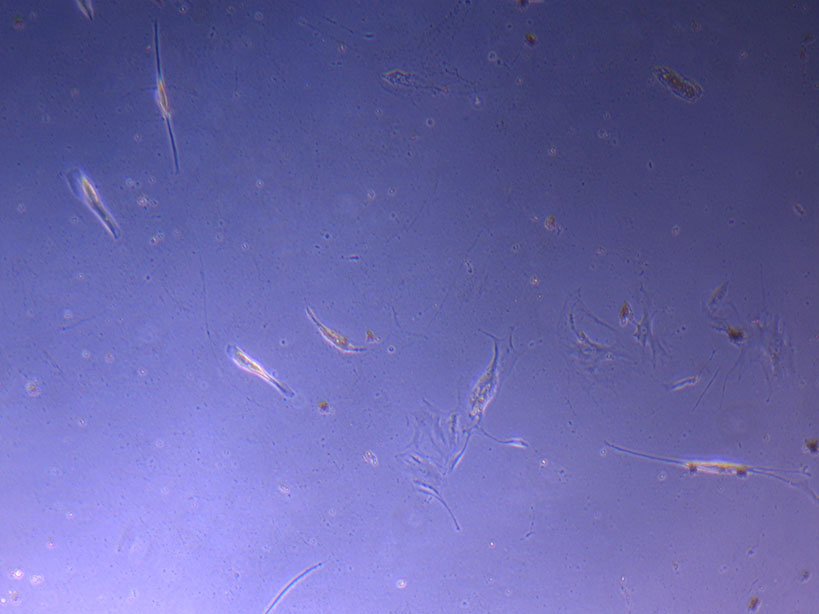 T75 originally plated 7/10/21 and passaged 16/11/21 – Flask #2
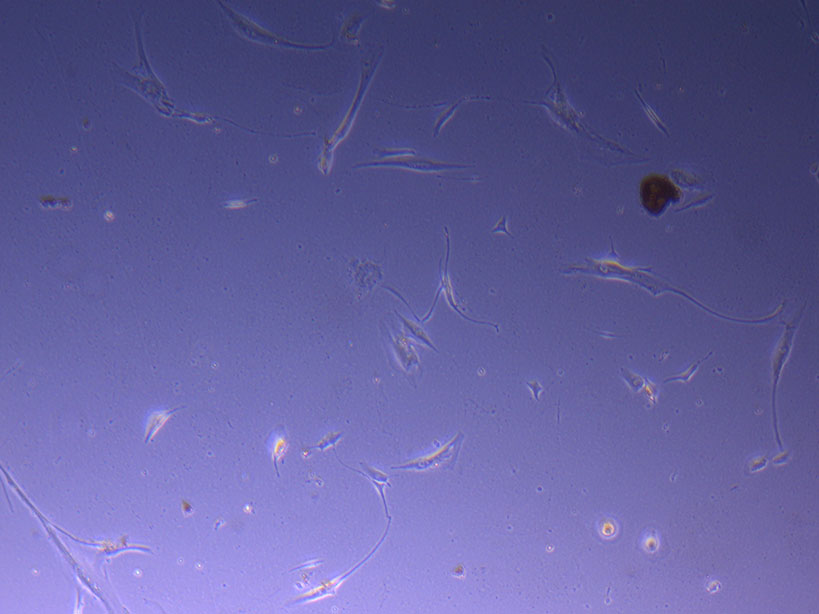 T75 originally plated 15/12/21 – Flask #3
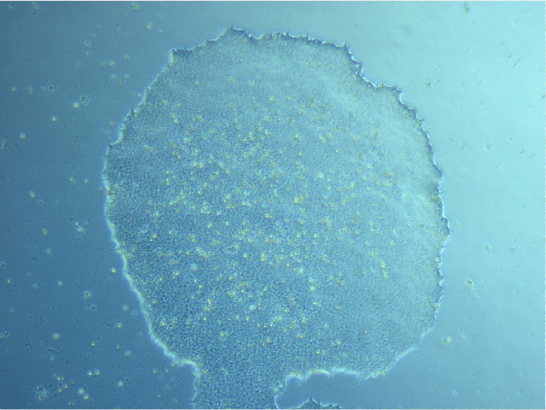
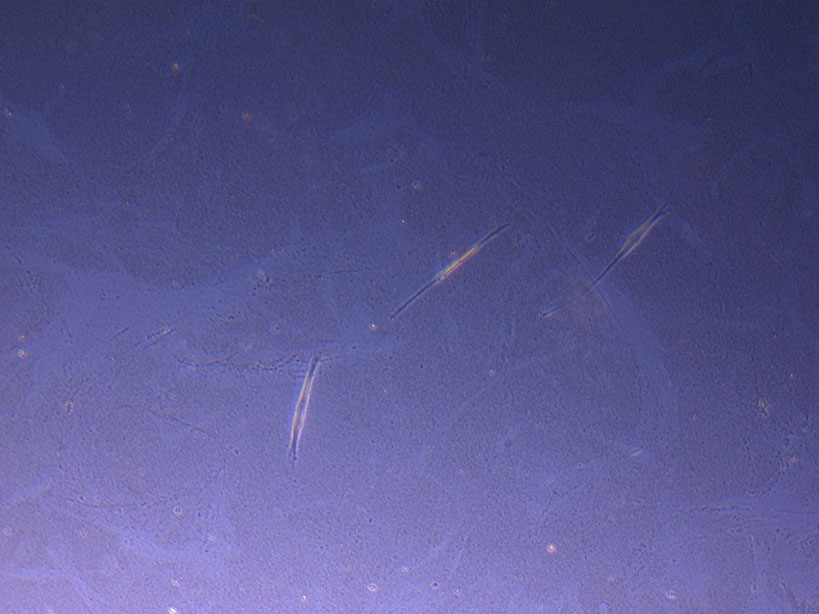 T75 originally plated 10/09/21 showing sparse number of cells with evidence of previous cell movement and presence in ‘ghost trails’.
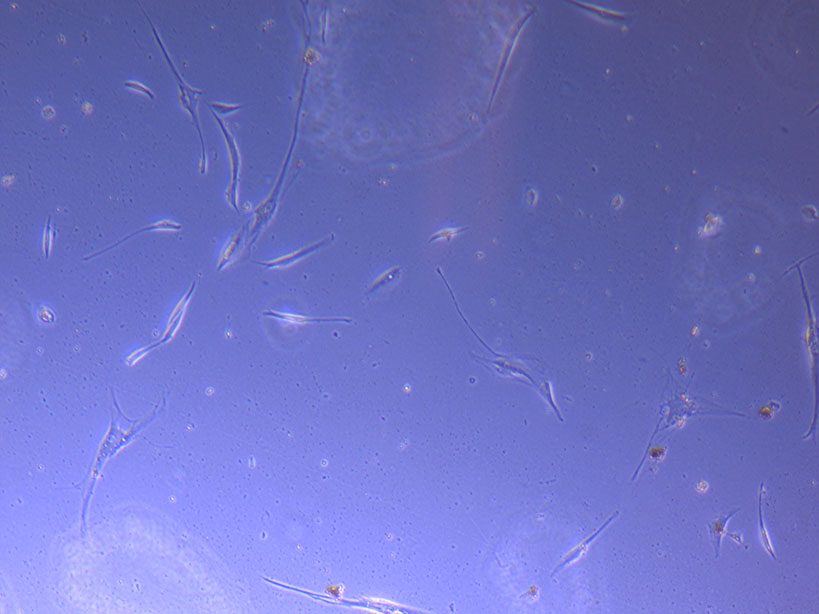
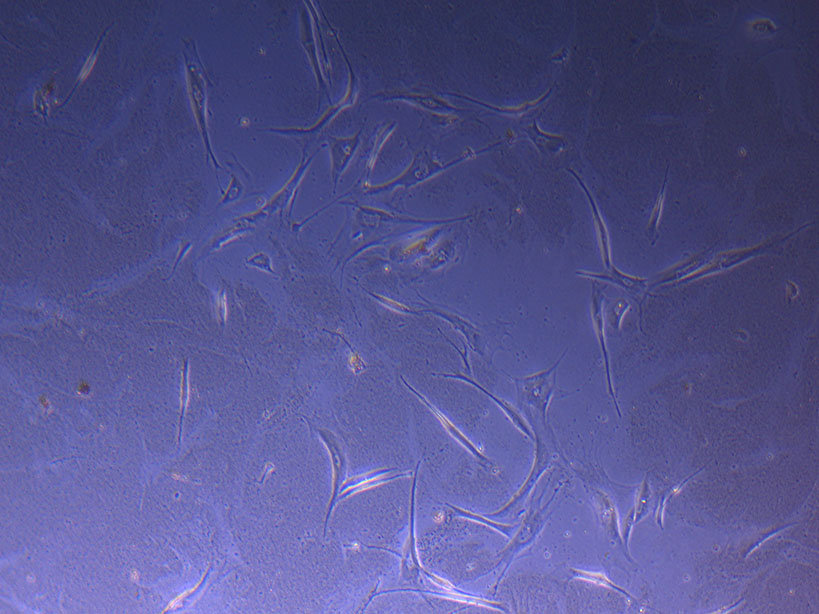 T75 originally plated 10/09/21 showing small cluster of cells with evidence of previous cell movement and presence in ‘ghost trails’.
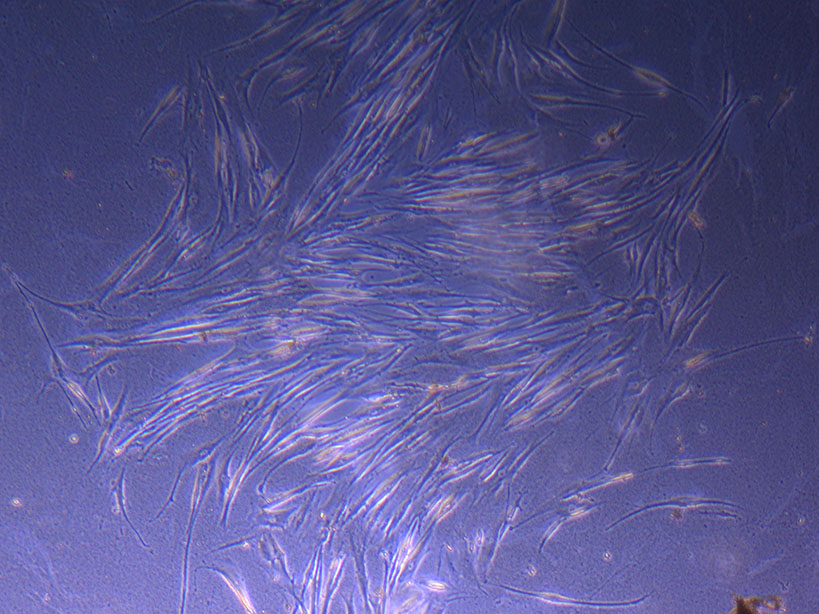 T75 originally plated 10/09/21 showing larger cluster of fibroid-like cells.
 :
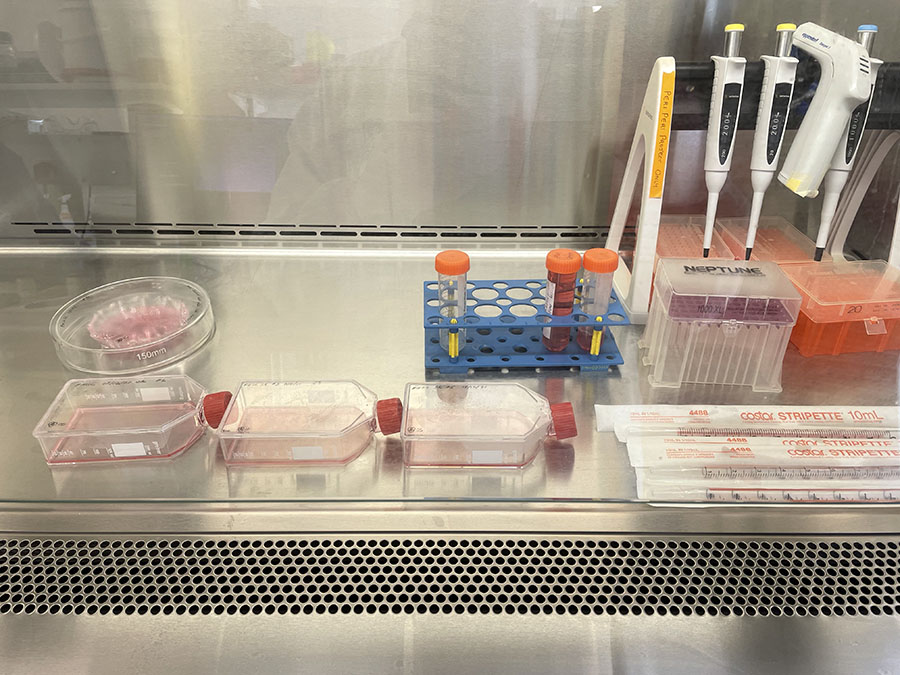
: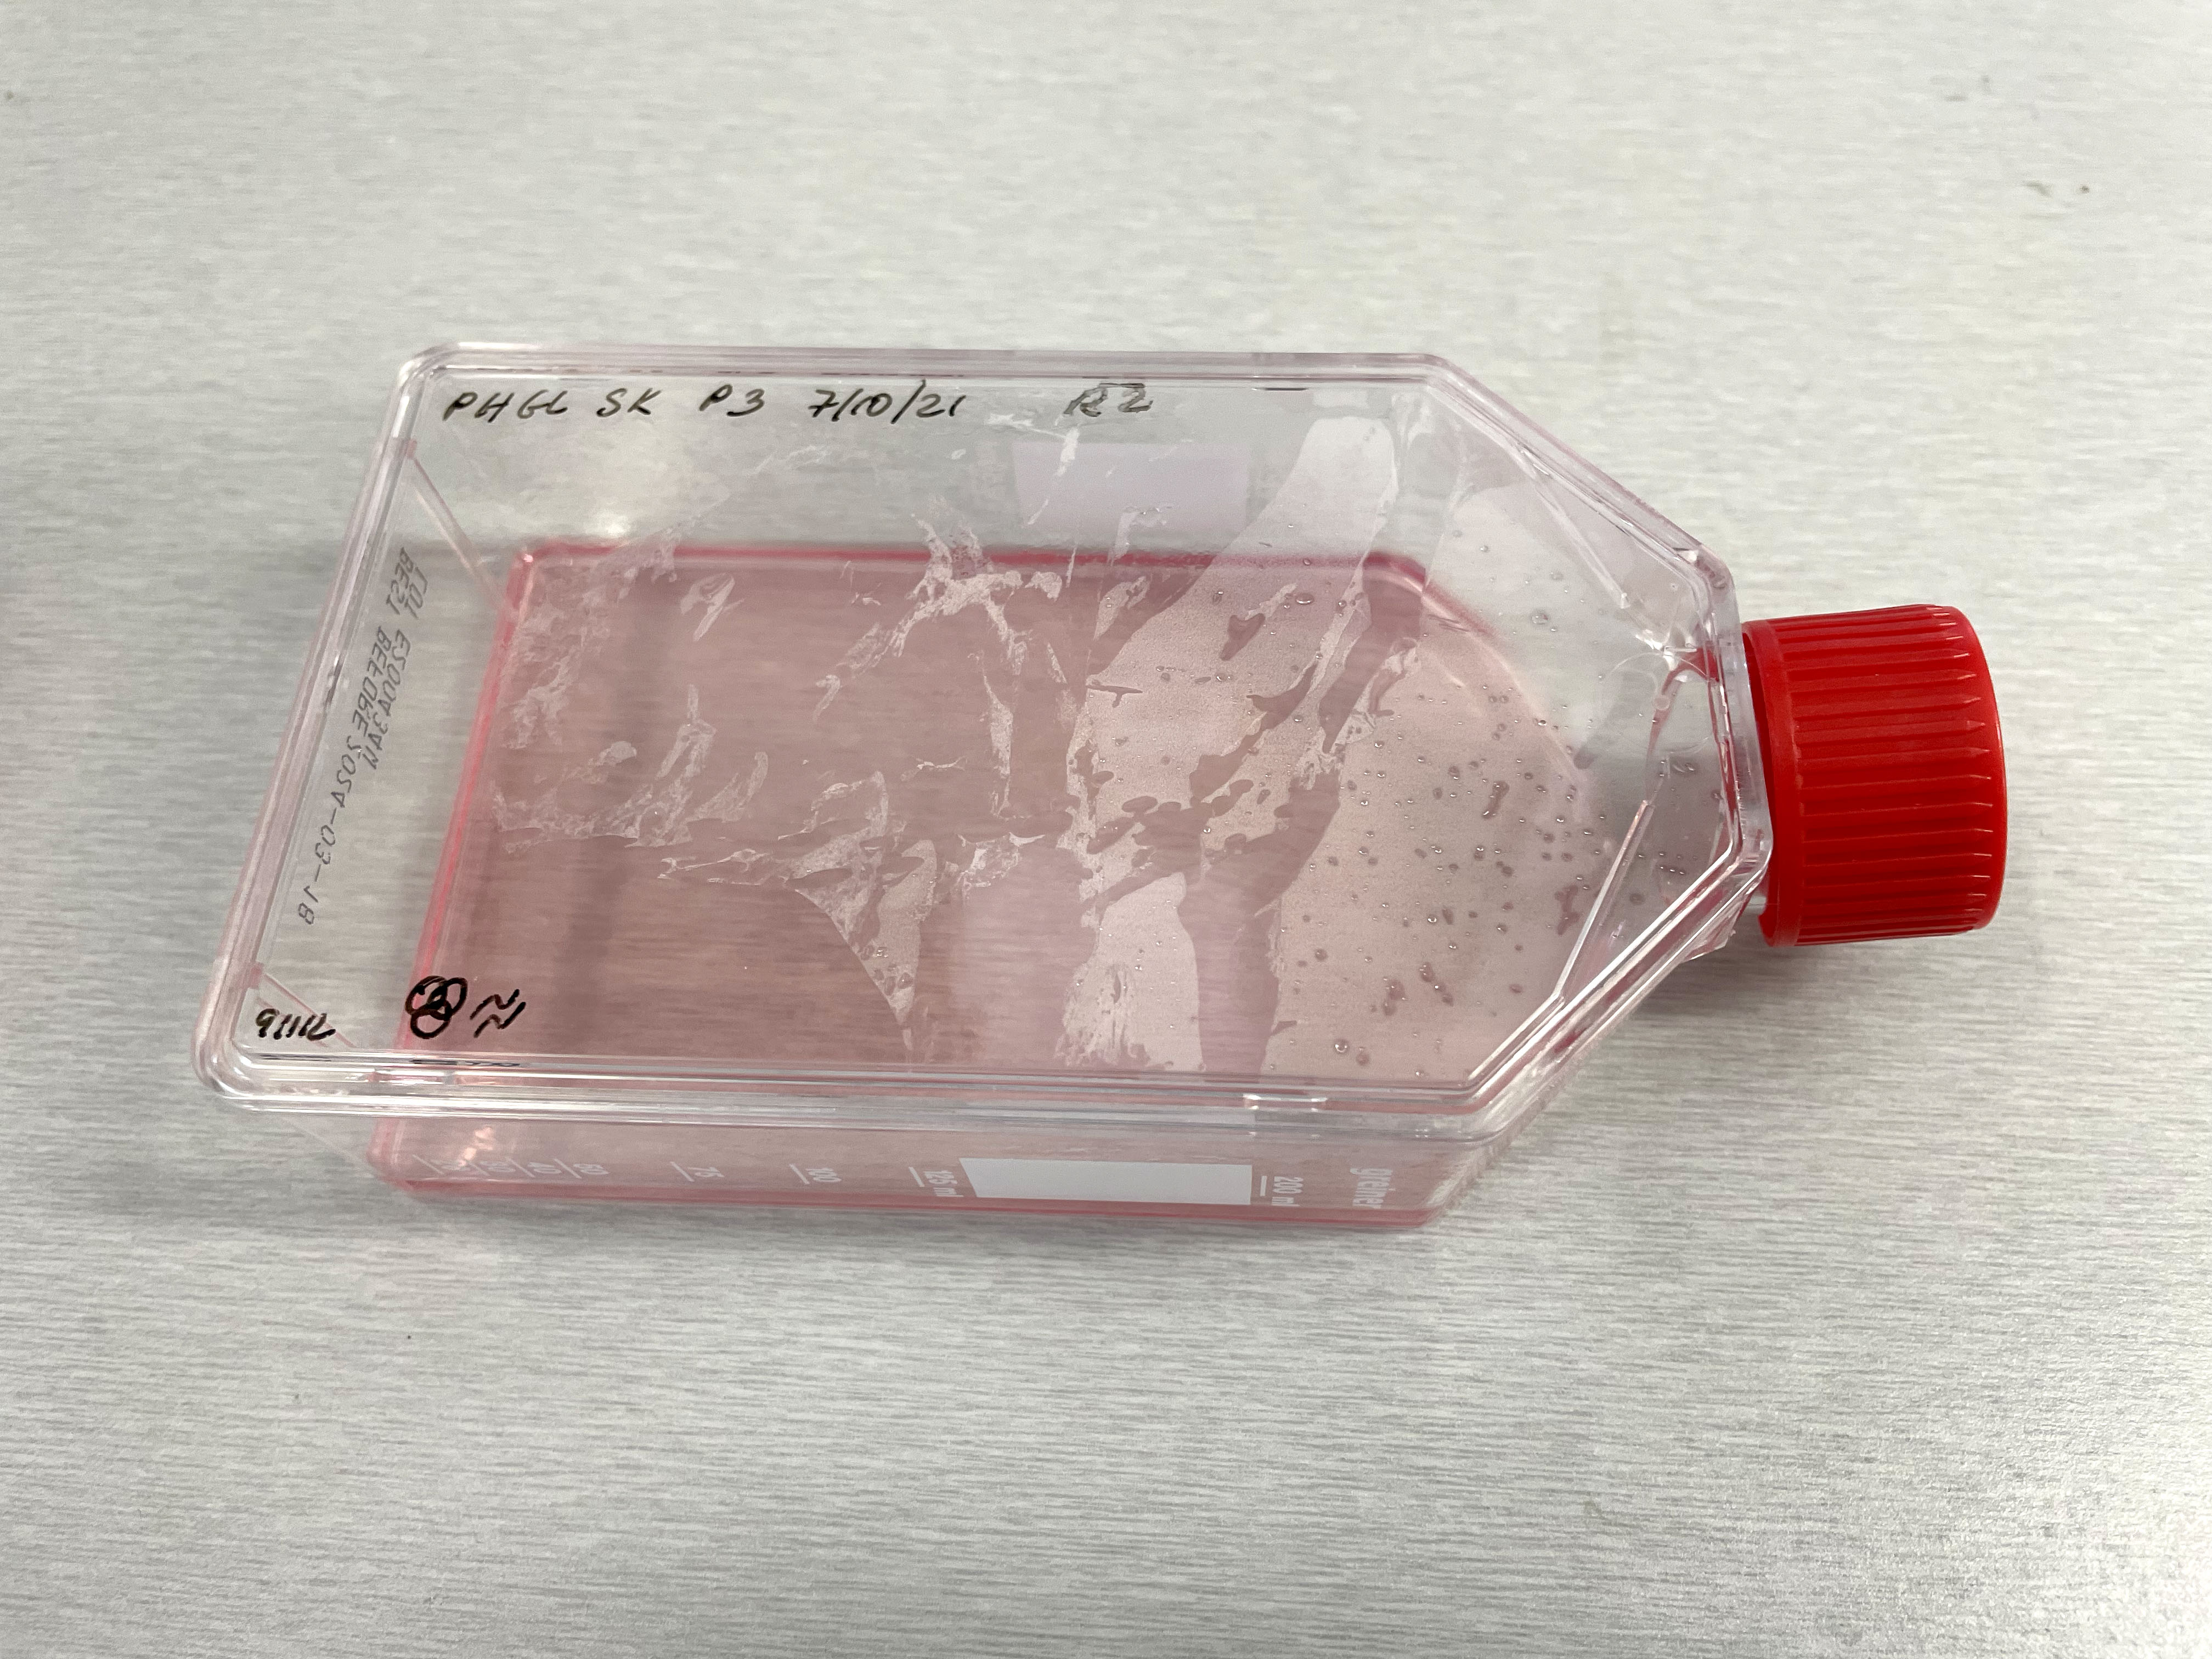 Image of PHGL Tumour Baby cells Flask with original plating date (P 3, 07/10/21) and passage date (P4, 09/11/21) recorded.
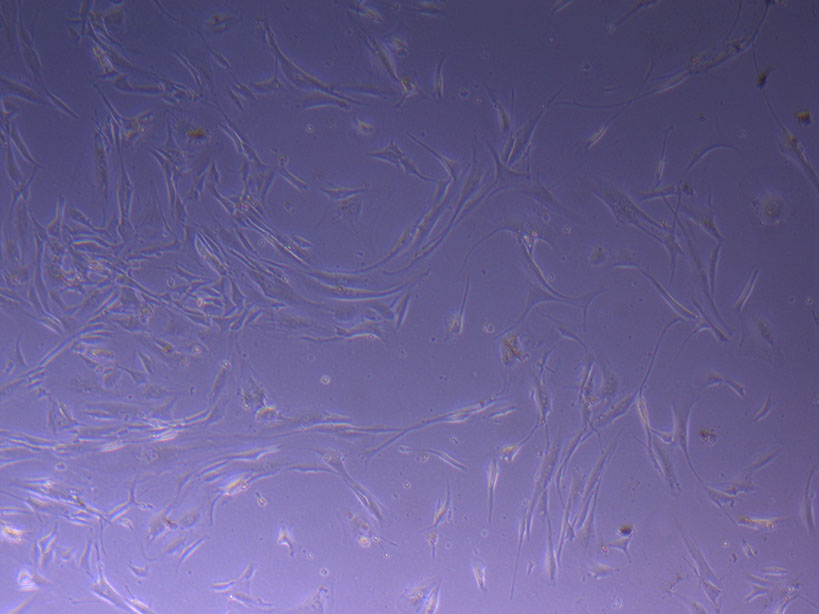
 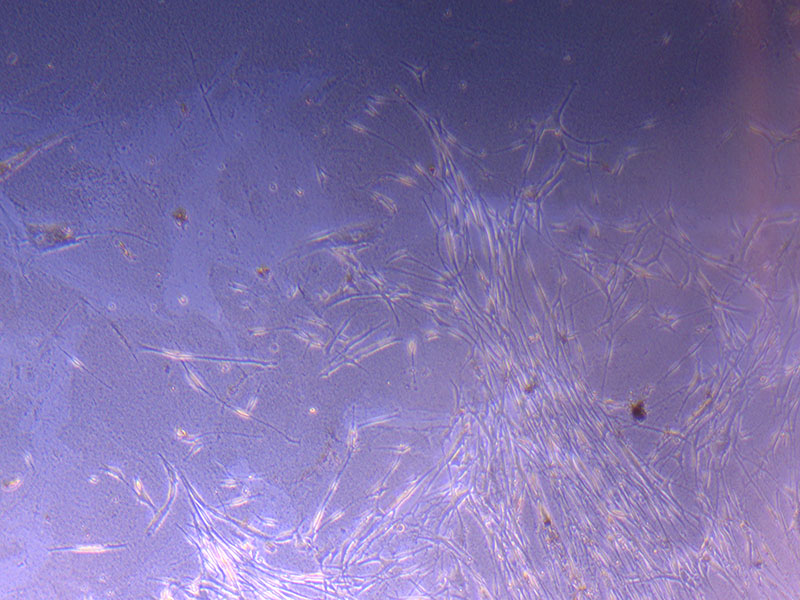 Light microscope image of PHGL Tumour Baby P3 in T75 flask [Org plated 07/10/21] imaged on 15/12/21.
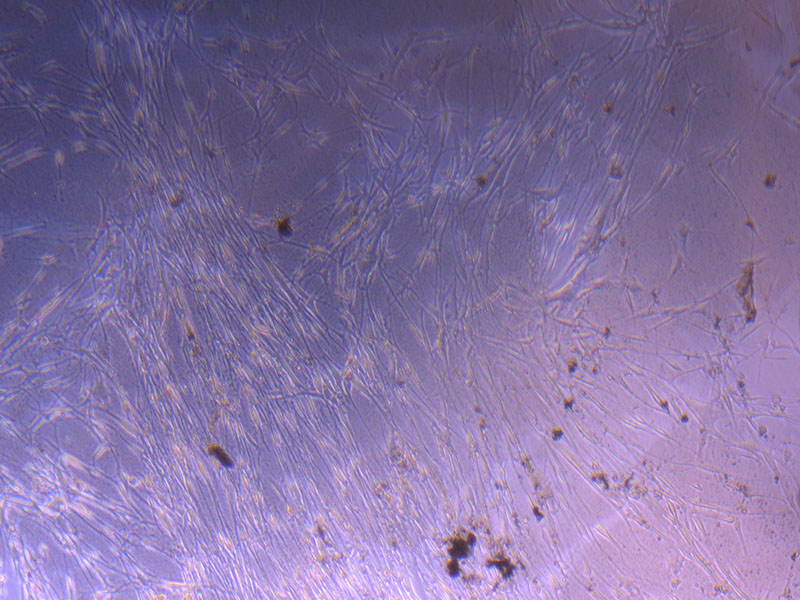
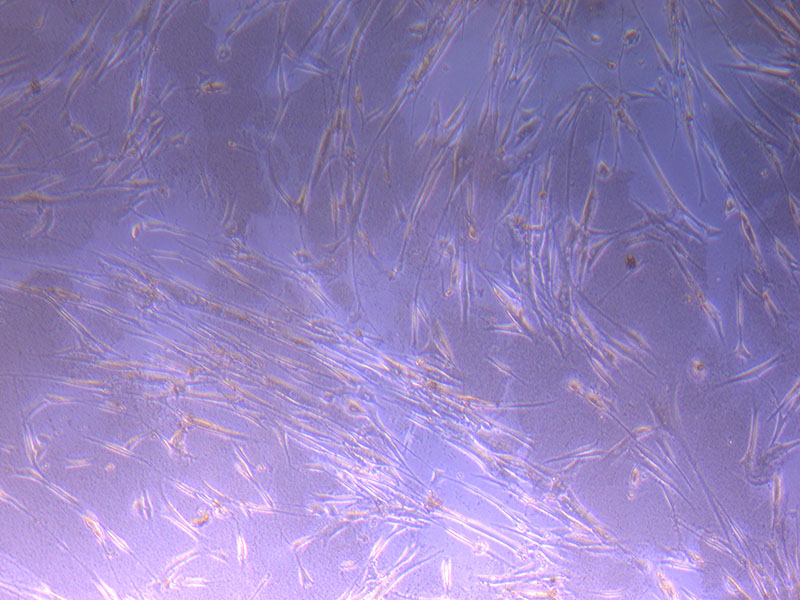
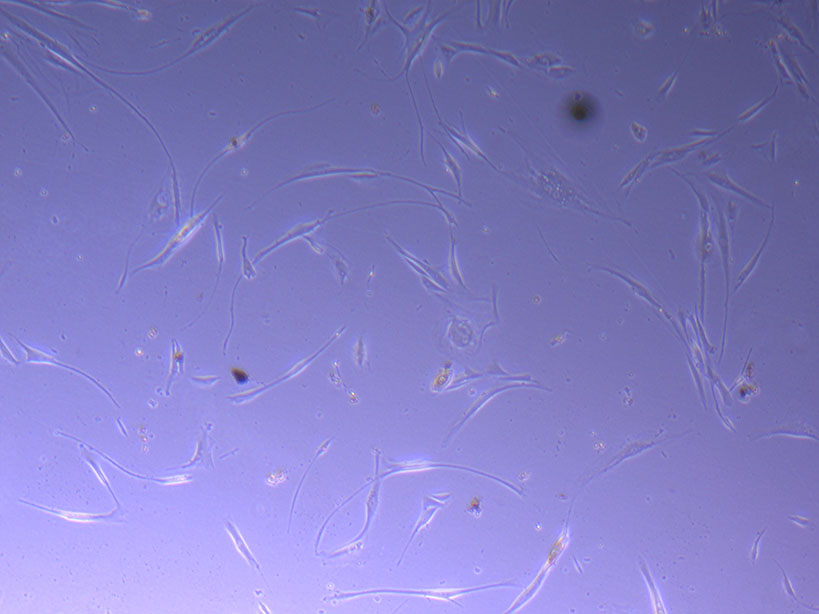
 Light microscope images of PHGL Tumour Baby P4 in T75 flask [Org P3 plated 07/10/21 – passaged P4 on 9/11/21] imaged on 13/1/22 after cell maintenance.
 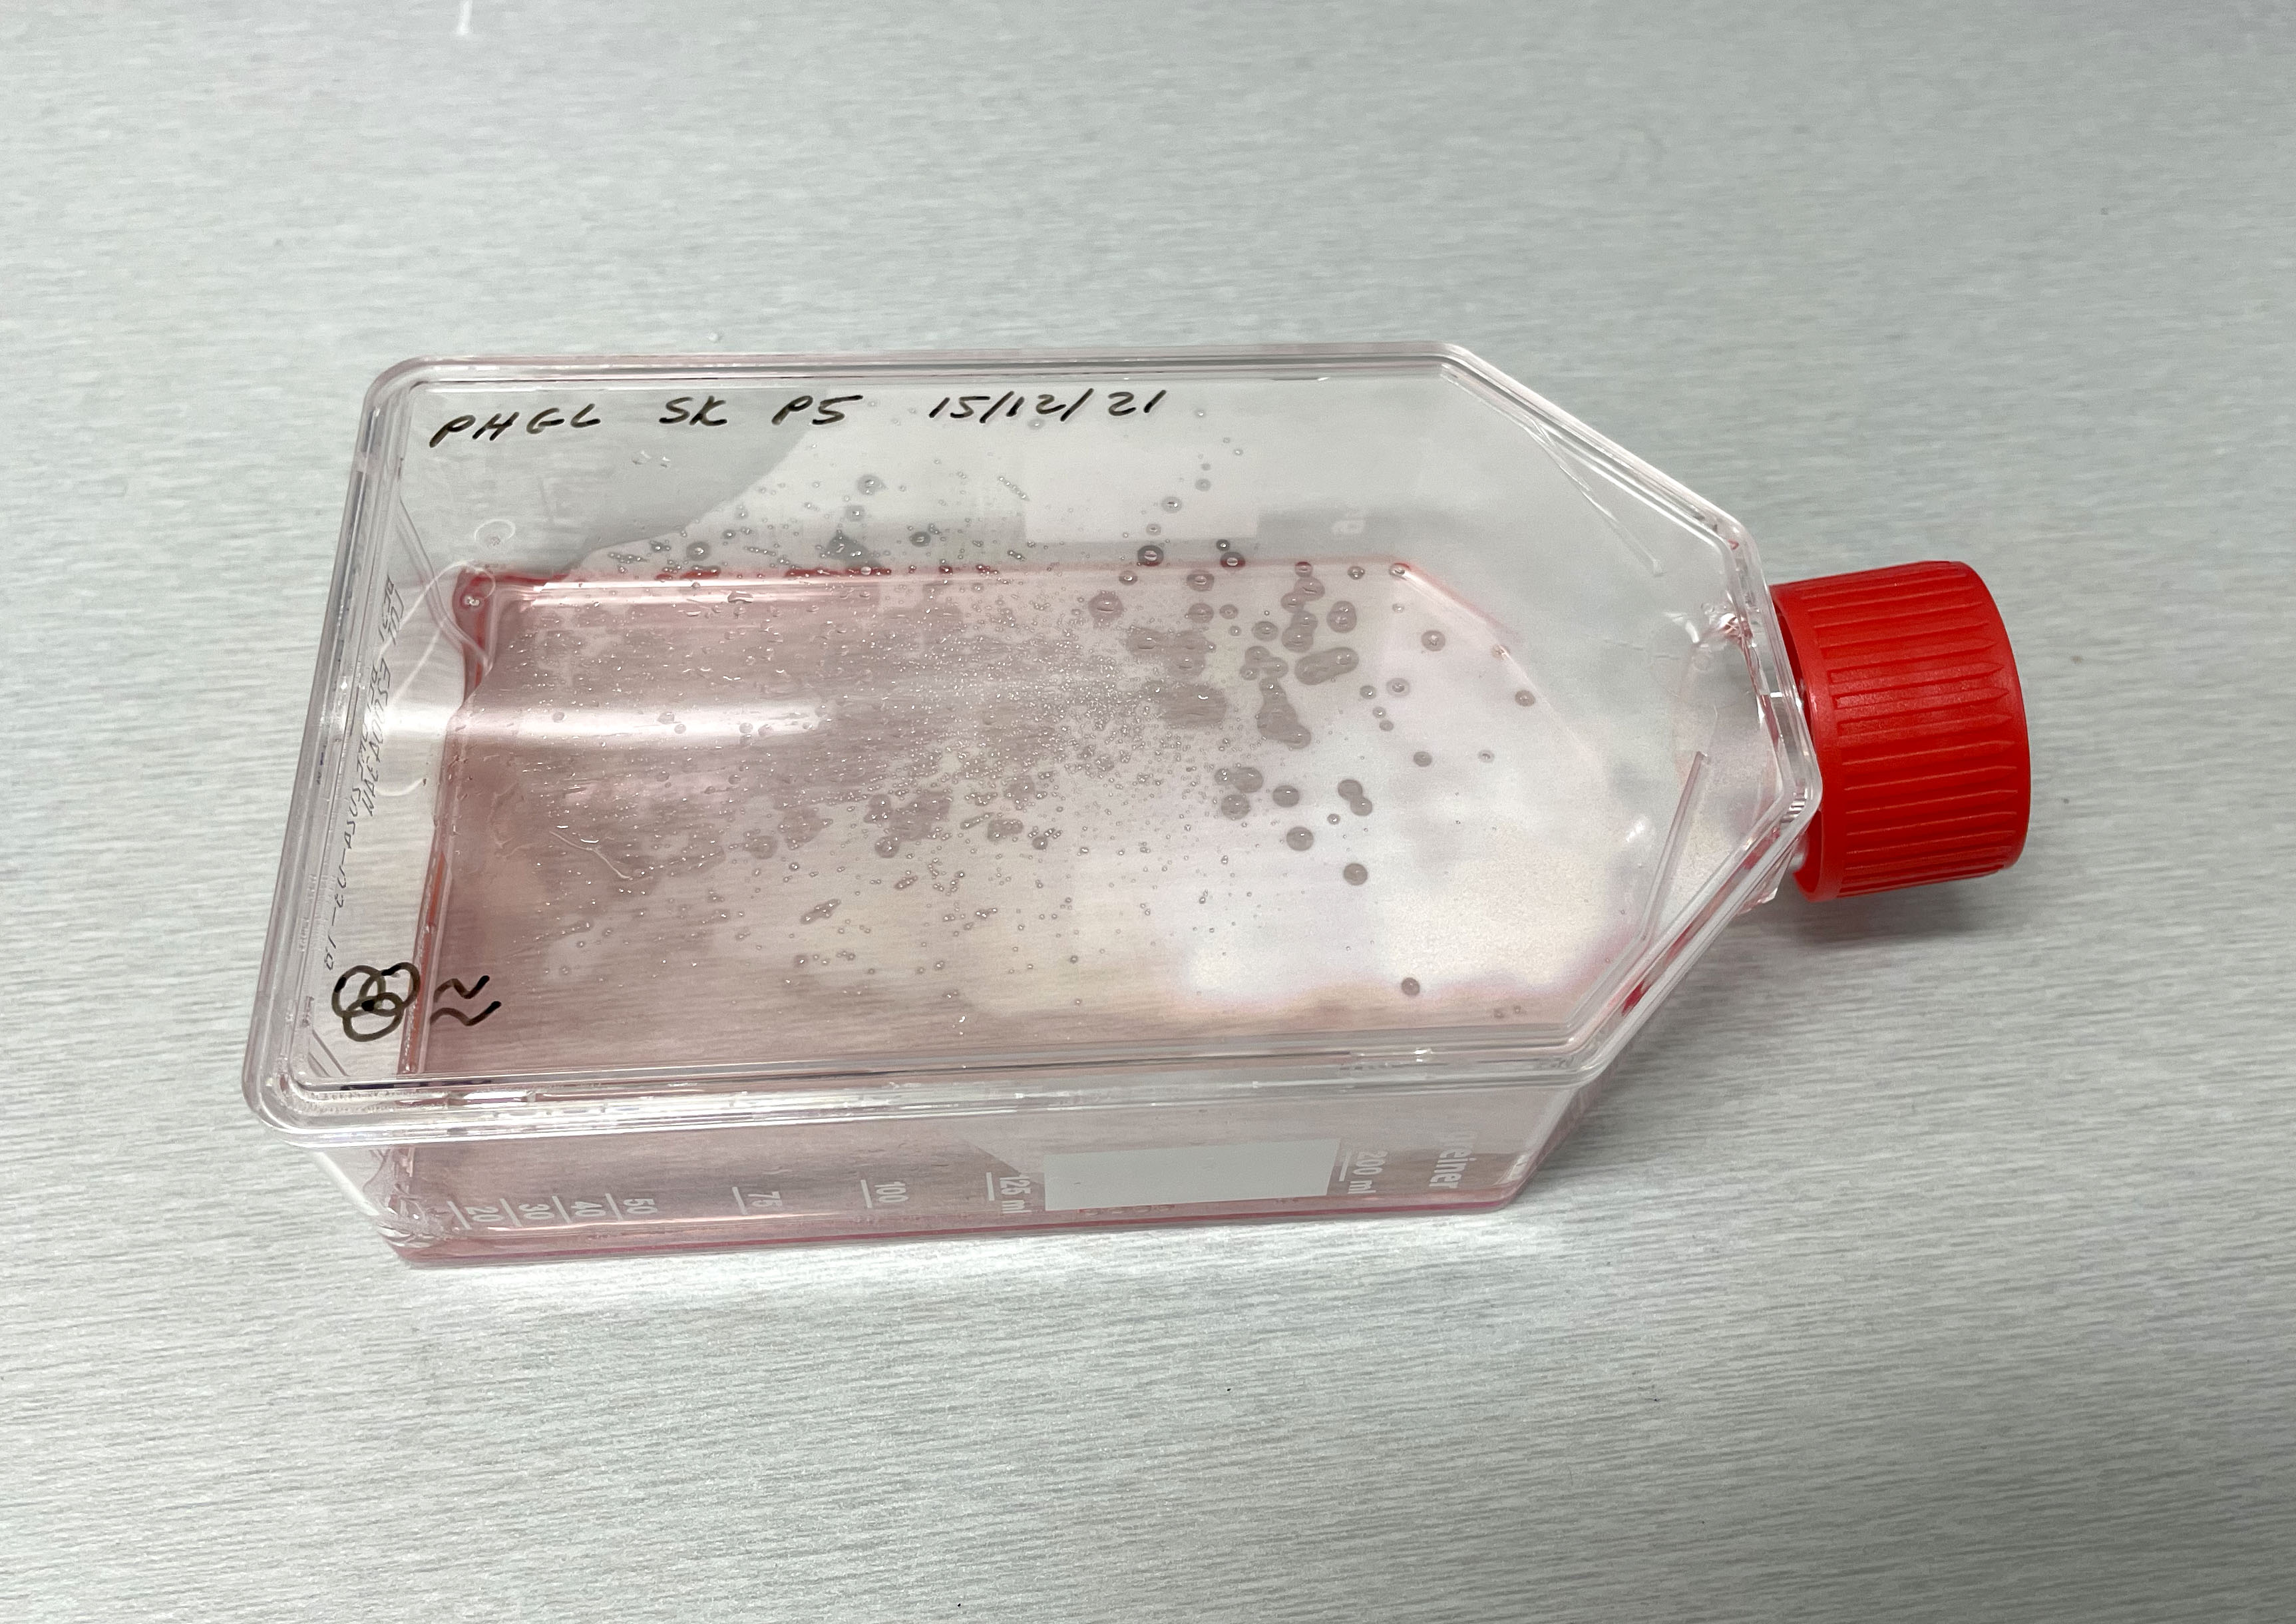 Photograph of PHGL Tumour Baby P5 in T75 flask plated on 15/12/21 prior to holidays.
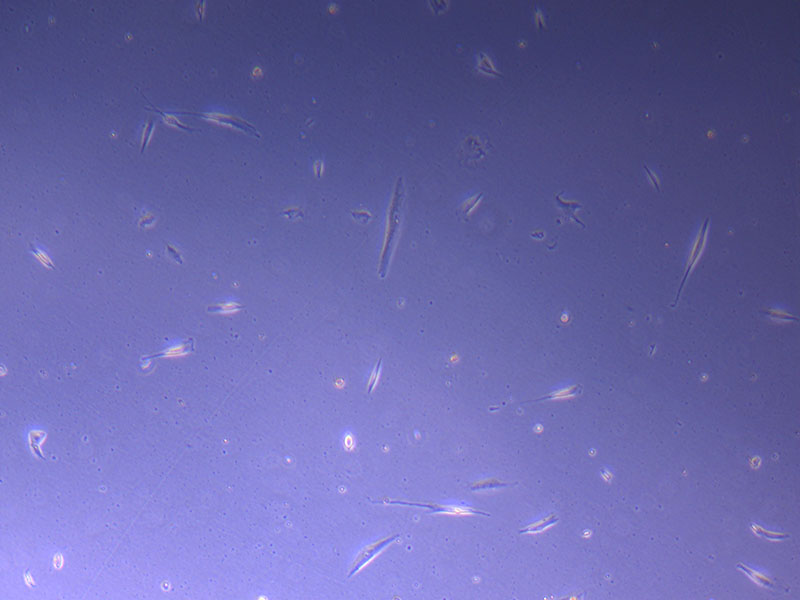
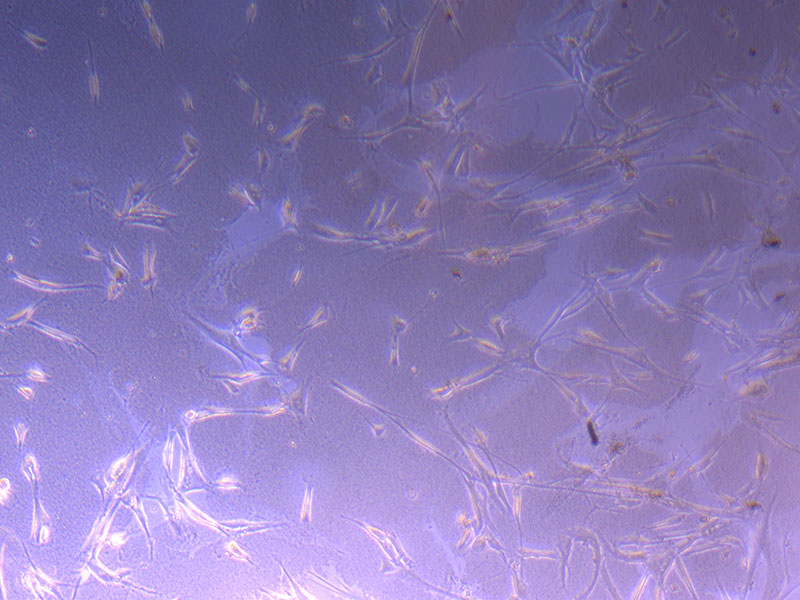
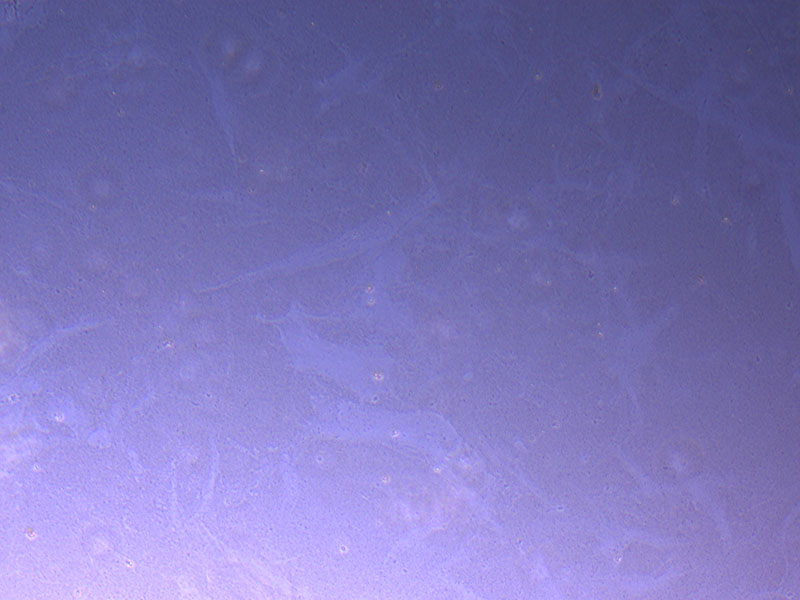
 Light microscope image of PHGL Tumour Baby P5 in T75 flask plated on 15/12/21.
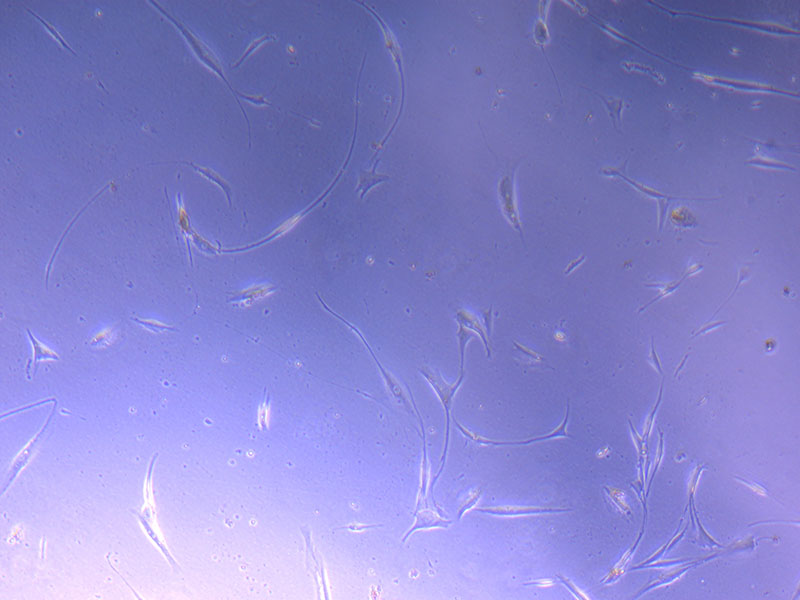
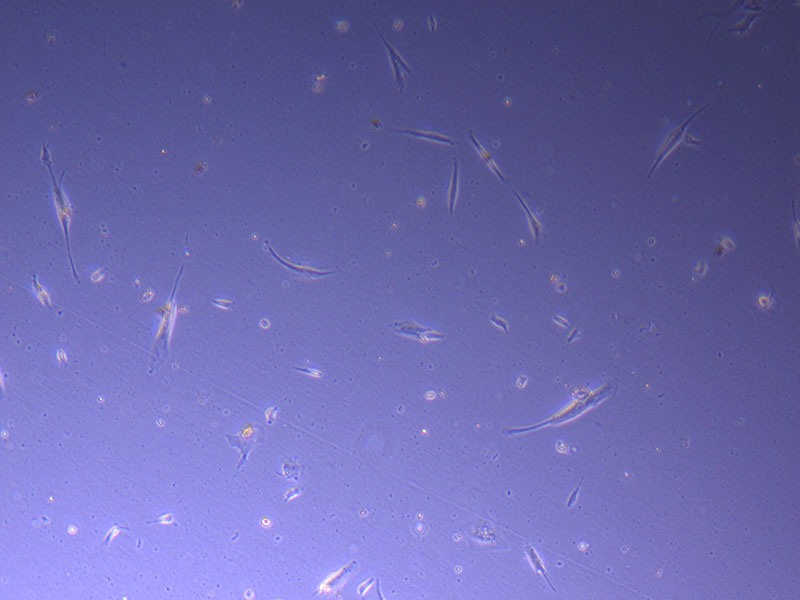
 Light microscope images of PHGL Tumour Baby P5 in T75 flask plated on 15/12/21 and imaged on 13/1/22.
 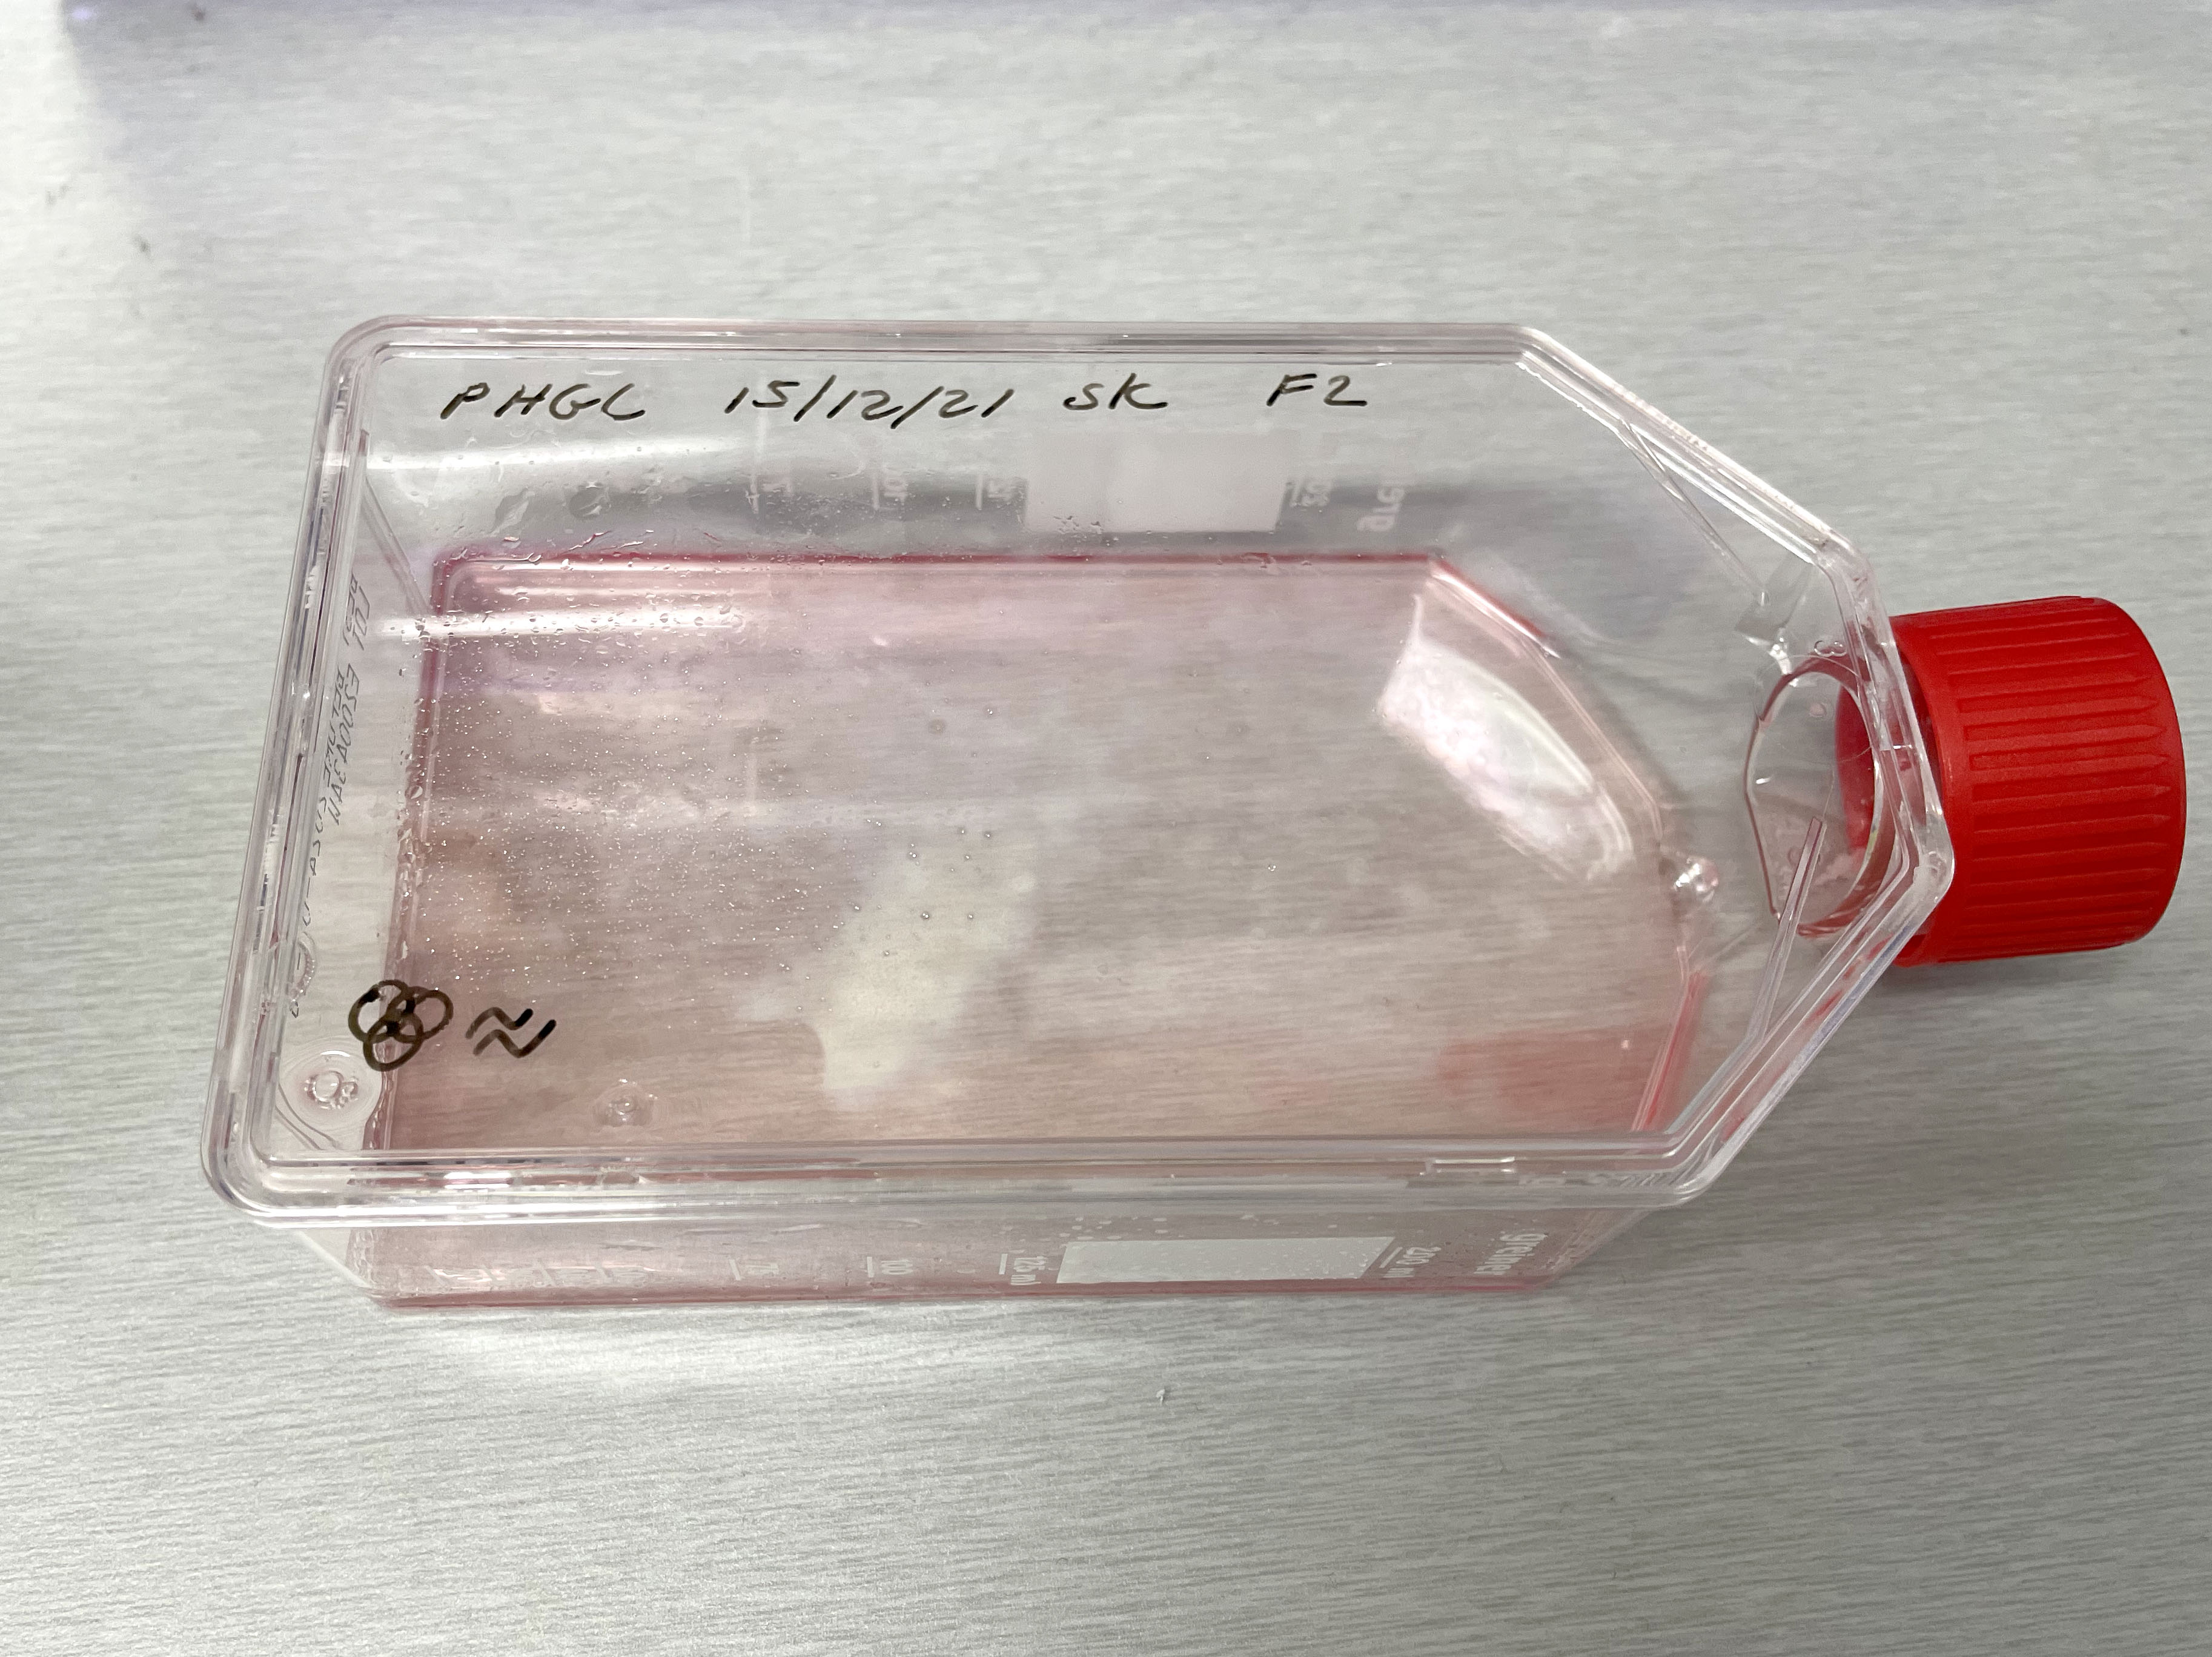 Photograph of PHGL Tumour Baby P5 in T75 flask #2 plated on 15/12/21.
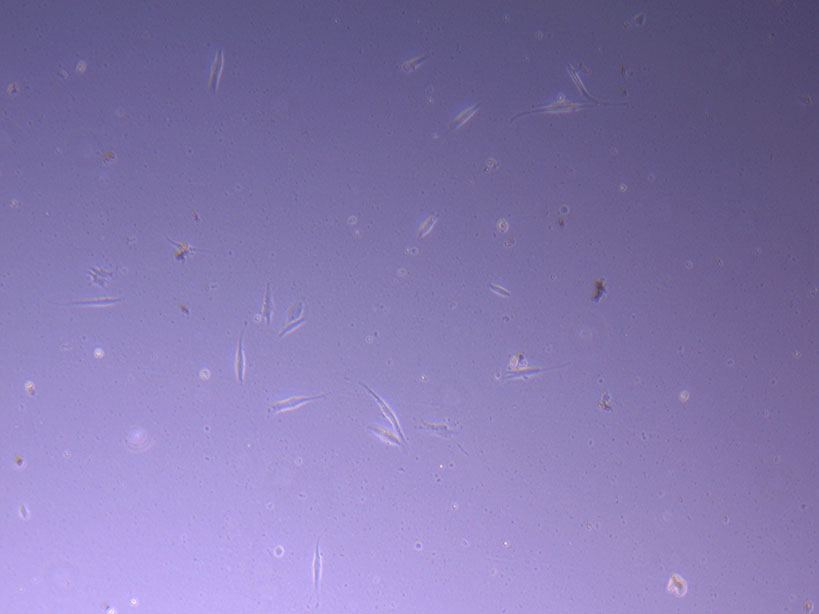 Light microscope image of PHGL Tumour Baby P5 in T75 flask 2 plated on 15/12/21.
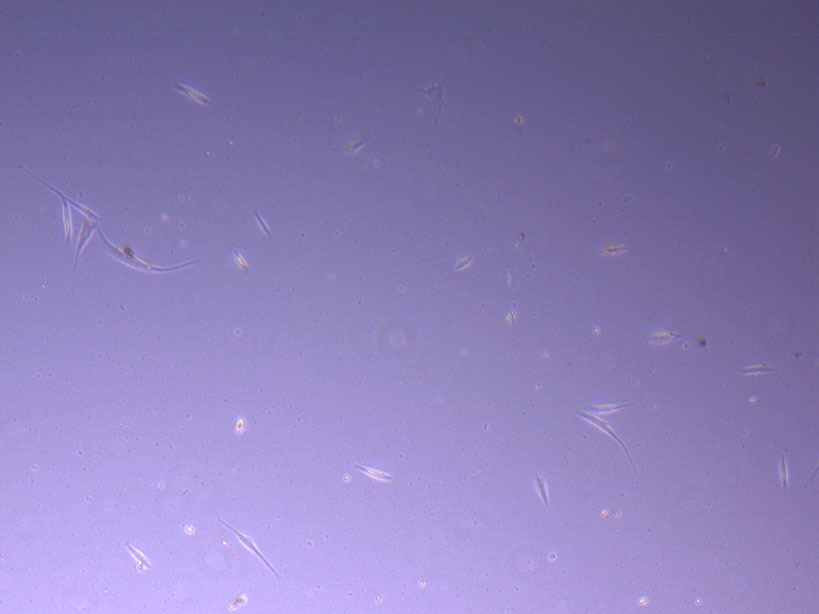 Light microscope image of PHGL Tumour Baby P5 in T75 flask 2 plated on 15/12/21.
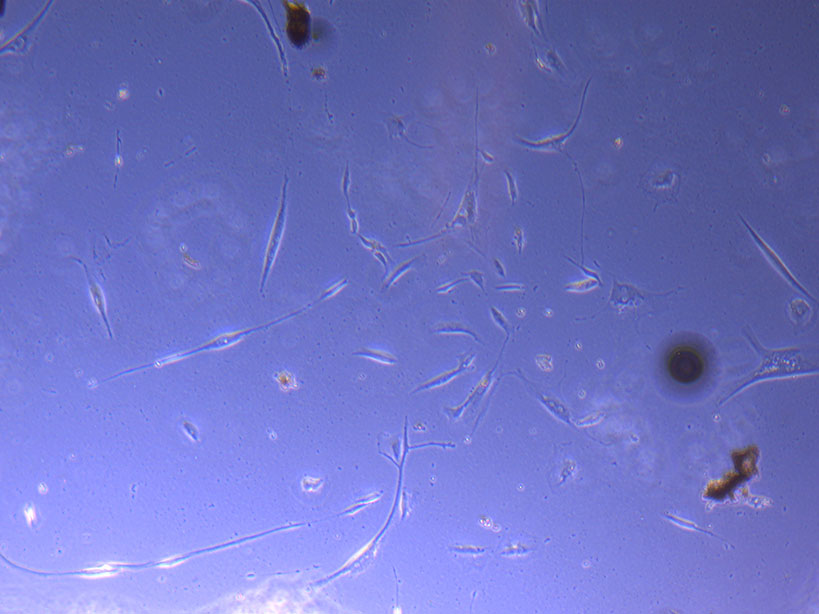
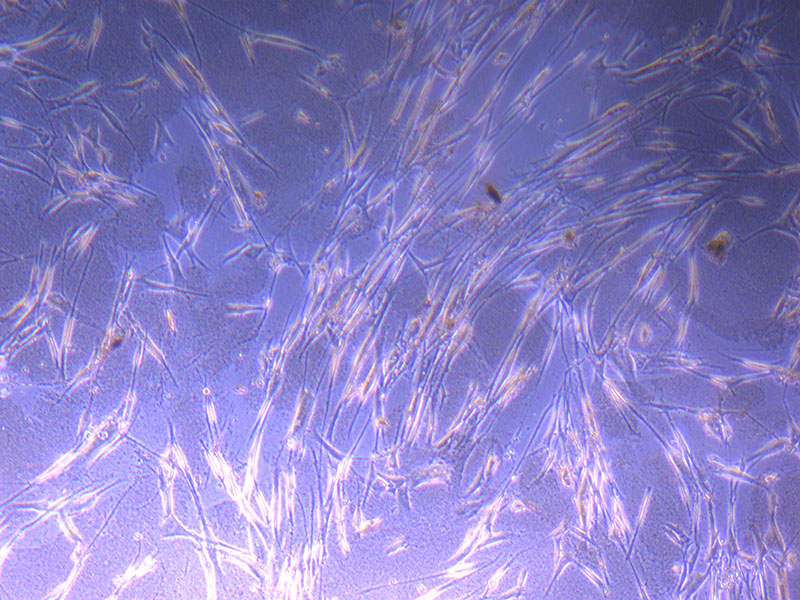
 Light microscope image of PHGL Tumour Baby P5 in T75 flask 2 imaged on 13/1/22.
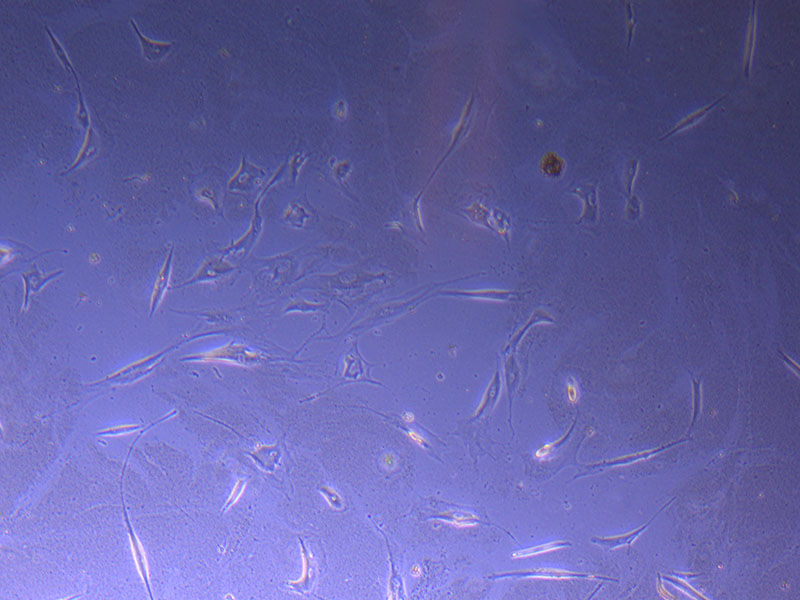 Light microscope image of PHGL TB cells at 13/1/22 showing a main cluster area of remaining cells.
 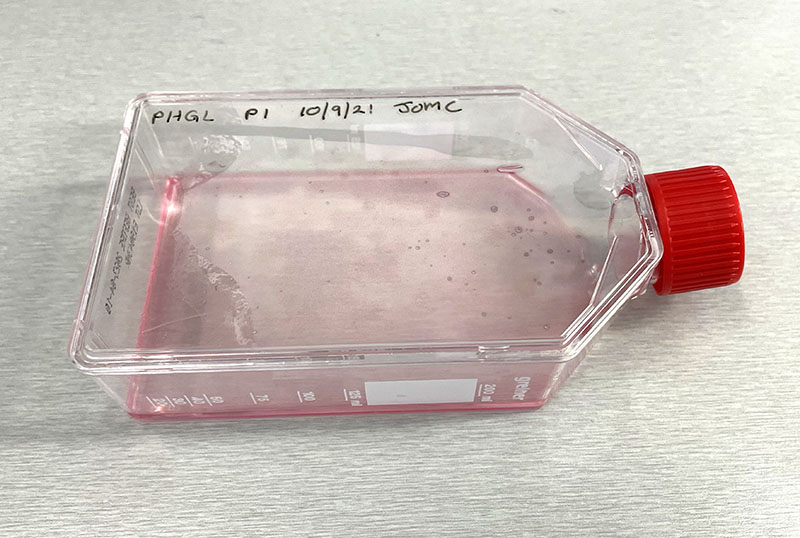 Photograph of P1 PHGL TB flask originally plated out by Jo-Maree on 10/0921.
 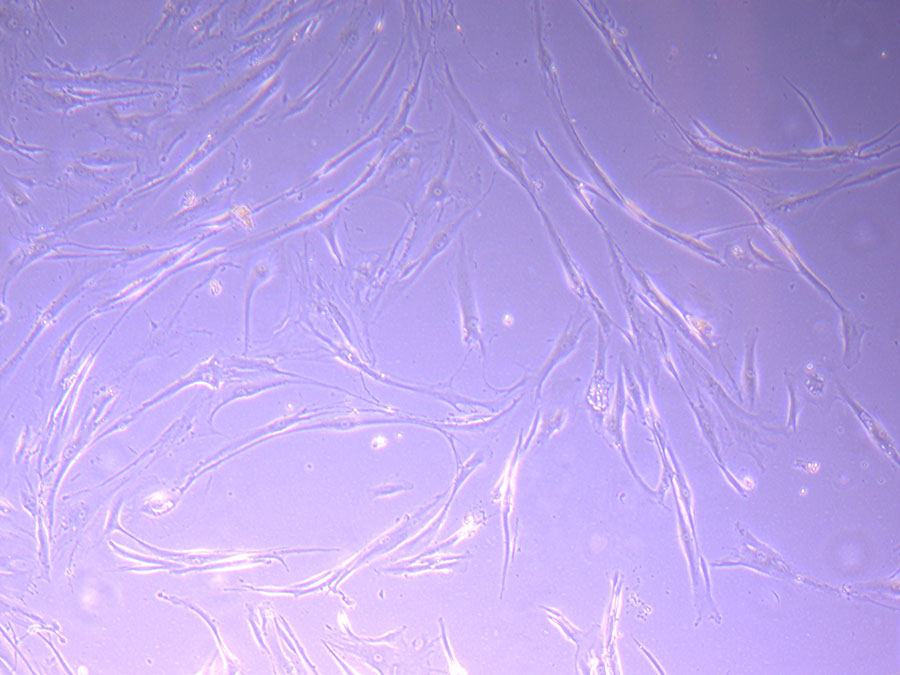 Light microscope image of P1 PHGL TB cells taken on 21/09/21 prior to passage.
 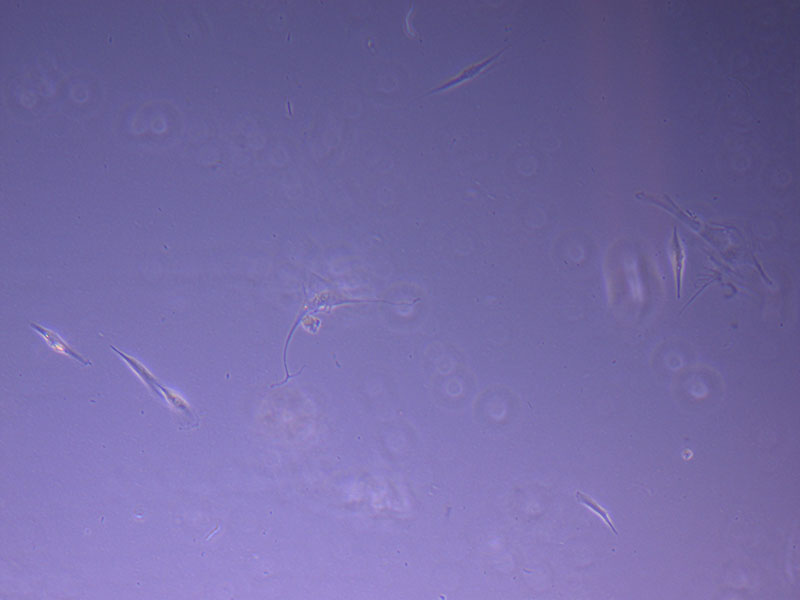 Light microscope image of P2 PHGL TB cells (in original flask) taken on 23/09/21 after cell passage on 21/09/21. A few cells remain visible in the flask.
 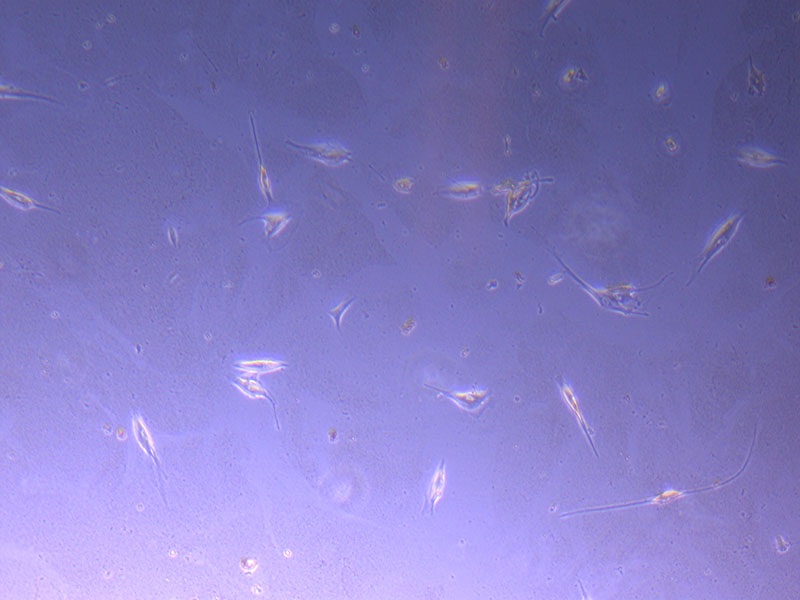 Light microscope image of P2 PHGL TB cells (in original flask) taken on 13/1/22. The image reveals a ‘sprinkle’ of cells beyond the main cluster.
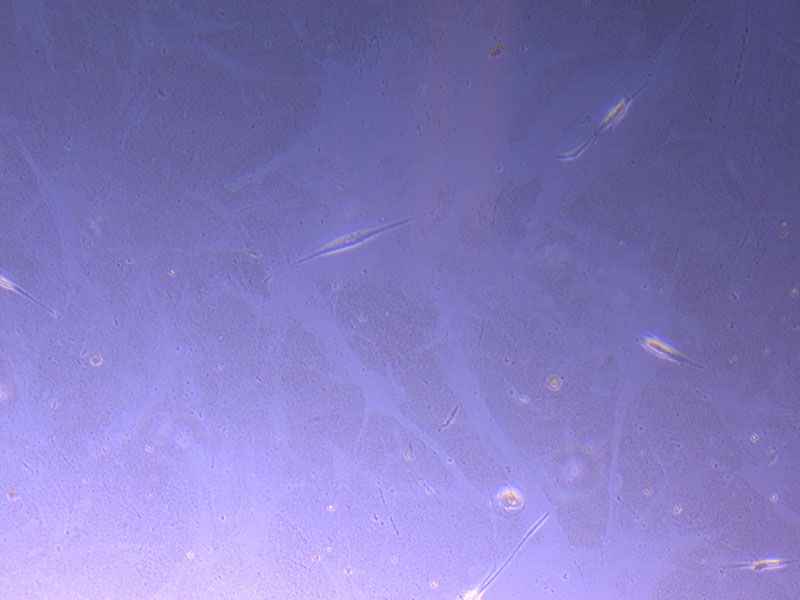
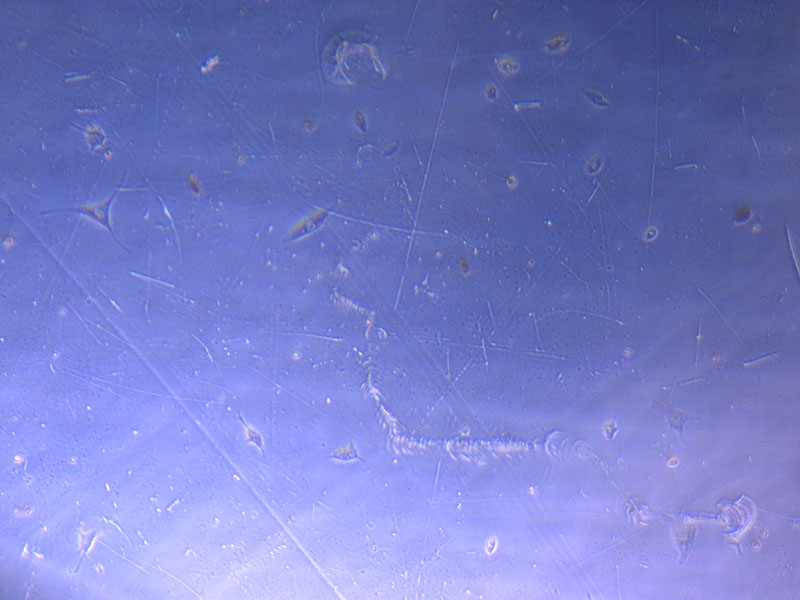
 Light microscope images of P2 PHGL TB cells (in original flask) taken on 13/1/22. The image reveals trails of cellular movement and existence.
 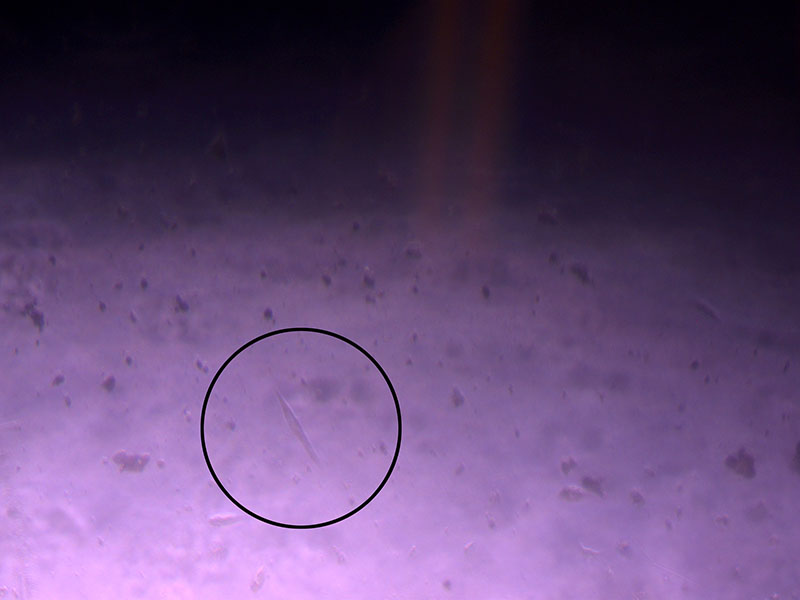 Light microscope image of cut glass dish with media containing dead cell debris and evidence of a small number of surviving cells.
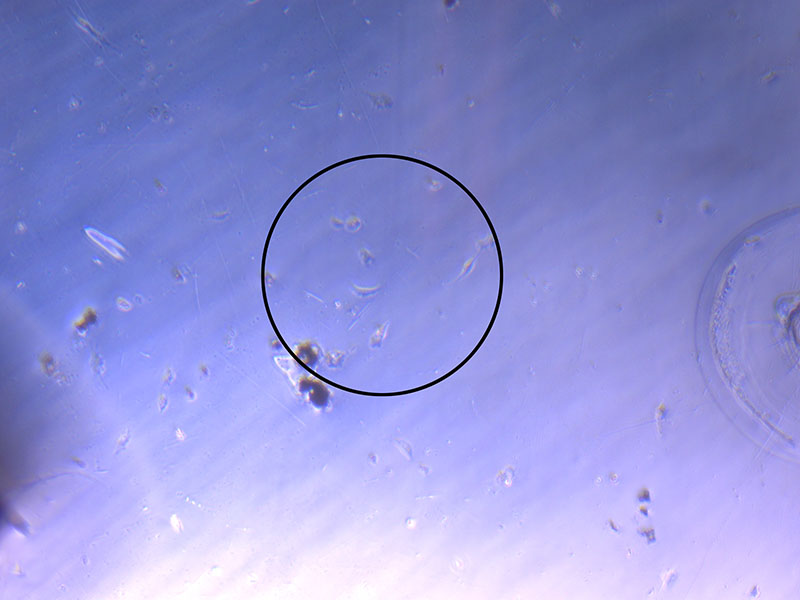
 Light microscope image of cut glass dish in PBS showing further evidence of a small number of surviving cells.
 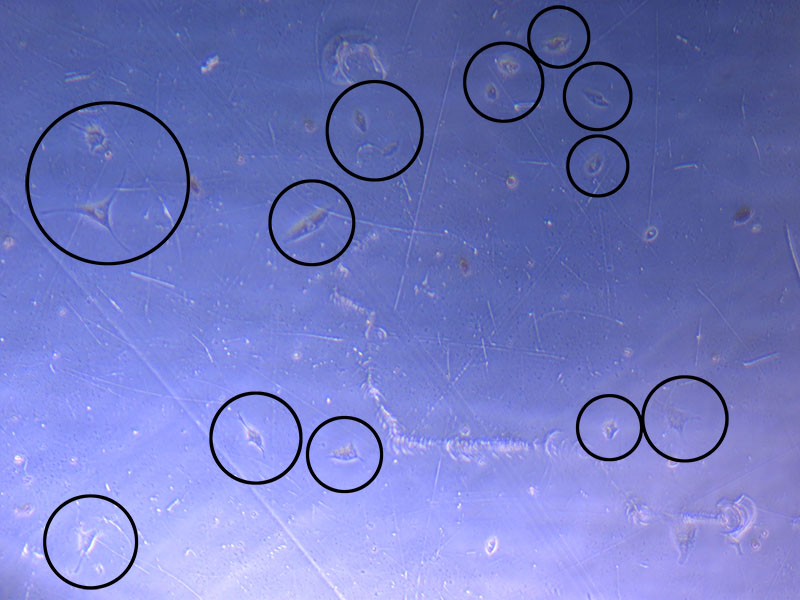 Light microscope image of cut glass dish in PBS with likely cells circled. There are a few additional potential cells visible, but I have only circled the most obvious.
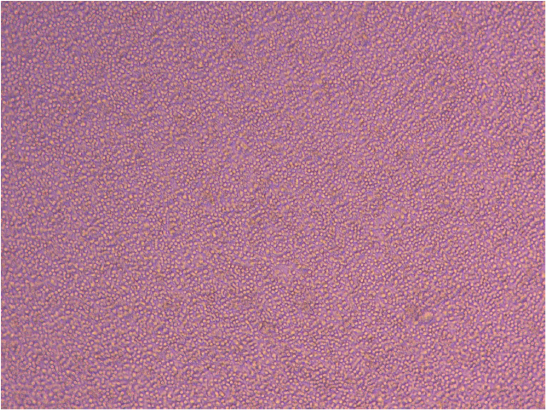
 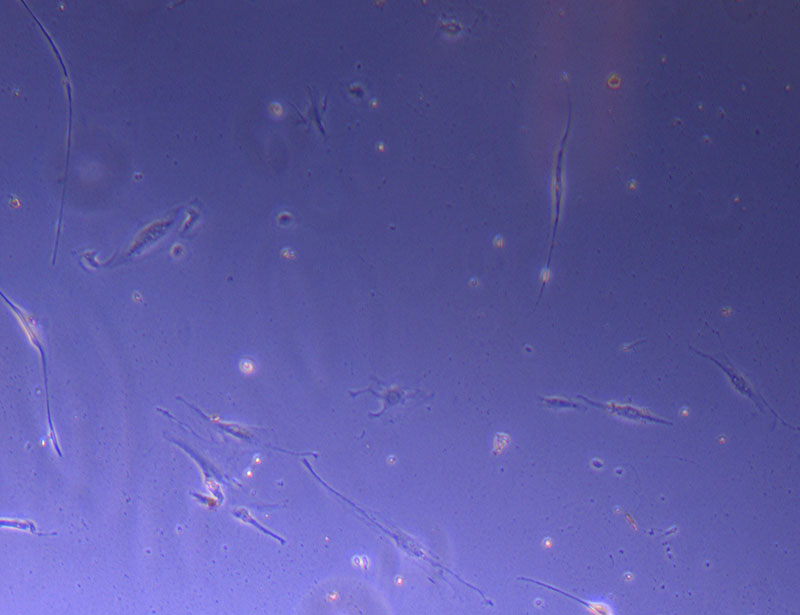 Light microscope image of Petri dish with fresh complete media with live cells.