Tag Archives: experimentation

LAB SCHEDULE

UPDATED LAB SCHEDULE

Now that the project has the formal go-ahead, I am moving into lab mode and have determined some of the key milestones for the next months.

1: Training & Prep: 1 – 2 weeks

Training with HBVP cells include:

  • Thawing and culturing cells, making media, working in a biosafety cabinet and maintaining sterility, light microscopy
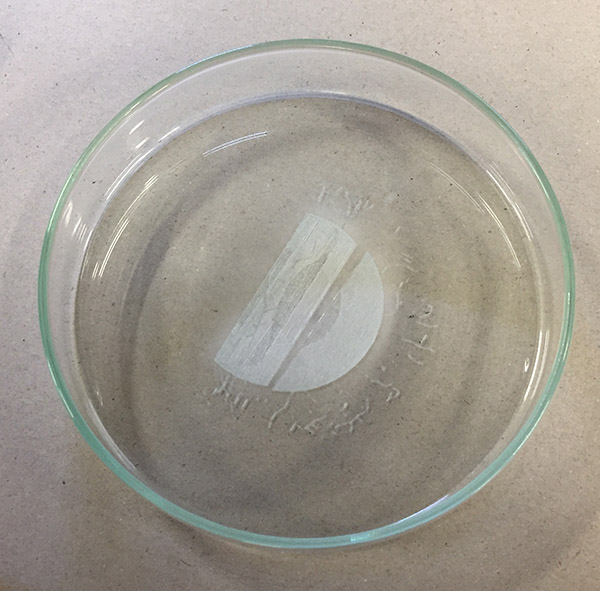
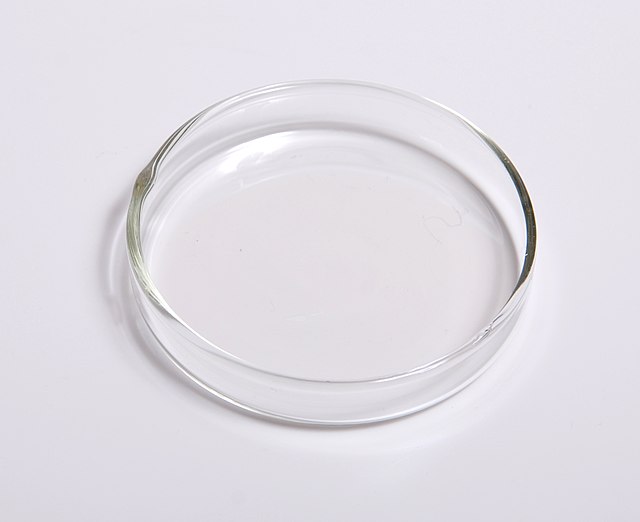
  • Learn to use the autoclave and prepare petri dishes and glass vessels for culture
  • Coat petri dishes and glass vessels with poly-l-lysine for cell adhesion, test with HBVP cells
  • Order media, reagents and kits
  • Submit IBC approval forms

2: Cell culture of fibroid cells – 4 – 8 weeks

  • Thawing and culture – grow up and freeze stocks of cells, light microscopy
  • Ask Dietmar to send 3D scaffolds
  • Grow and fix cells in petri dishes and glass vessels
  • Fluorescent microscopy of cells
  • Scanning Electron Microscopy (SEM) of cultured cells
  • Transmission Electron Microscopy (TEM) of cultured cells
  • Timelapse microscopy
  • 3D cell seeding HBVPs and Fibroid cells – see differences in cell response.
  • Wait for IBC approval

PROJECT: 3 months

3: Cell Immortalisation +

  • Immortalisation of primary fibroid cells via established commercial kit (Applied Biological Materials (ABM) or Alstem cell immortalisation kits)
  • Cell genetic profiling
  • Cell culture of immortalised fibroid cells (optimisation of culture methods for 2D and 3D environments, cellular response and proliferation testing)
  • Grow and fix cells in petri dishes and glass vessels
  • Timelapse microscopy

4: iPSC production

  • Reprogramming of primary cells to generate induced pluripotent stem cells (iPSCs) via established commercial kit (e.g. Epi5™ Episomal iPSC Reprogramming Kit available via Thermo Fisher)
  • Development of Gastruloids, Organoids or Neurospheres (self-organised 3D cell masses)
  • Cell culture of reprogrammed or immortalised fibroid cells (optimisation of culture methods for 2D and 3D environments, cellular response and proliferation testing)
  • Timelapse microscopy
  • If iPSC successful – create neurons and heart cells
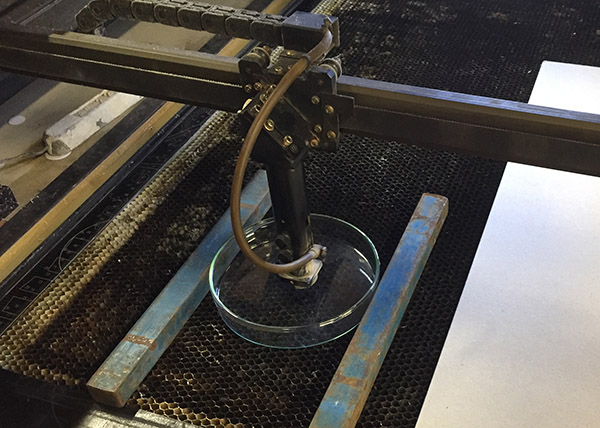
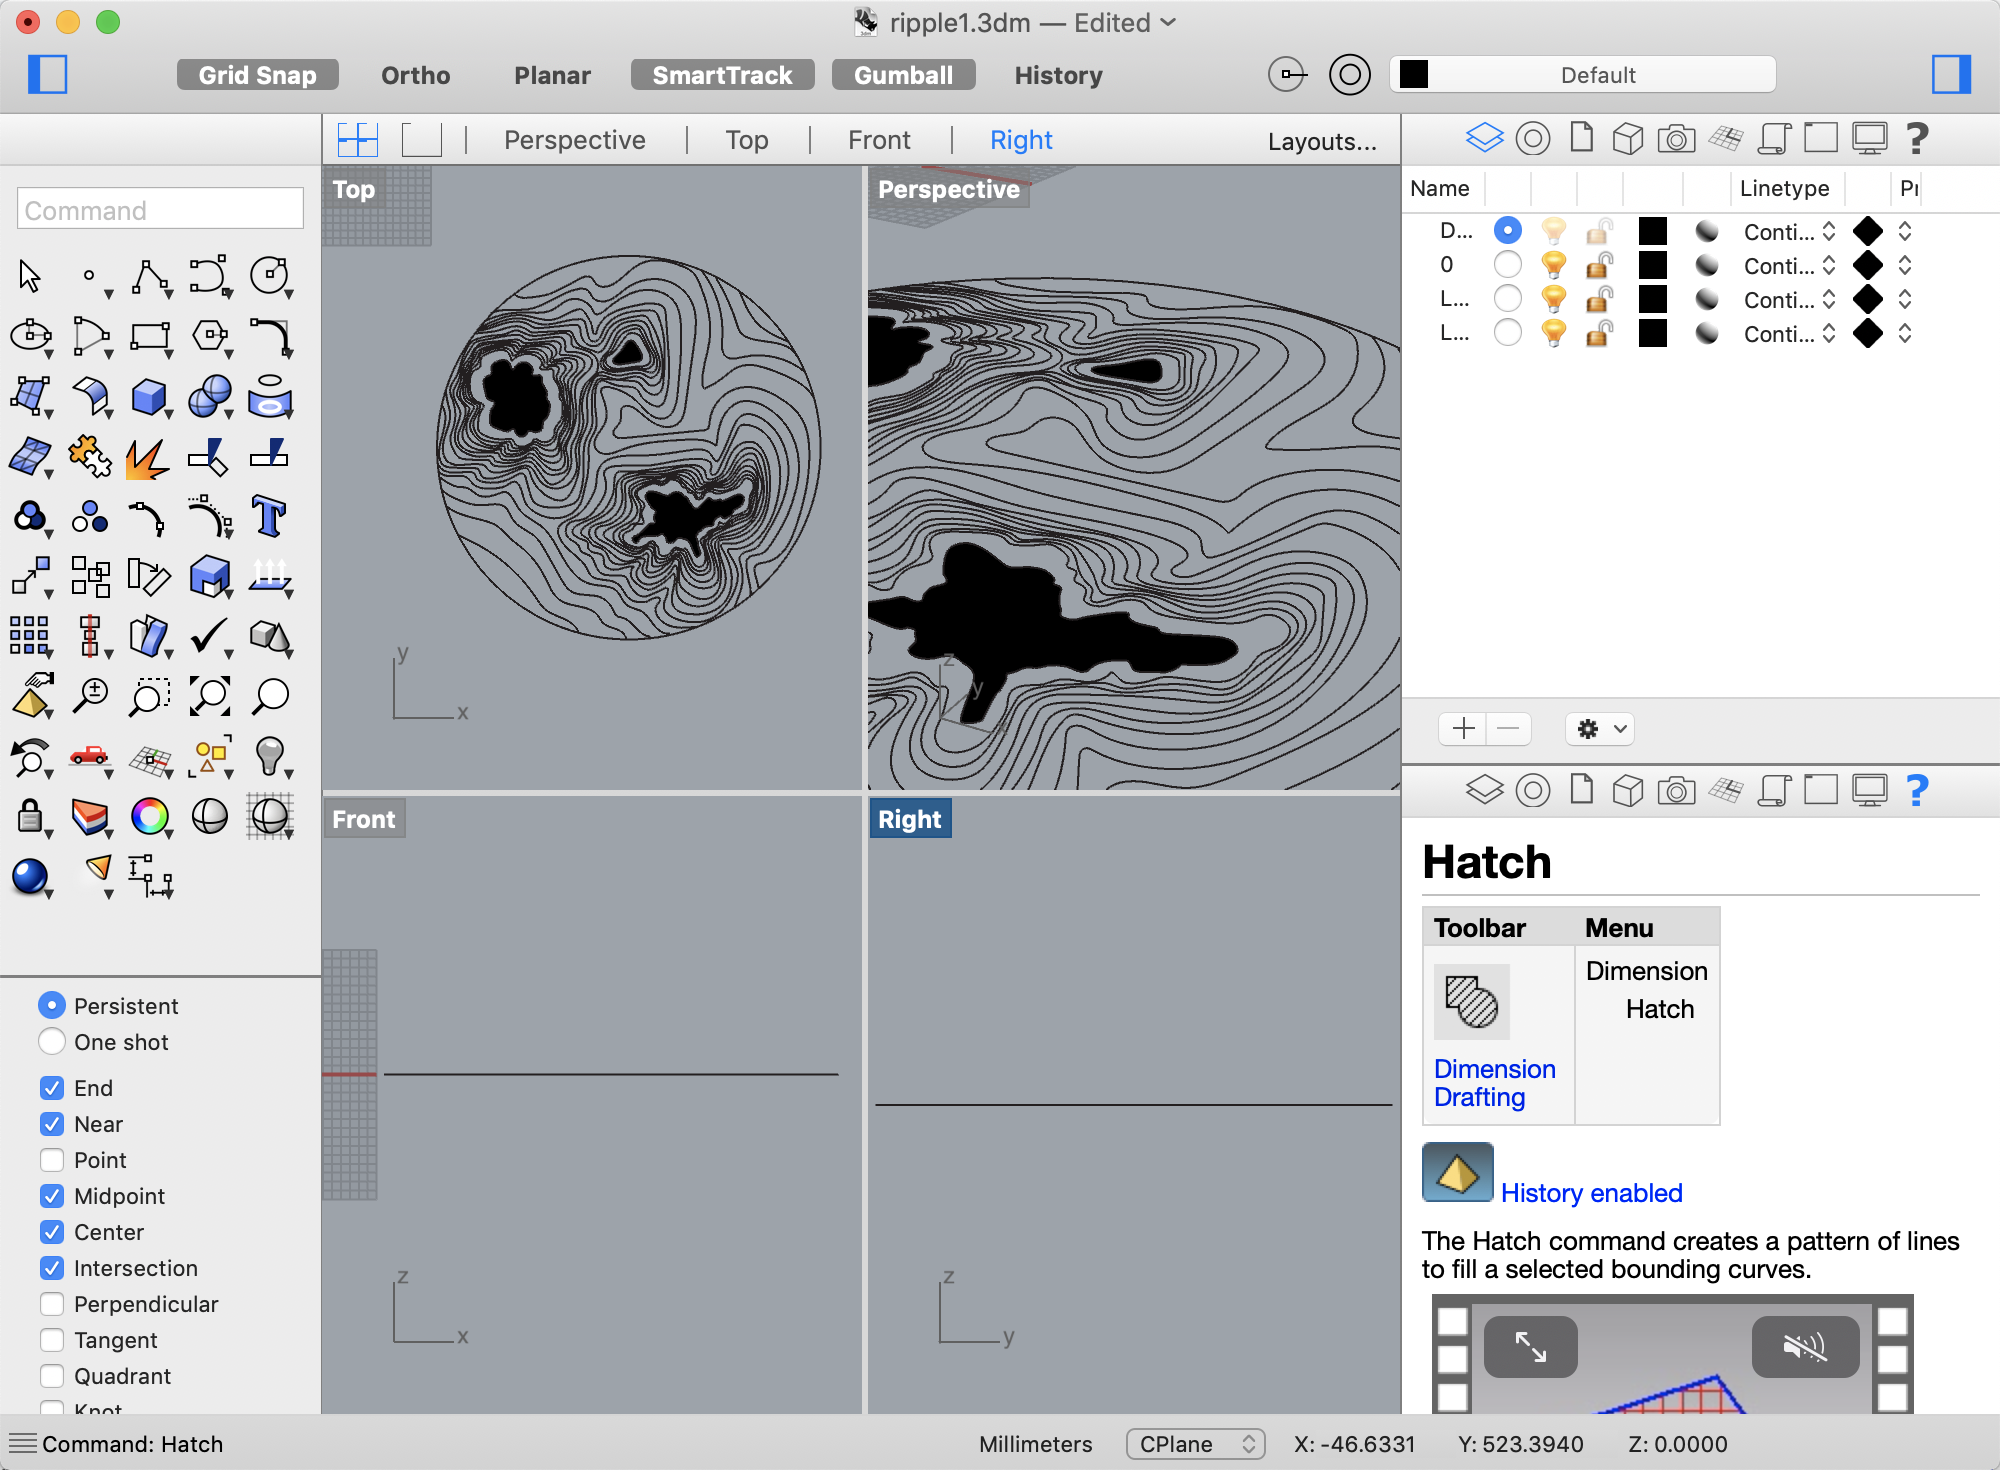
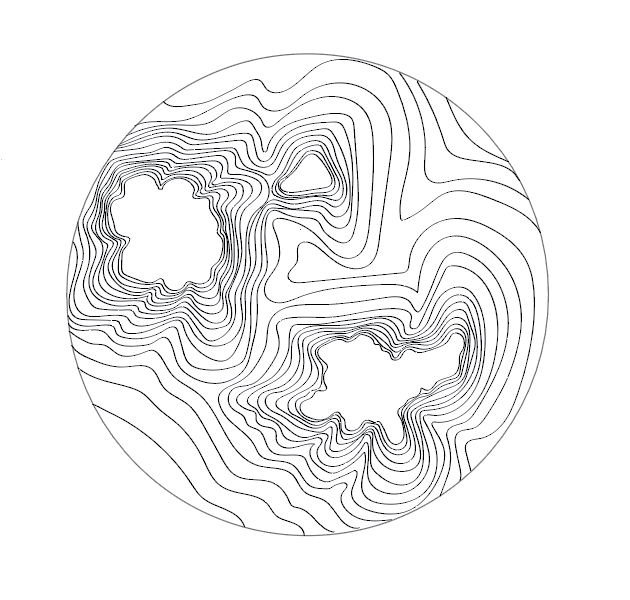
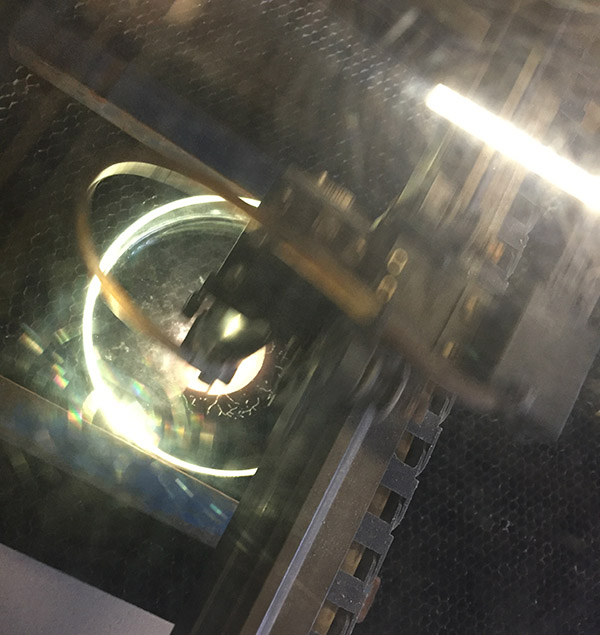
Nothing is ever easy…

After shadowing Jo-Maree and the students in the lab, I feel pretty confident in moving forward with some actual cell work. We are just waiting on the delivery of new cell culture media. There is a bit of a delay with some orders due to the COVID lockdowns in NSW and VIC.

I did receive my glass Petri dishes (90mm and 1500mm) to do some initial tests and had a go at laser engraving them. I usually work in Perspex, so getting the settings just right is unfortunately always a bit of trial and error.

We decided to start with the simple ‘target’ engraving which would enable us to test different engraving depths and see if the graphic should use raster for hatched areas (circles) and vector for lines.

Graphic for Laser Engraving

Graphic for laser engraving shown in Rhino 3D.

We need to leave room for the laser head to engrave so the graphic will be centred in the dish with a 25mm boundary. We also had to ensure that each element was on a separate layer with a colour indicating the particular settings for that graphic element.

We tested some basic settings:

Laser Engraving Settings

Black circle: Raster
Speed: 22
Power: 61
PPI: X
Red circle: Raster
Speed: 42
Power: 61
PP1: X
Green Lines: Vector
Speed: 4
Power: 85
PPI: X

We secured the sides with some metal rods to reduce the likelihood of movement when the air flow is turned on during the laser engraving process.

Laser Set Up
Set up in Laser  with metal bars to reduce movement. 

Laser Engraving ProcessLaser in process.

While the initial engraving seemed promising, the entire graphic was rastered including lines which were supposed to be rendered as vectors. The air flow also moved the dish. This resulted in an initial ‘glitch’ area and, following another shift, an overlaid section.

Engraving Glitch
Laser engraved dish with ‘glitch’ pattern. 

It is not too bad, but shows the importance of testing settings and set up never assuming that things will work first time around.

We used the same dish again to test different settings (with four metal bars to hold the dish in place. However,  we found that the  raster setting was the best approach after all  to ensure that the laser creates lines without punching through the glass. We still don’t quite have the settings down, but hopefully the next go will yield more promising results.

Rhino Files

I have started preparing files in Rhino for laser engraving. This is a good Youtube introduction to setting up files with a some pointers for trimming and adding a hatch for engraving surfaces rather than just lines.

This is the start of my file prep in Rhino with dark areas signalling ‘hatched’ sections for surface engraving.

Screenshot of design in Rhino

Once the Petri dishes arrive, I can make time with the CAM technician Murray Antill to organise engraving. Of course, I need to test the settings first to ensure that I use the correct strength for lines vs. engraving. I usually use Perspex, so I will likely need to adapt the settings to suit a different material. The lines may also need further spacing as the laser produces around a .5mm line.

Design prep

I purchased ten borosilicate glass Petri dishes last week in each size [1500mm and 900mm]. This will enable me to do the engraving and materials tests while I wait for ethics approval.

I am going to start with some simple designs that connect to motifs from my previous practice and signal notions of ongoing development and ‘rippling outwards’.  Screenshot of vector ripple design

Screenshot of vector ‘ripple’ design created in Adobe Illustrator.

This design was originally created for The Contamination of Alice #9 as part of the group show Ghost Biologies at Contemporary Art Tasmania in 2016. I feel that a similar pattern could work quite well engraved on the base of the Petri dishes. However, I will need to include some etched ‘shaded’ areas to see if scarring the surface helps with cell adhesion.

To create the new designs, I will try to work directly in Rhino – the software platform used for the laser cutter. Hopefully, this will enable me to create designs will fewer nodes to reduce clean up time and double lines.

Material supplies: Glass Petri Dishes

My primary lab contact is currently on leave so I am using the time to identify materials for experimentation. I am keen to grow and stain my cells on diverse materials (glass, porous and non-porous scaffolds etc). An easy start is to use glass Petri dishes with different coatings to encourage cell adherence. The use of coatings may also enable me to encourage cells to grow in particular patterns.

I’ve done a bit of searching via Researchgate and it seems that common surface coatings to encourage cell attachment to glass include:

  • Hyaluronic acid
  • Poly-D-Lysine – my current choice
  • Fetal Calf Serum
  • Bovine serum albumin
  • Gelatin
  • Fibronectin
  • Laminin
  • Collagen

I will ask for advice at the next lab meeting.

There were also suggestions to etch the glass surface with concentrated nitric acid and then wash and autoclave. At the UTAS School of Creative Arts and Media, we are fortunate to have access to a glass cutter and laser engraver. So instead of using acid, I will use the laser to score a design into the base of a large 150mm Petri dish.

Glass Petri Dish

Glass Petri dish by Lilly M via Wikimedia

Luckily Petri dishes are easy to purchase online. I just need to make sure the dishes are suitable for autoclave sterilisation (e.g.  borosilicate glass rather than soda lime glass).