
I’ve had a little radio silence of late due to a nasty cold. My COVID test was negative but I still needed to quarantine at home until all symptoms were clear to ensure I didn’t pass it on.
Despite being sick, we have made some good project progress. Jo-Maree and I also presented our work and passions for the Handball ABC Radio Hobart segment with Joel Rheinberger.
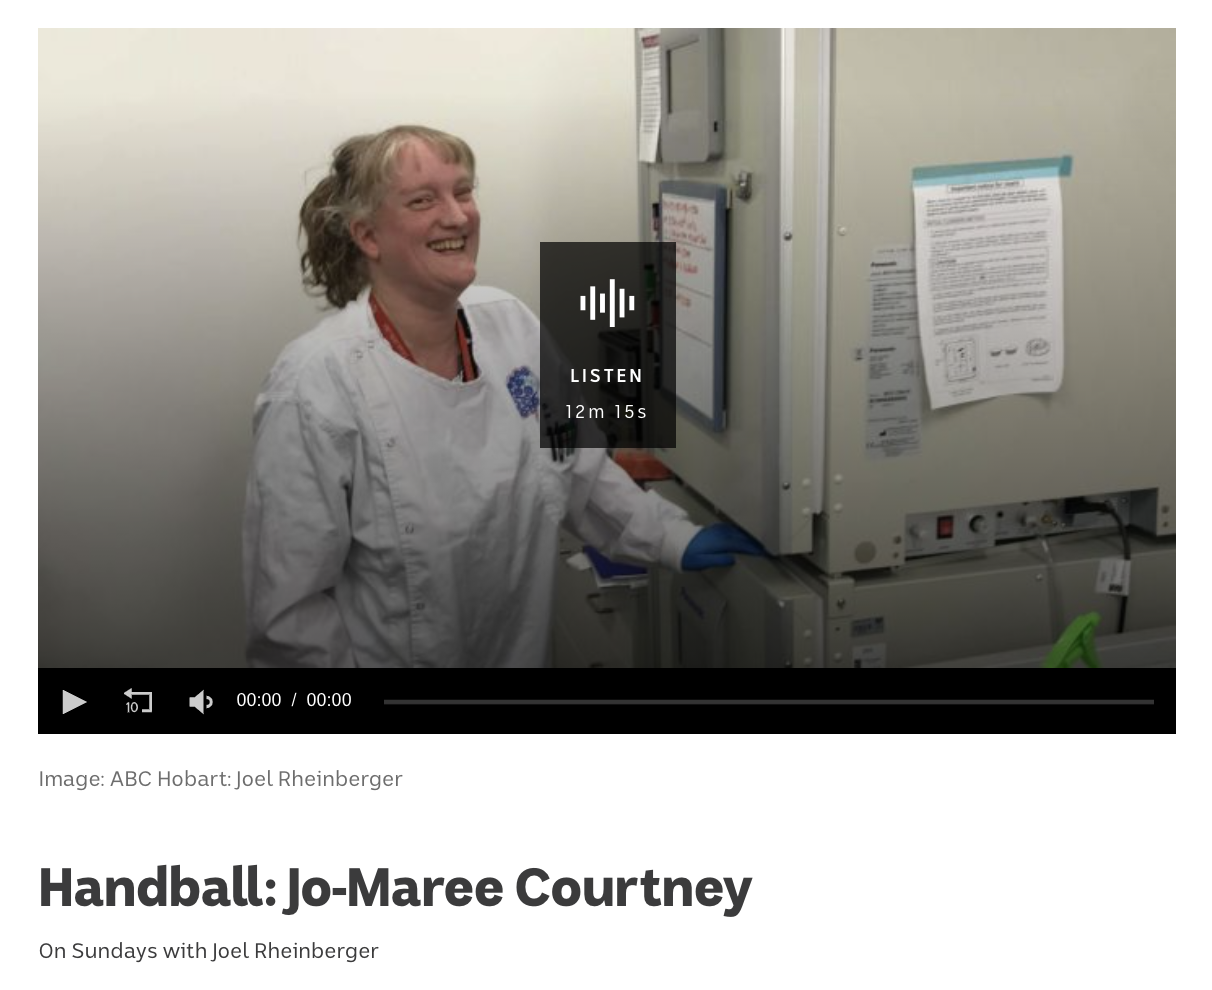
You can listen to the interview here: https://www.abc.net.au/radio/hobart/programs/sundays/handball-jo-maree-courtney/13531850
The interview provides some good background information regarding Jo-Maree’s expertise in neuroscience.
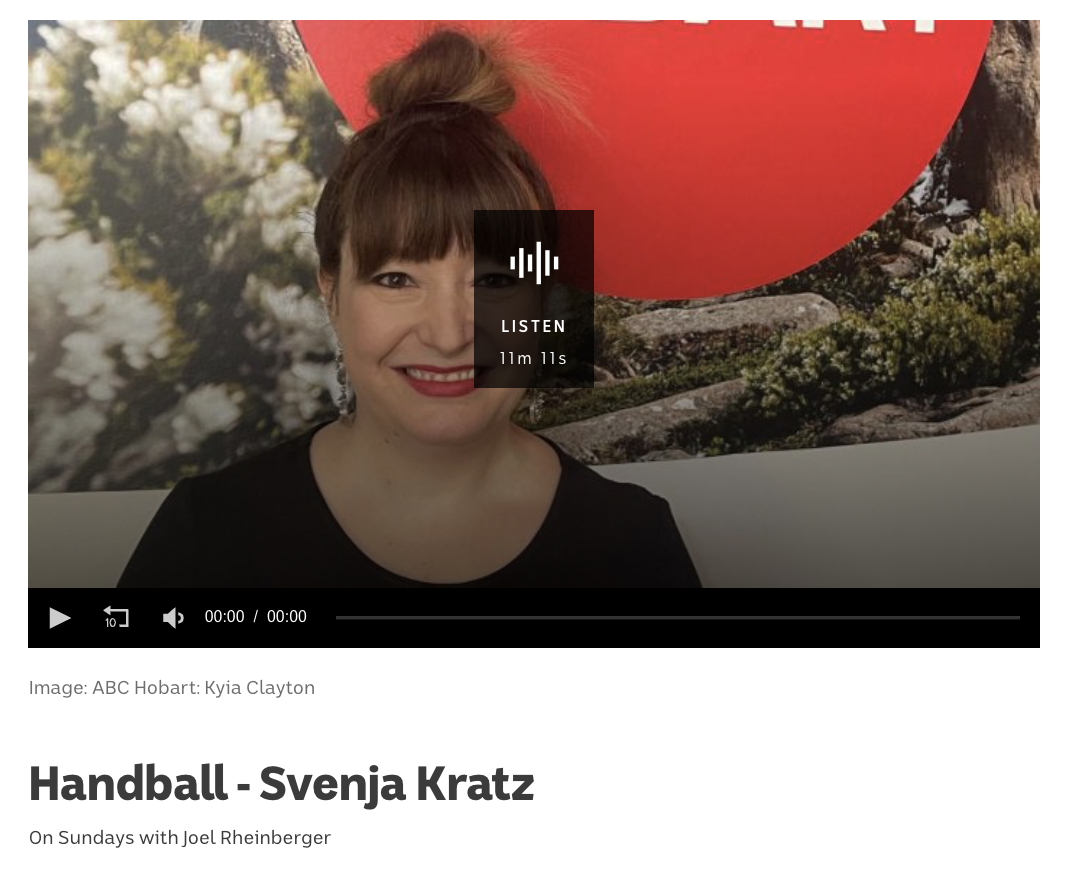
As part of my interview, it was great to have an opportunity to talk about the ANAT project and some of the project ambitions.
You can listen to the interview here: https://www.abc.net.au/radio/hobart/programs/sundays/handball-svenja-kratz/13538384
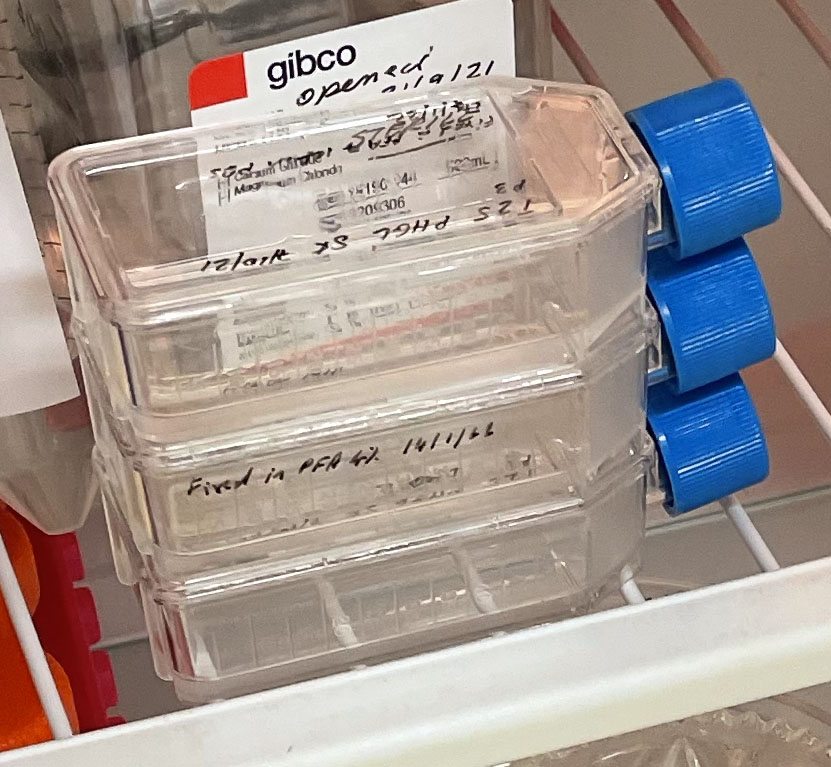 Three T25 PHGL Tumour Baby Flasks fixed with 4% PFA in PBS ready for staining.