Logistics
I had a preliminary meeting with Dr Ash Mehta on Monday (21/2) to discuss the iPSC generation using blood. He uses the ThermoFisher CytoTune-iPS Sendai Reprogramming system and has generously offered to guide me through the cell reprogramming/iPSC generation timeline. The great thing about doing this is that the cells are technical immortal when in a stem cell state. This will enable me to achieve the primary project aims even if immortalisation of primary cells via SV40 does not work.
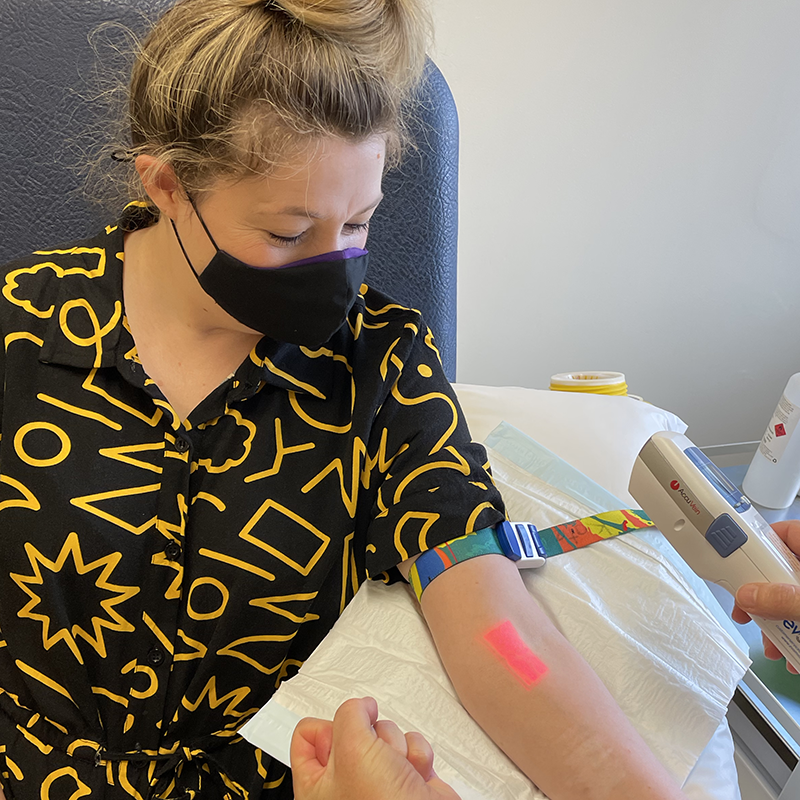
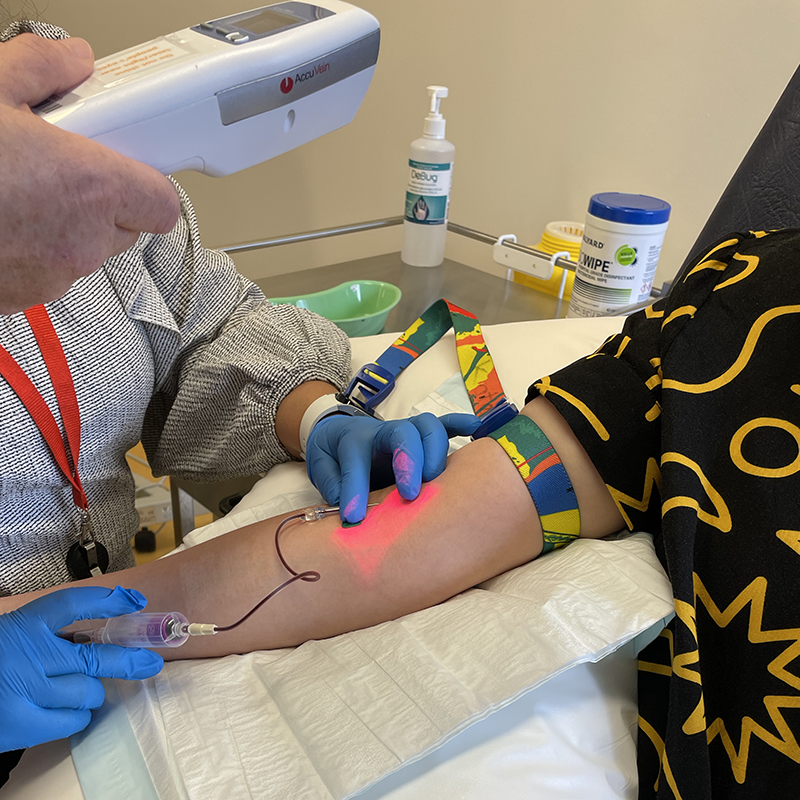
We followed up again on Tuesday (22/2) to go over the process in more detail and set up basic project requirements including blood collection in collaboration with the clinical research team. As part of this process, Ash introduced me to a lovely phlebotomist who agreed to collect my blood, as well as the Menzies Clinical Research Facility Manager to ensure everyone is informed about the project and correct processes are in place to move forward. After supplying project documentation and confirmation of ethics clearance, I received final sign off from the Chair o CRFMC to proceed with blood collection on 23/2/ – so full steam ahead!
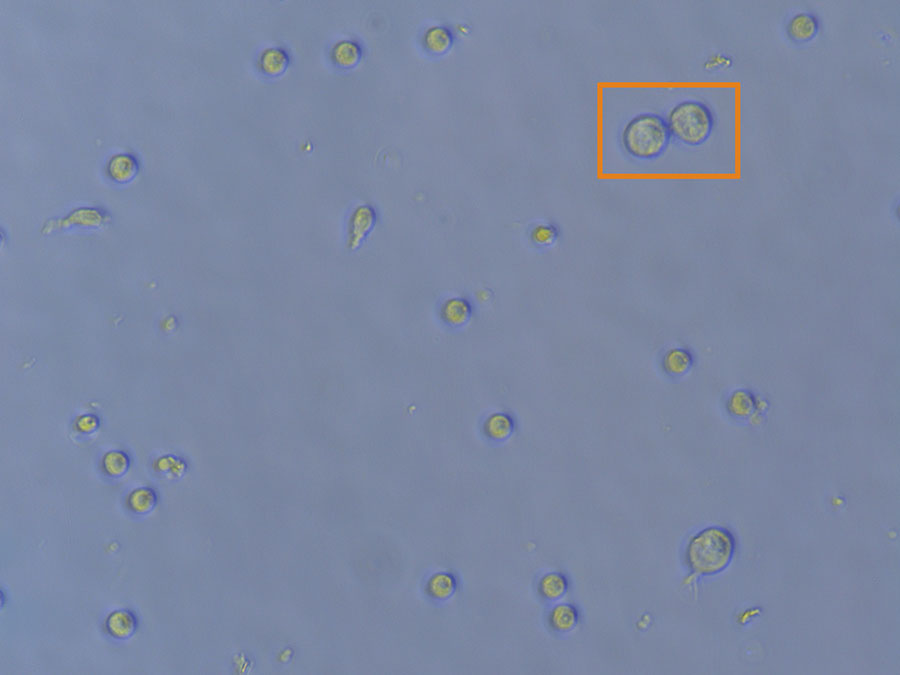
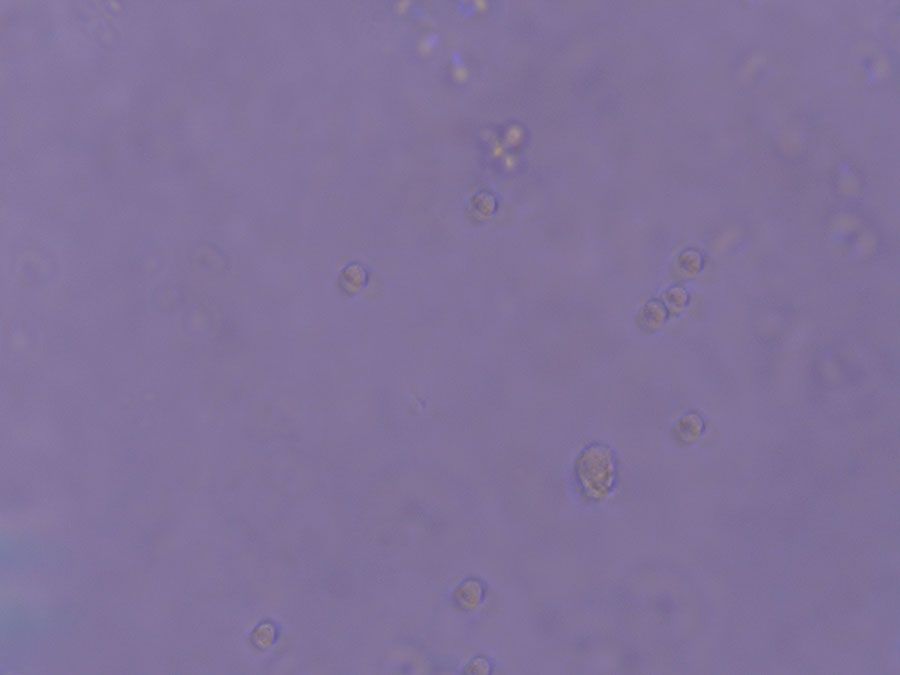
Ash also showed me around his lab and allowed me to view the PMBCs (peripheral blood mononuclear cells) he thawed last week. The cells are cultured in suspension (non-adherent) and are circular in shape.
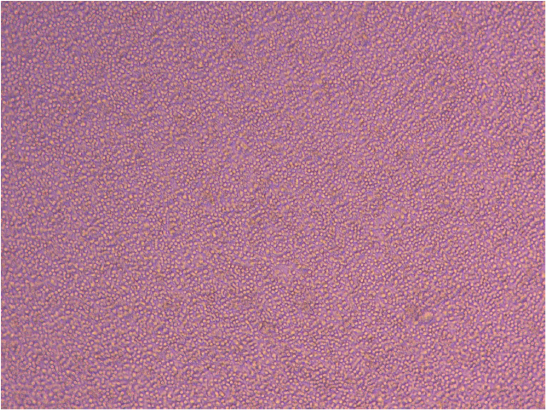
PBMCs in culture – image courtesy of Ashish Mehta
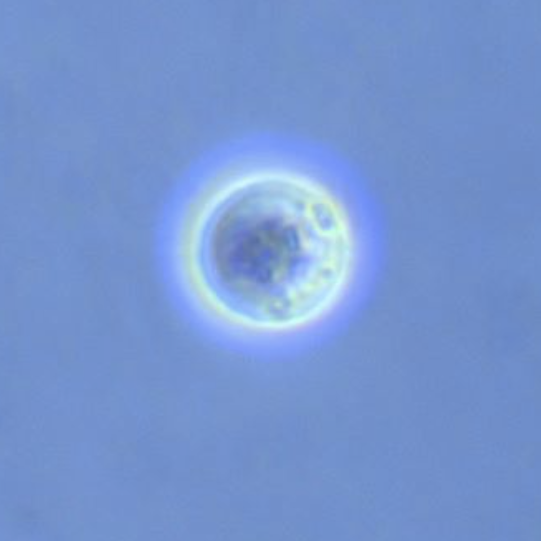
He also showed me some iPSCs and the difference between stem cell colonies and cells that have started to differentiate.
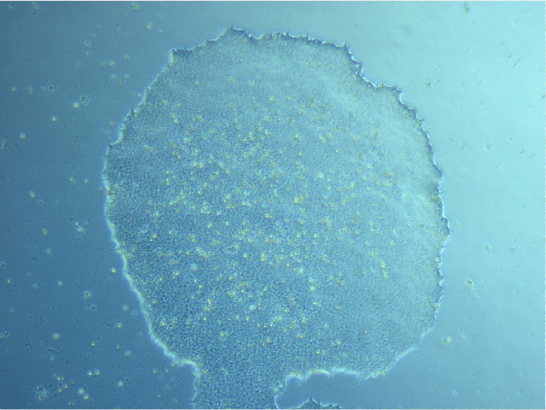
iPSC colony. Image courtesy of Ashish Mehta
About PMBCs
As part the introduction to cell reprogramming, Ash explained the basics and value of working with blood cells.
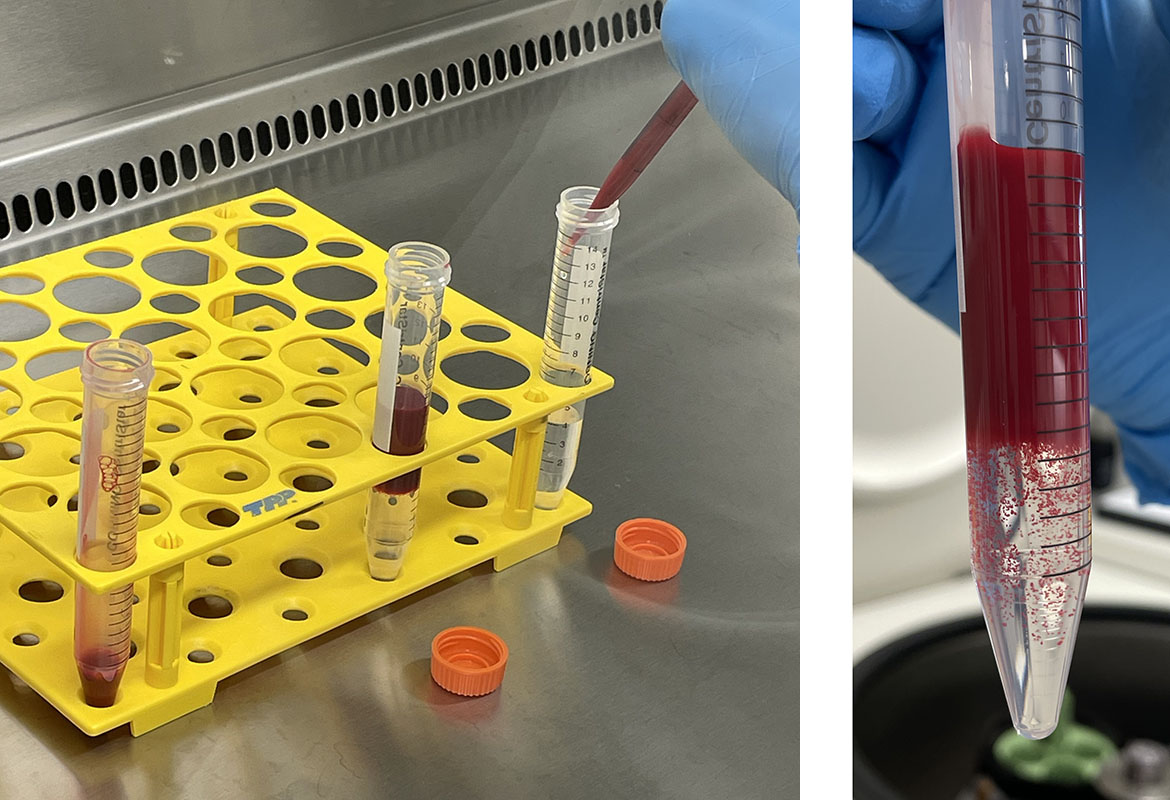
Blood is made from a number of different cell types including red blood cells (erythrocytes), white blood cells (macrophages, lymphocytes, monocytes, neutrophils, eosinophils, basophils ) and platelets (thrombocytes). Platelets and red blood cells have no nuclei so they cannot be reprogrammed and only the mononucleated (single nucleus) white blood cells are suitable for the process.
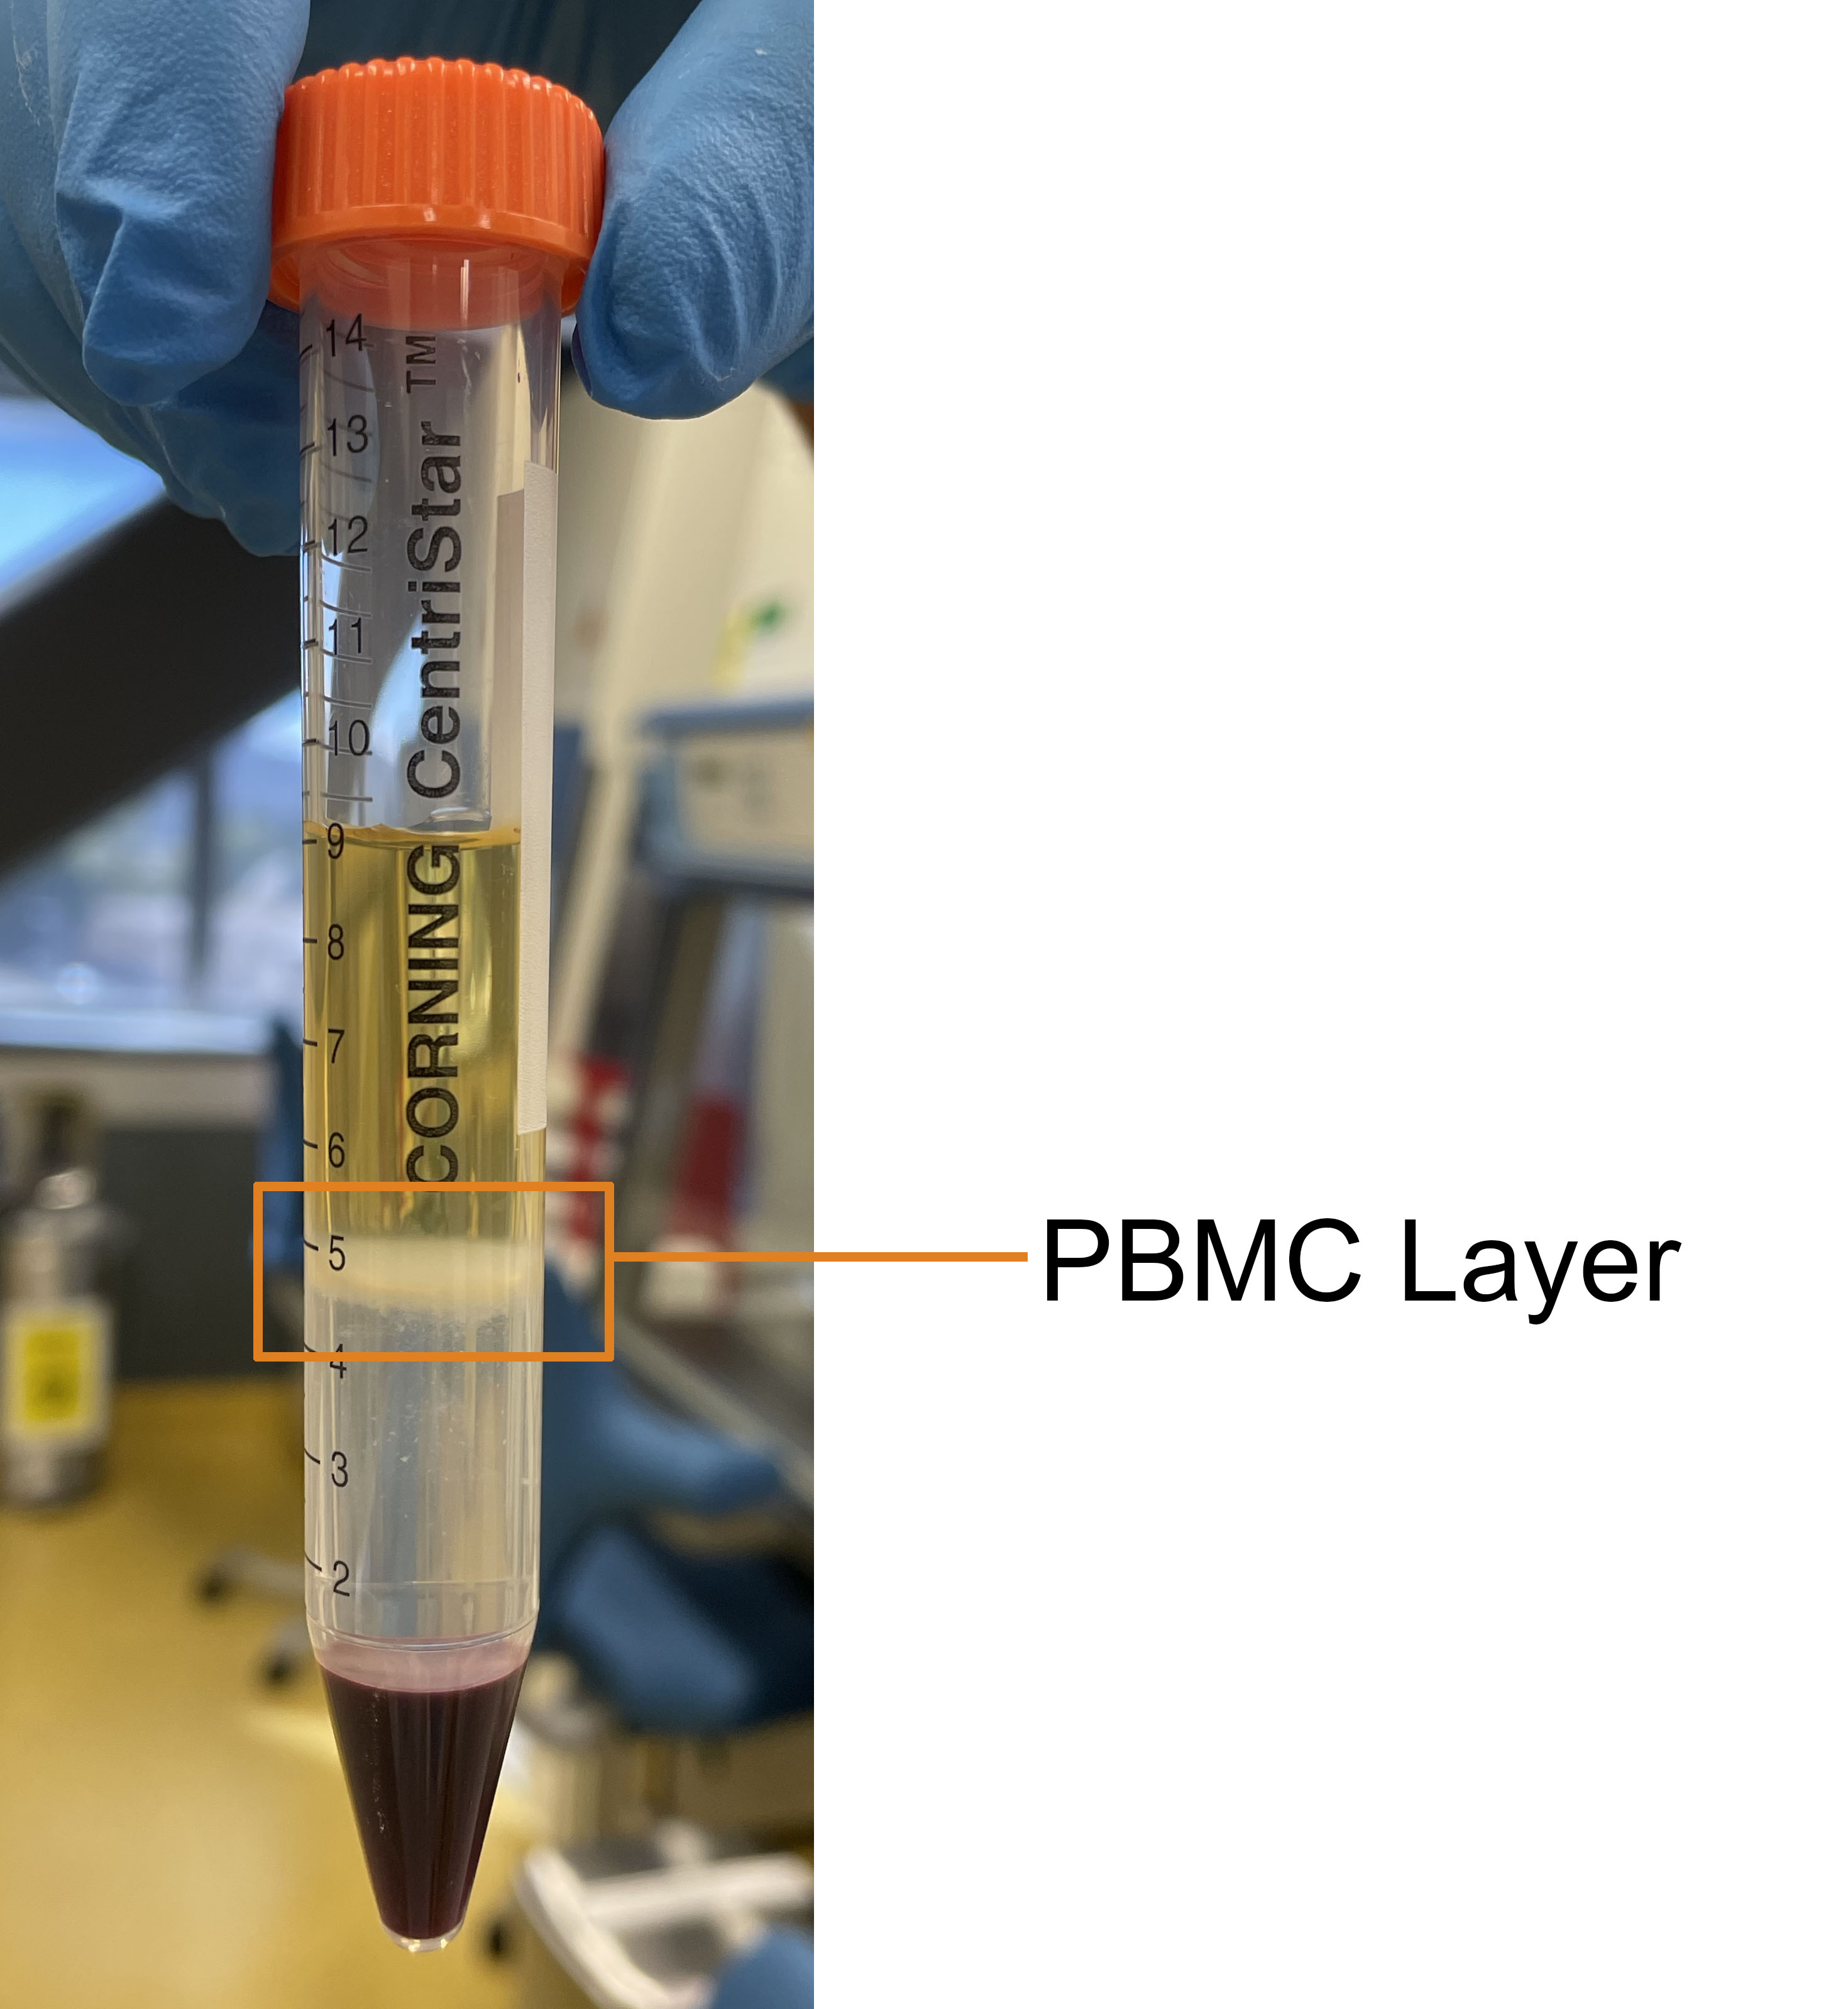
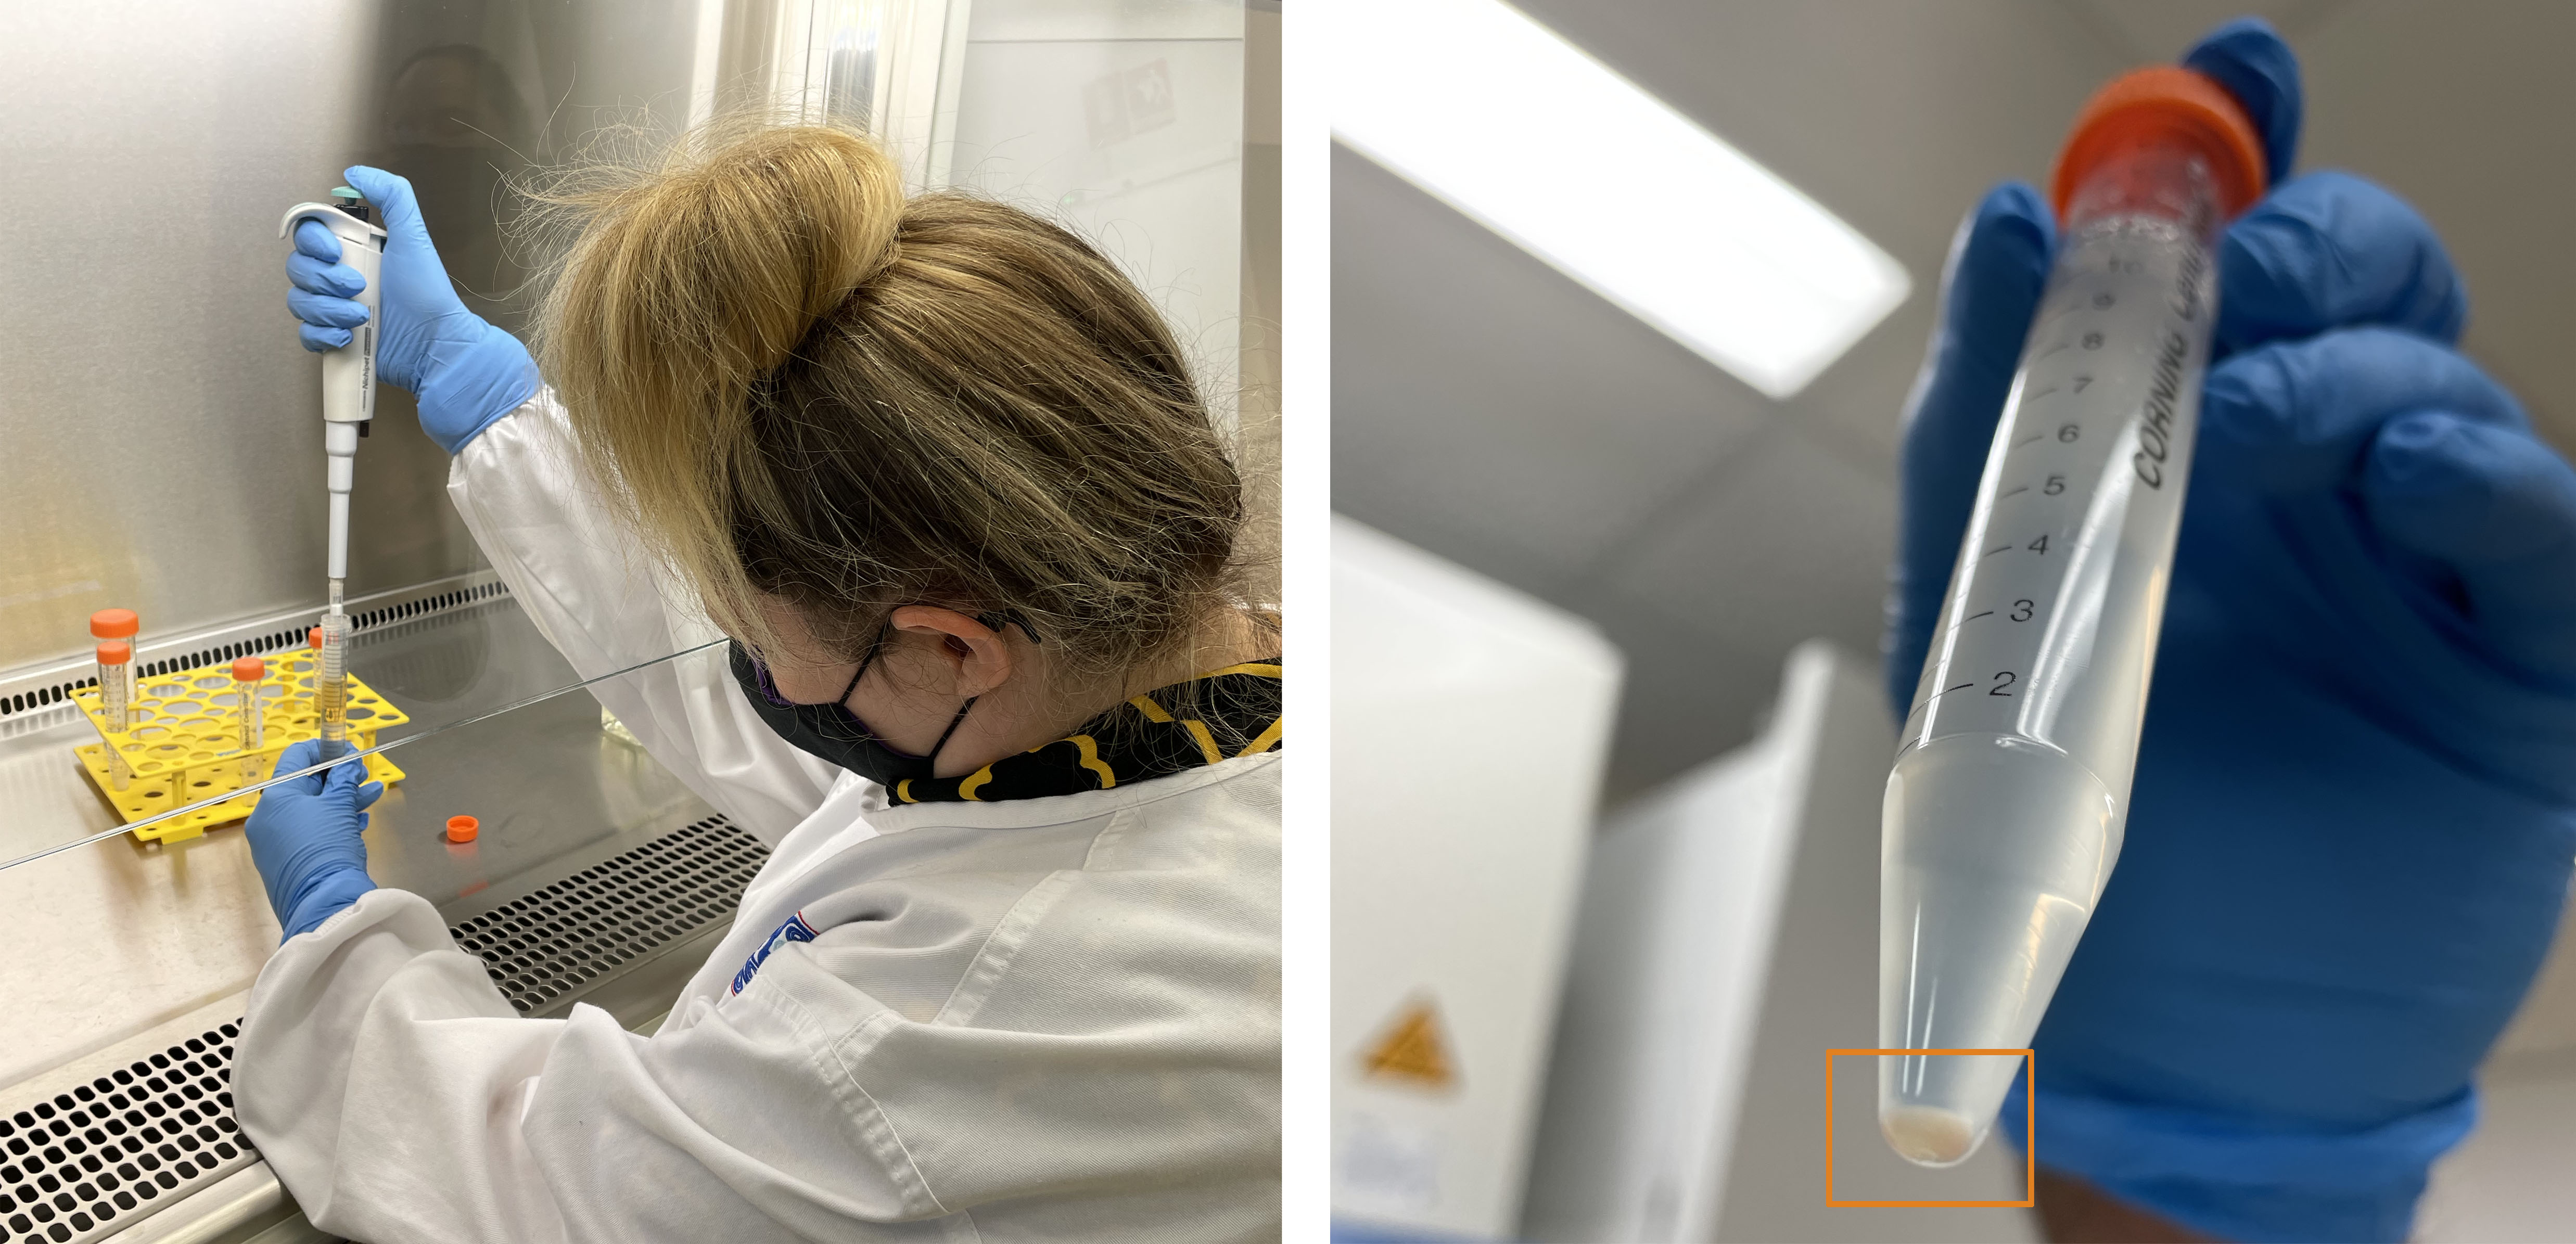
To isolate PMBCs, the blood undergoes gradient centrifugation which separates the blood into layers of cell types via density.
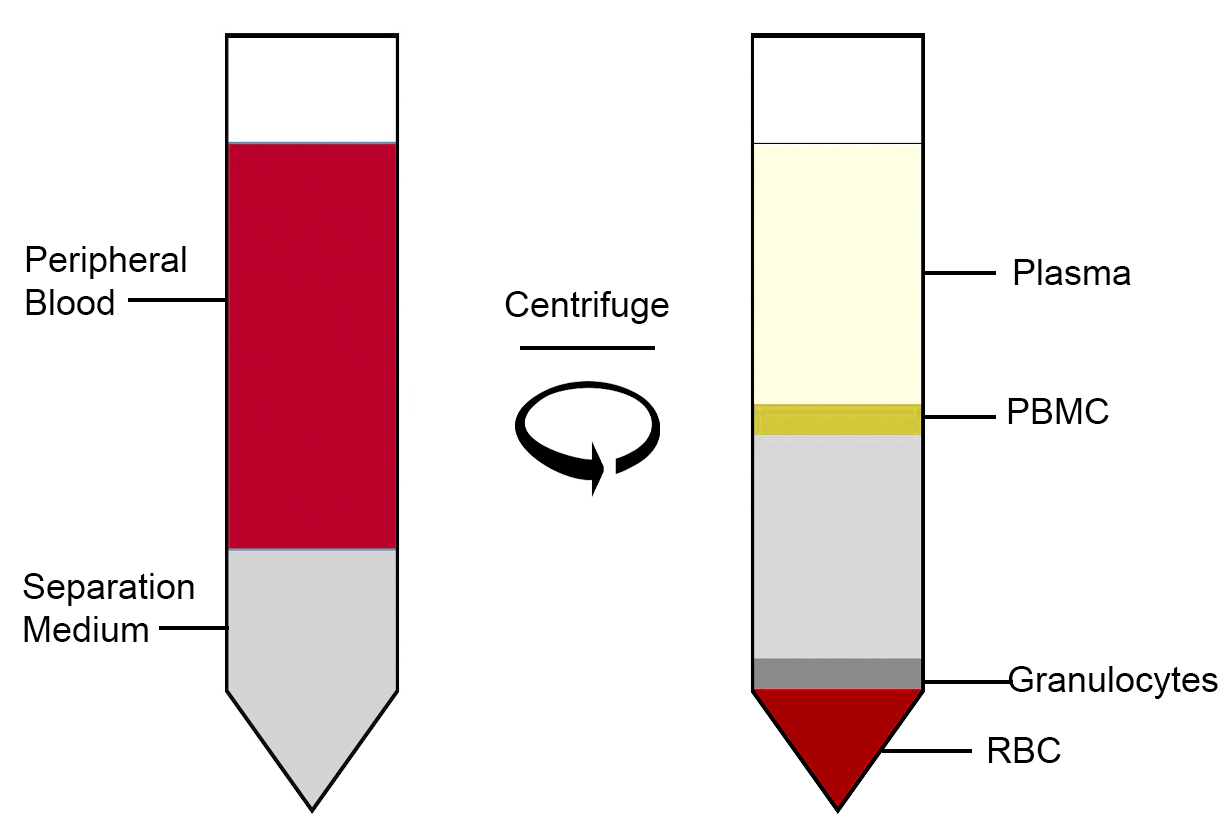
Diagram of peripheral blood separated into different layers including PBMCs ( round cells with a single nucleus: lymphocytes, monocytes, natural killer cells (NK cells), dendritic cells).
The advantage of using PBMCs is that you can tell more readily when the virus has initially successfully reprogrammed cells, as they change from non-adherent to adherent and start forming dense colonies of small cells.
The colonies need to be maintained meticulously as they tend to differentiate in culture (i.e. turn into (uncontrolled) specific cell types).
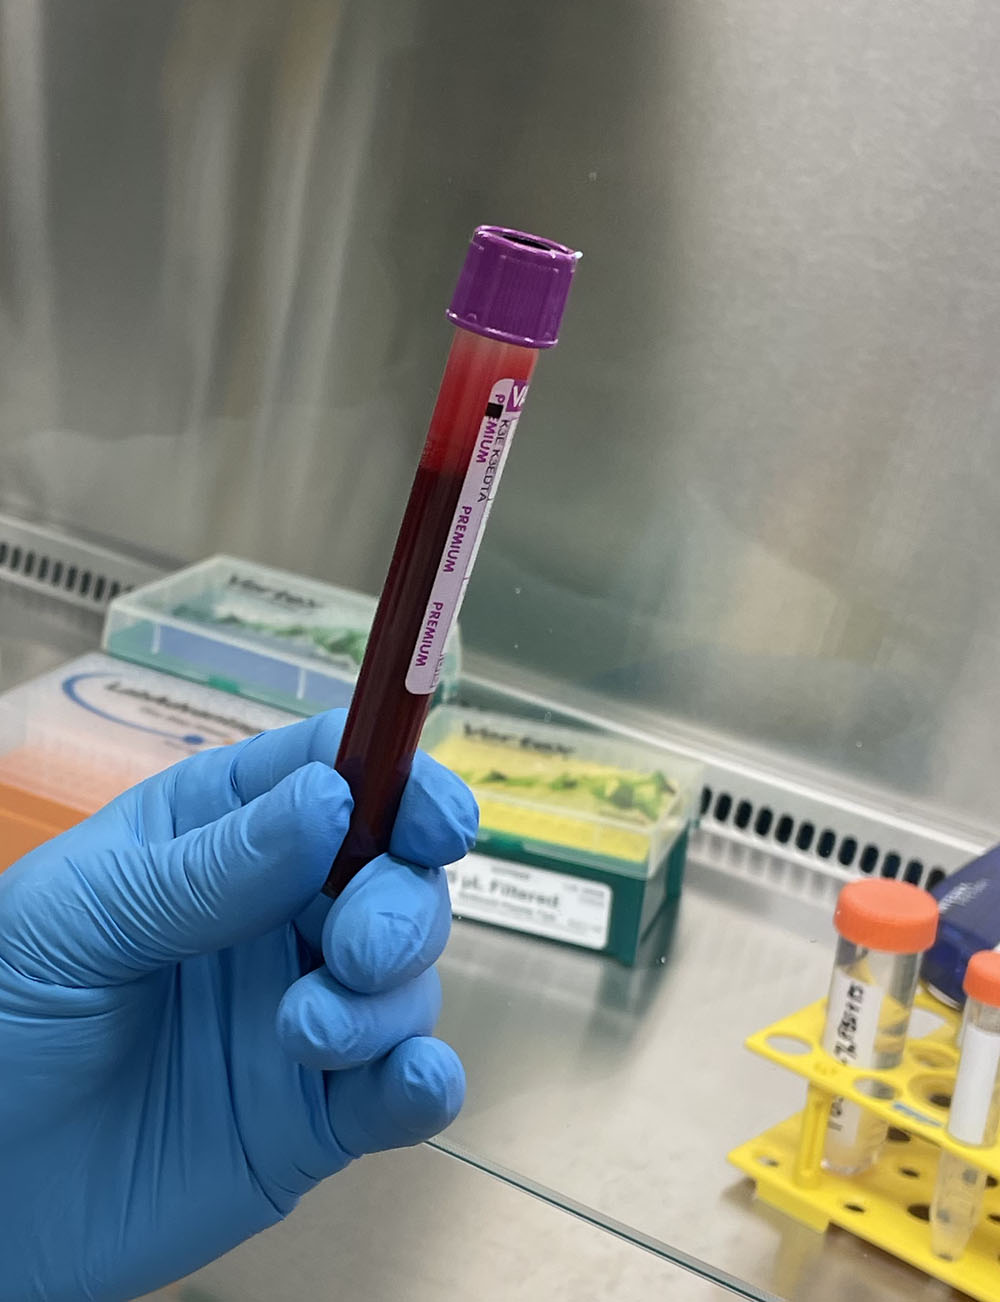
Ash indicated that when the blood is collected, it should be processed (PBMCs extracted) within a 4-hour window. A vial of blood should yield 4 – 5 million PBMCs, so he suggested that we freeze 4 x vials (1 x 10⁶) as backup and proceed with a single 1 x 10⁶ sample. This will also need careful planning to ensure that I am able to donate and process blood on the same day, plus move forward with the next steps involved.
On Thursday 24/2, Ash has kindly agreed for me to shadow him when he adds the Cytotune 2.0 (Sendai Virus reprogramming system) to the cultured PMBC samples. I’m looking forward to learning more.


 T75 originally plated 15/12/21 – Flask #1
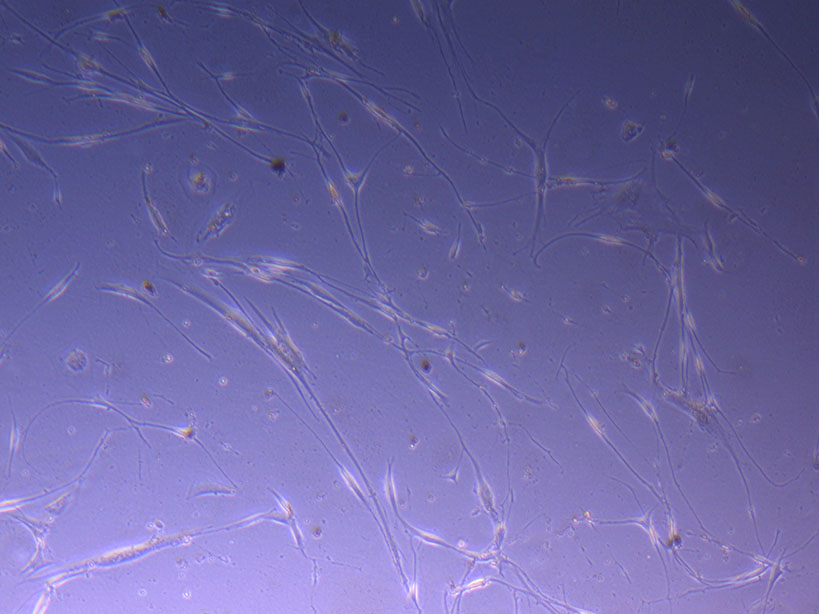 T75 originally plated 15/12/21 – Flask #2
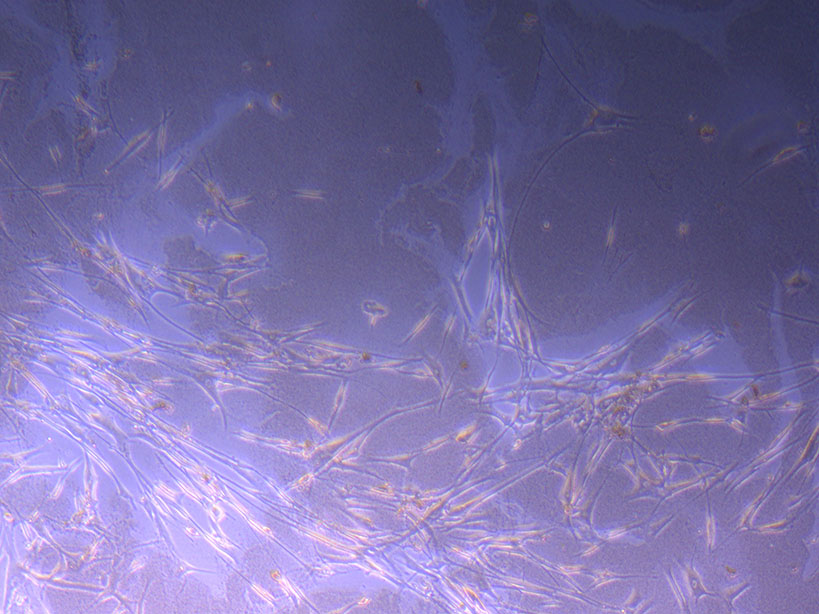 T75 originally plated 7/10/21
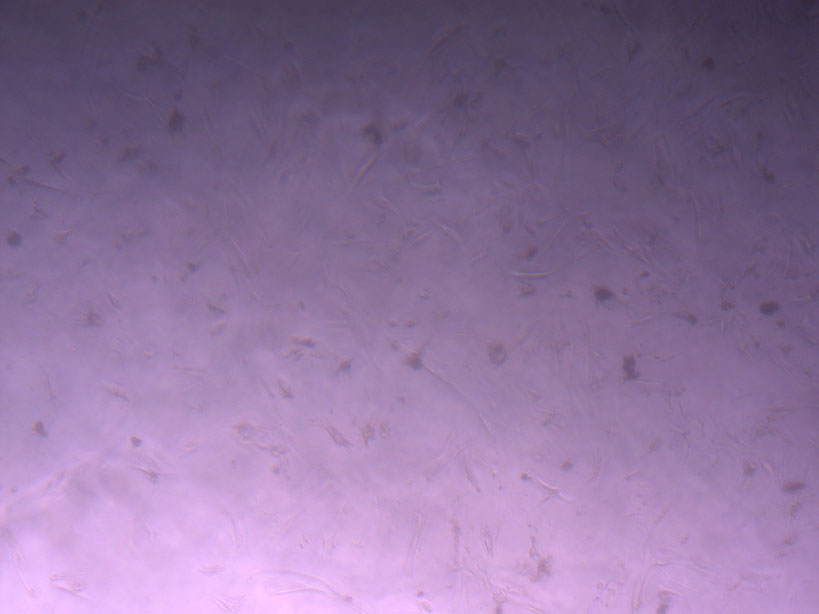 Cut Glass Dish – originally plated 15/12/21
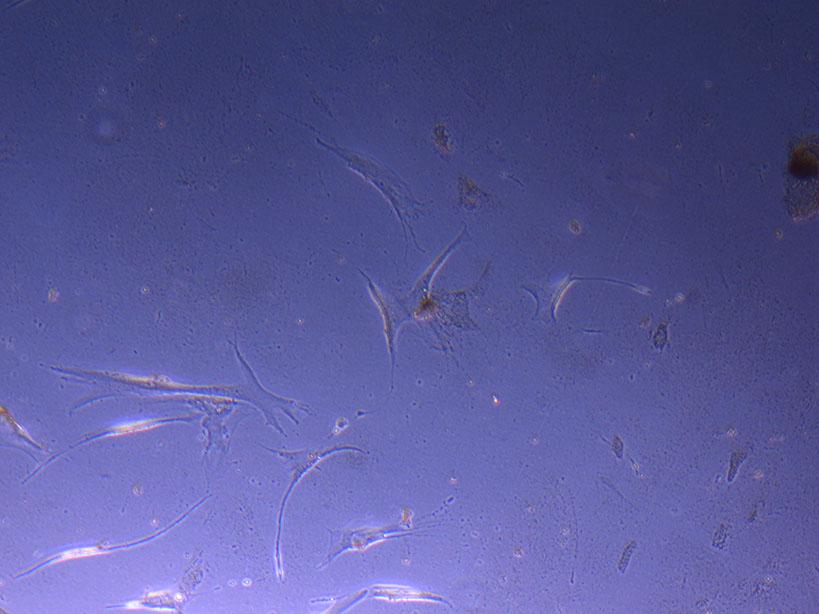 T75 originally plated 7/10/21 and passaged 16/11/21 – Flask #1
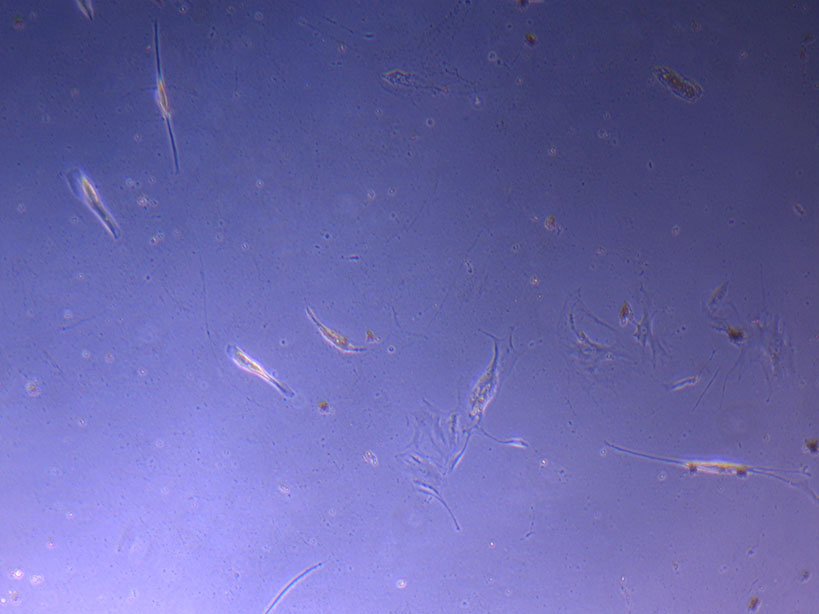 T75 originally plated 7/10/21 and passaged 16/11/21 – Flask #2
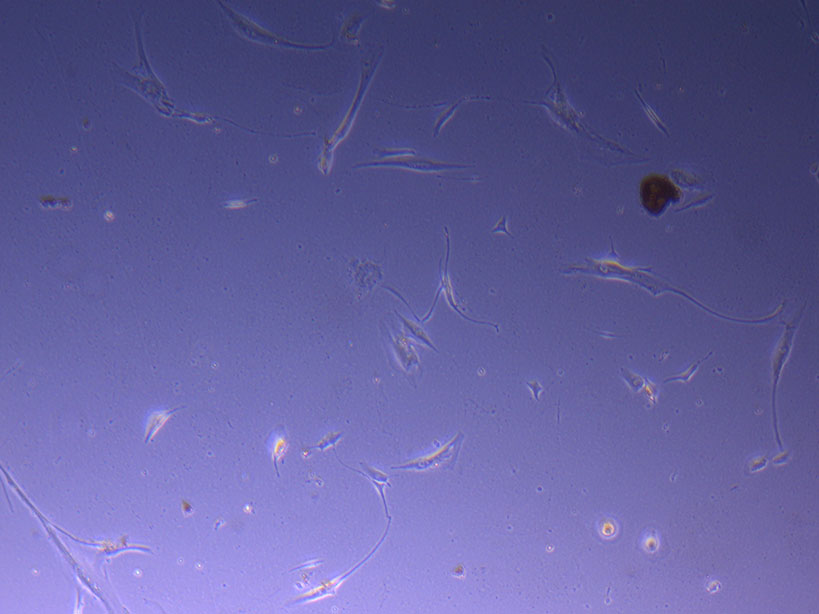 T75 originally plated 15/12/21 – Flask #3
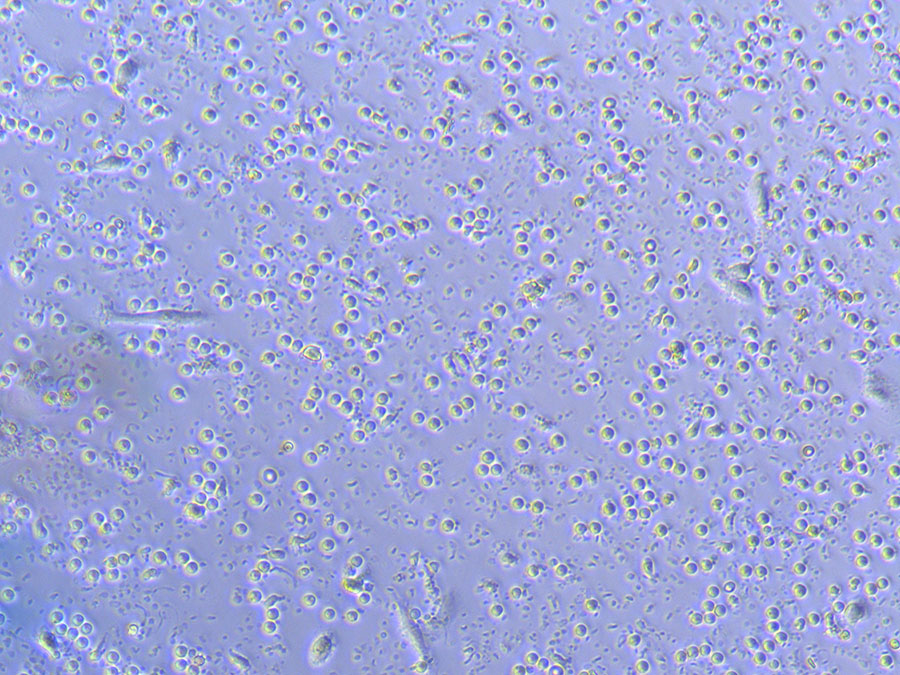
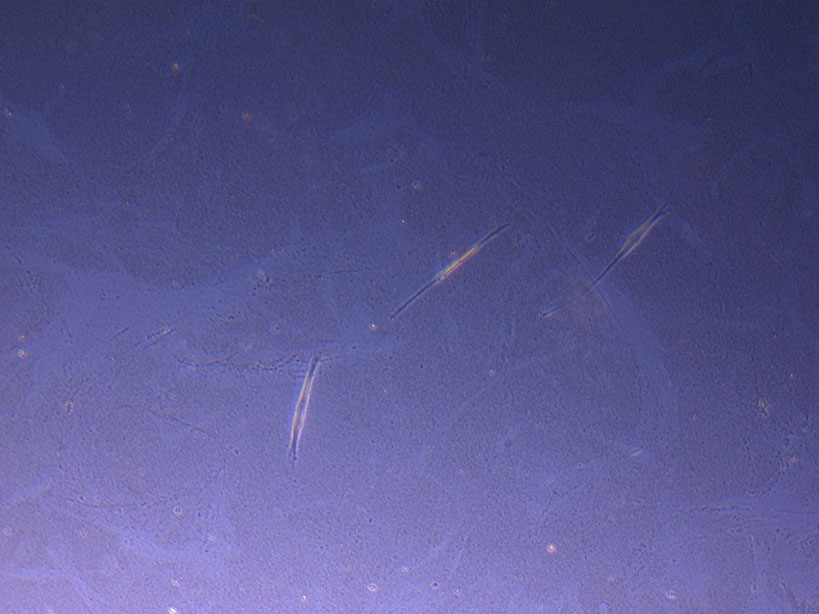 T75 originally plated 10/09/21 showing sparse number of cells with evidence of previous cell movement and presence in ‘ghost trails’.
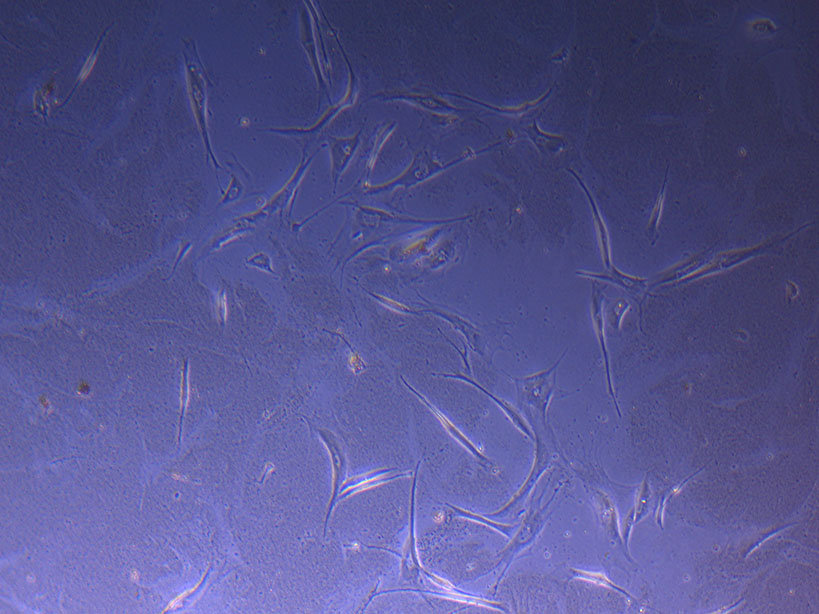 T75 originally plated 10/09/21 showing small cluster of cells with evidence of previous cell movement and presence in ‘ghost trails’.
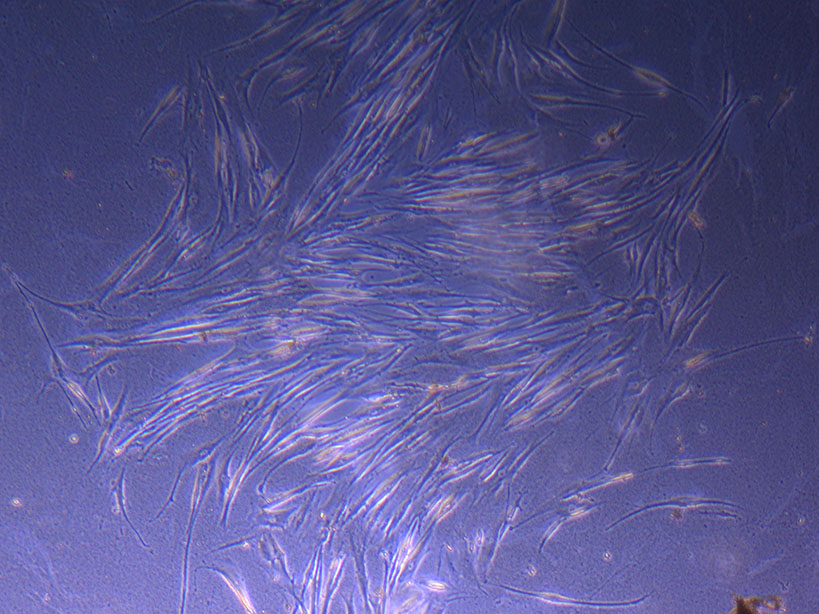 T75 originally plated 10/09/21 showing larger cluster of fibroid-like cells.
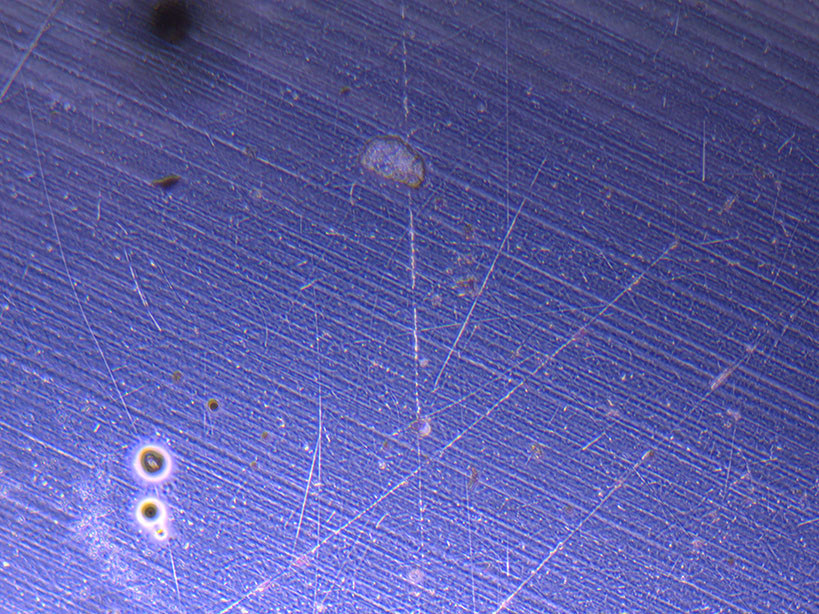
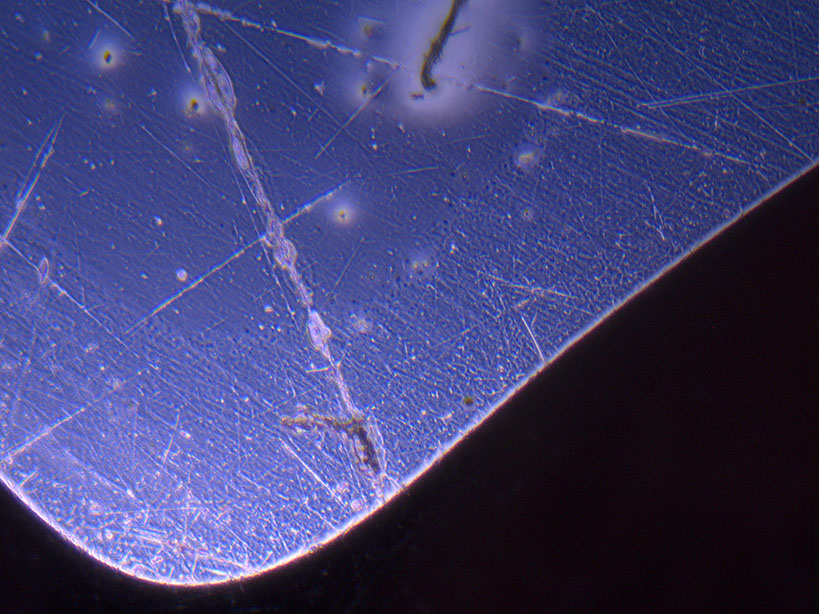 Microscope images of cut glass dishes after H&E staining on 20/01/22 showing scratches on glass surface and no cells.
 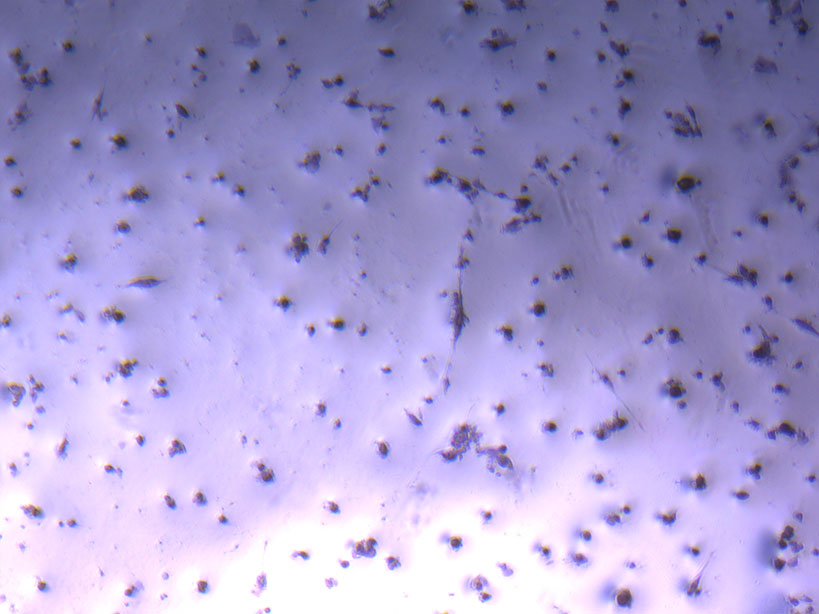 Microscope image of glass vial after H&E staining on 20/01/22. The image shows a vast number of dead cells that were not fixed in a live state.
 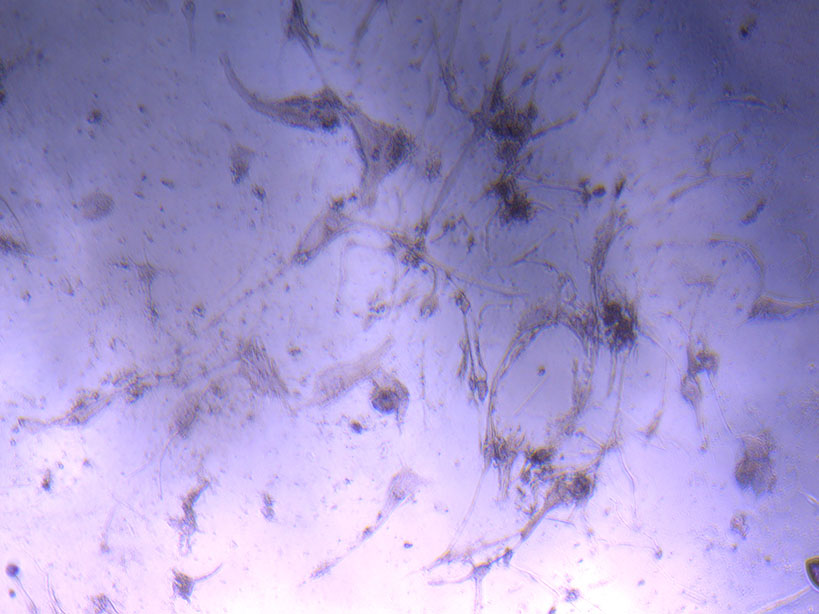 Microscope image of glass vial after H&E staining on 20/01/22. The image shows dried cell remnants.
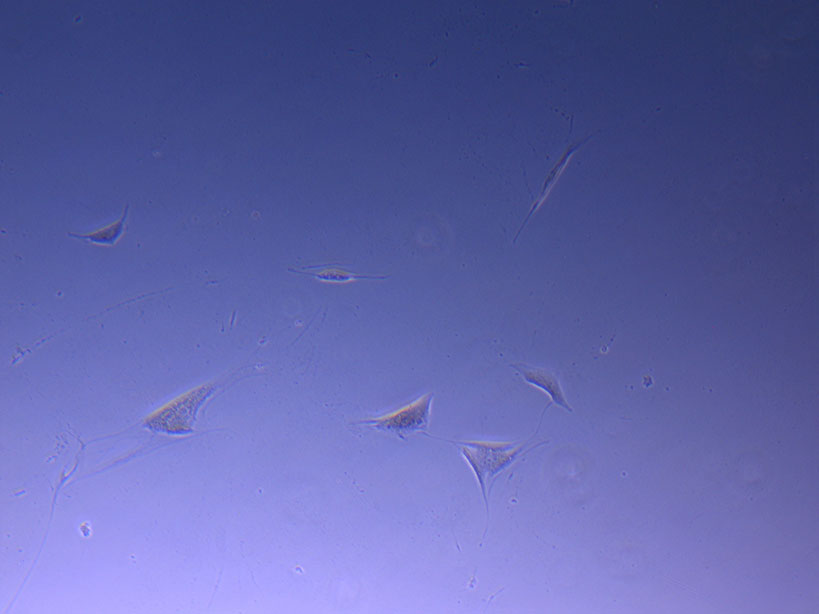
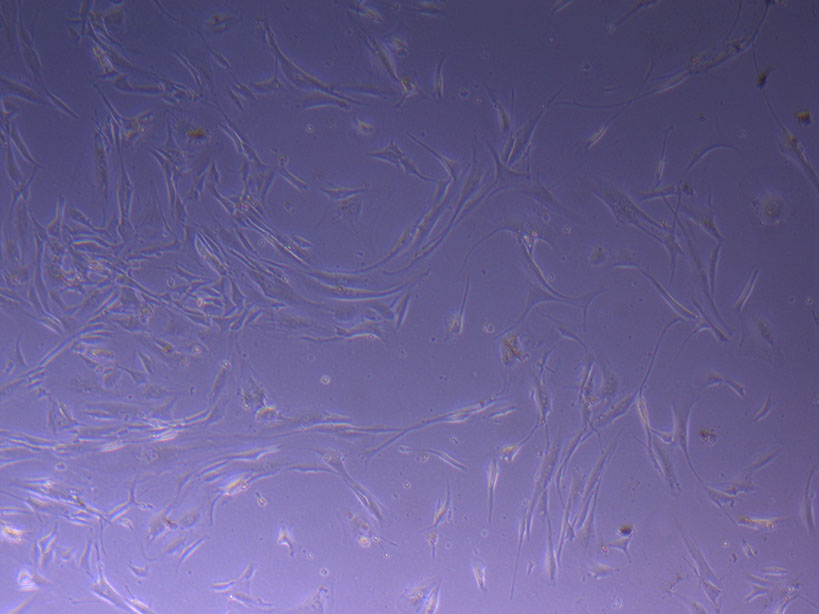
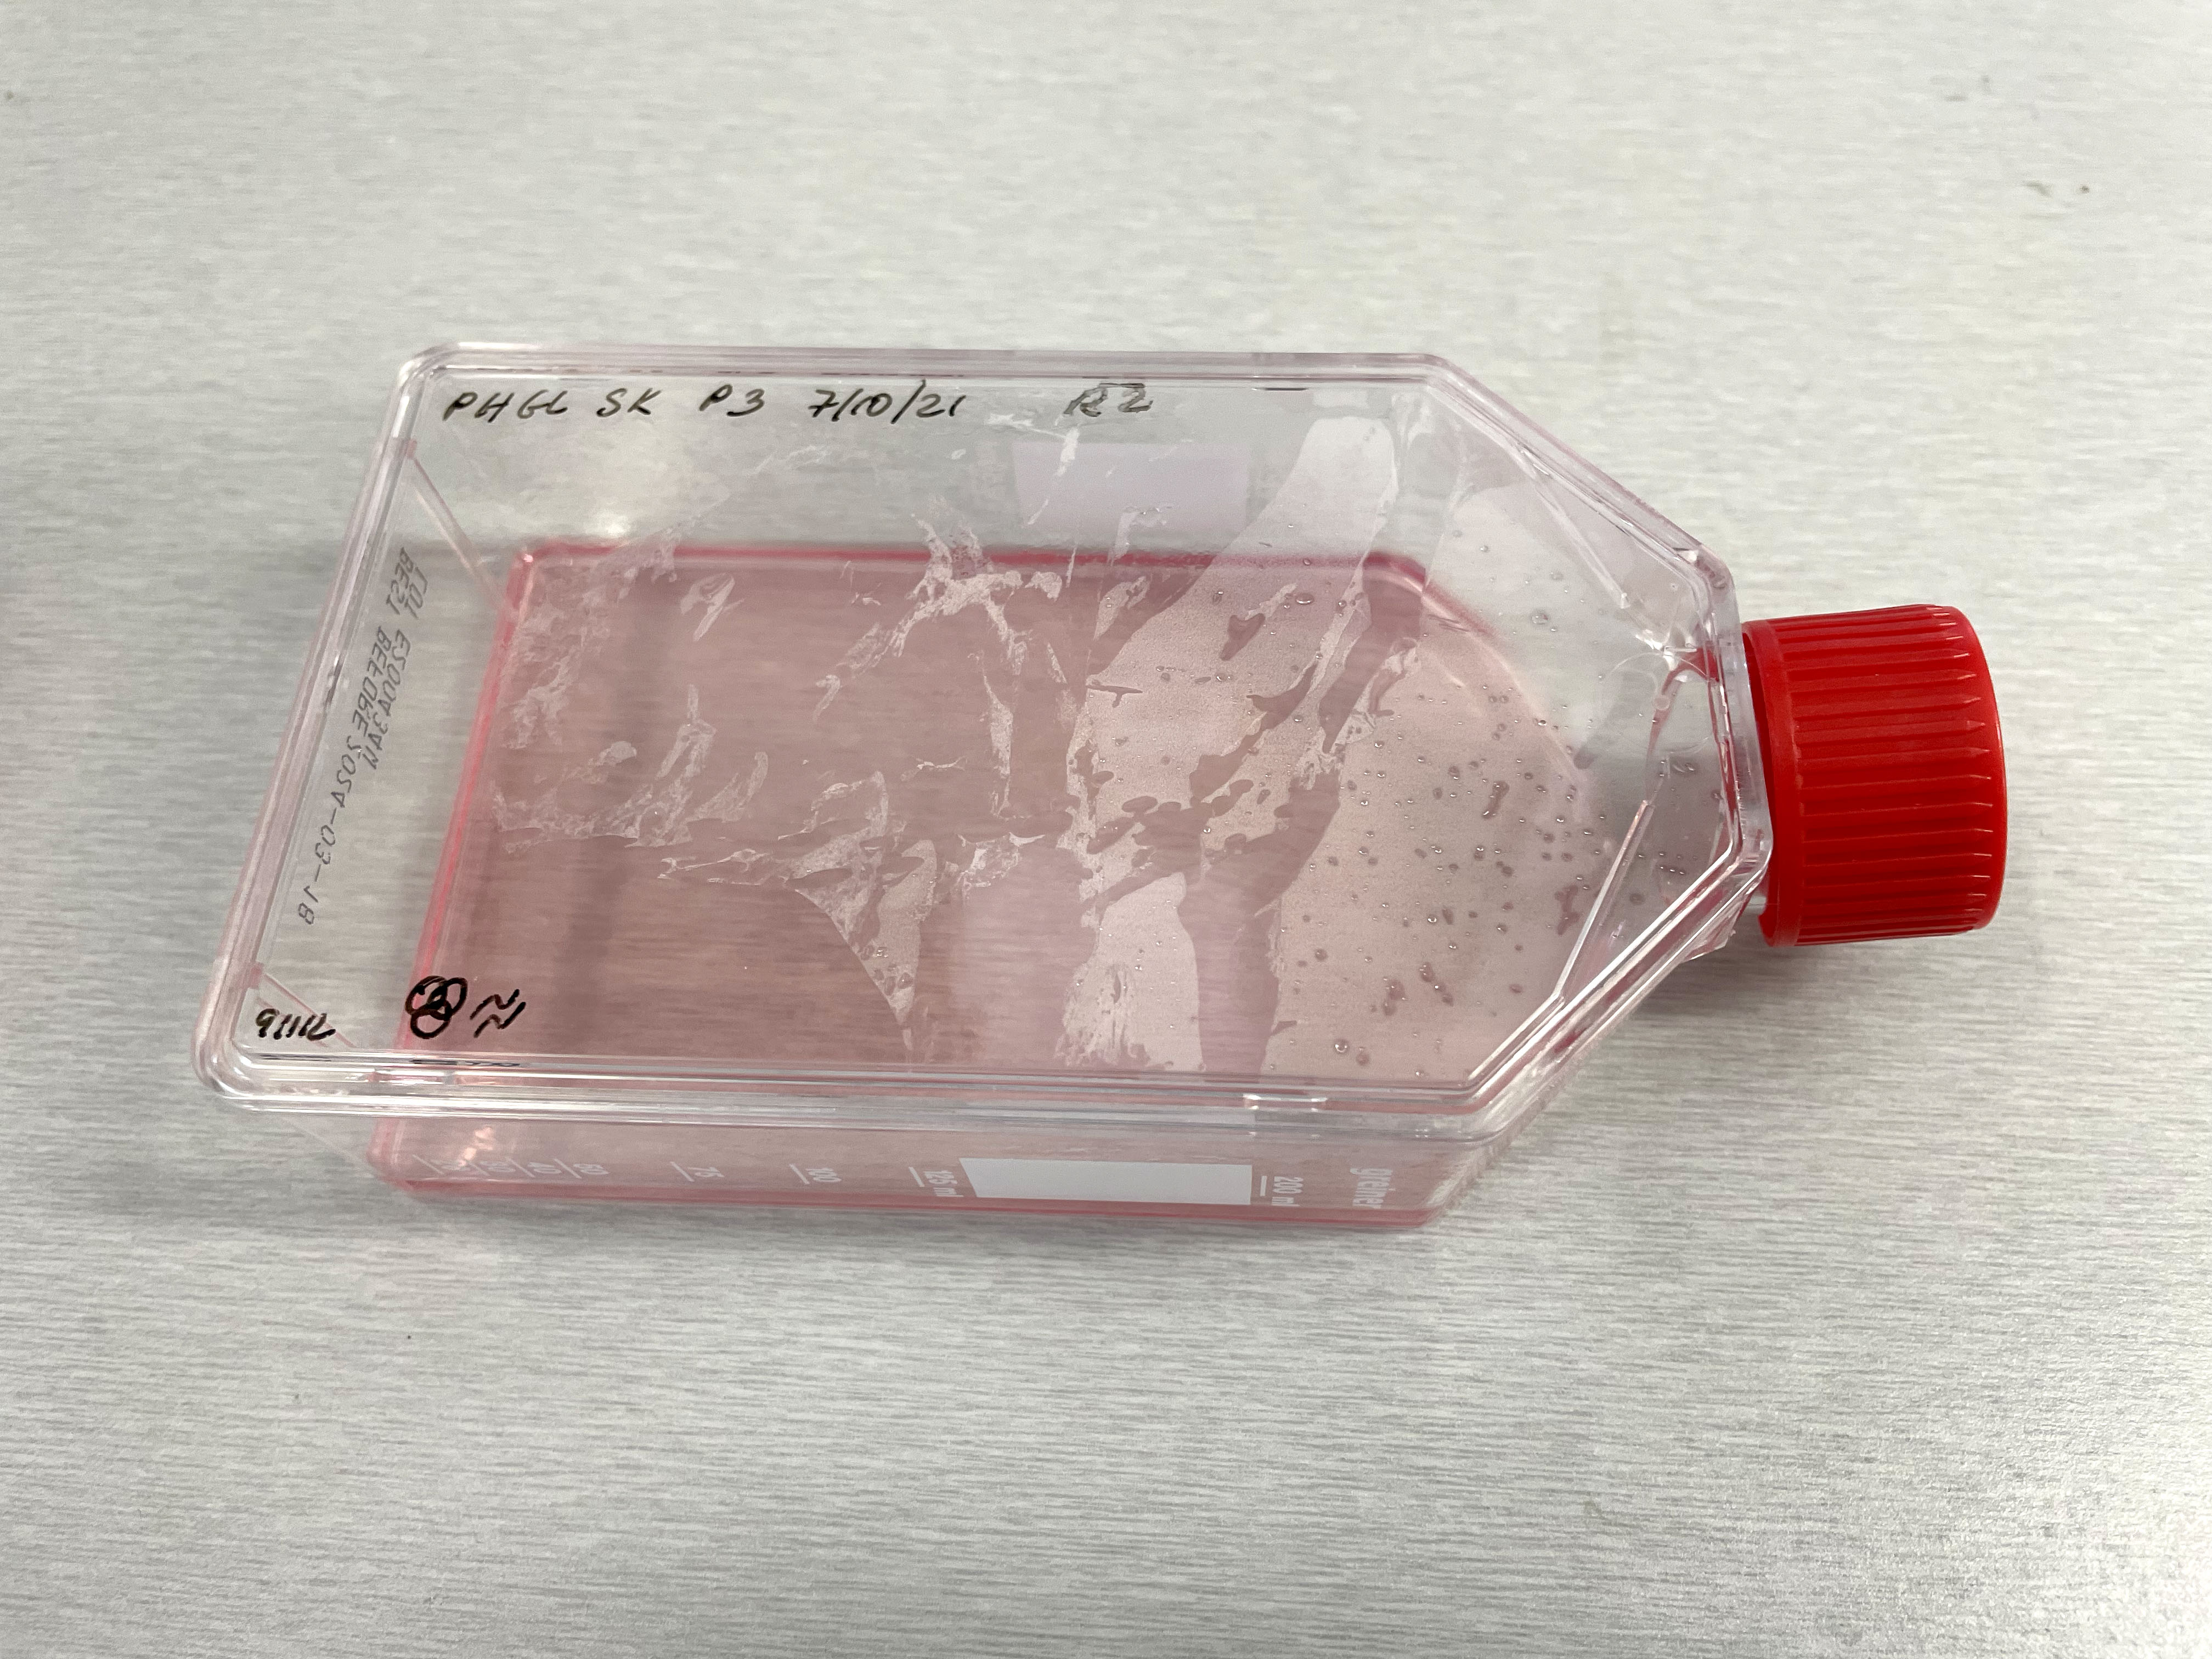 Image of PHGL Tumour Baby cells Flask with original plating date (P 3, 07/10/21) and passage date (P4, 09/11/21) recorded.
 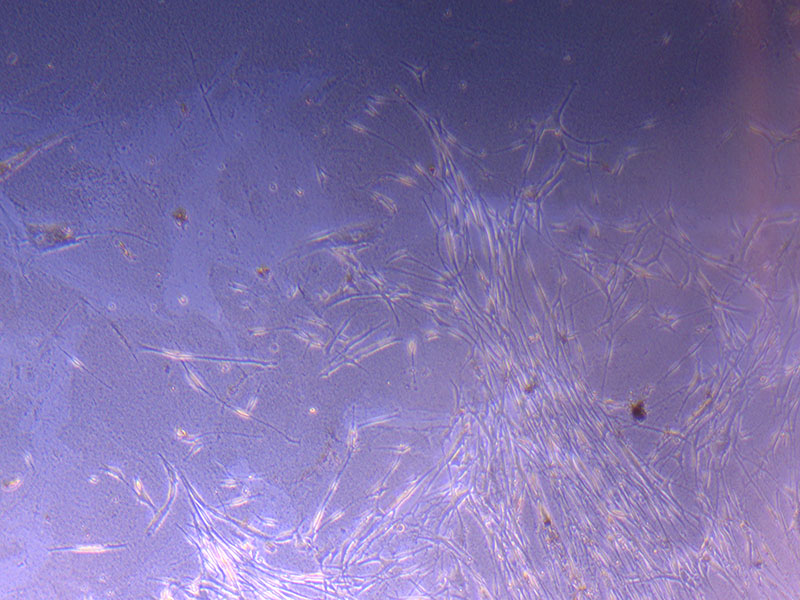 Light microscope image of PHGL Tumour Baby P3 in T75 flask [Org plated 07/10/21] imaged on 15/12/21.
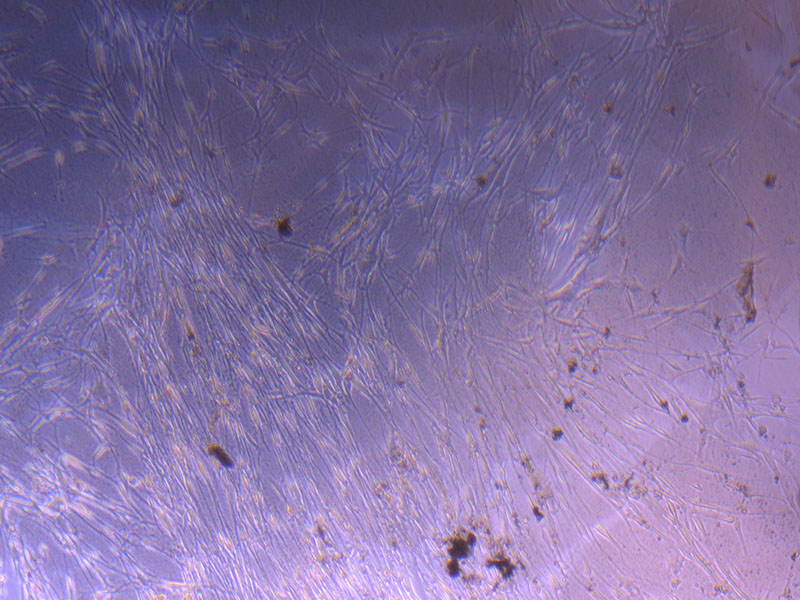
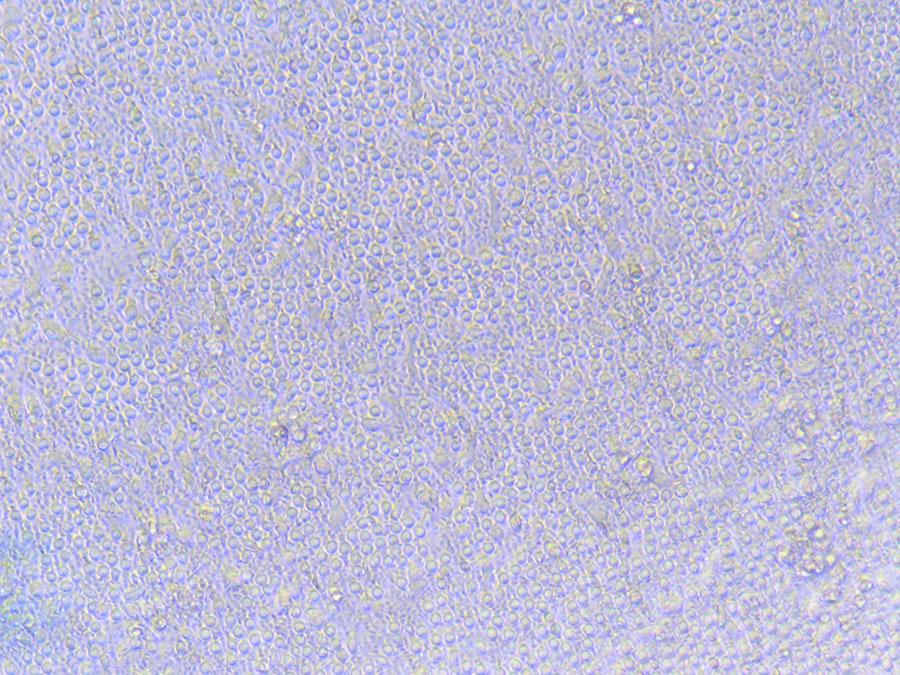
 Light microscope images of PHGL Tumour Baby P4 in T75 flask [Org P3 plated 07/10/21 – passaged P4 on 9/11/21] imaged on 13/1/22 after cell maintenance.
 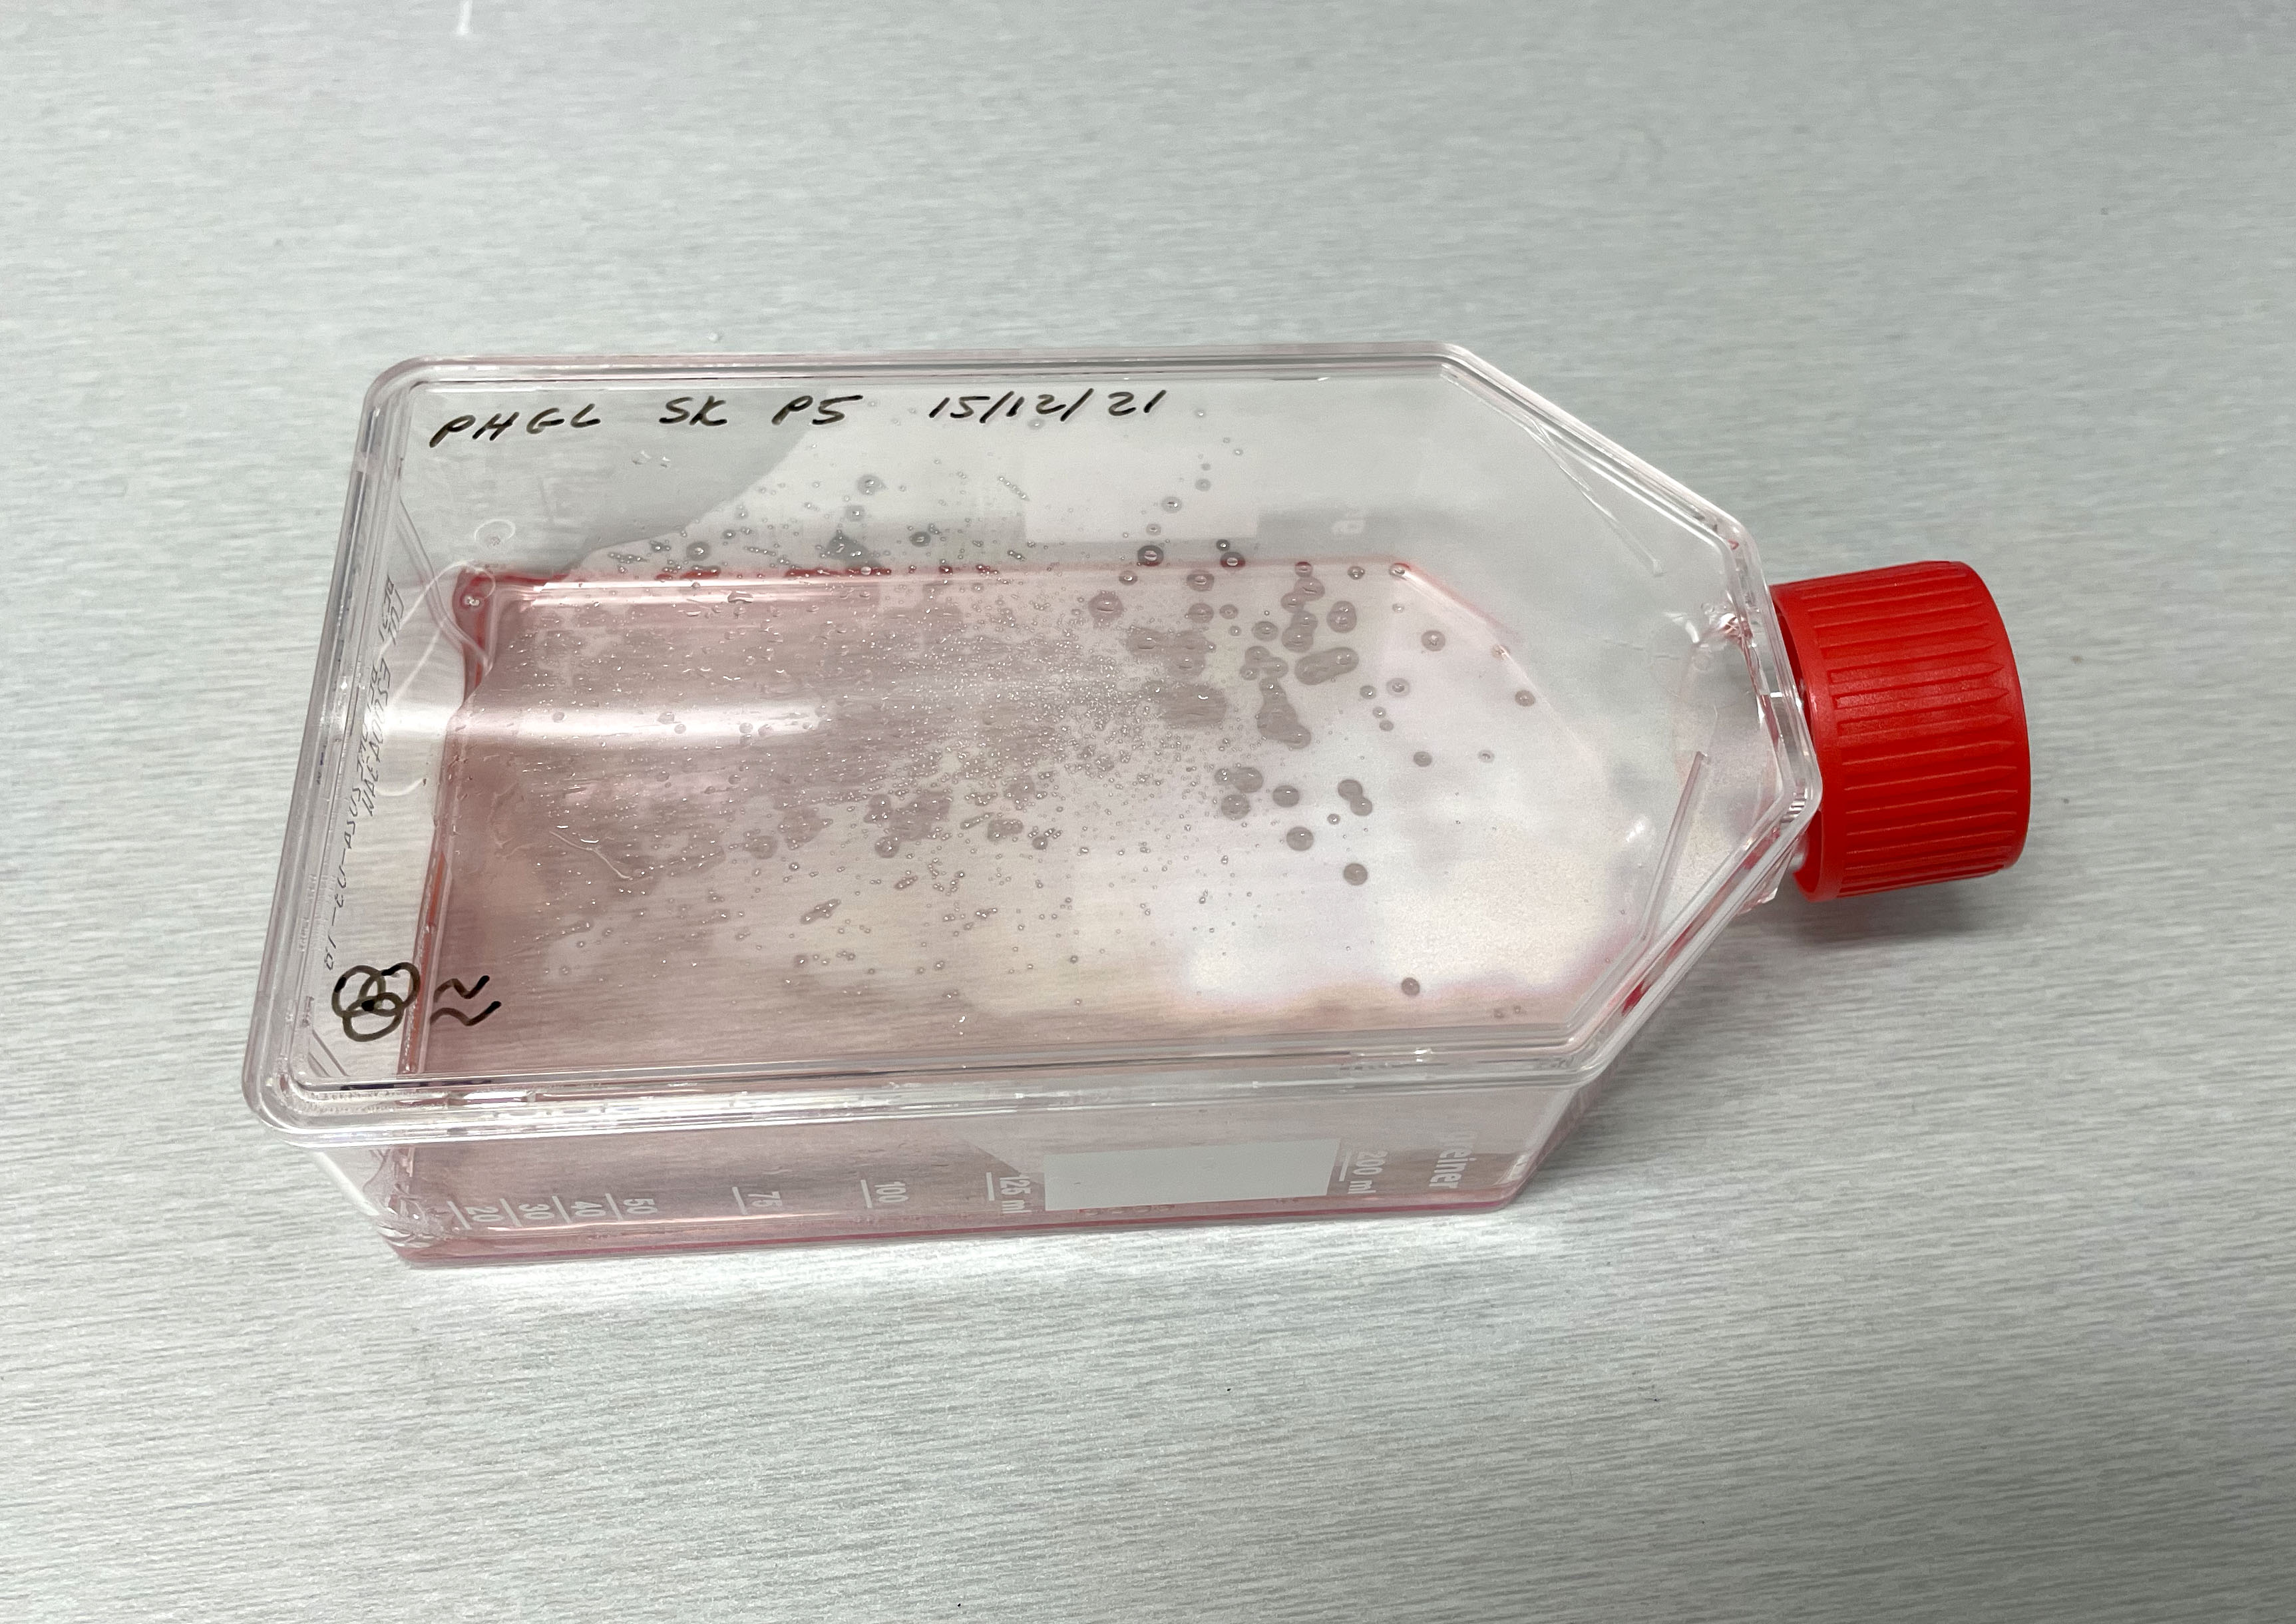 Photograph of PHGL Tumour Baby P5 in T75 flask plated on 15/12/21 prior to holidays.
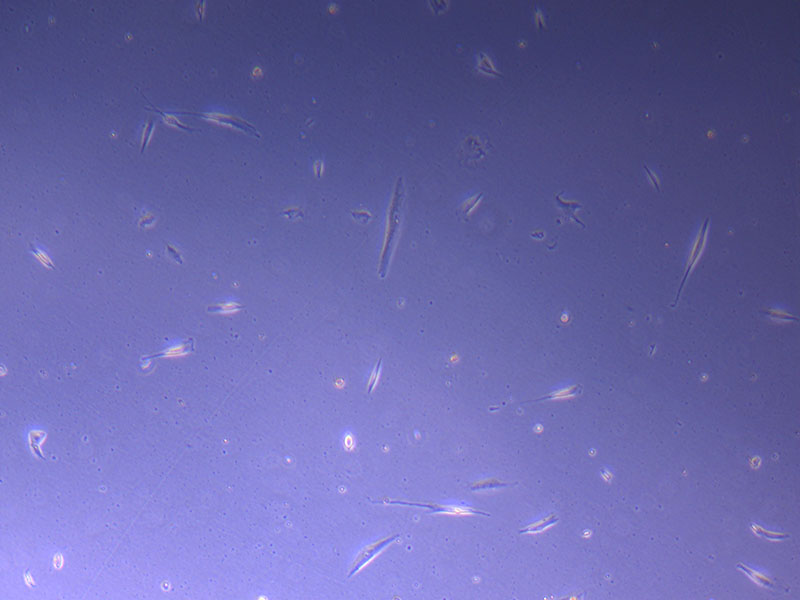
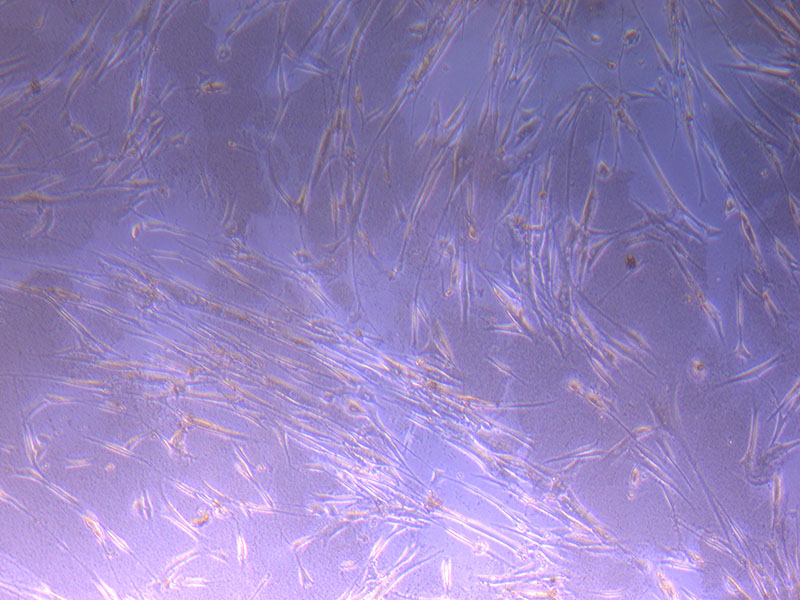
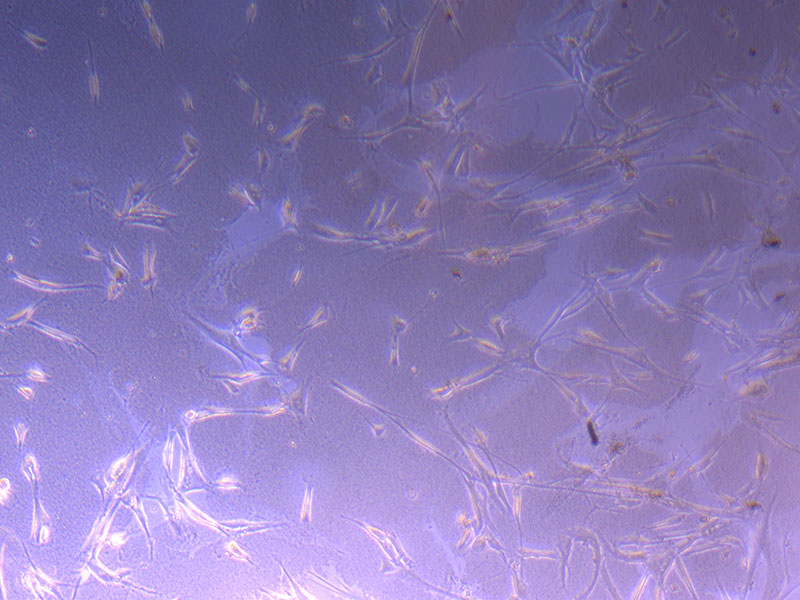
 Light microscope image of PHGL Tumour Baby P5 in T75 flask plated on 15/12/21.
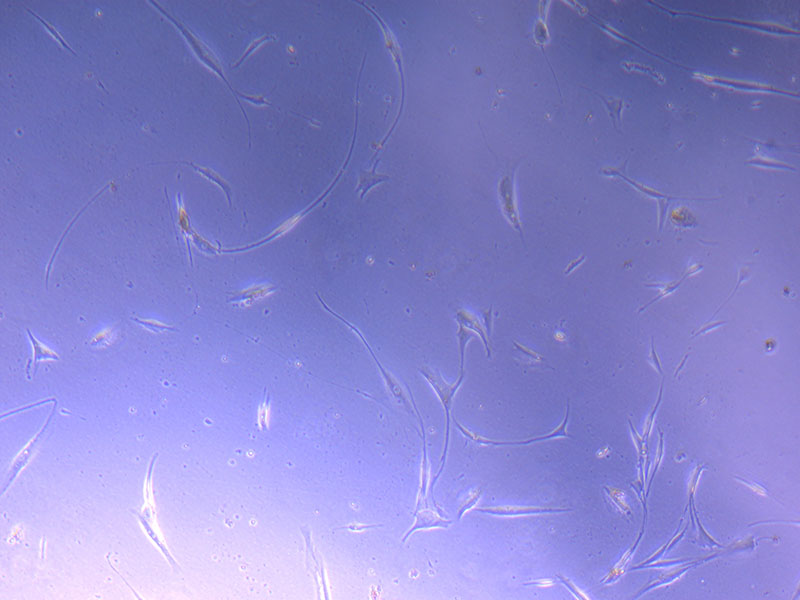
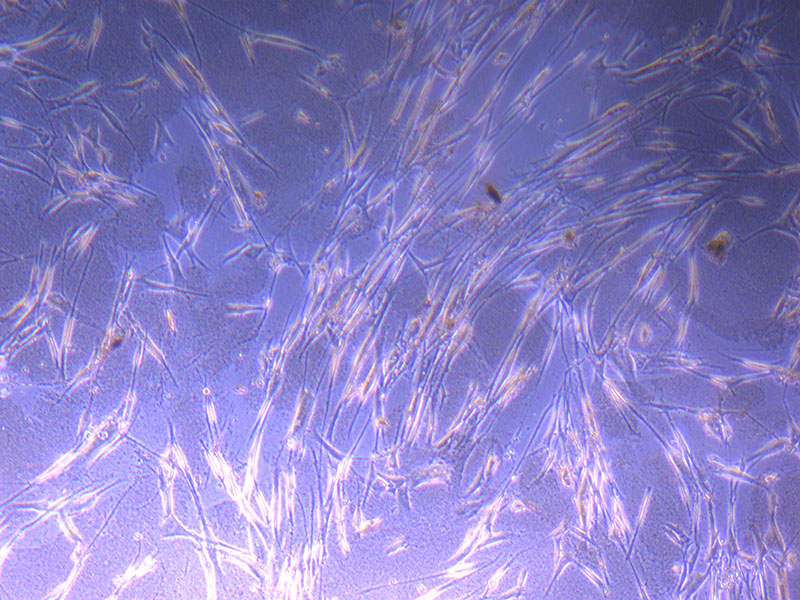
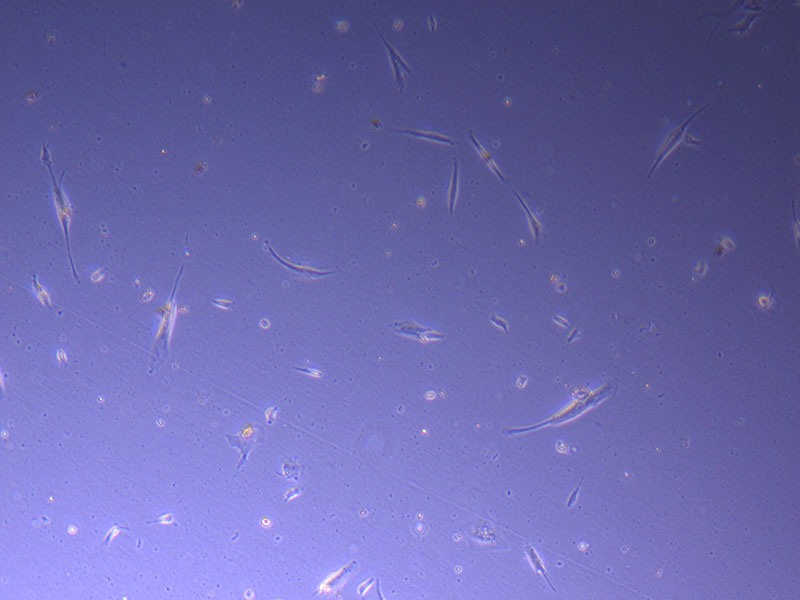
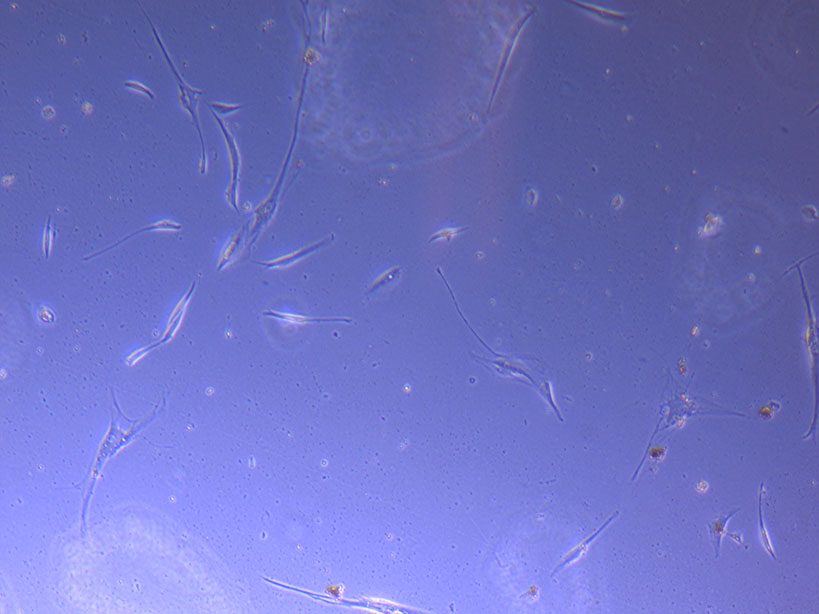
 Light microscope images of PHGL Tumour Baby P5 in T75 flask plated on 15/12/21 and imaged on 13/1/22.
 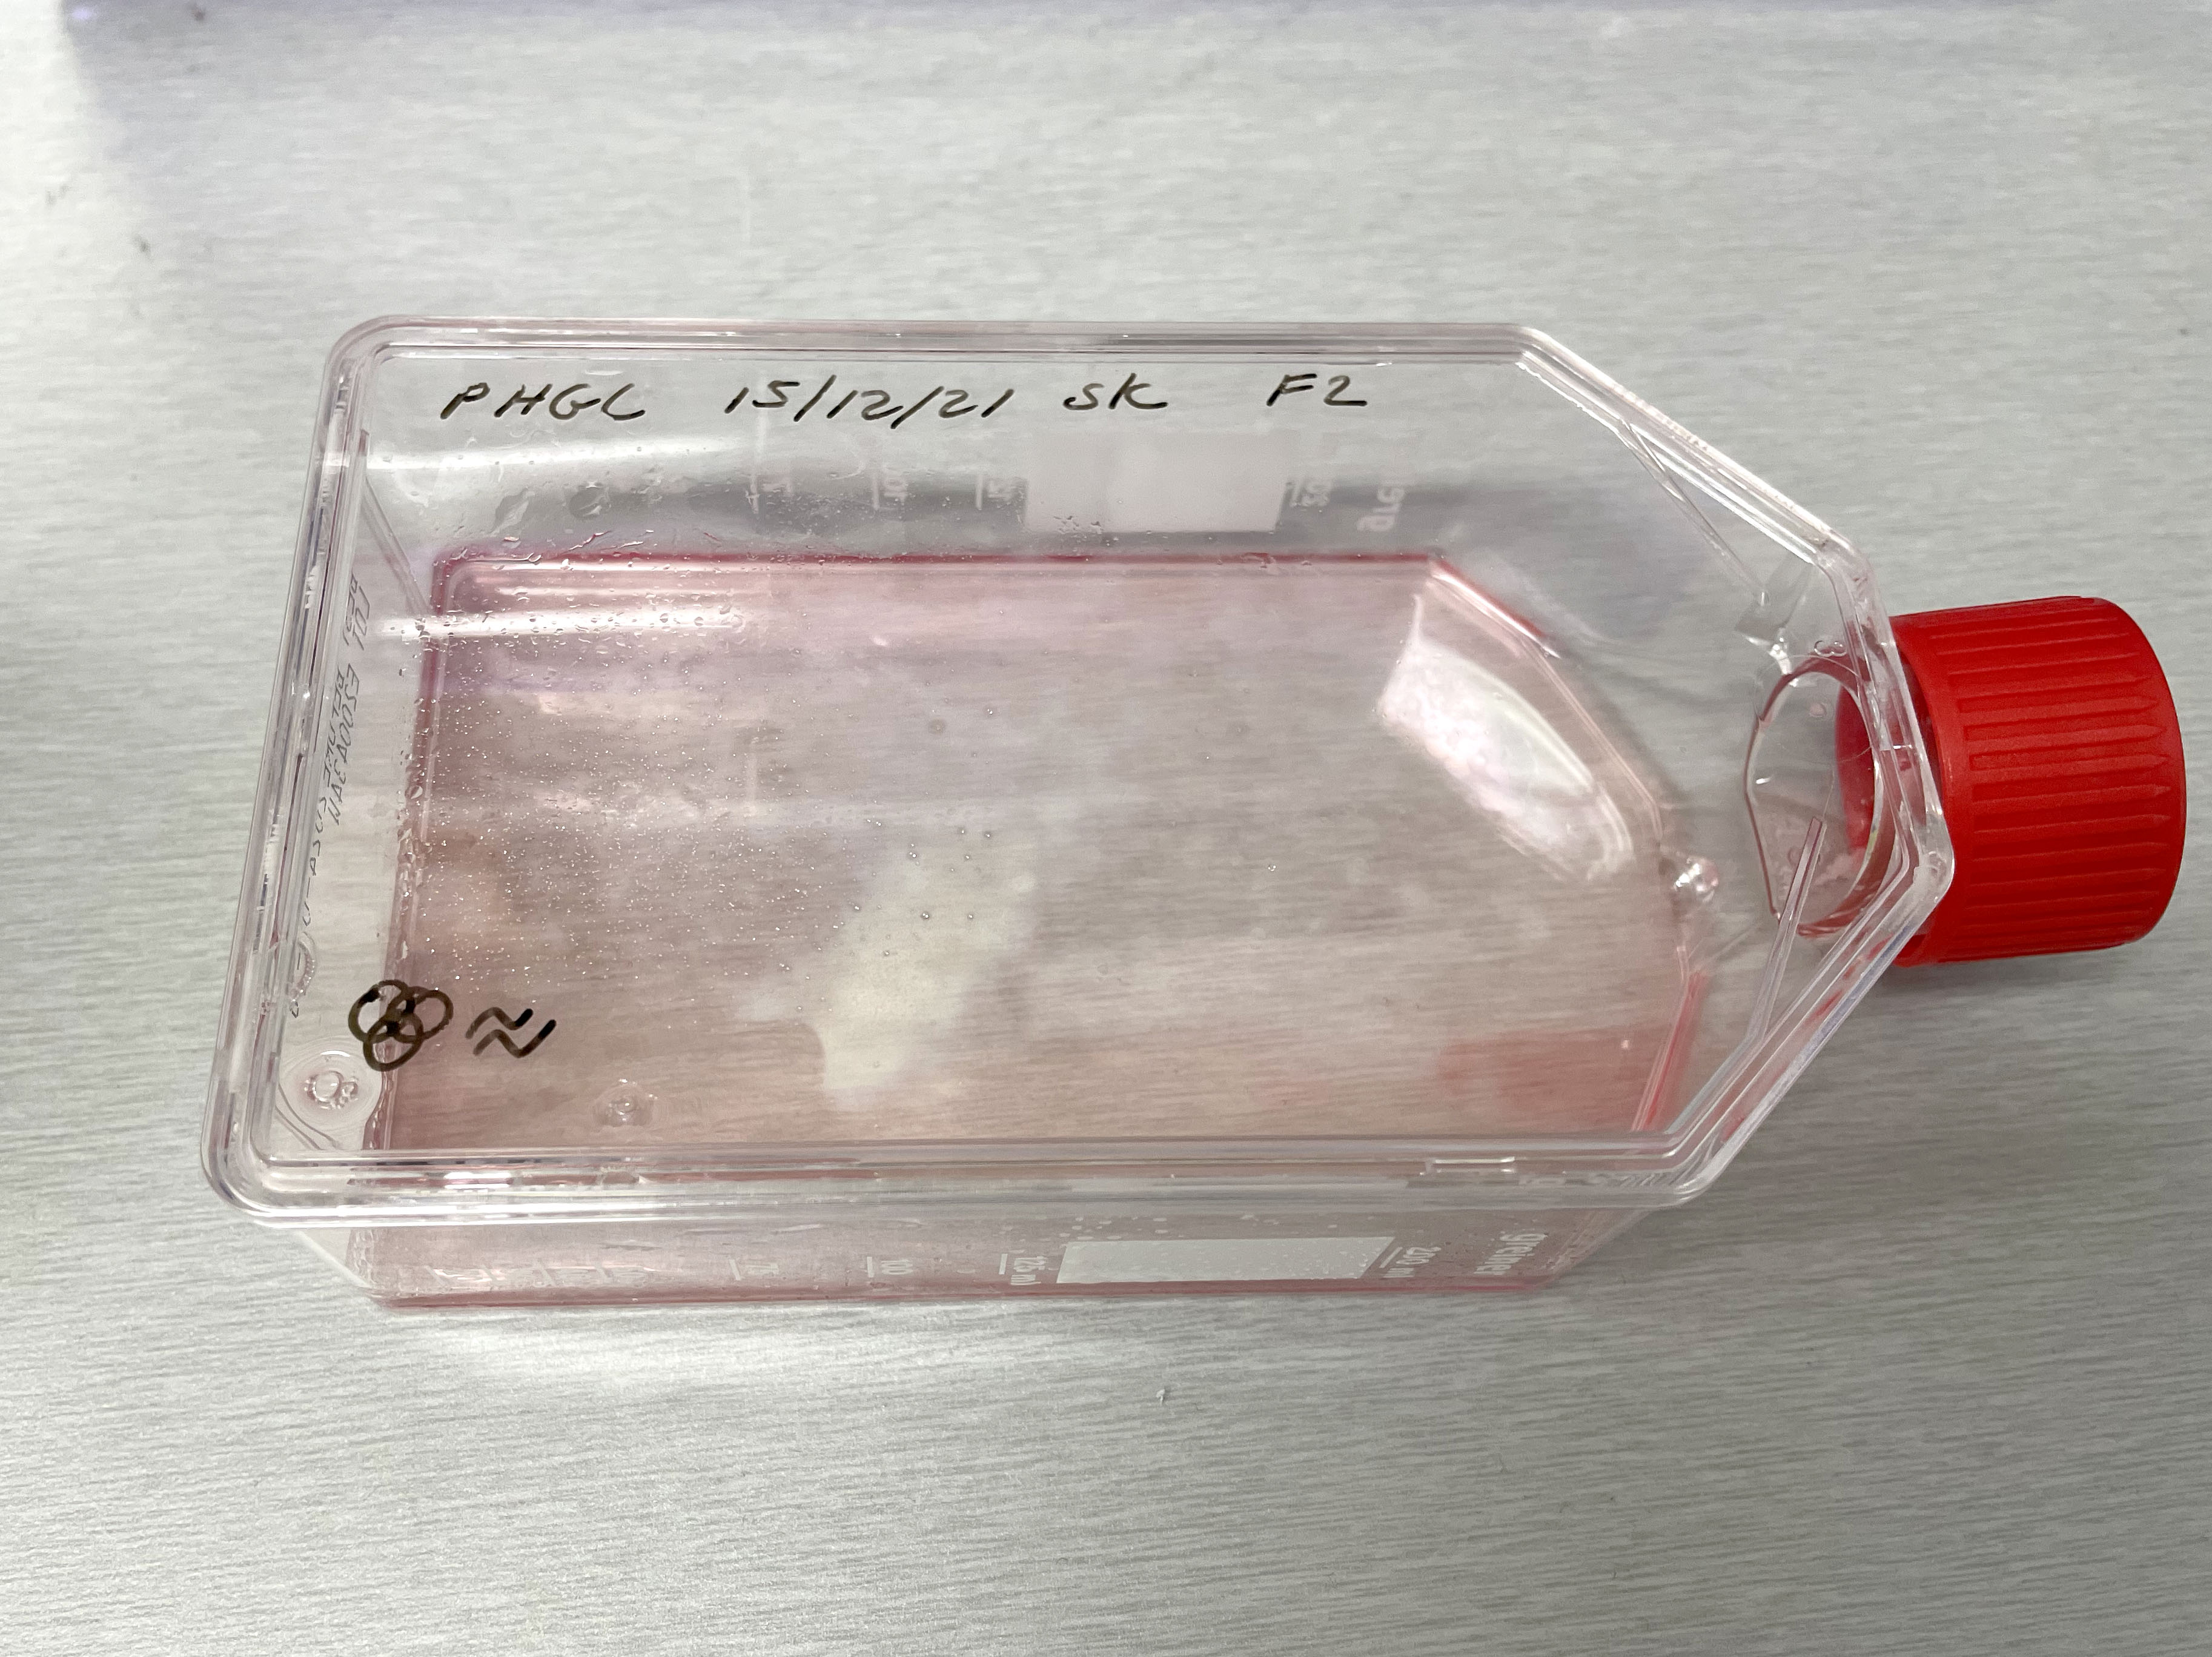 Photograph of PHGL Tumour Baby P5 in T75 flask #2 plated on 15/12/21.
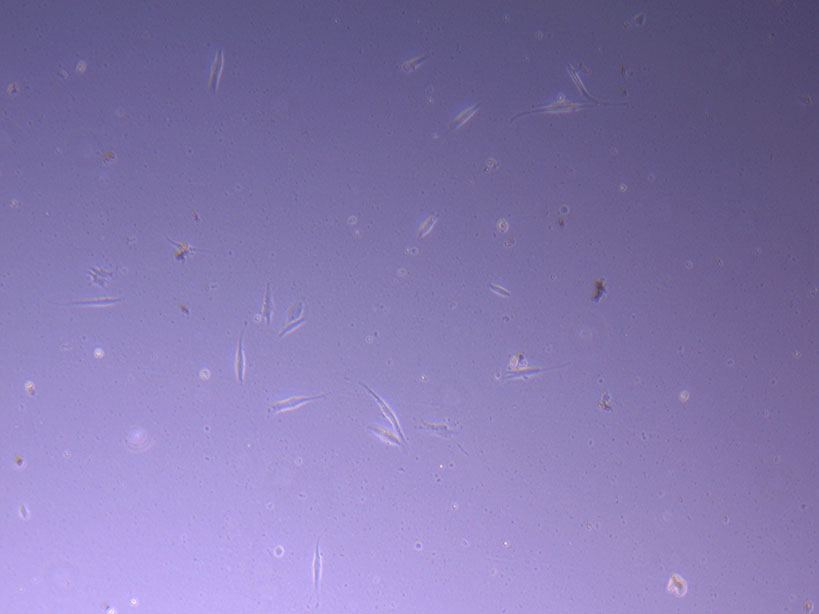 Light microscope image of PHGL Tumour Baby P5 in T75 flask 2 plated on 15/12/21.
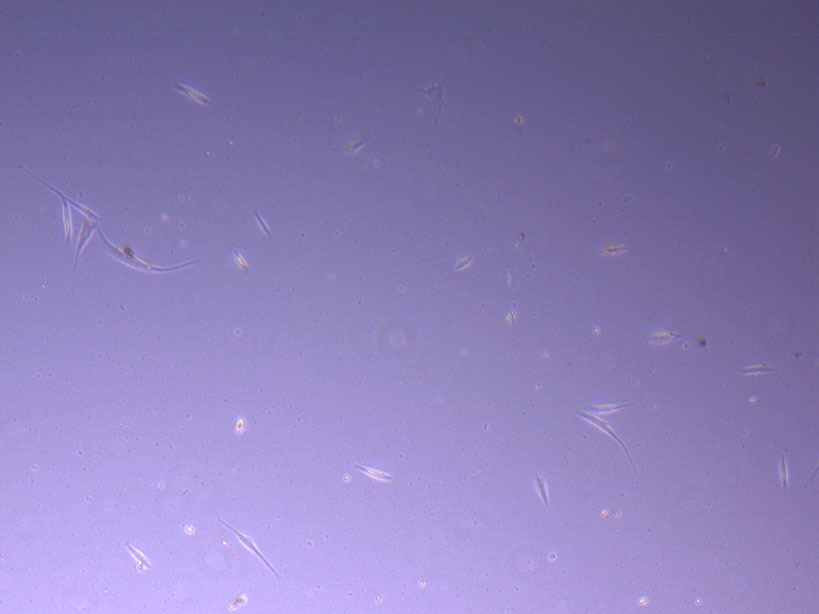 Light microscope image of PHGL Tumour Baby P5 in T75 flask 2 plated on 15/12/21.
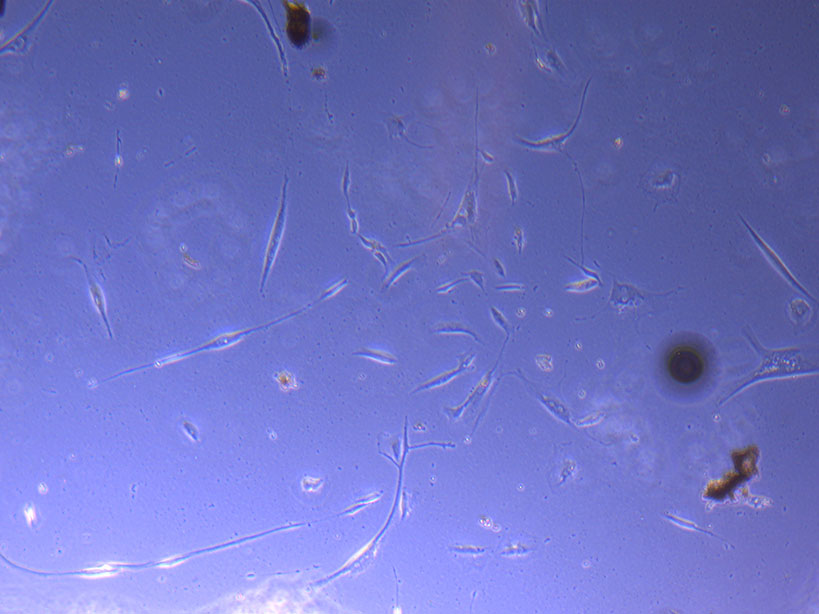
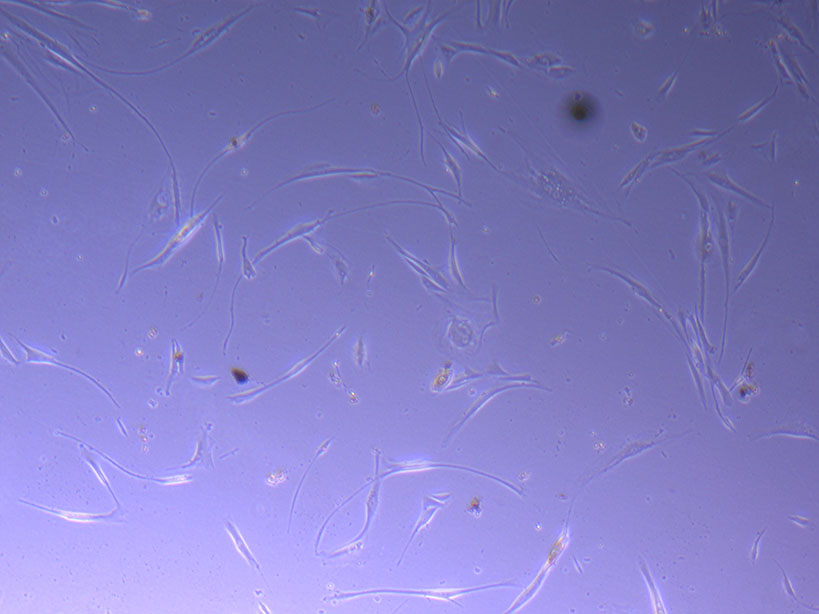
 Light microscope image of PHGL Tumour Baby P5 in T75 flask 2 imaged on 13/1/22.