
Following the successful growth of HBVPs in Poly-L-Lysine coated glass Petri dishes, I have enough of my own fibroid cells to repeat the process.
My cells continue to grow so slowly that I should be able to passage them into the Petri dishes and allow them to grow to confluence during the festive season break over 2 weeks . Of course, I need to clear this plan with Jo-Maree. No one else is using the incubator, so it should not be too much of a problem.
As part of this plan, I will be growing my tumour baby cells in 90mm glass Petri dishes and 1 x 90mm crystal dish. As per my previous experiment with HBVP cells, I need to coat the glass surface with Poly-L-Lysine solution to enable cell adherence.
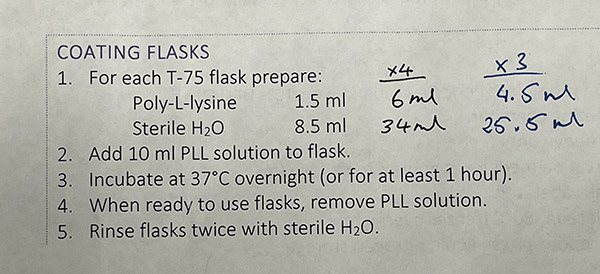
I diluted the Poly-L-lysine solution with sterile MilliQ water (sterilised 14/12/21) to make up 40 mL total (10mL for each 900mm Petri dish x 3, plus 1 x cut glass crystal dish)
6mL PLL + 34mL MilliQ = 40mL PLL Solution
I added 10mL of the Poly-L-Lysine solution to each dish and then incubated them for an hour. [ The cut glass crystal dish was placed inside a 150mm autoclaved Petri dish to preserve sterility.]
 Unwrapping Petri dishes and getting ready to coat culture glassware with PLL.
 PLL coated glassware in Petri dishes ready for incubation.
Following incubation, I removed the Poly-L-Lysine solution and washed the dish with PBS. During cell passage of my confluent flask, I added 1mL of cell solution (from a 10mL suspension) and 5mL media. I placed the cut glass vessels back into a 150 mm Petri dish and into the incubator.
 Cut glass vessels with cells ready for incubation.
Fingers crossed that they survive the holiday break!
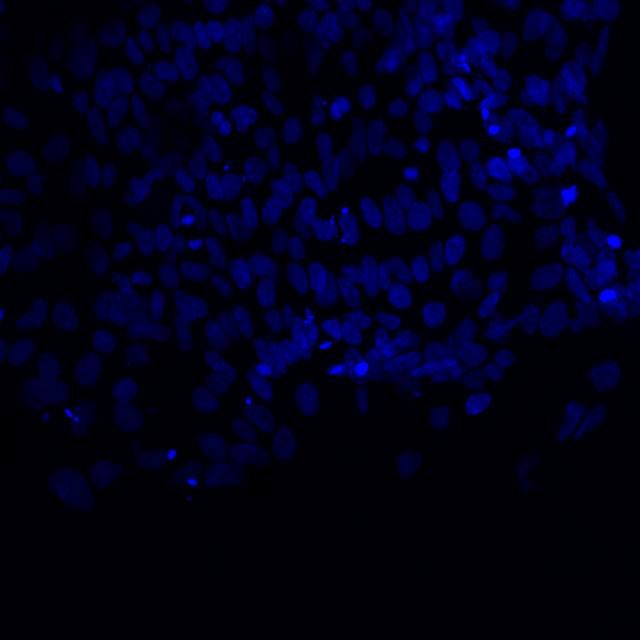 Microscopic image of stem cells, Hues 9 stained with DAPI (blue) by the UC San Diego Stem Cell Program.
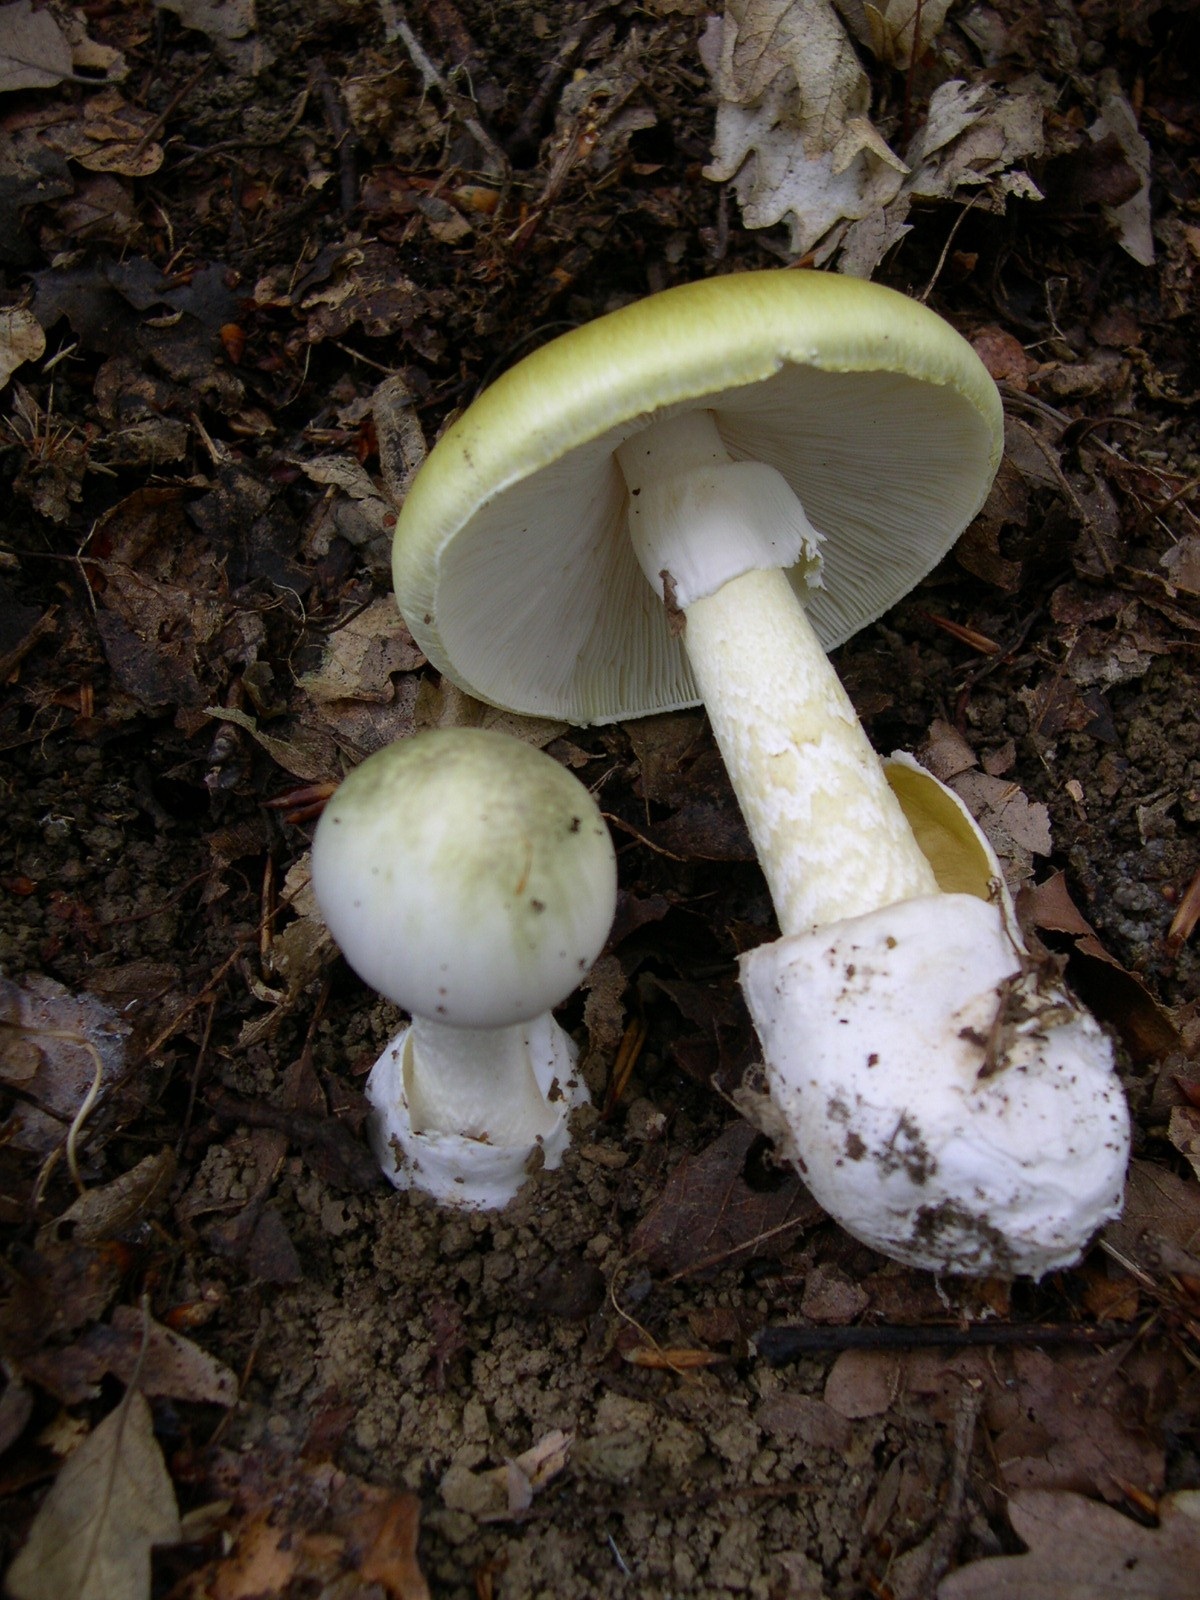 Image of Amanita phalloides via
 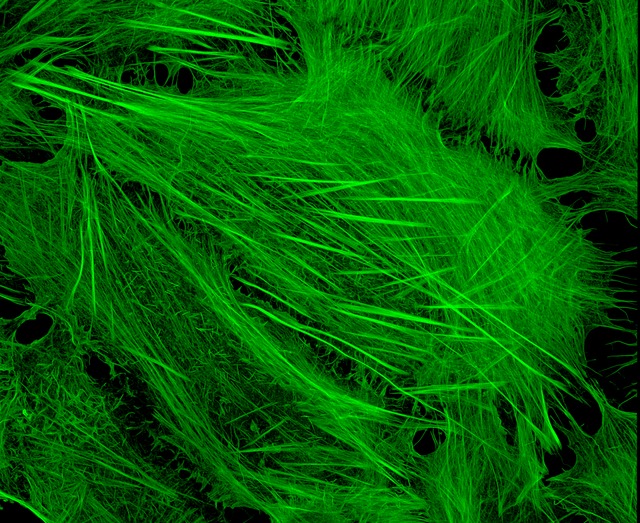 U2OS cells stained with fluorescent phalloidin taken on a confocal microscope by Howard Vindin
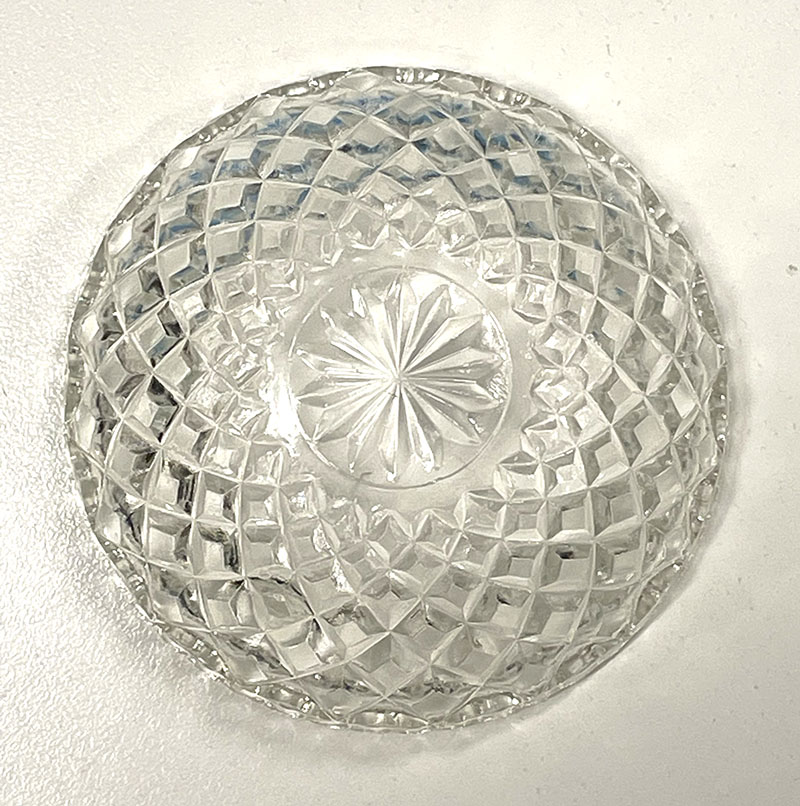 Clear cut glass dish – approx 12cm diameter with central star motif and radiating pattern.
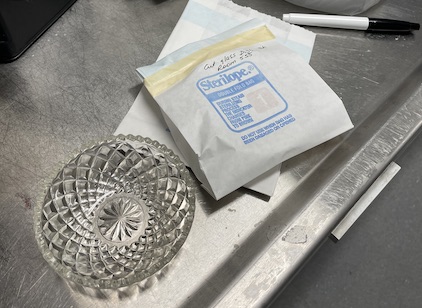 Cut glass dish and wrapped dish ready for sterilisation.
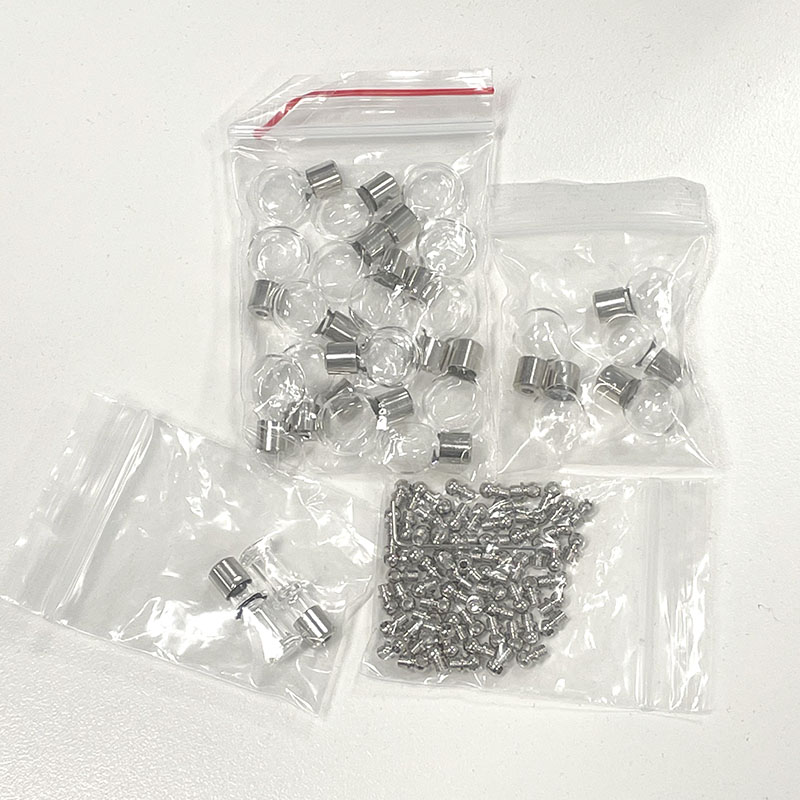 Selection of glass vials for cell culture trial including metal closures.
 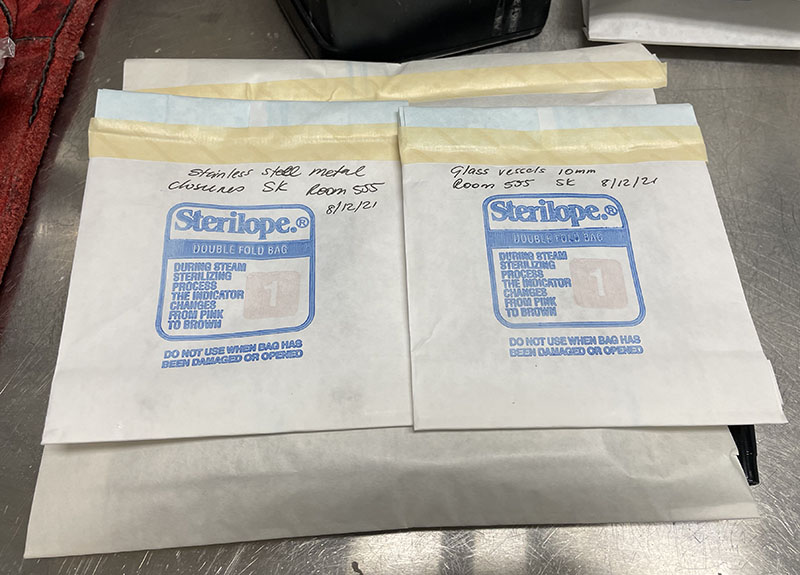 Glass vessels in autoclave bags ready for sterilisation.
 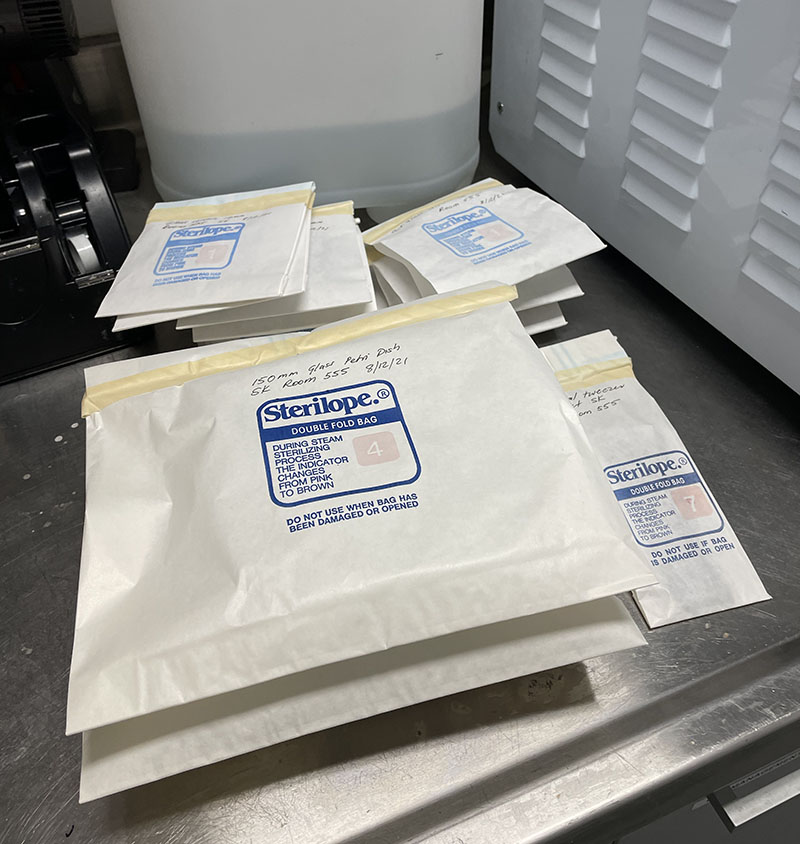 Petri dishes and other glass items in autoclave bags ready for sterilisation.
 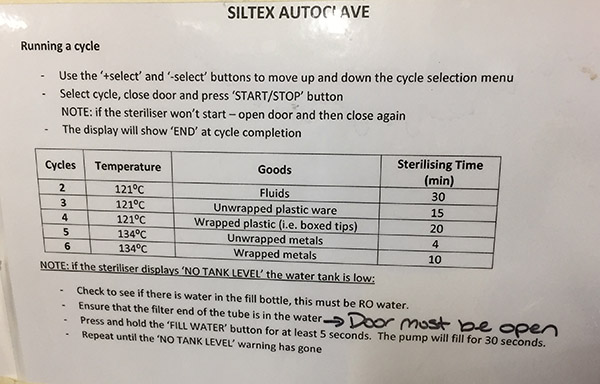 Autoclave instructions with cycle details.
  Autoclaved bags containing sterilised Petri dishes.
 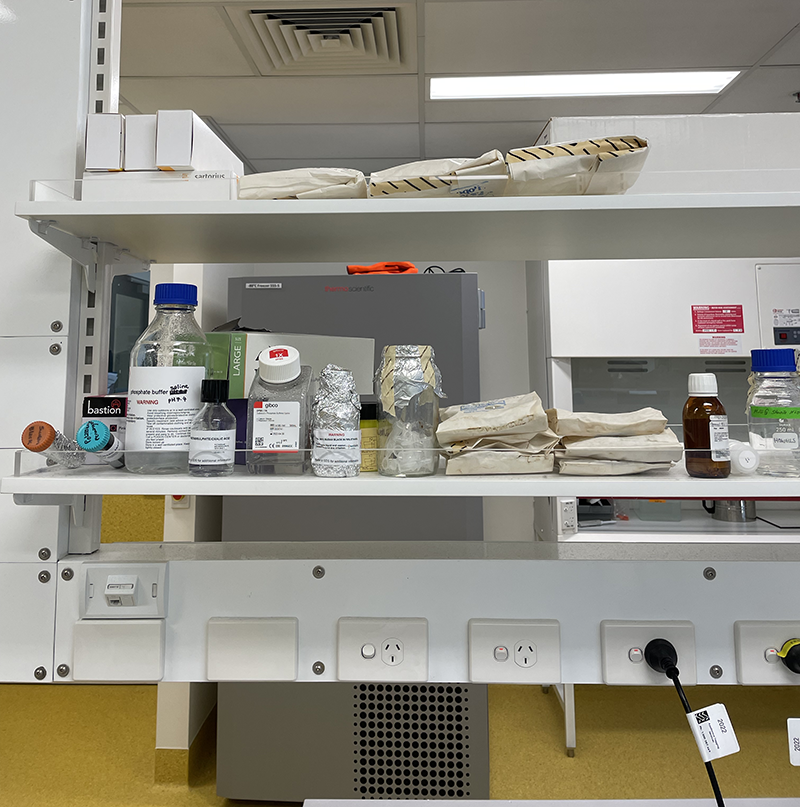 Autoclaved bags stored in lab area, ready for use.
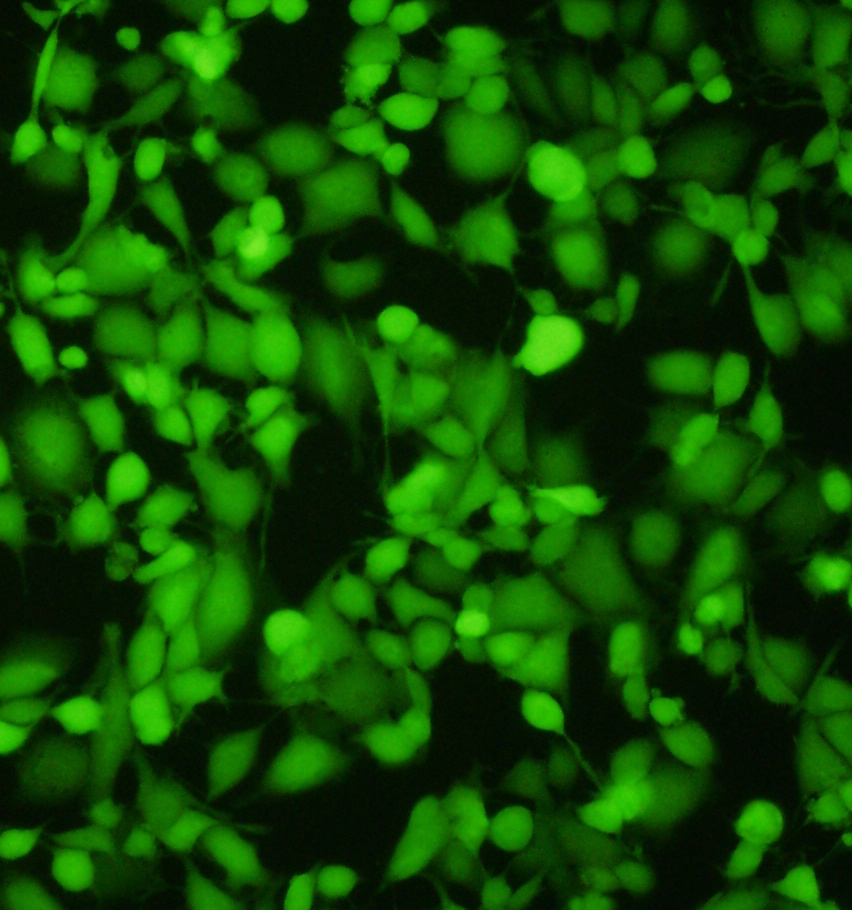 Impressive image of Calcein dye – live cells fluoresce a vibrant green – image via
 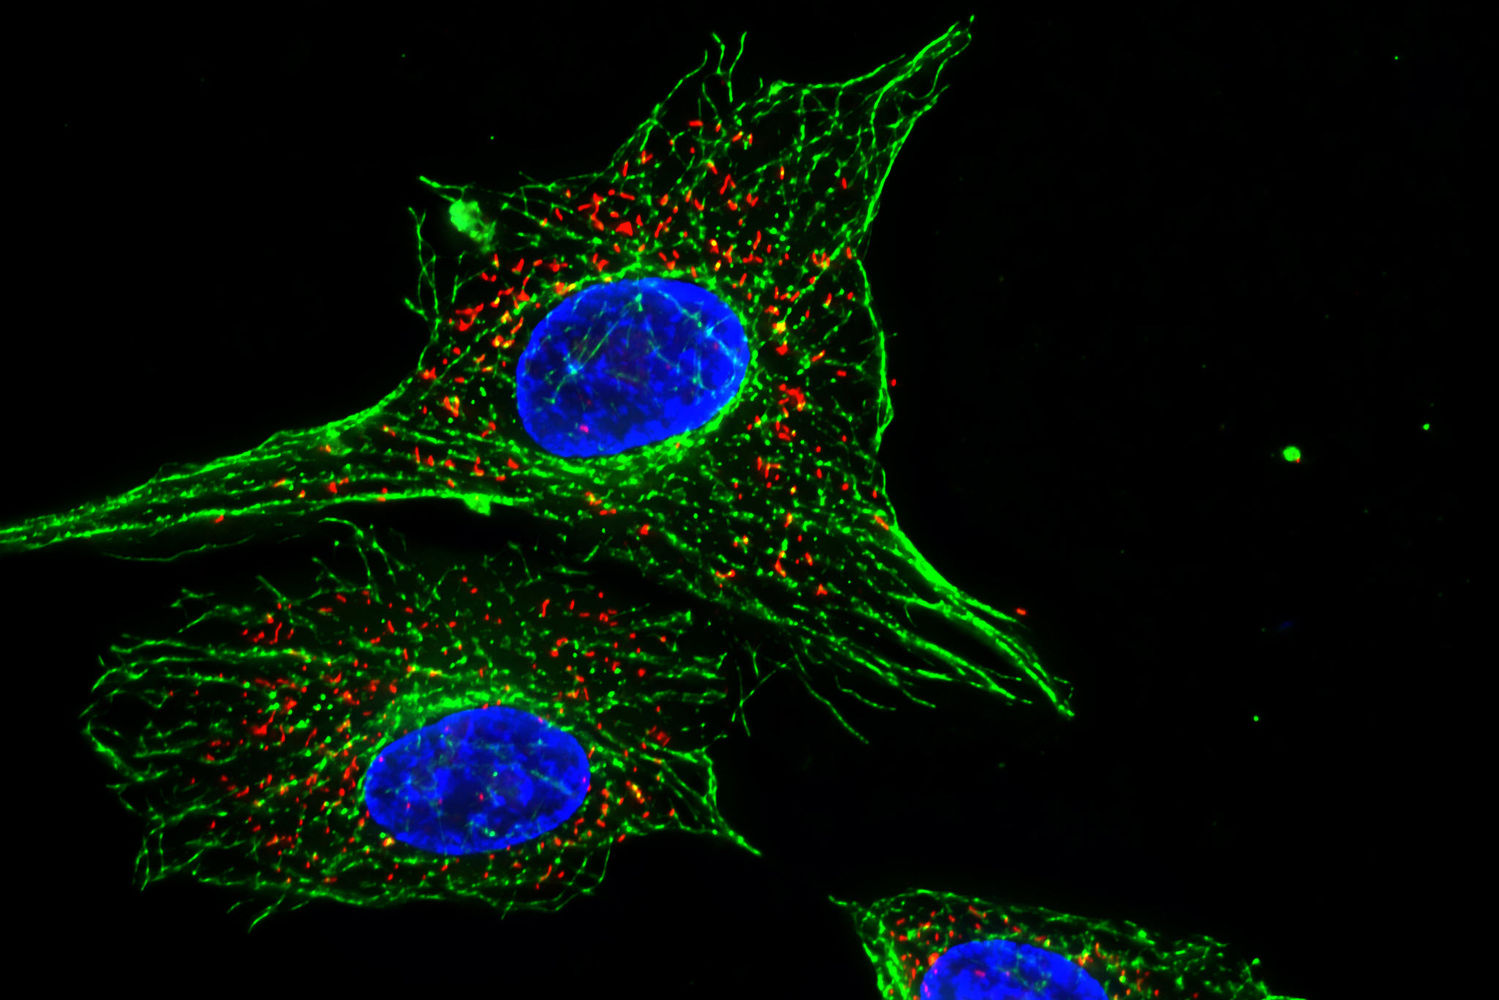 Image of fluorescent cells via
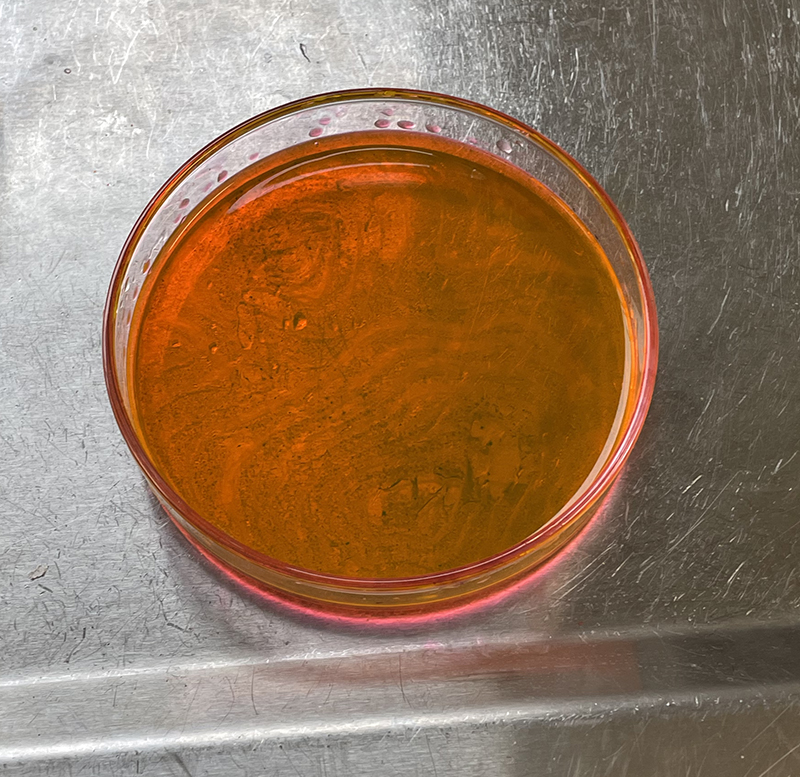
 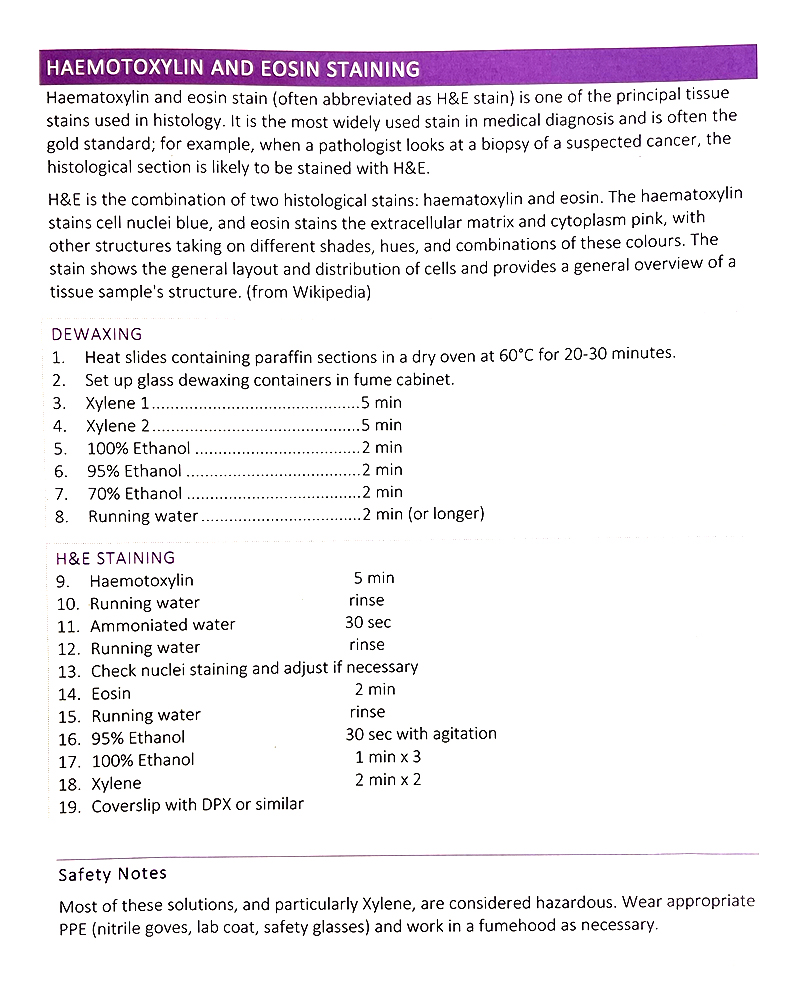 Basic H&E staining protocol from Jo-Maree. We only need to follow the staining process.
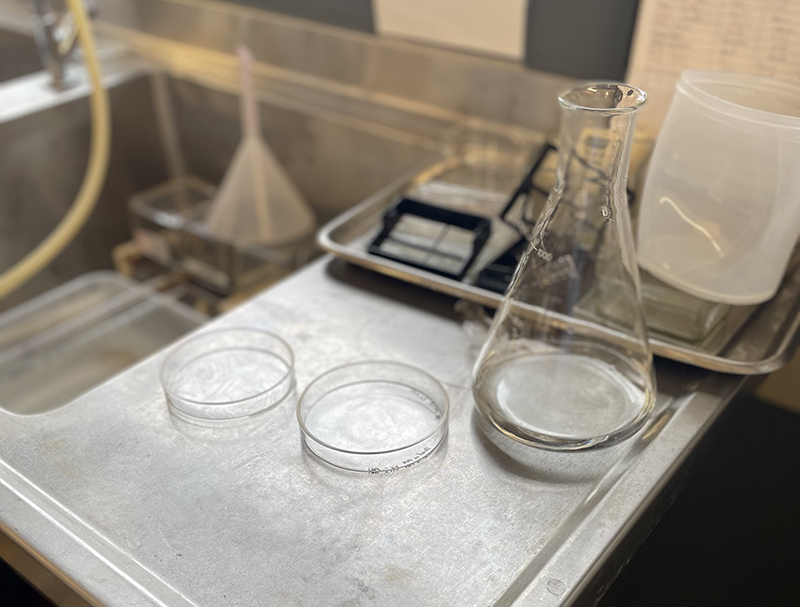 Petri Dish on bench in Histology Lab at MSP with Erlenmeyer flask containing distilled water for washing.
 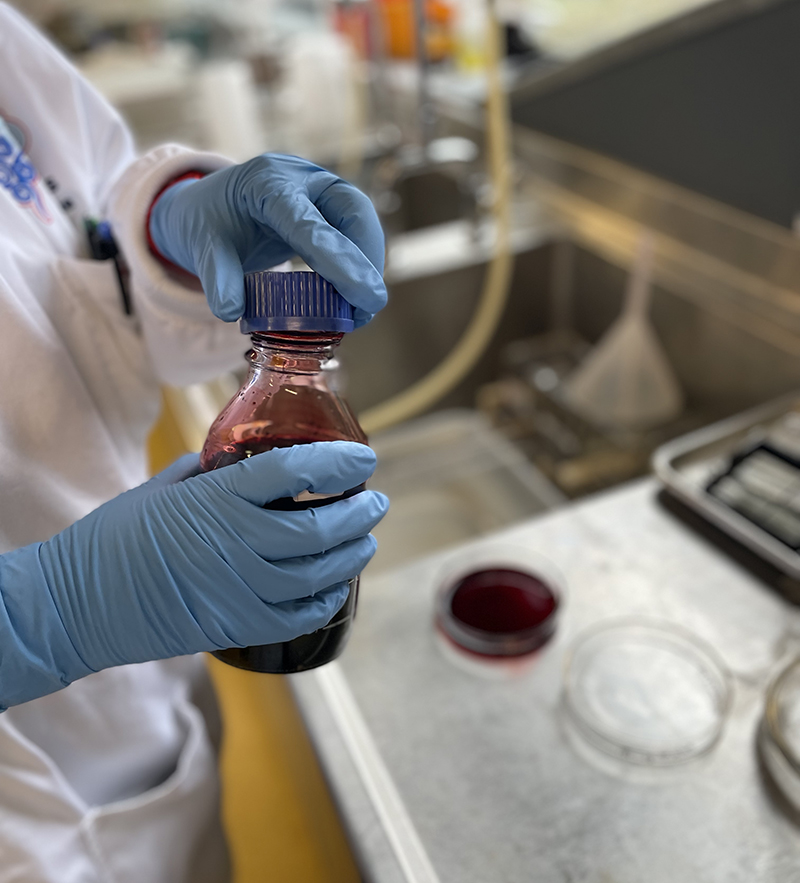 Hematoxylin Stain – deep red stain
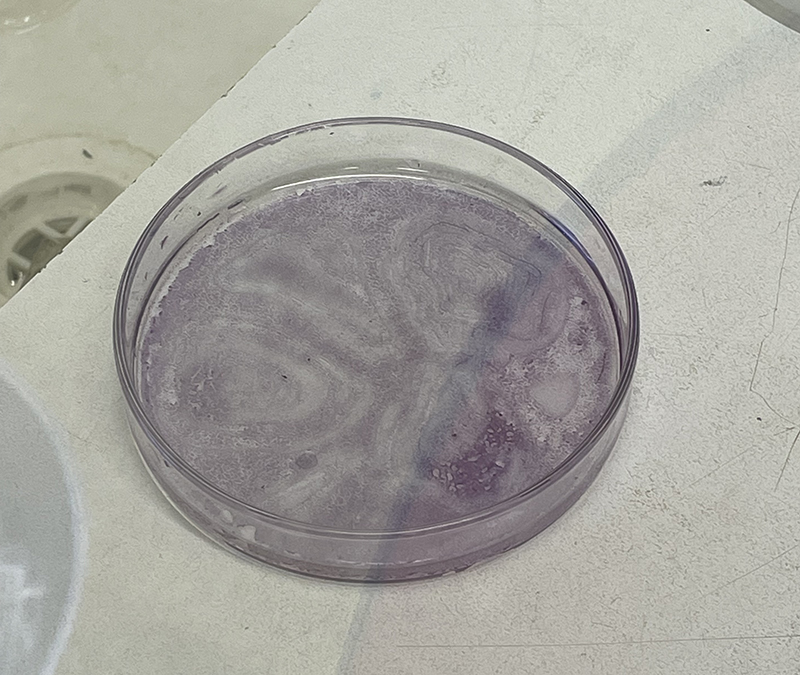
 T25 – Flask 1 P 3, 11/10/21
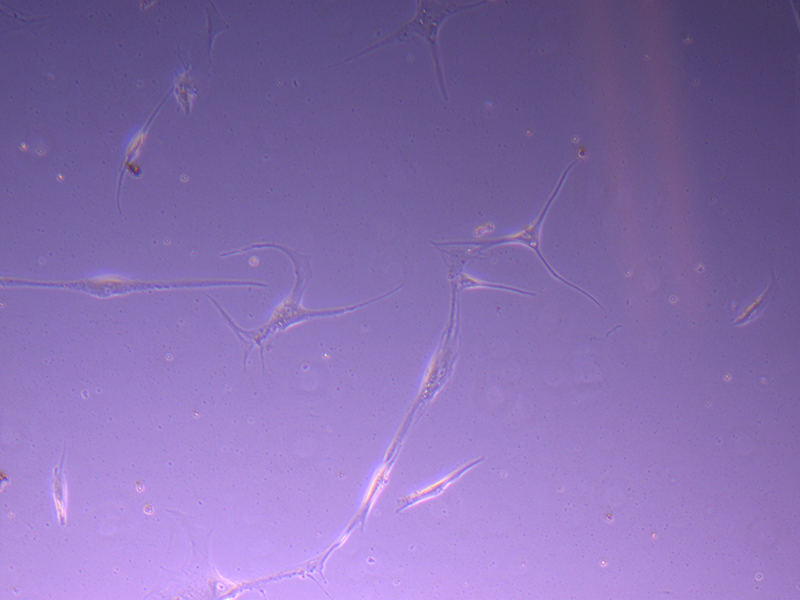 T25 – Flask 1 P 3, 11/10/21
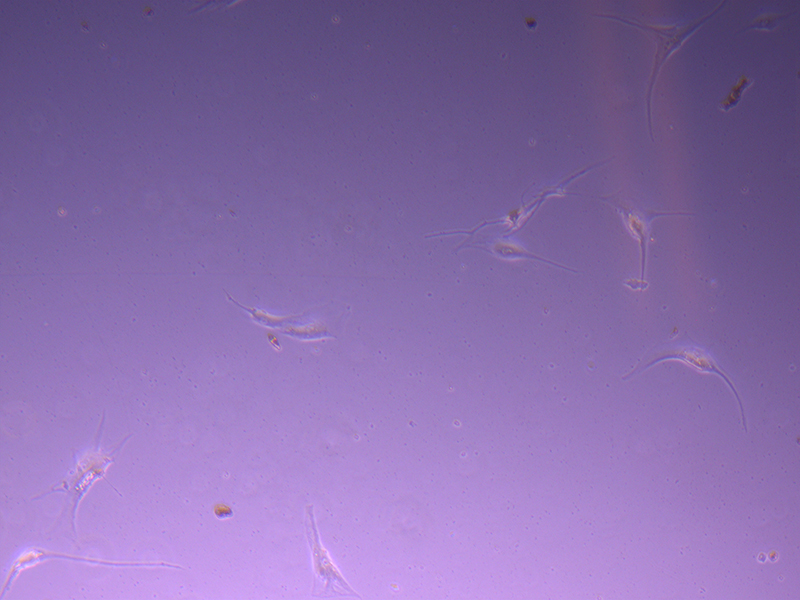 T25 – Flask 2 P 3, 11/10/21
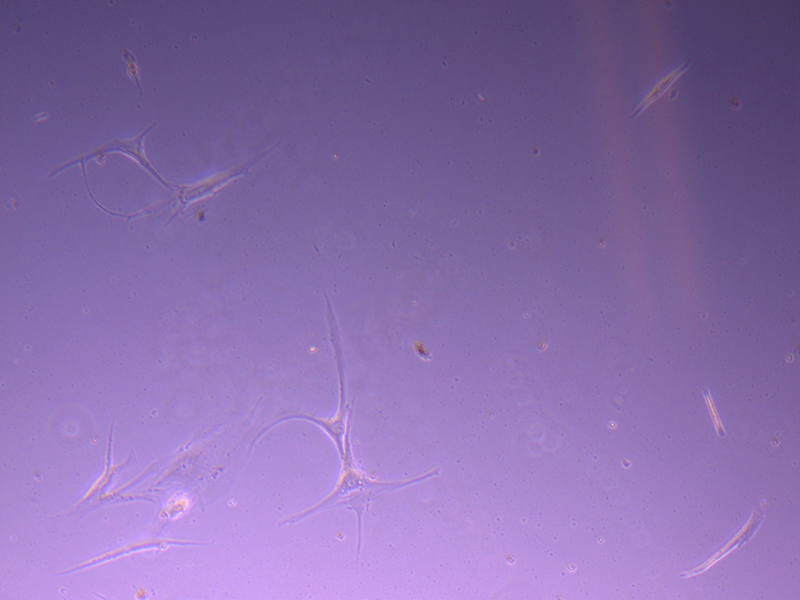 T25 – Flask 2 P 3, 11/10/21
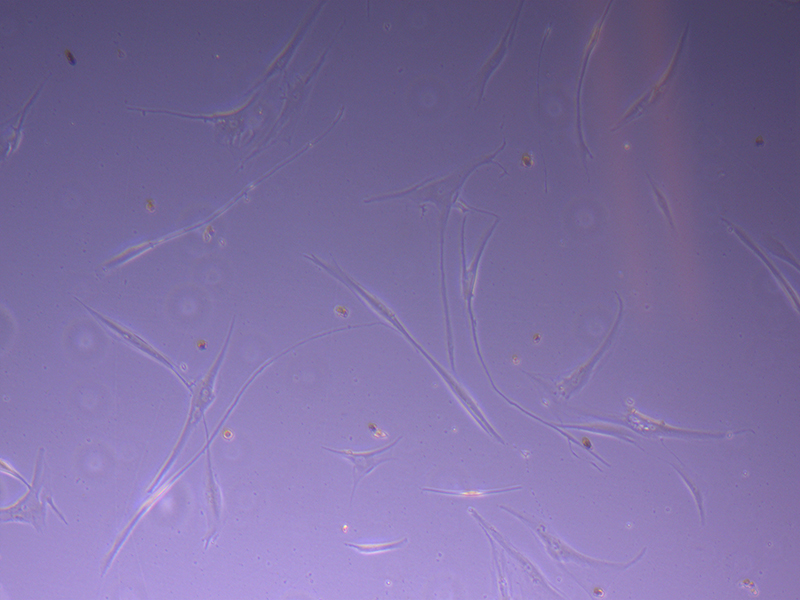 T75 – Flask 1 P 3, 11/10/21
 T75 – Flask 1 P 3, 11/10/21
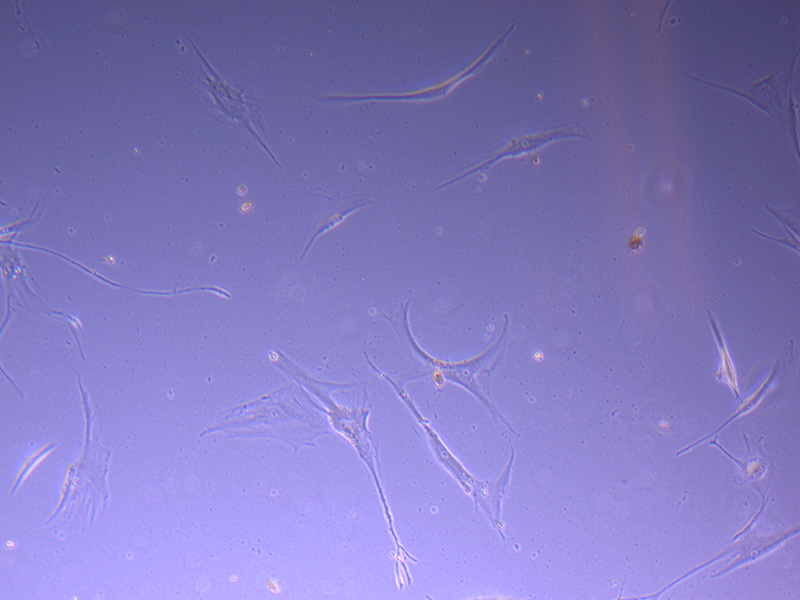 T75 – Flask 2 P 3, 11/10/21
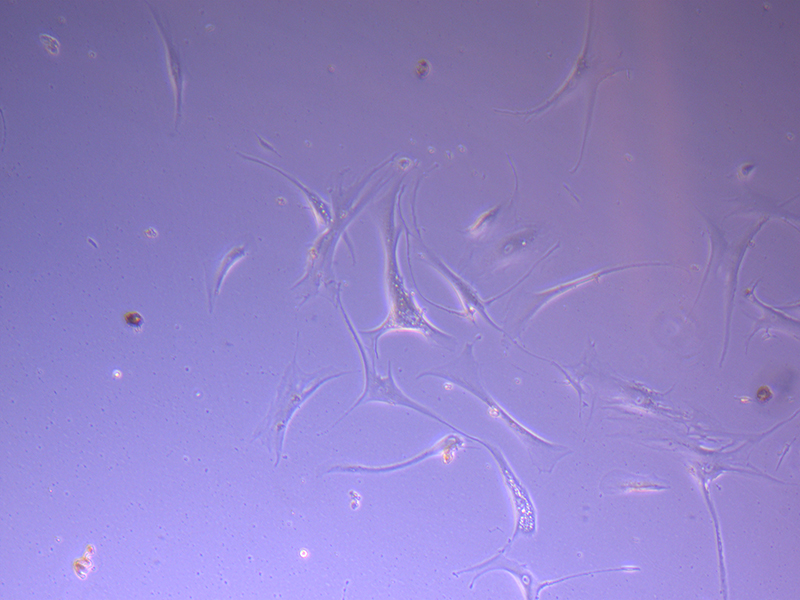 T75 – Flask 2 P 3, 11/10/21
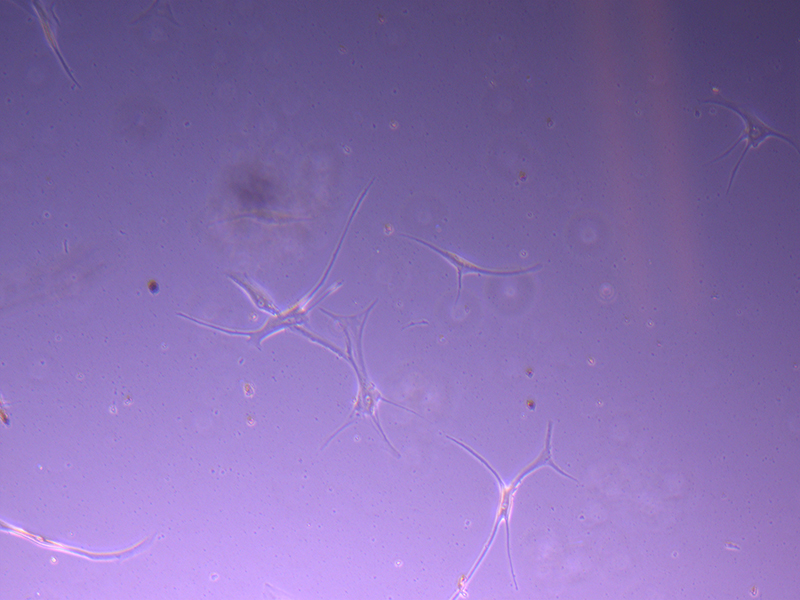
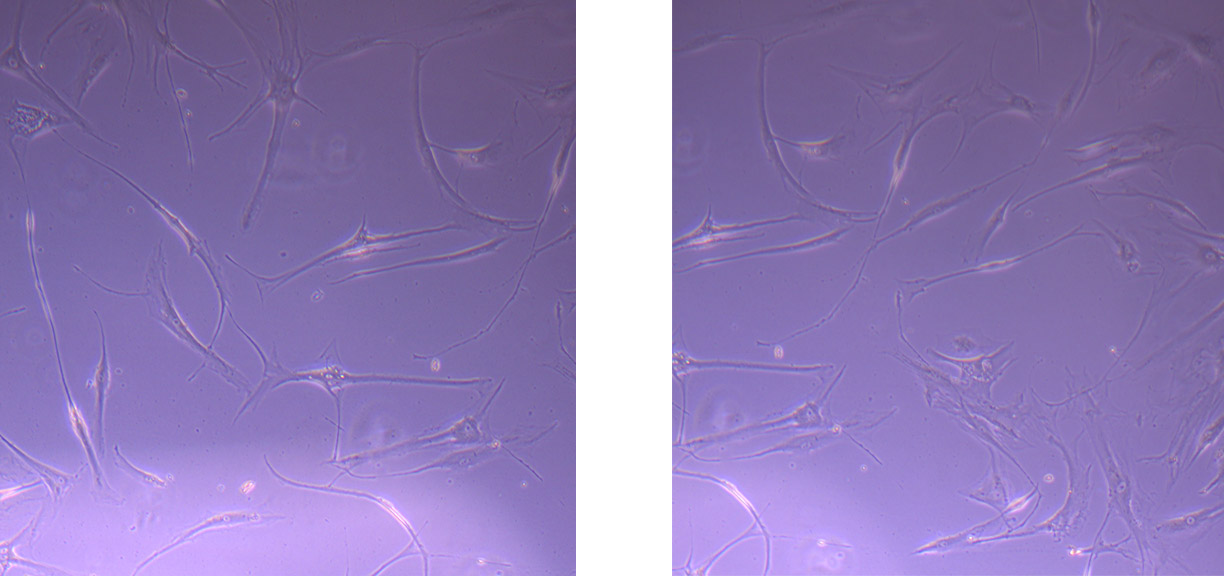 Images of PHGL Tumour Baby Cells P2 at 1/10/21