To gain some more insight into the cellular structure of my fibroid cells, I asked Jo-Maree to help me with immunostaining. Immunostaining refers to a staining method that uses antibodies to stain different proteins and structures within the cell. We are going to start with an easy protocol using two antibodies: DAPI and Phalloidin.
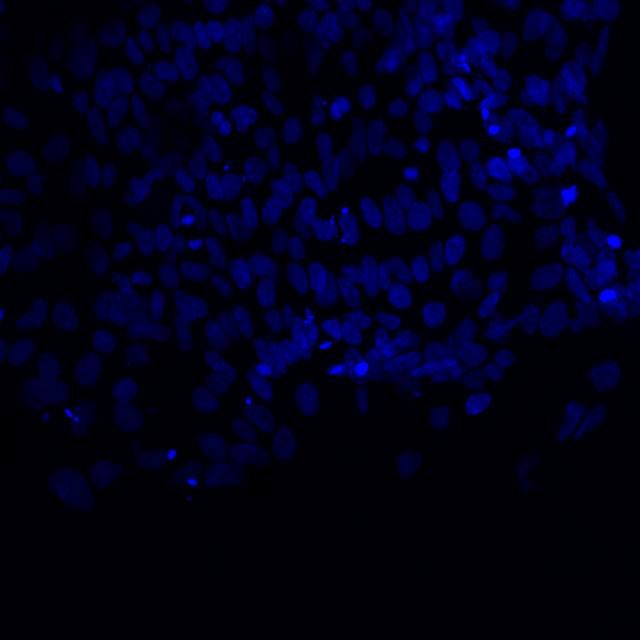
DAPI (4′,6-diamidino-2-phenylindole) is a very common fluorescent blue stain used to reveal the nucleus in cultured cells. It can penetrate the intact membrane of the cell. Thus, it can be used for staining both fixed and live cells.
 Microscopic image of stem cells, Hues 9 stained with DAPI (blue) by the UC San Diego Stem Cell Program.
BASIC LIVE CELL STAINING PROTOCOL
- Add DAPI to the complete culture medium used for cultured cells at a concentration of 10 ug/mL.
- Remove culture medium from the cells and replace with the medium containing the DAPI.
- Cover cells from light exposure and incubate at room temperature or 37°C for 5-15 minutes, then image.
Direct Addition: According to the biotium protocol, you can also stain cells by adding the dye directly to the cell culture and medium. However, this requires a 10X concentration of dye.
- Add the dye to complete culture medium at 10 times the final recommended staining DAPI concentration – 100 ug/mL..
- Without removing the medium from the cells, add 1/10 volume of 10X dye directly to the well.
- Immediate mix thoroughly by gently pipetting the medium up and down. For larger well sizes (e.g., 24-well to 6-well plates), the plate can be gently swirled to mix.
- Cover cells from light exposure and incubate cells at room temperature or 37°C for 5-15 minutes, then image
STAINING FIXED CELLS/TISSUES:
- Add DAPI to PBS at 1 ug/mL.
- Add the PBS with dye to cells or tissue sections and incubate at room temperature for at least 5 minutes with covering from light exposure.
- Samples can be stored in a lightsafe covering (e.g. aluminium foil) at 4°C after staining and before imaging
From: https://biotium.com/tech-tips/protocol-staining-cells-with-hoechst-or-dapi-nuclear-stains/ with minor edits for simpliticy.
Since we are using phalloidin and fixing the cells prior to imaging, we need to follow some additional step to make the cells permeable.
Phalloidin Jo-Maree did not have any relevant stocks, Natalie kindly sourced a sample from another group. [I am always impressed by the generosity of functioning labs and how groups are happy to share stocks to enable other researchers to move forward.]
We are using Fluorescein Phalloidin as a counterstain to enable the visualisation of actin – a protein found in large quantities in the cytoskeleton and cell muscle fibres. As such, it plays a vital role in cell muscle contraction and overall cell movement.
Interestingly Phalloidin is a toxin (specifically phallotoxin) derived from Amanita phalloides (death cap mushroom).
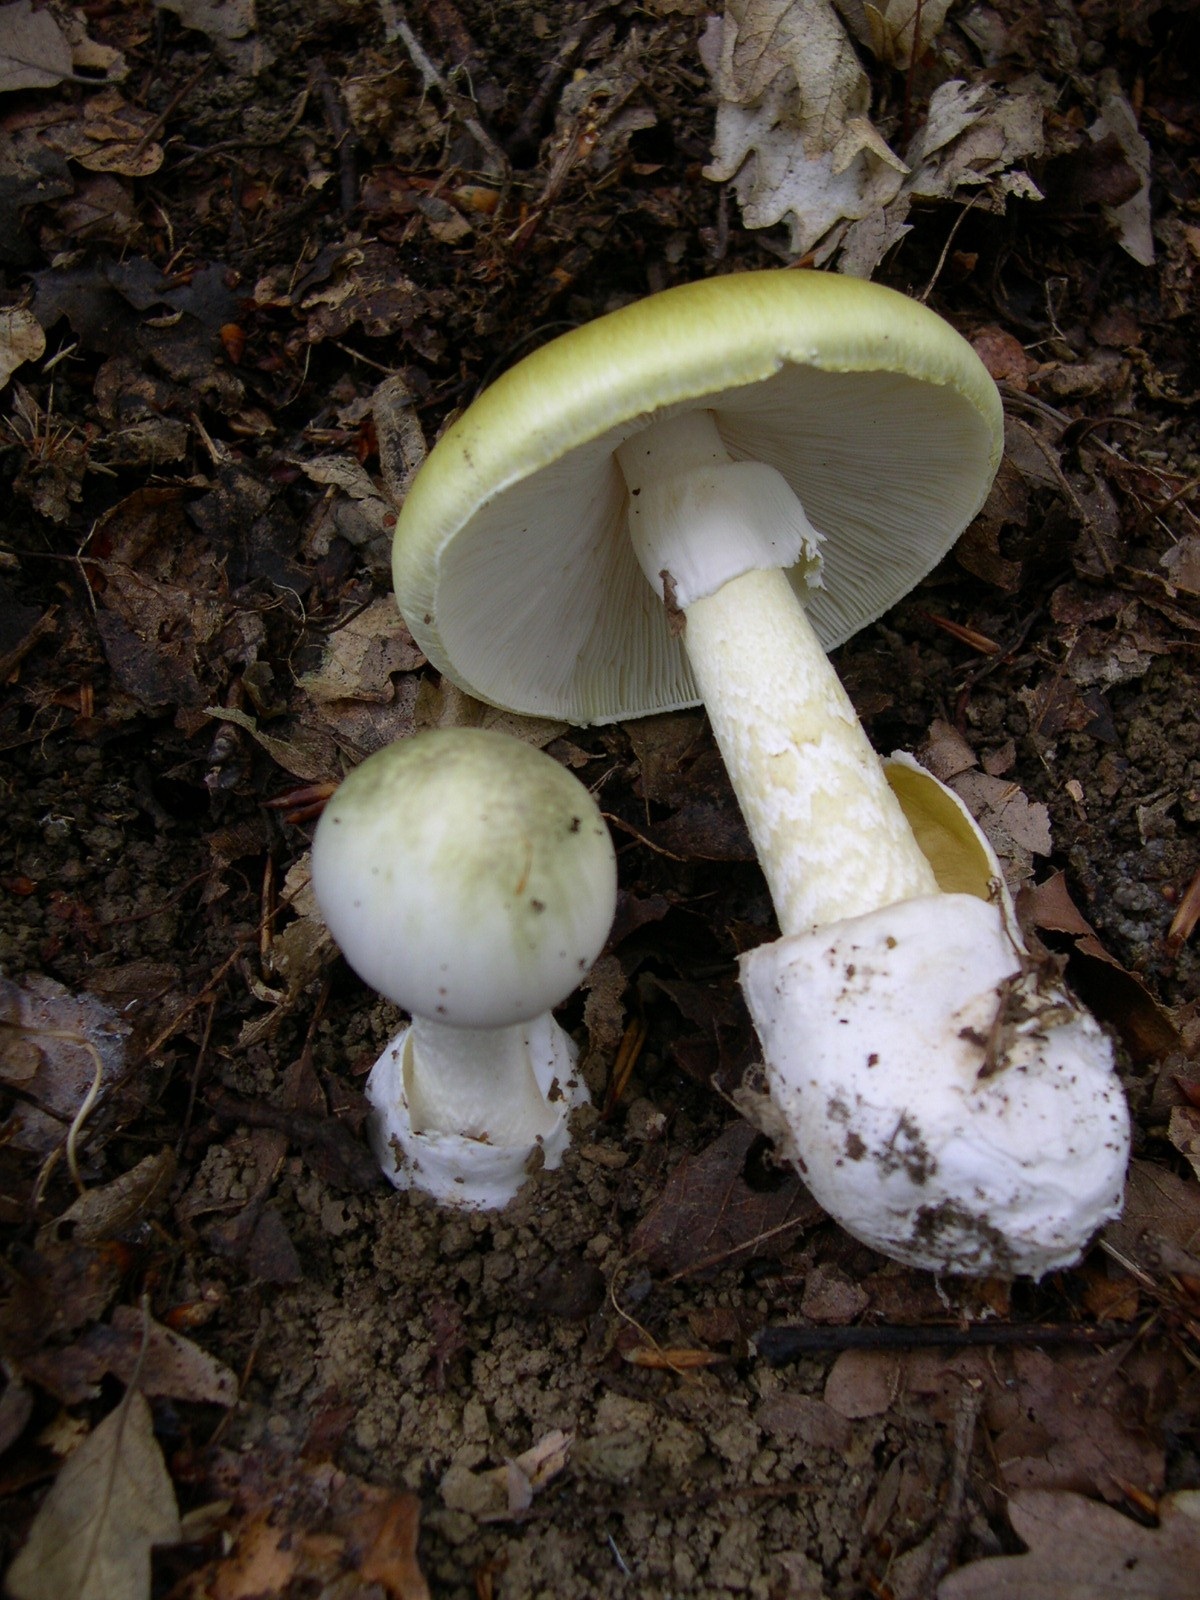 Image of Amanita phalloides via Wikimedia Commons.
Phalloidin binds very well to actin filaments and is therefore very useful in visualising cell structure.
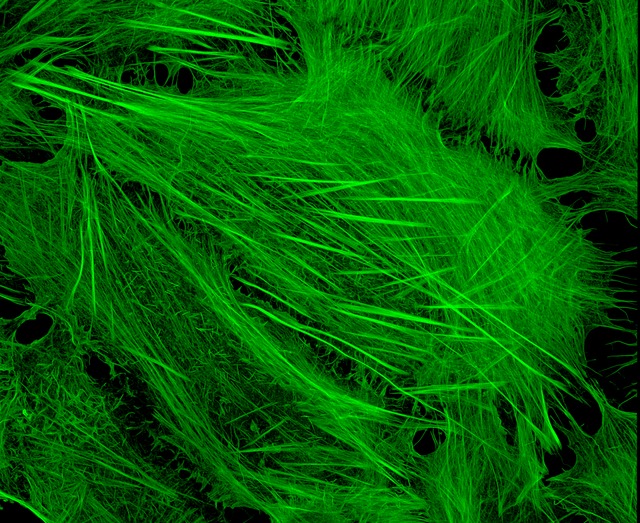 U2OS cells stained with fluorescent phalloidin taken on a confocal microscope by Howard Vindin
STAINING FIXED CELLS
- Fix cells in 3–4% formaldehyde in PBS at room temperature for 10–30 minutes.
- Remove fixation solution and wash cells 2–3 times in PBS.
- Add 0.1% Triton X-100 in PBS into the fixed cells for 3–5 minutes to increase permeability. Then wash cells 2–3 times in PBS.
- Add phalloidin-conjugate working solution. Incubate at room temperature for 20–90 minutes.
- Add DAPI DNA staining dye at this point.
- Rinse cells 2–3 times with PBS, 5 min per wash.
- Cover with lightfast material to preserve fluorescence
Adapted from: https://www.abcam.com/protocols/phalloidin-staining-protocol

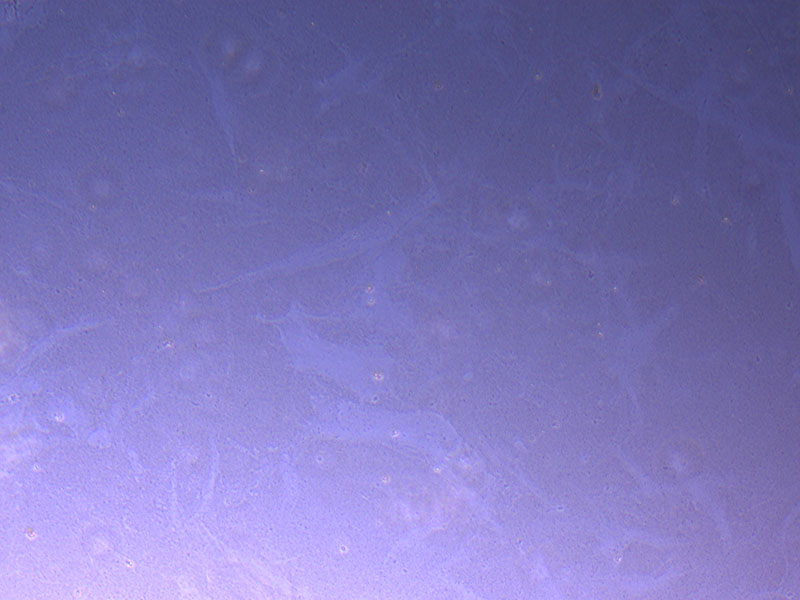
 Light microscope image of PHGL TB cells at 13/1/22 showing a main cluster area of remaining cells.
 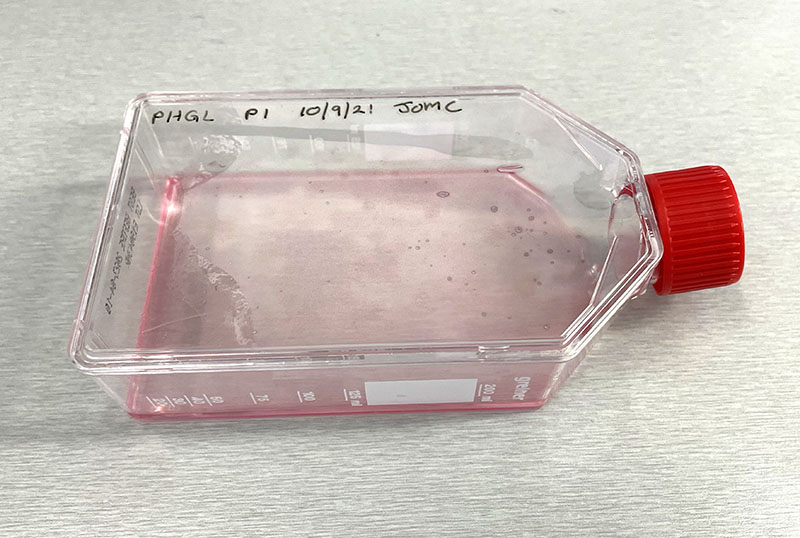 Photograph of P1 PHGL TB flask originally plated out by Jo-Maree on 10/0921.
 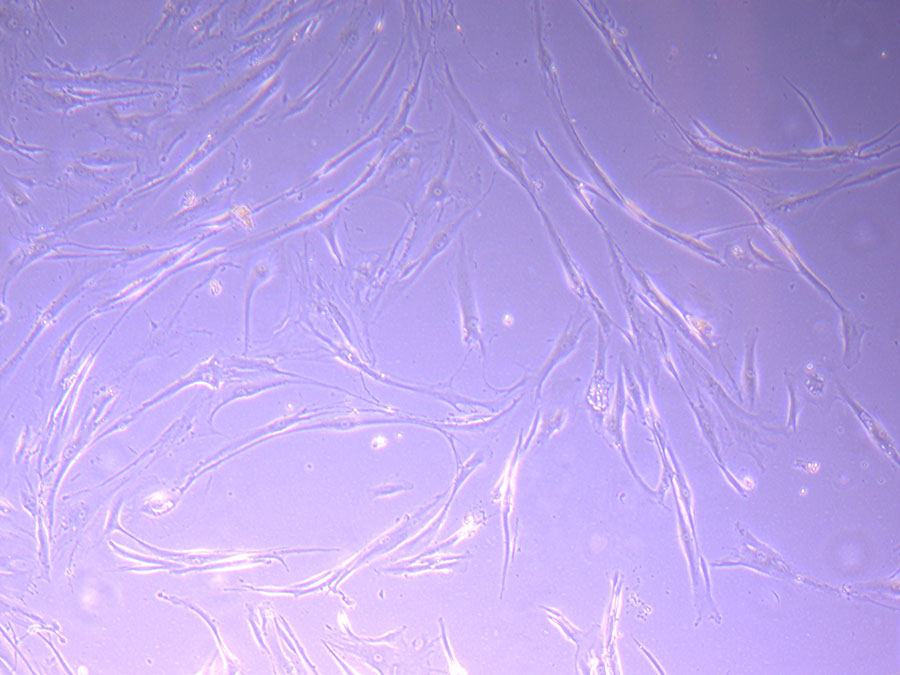 Light microscope image of P1 PHGL TB cells taken on 21/09/21 prior to passage.
 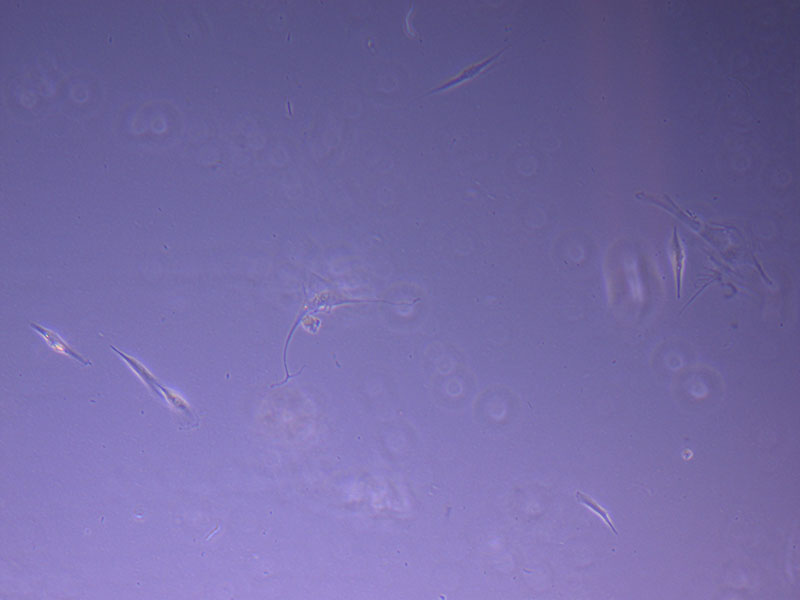 Light microscope image of P2 PHGL TB cells (in original flask) taken on 23/09/21 after cell passage on 21/09/21. A few cells remain visible in the flask.
 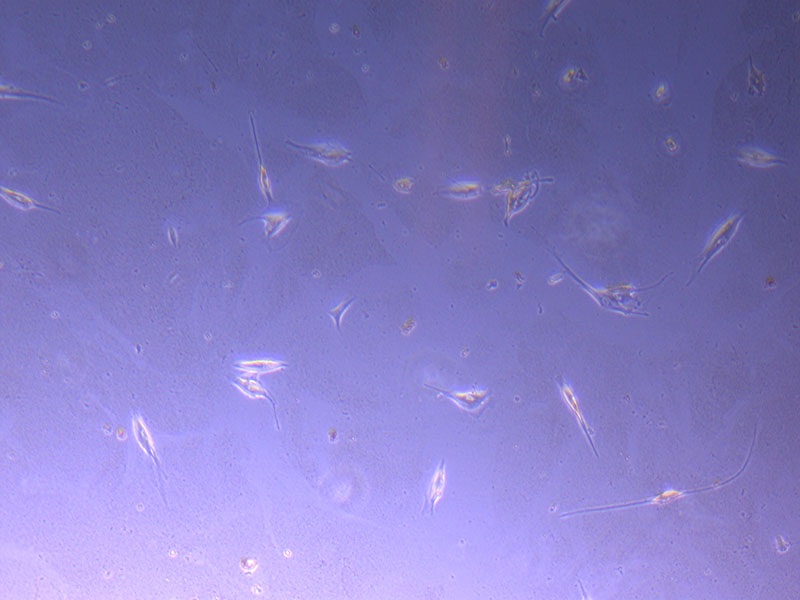 Light microscope image of P2 PHGL TB cells (in original flask) taken on 13/1/22. The image reveals a ‘sprinkle’ of cells beyond the main cluster.
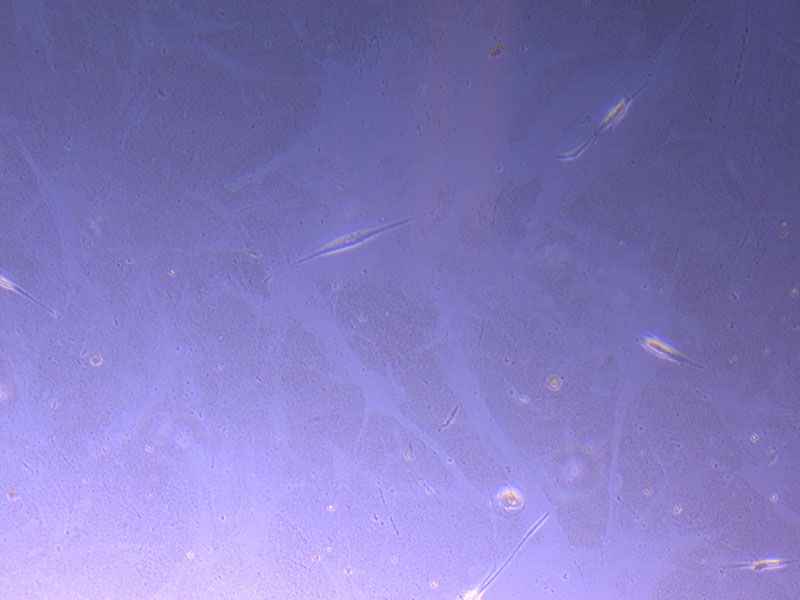
 Light microscope images of P2 PHGL TB cells (in original flask) taken on 13/1/22. The image reveals trails of cellular movement and existence.
 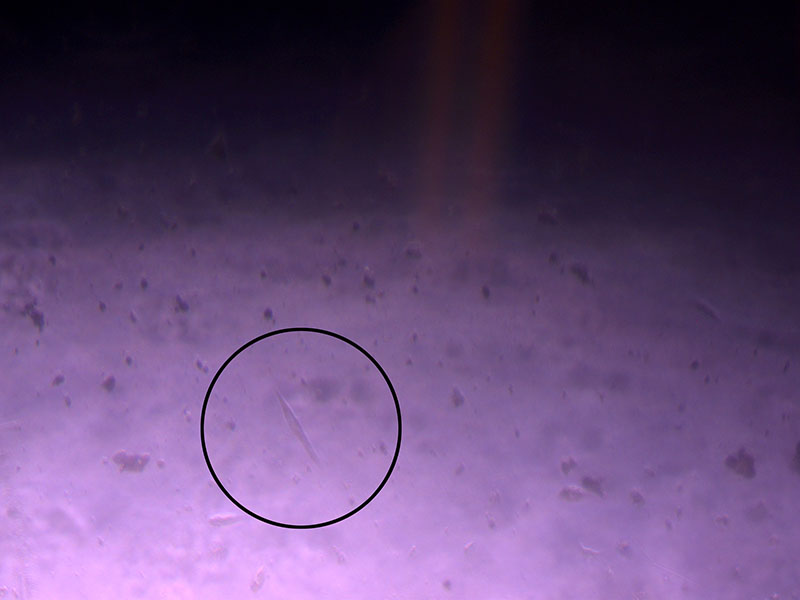 Light microscope image of cut glass dish with media containing dead cell debris and evidence of a small number of surviving cells.
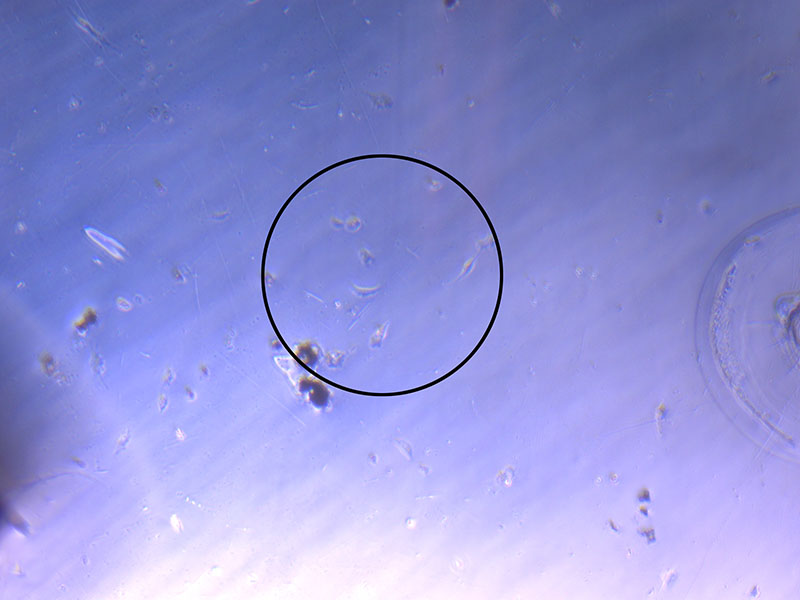
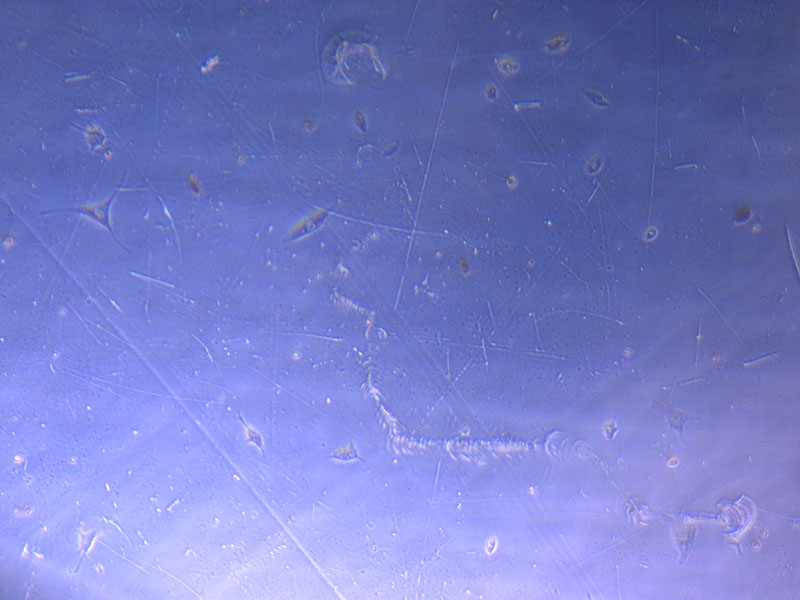 Light microscope image of cut glass dish in PBS showing further evidence of a small number of surviving cells.
 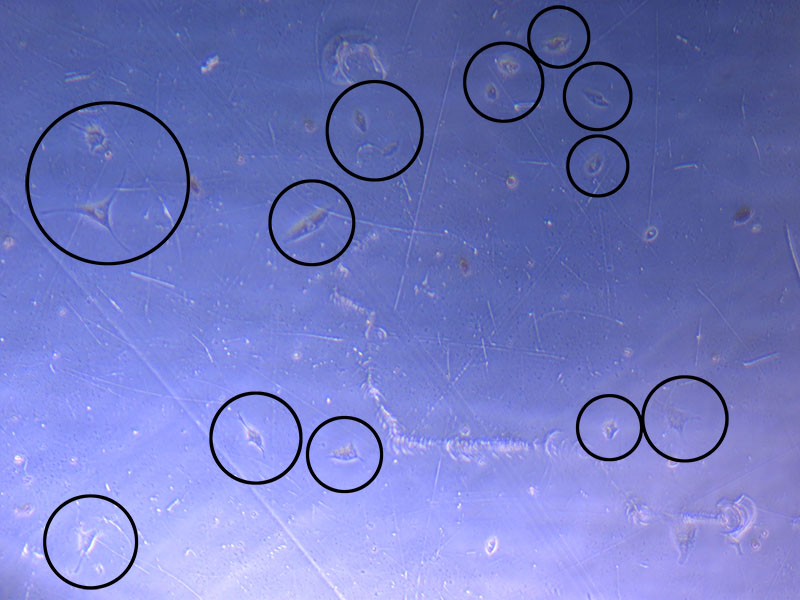 Light microscope image of cut glass dish in PBS with likely cells circled. There are a few additional potential cells visible, but I have only circled the most obvious.
 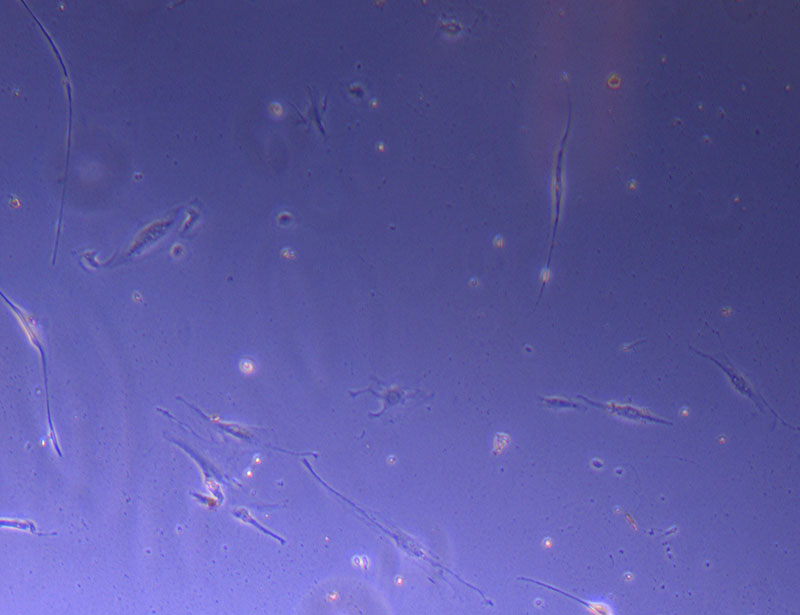 Light microscope image of Petri dish with fresh complete media with live cells.
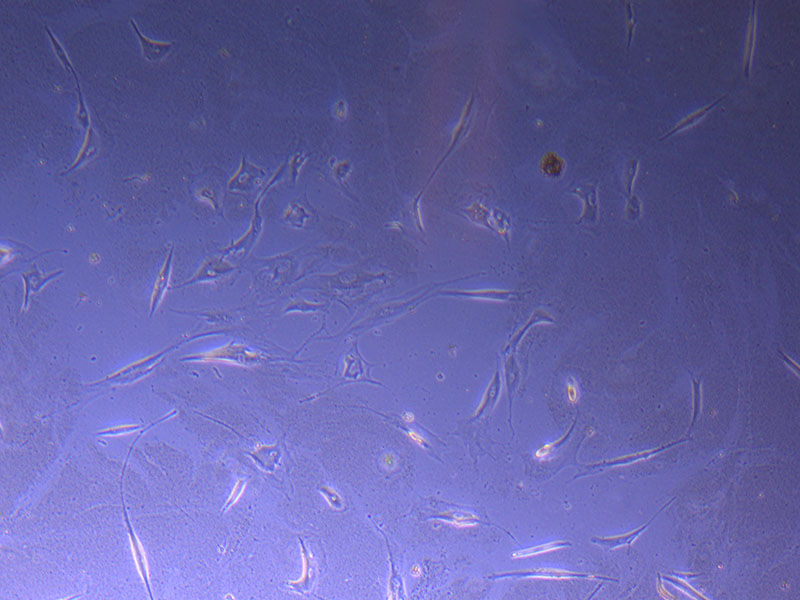
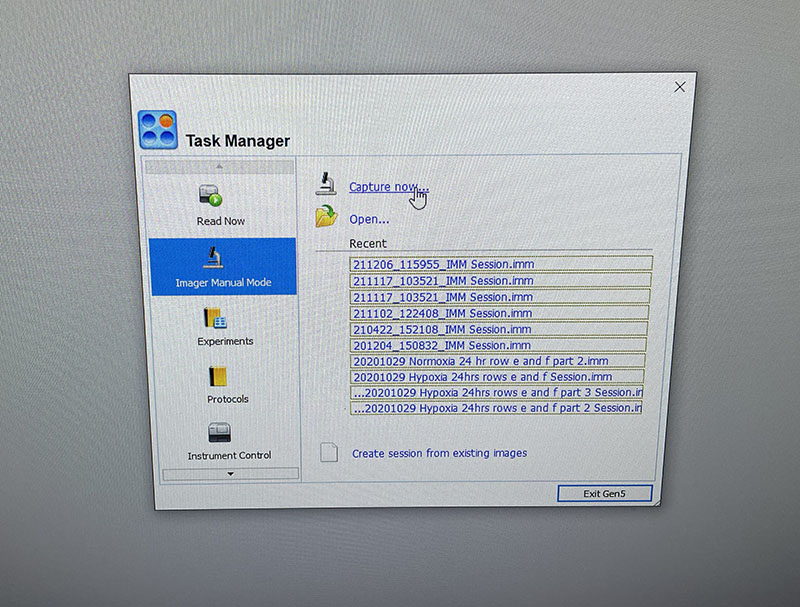
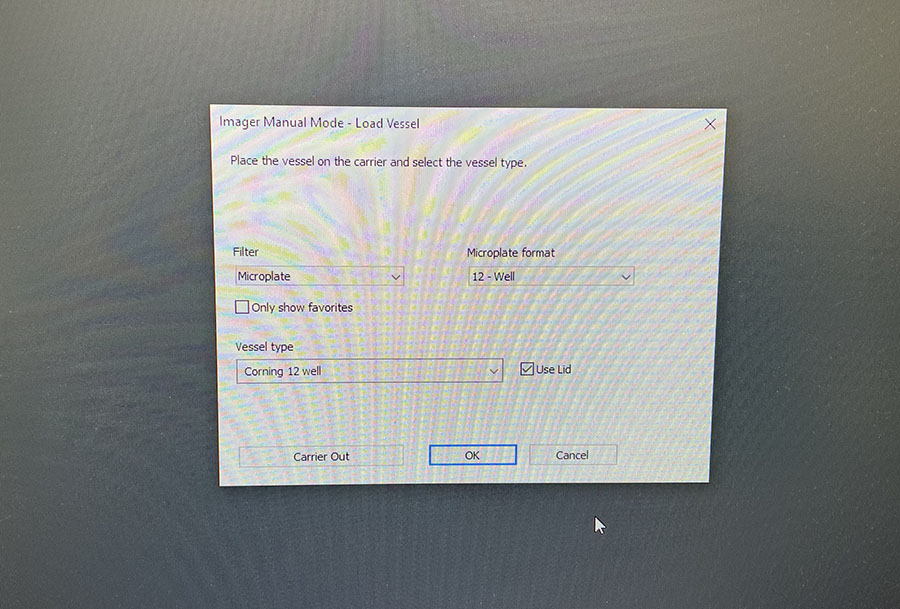 Simple graphic interface with presets ready to complete fluorescent microscopy.
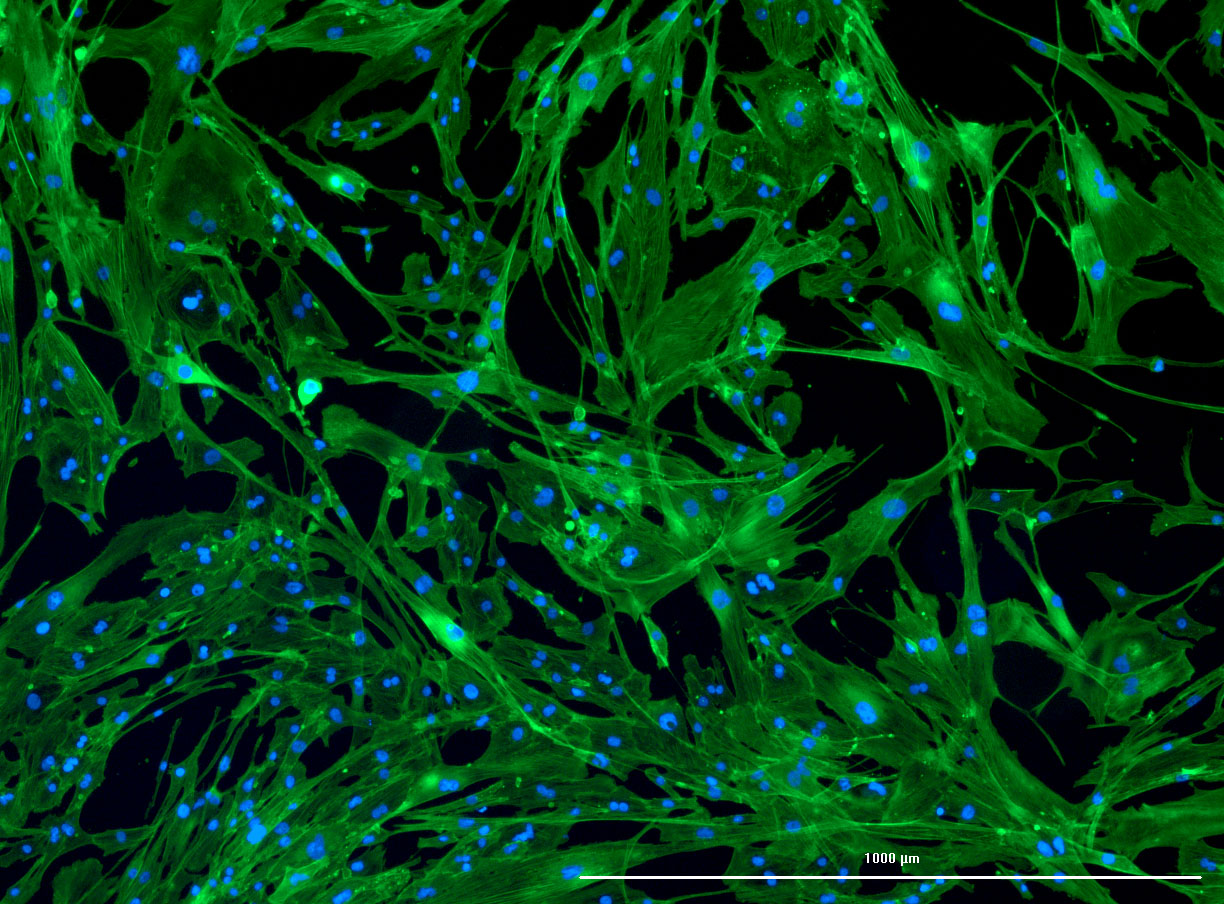
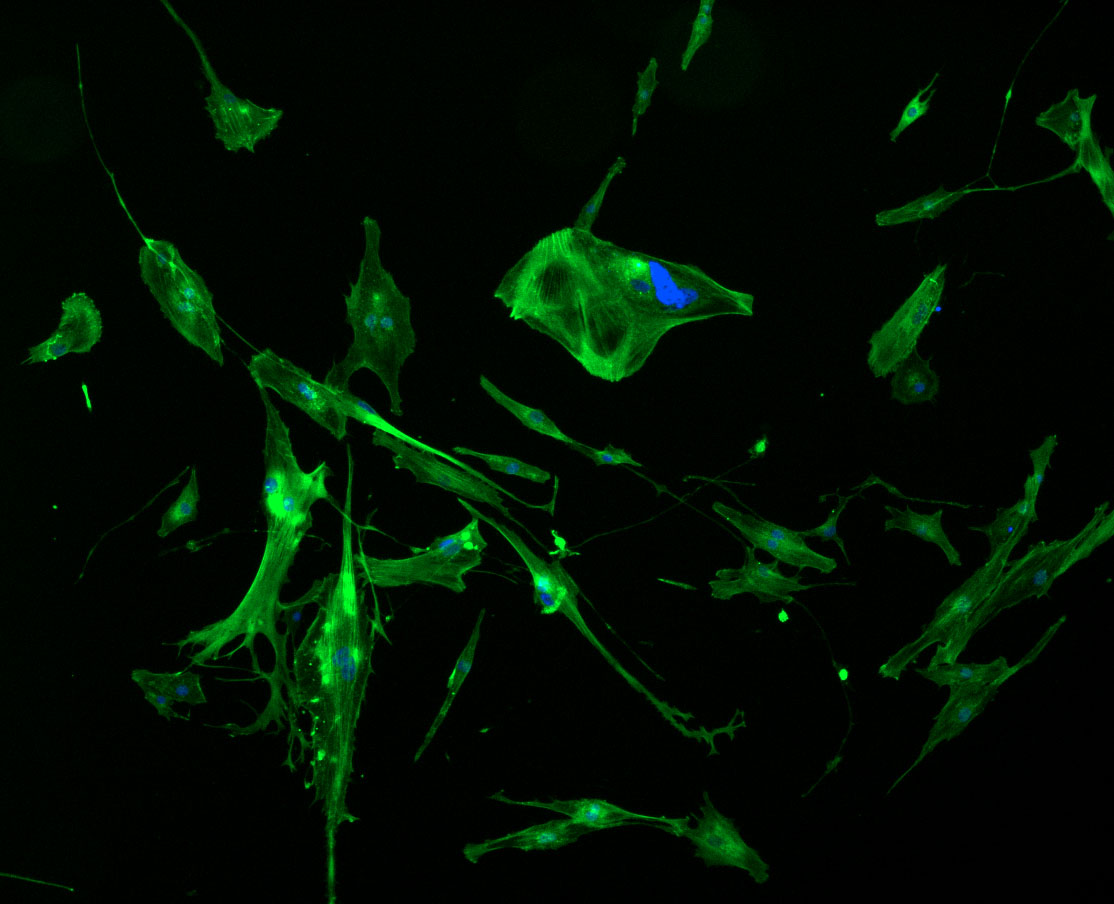
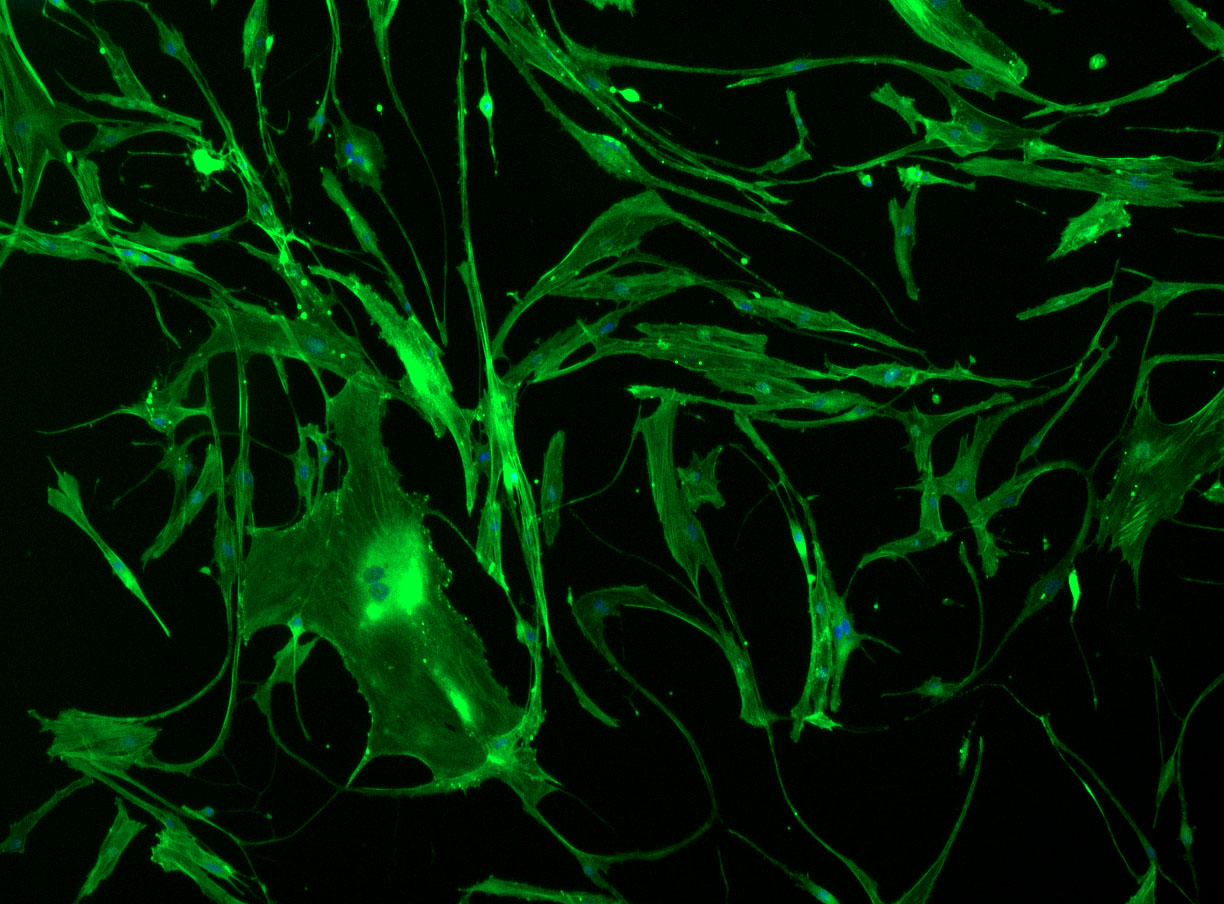
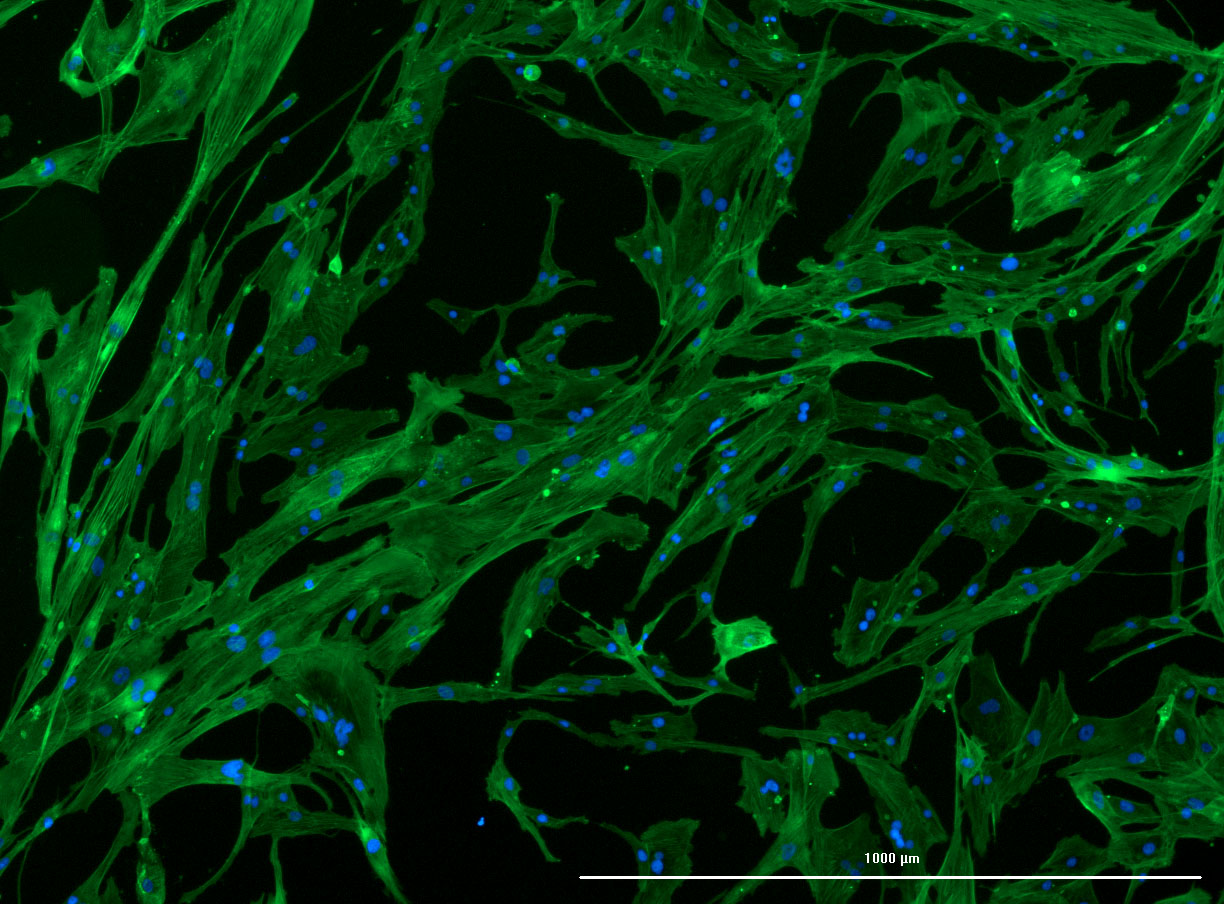 DAPI and Fluorescein Phalloidin staining of confluent fibroid cells P4 (although this is potentially misleading as the cells are very slow growing).
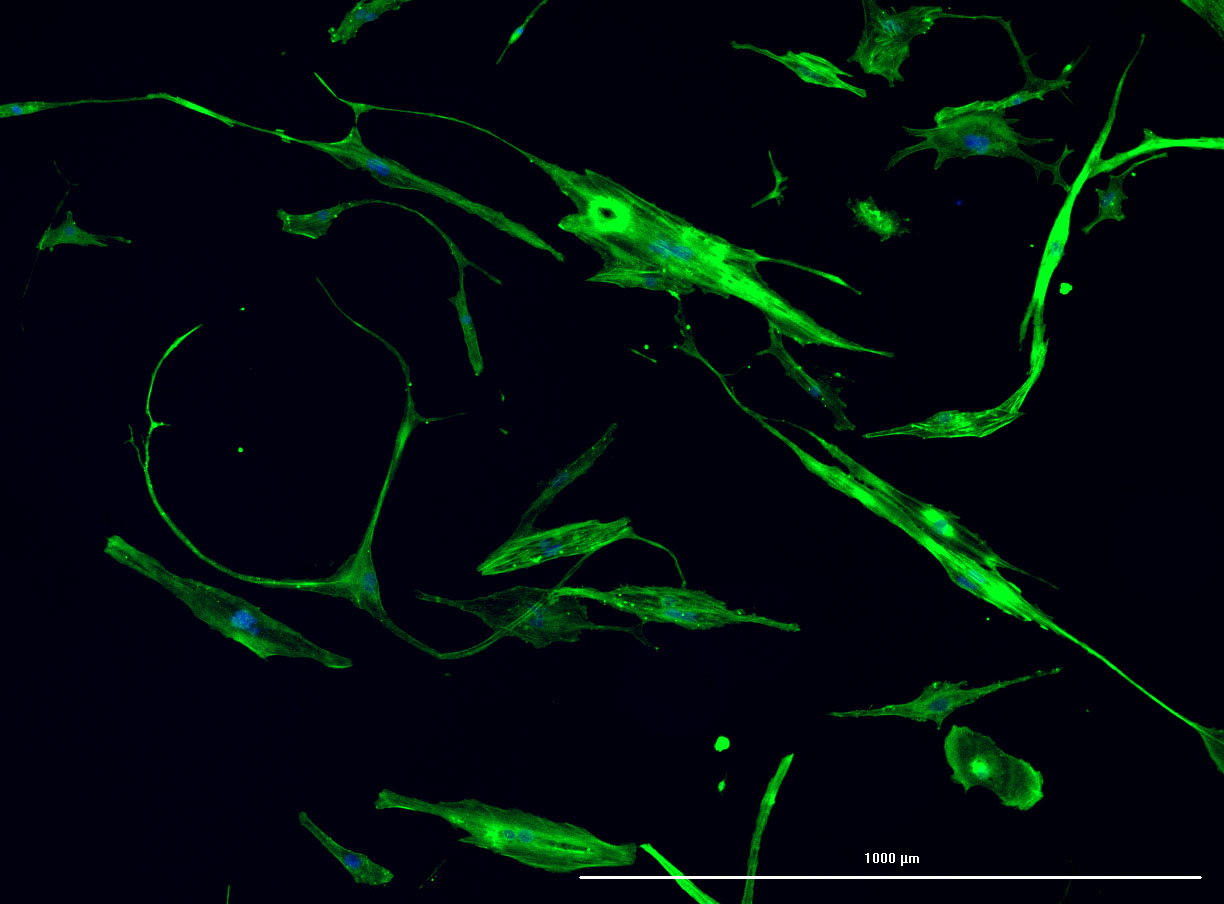
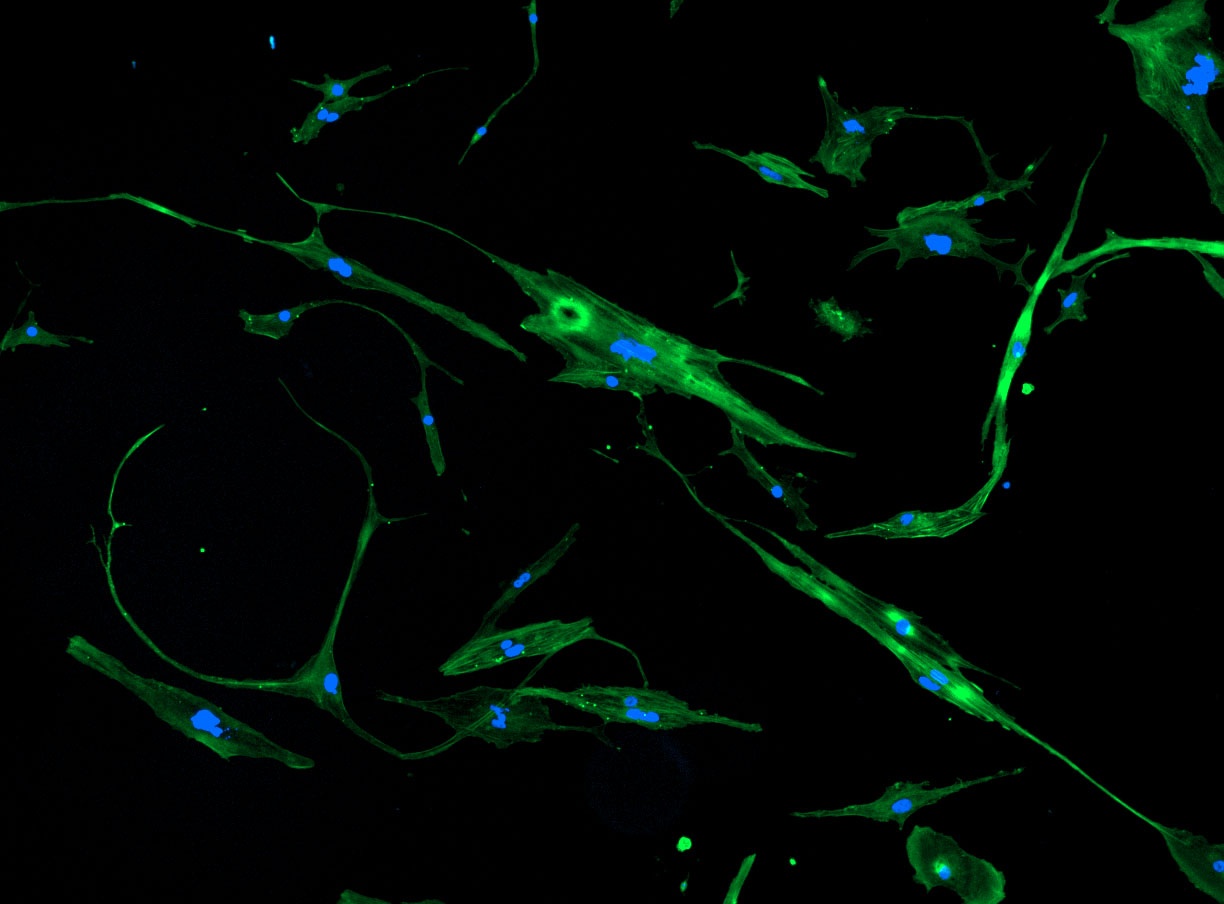
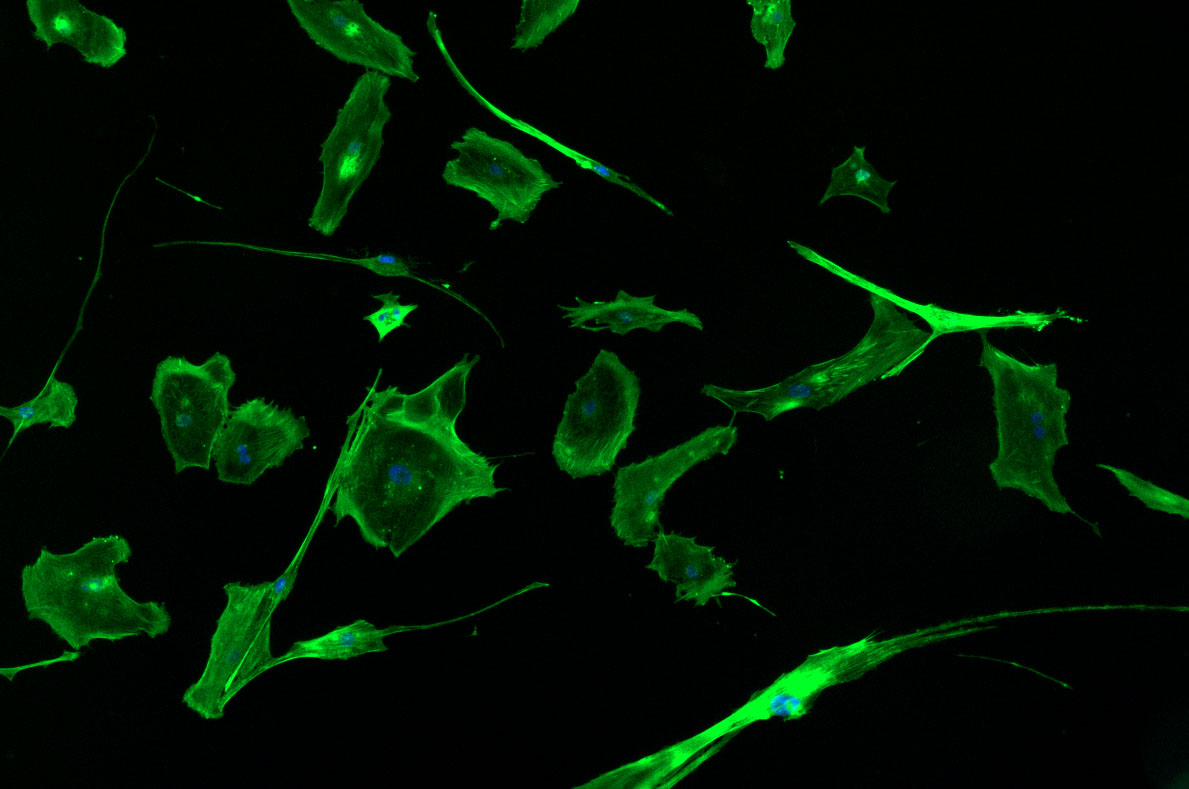
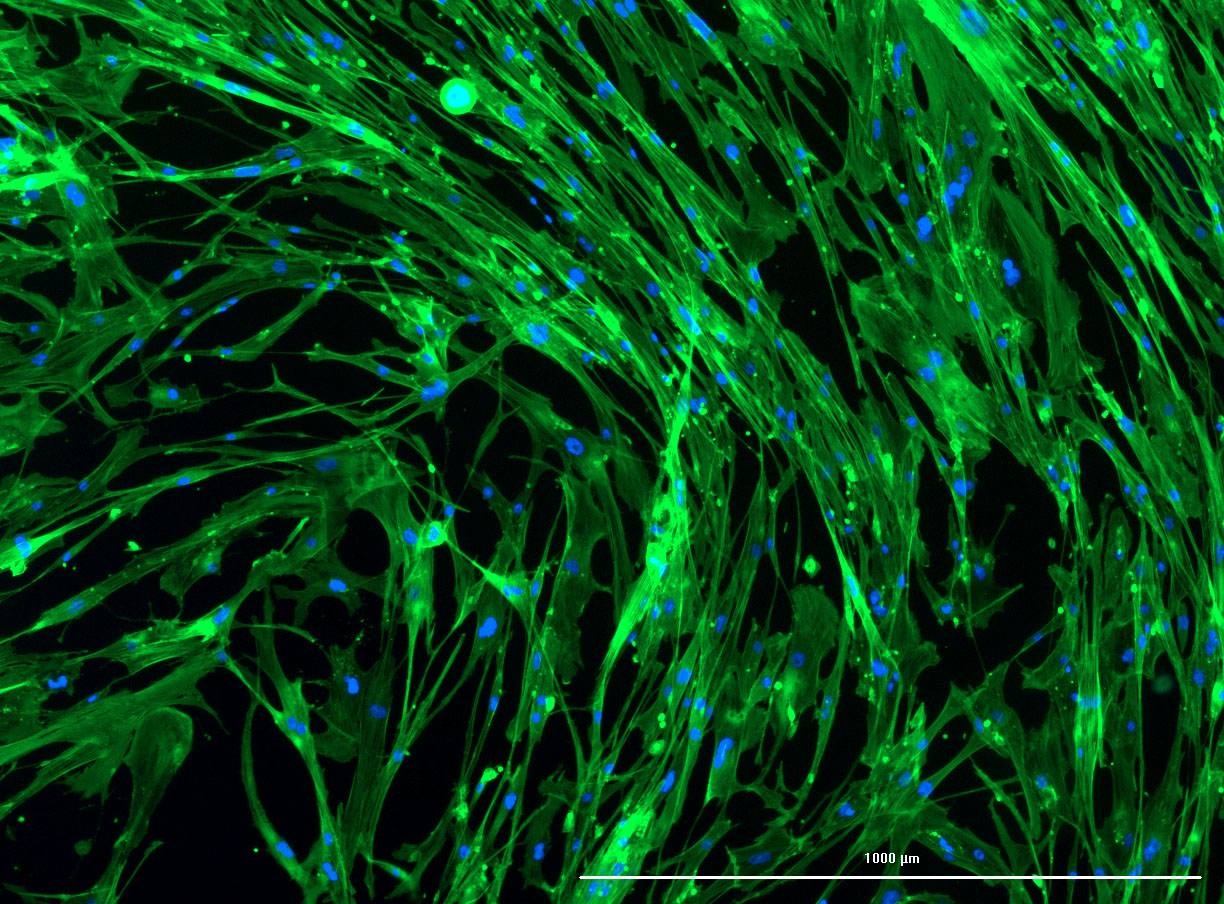
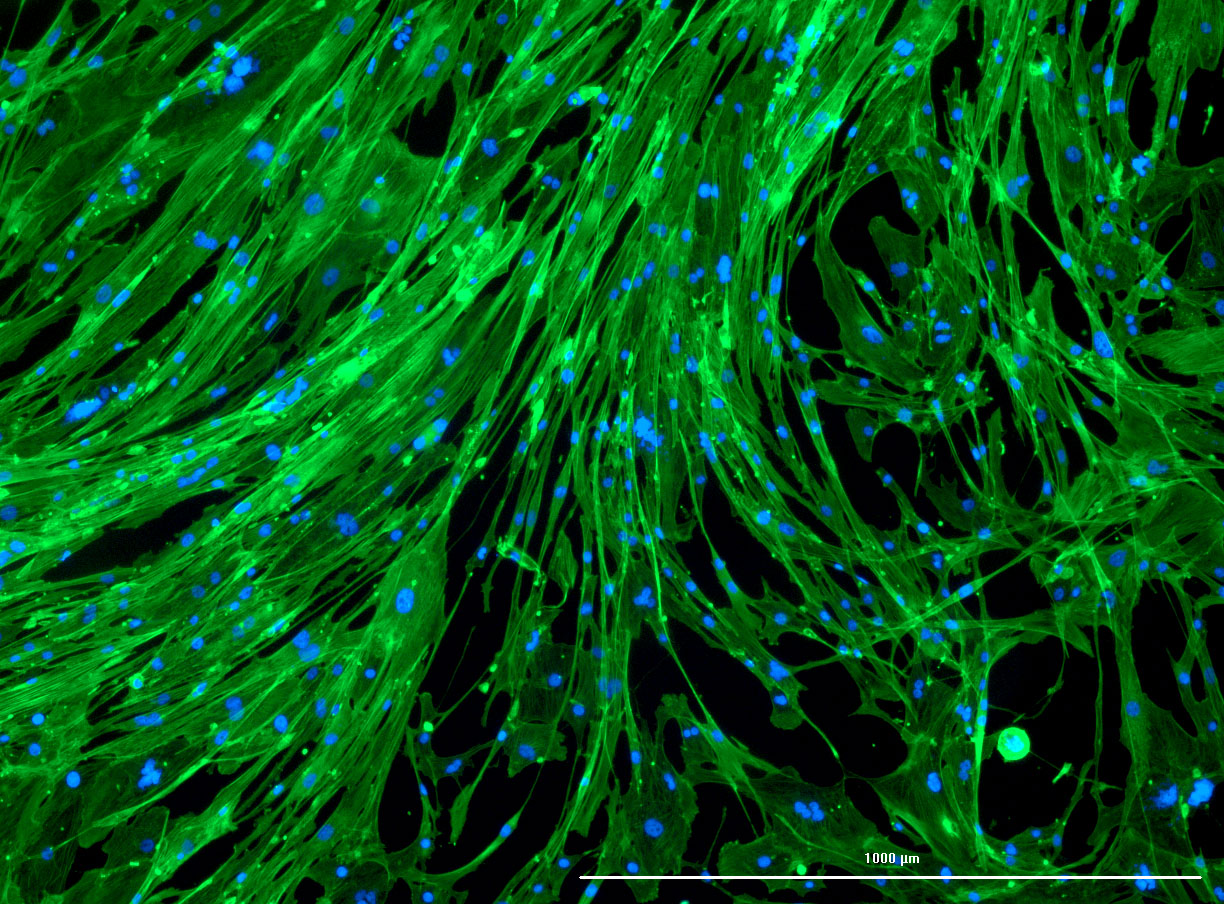
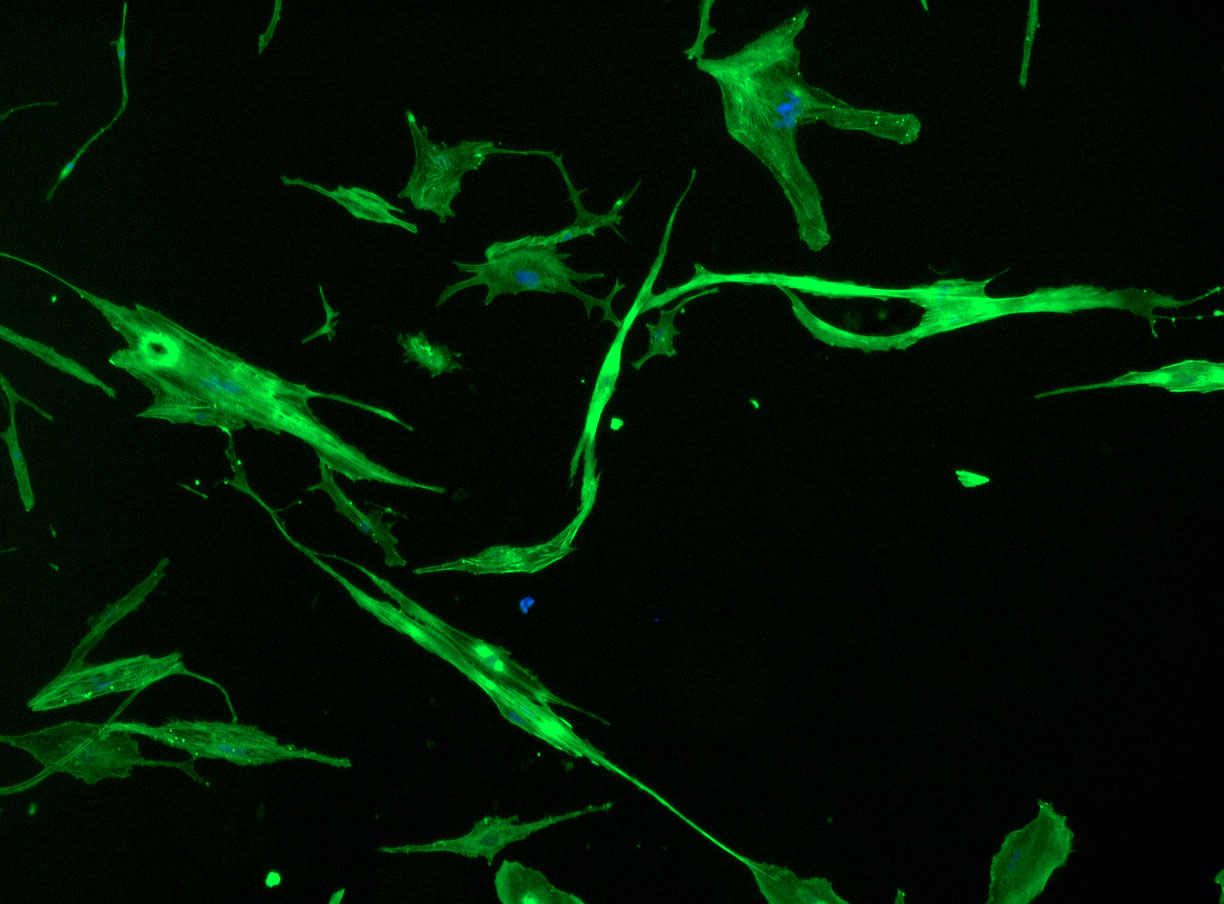 DAPI and Fluorescein Phalloidin staining of fibroid cells P4 which enables better visualisation of individual cells.
 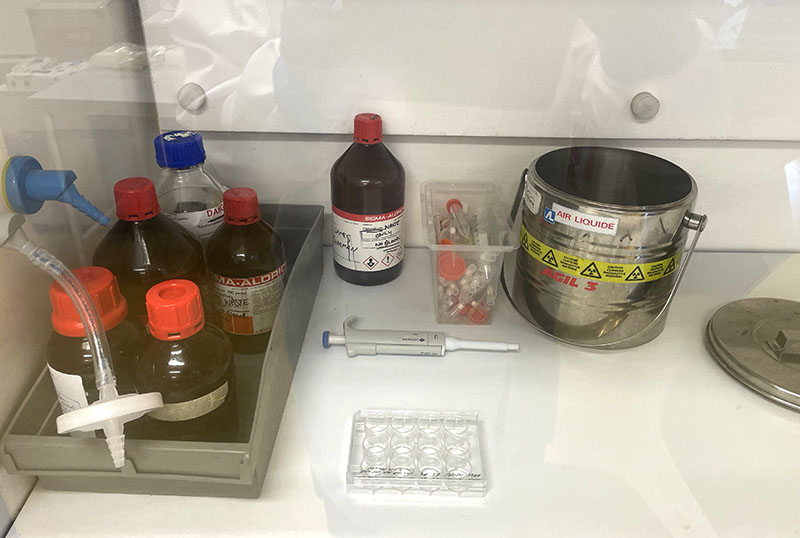 Working with 4% PFA in Fume Hood
 Working at lab bench in the Stroke Group area
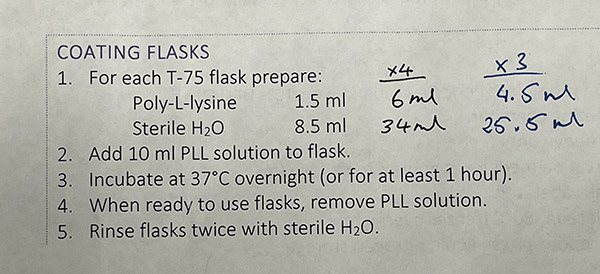
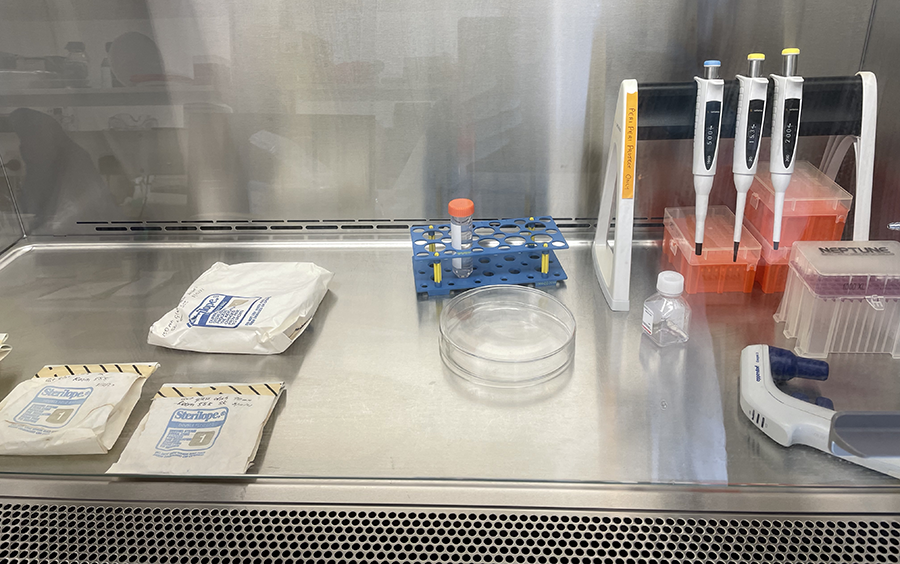 Unwrapping Petri dishes and getting ready to coat culture glassware with PLL.
  PLL coated glassware in Petri dishes ready for incubation.
  Cut glass vessels with cells ready for incubation.